
Collect email addresses directly from your folders to build connections with your community (otherwise known as “lead magnet”).
- Go to “Folder Settings” in the folder menu.
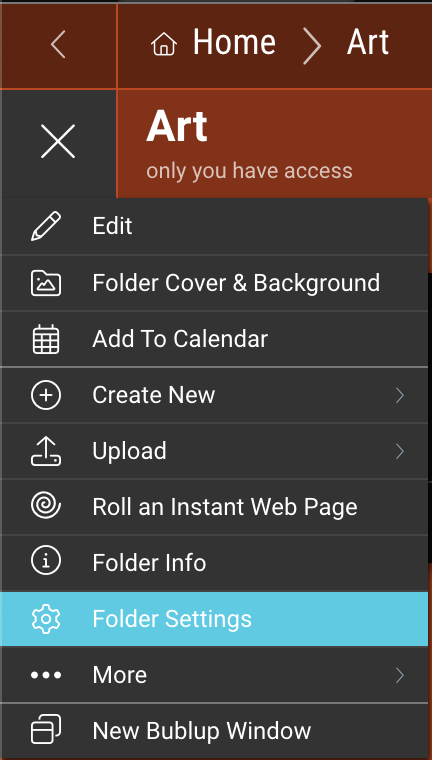
- Toggle on “Email collection.”
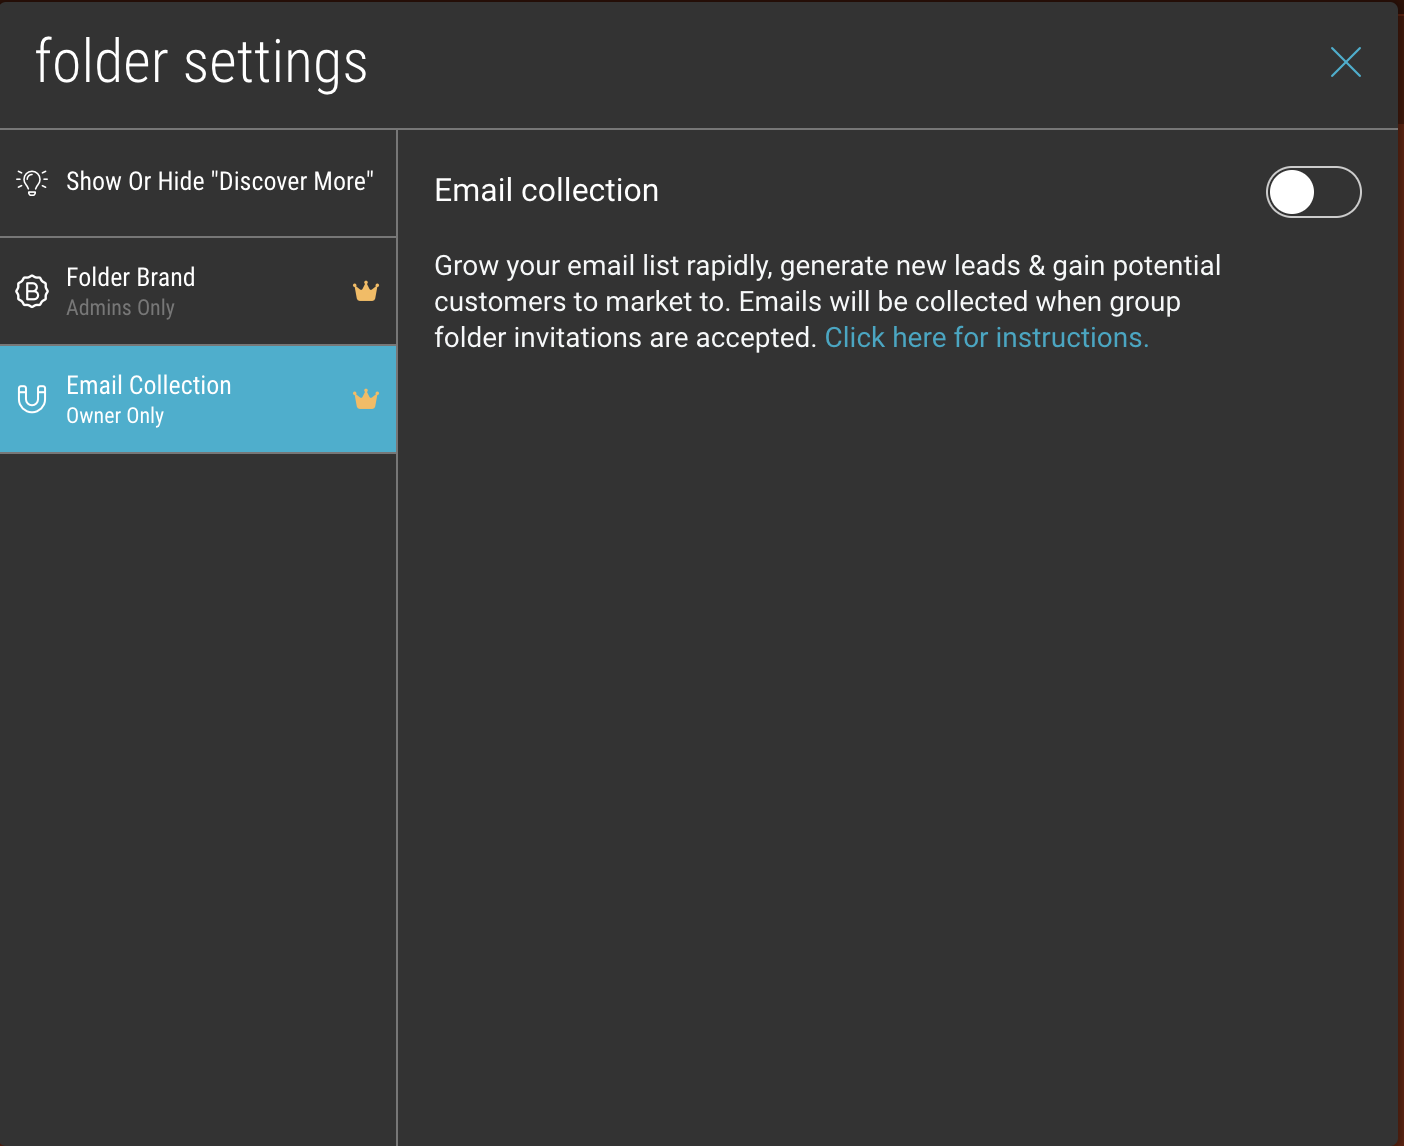
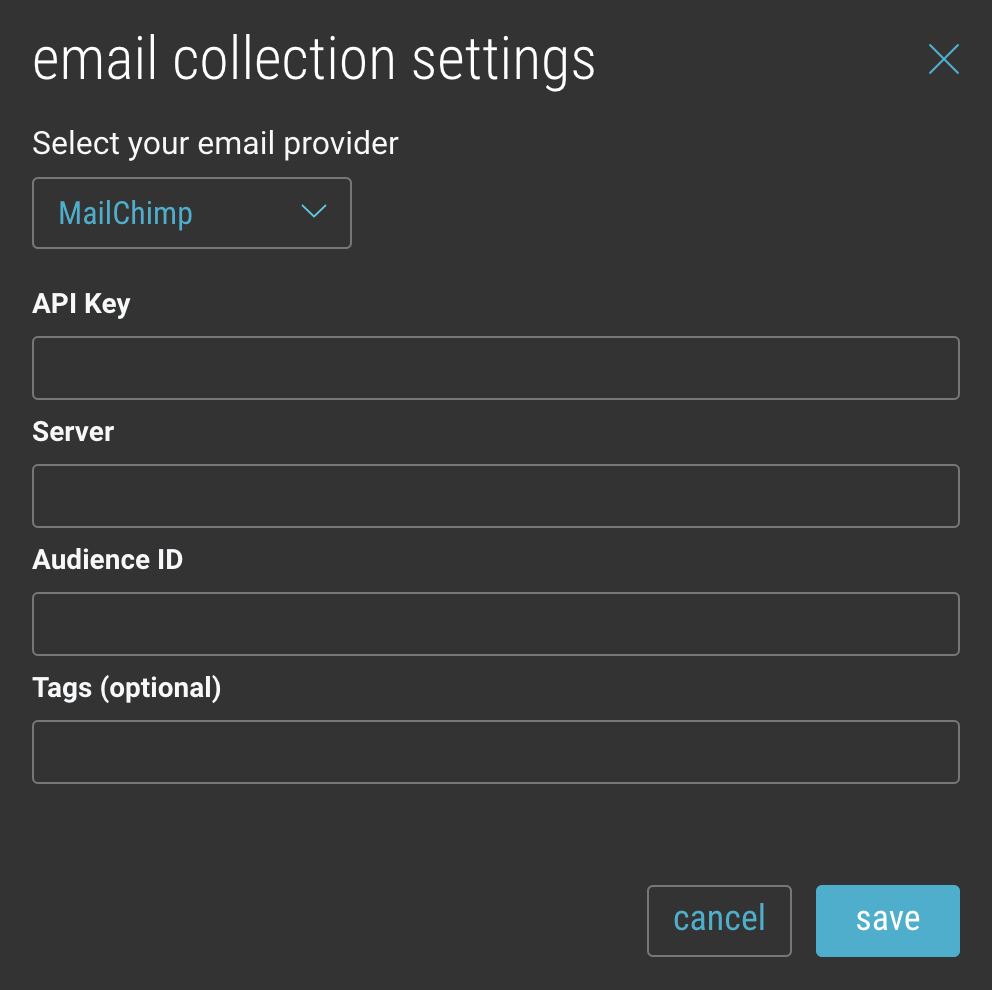
- Choose either MailChimp or ConvertKit as your email collection platform.
- Enter the required information to set up your account: (Jump to MailChimp) (Jump to ConvertKit)
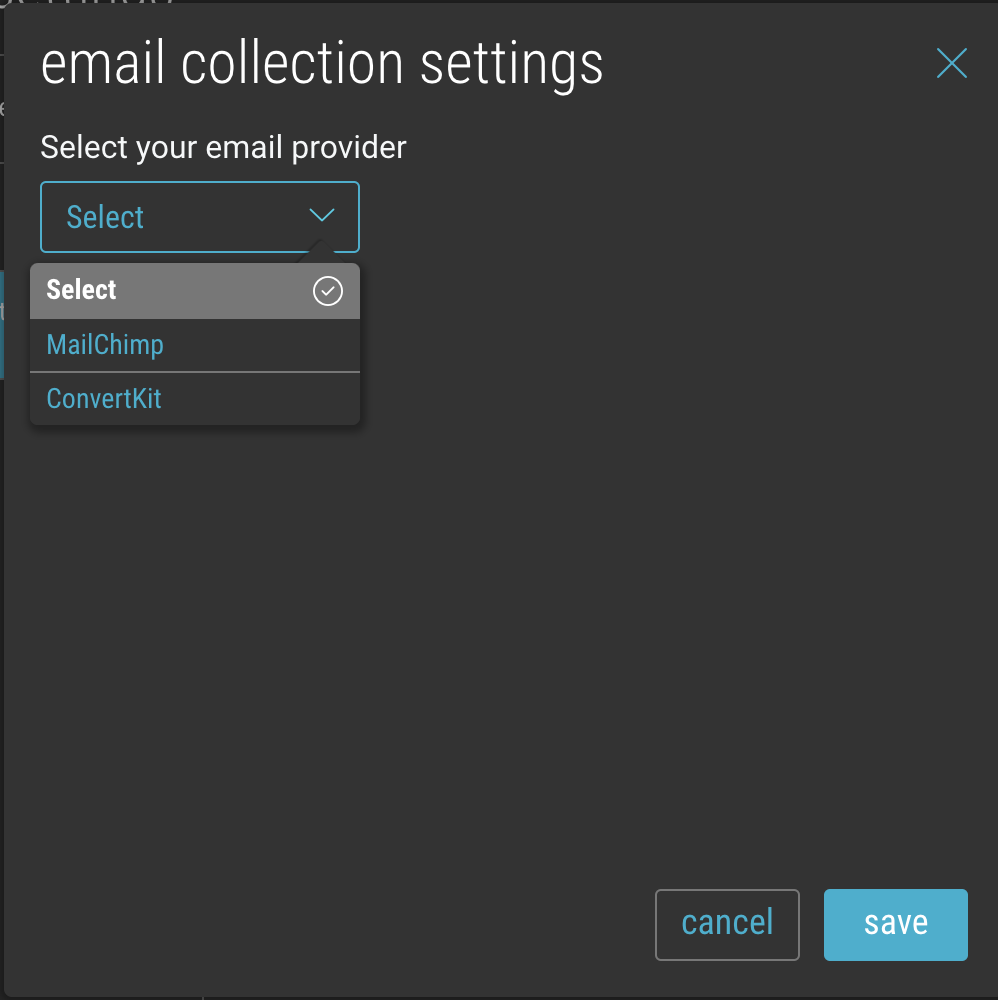
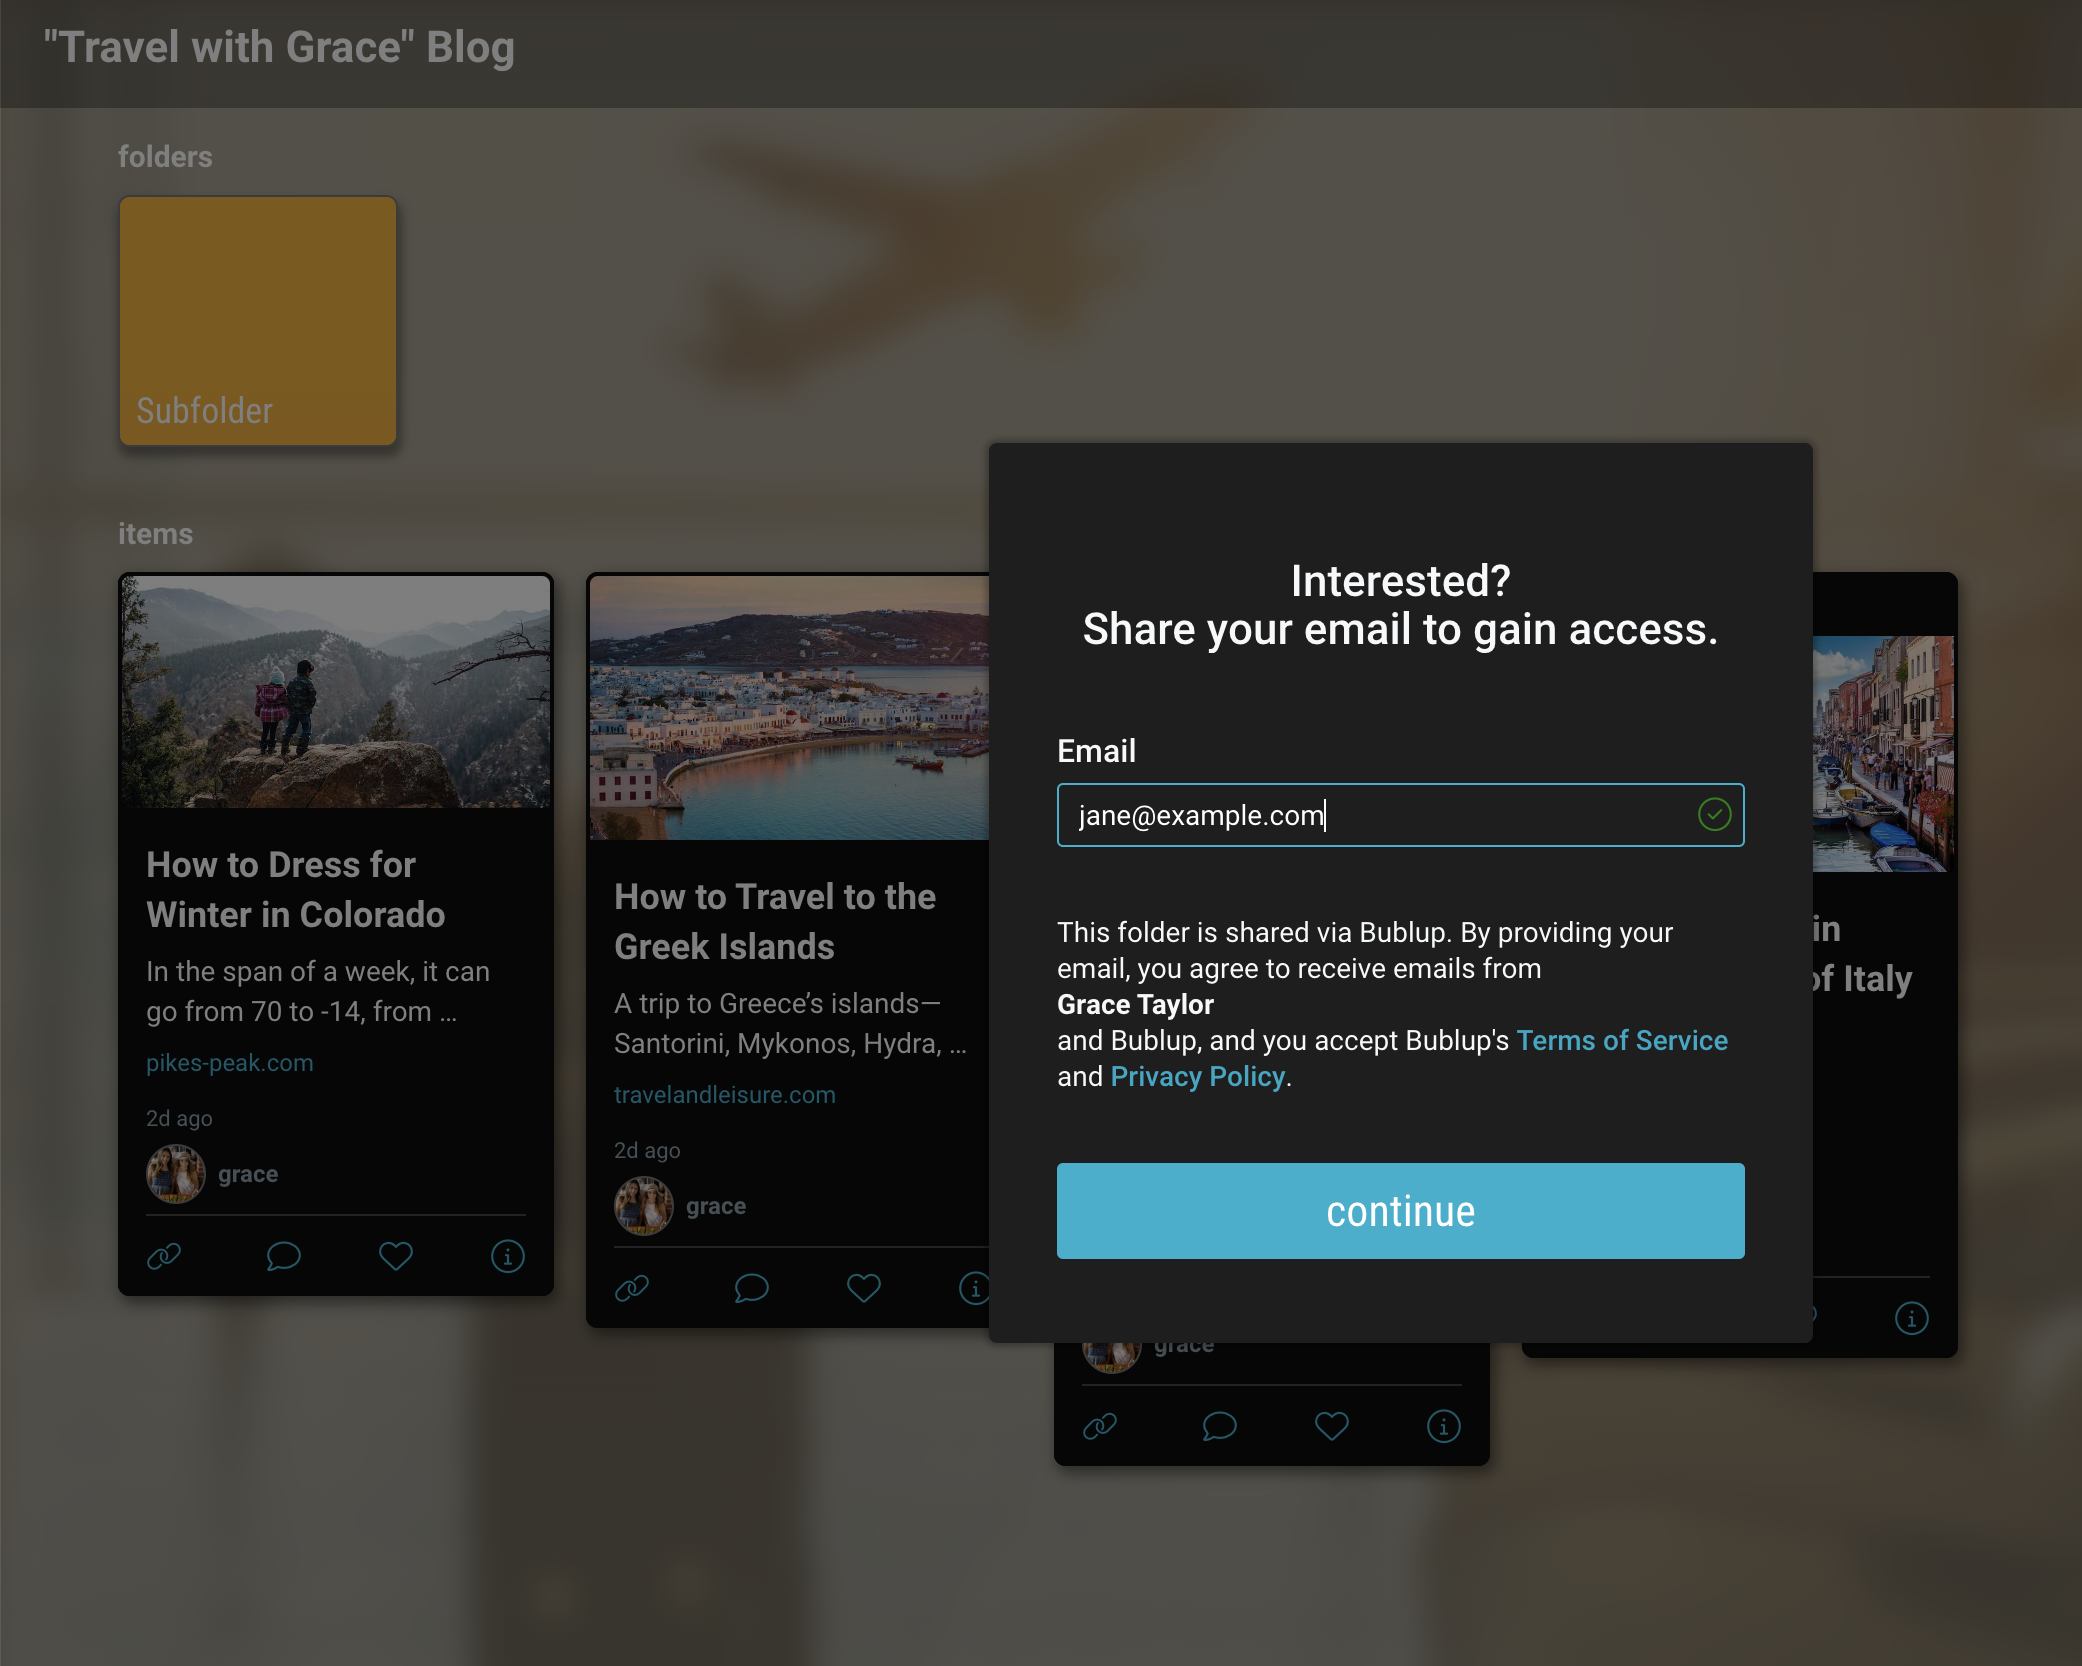
Once set up, it will look something like this:
Make sure to use this link here (not the regular folder “share” button) if you want to collect emails.The users will be prompted to provide their email address in order to access the folder, and they will not have to go through the regular Bublup signup process.
For MAILCHIMP:
API Key:
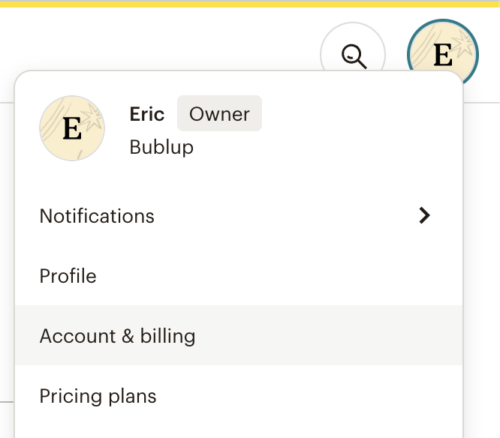
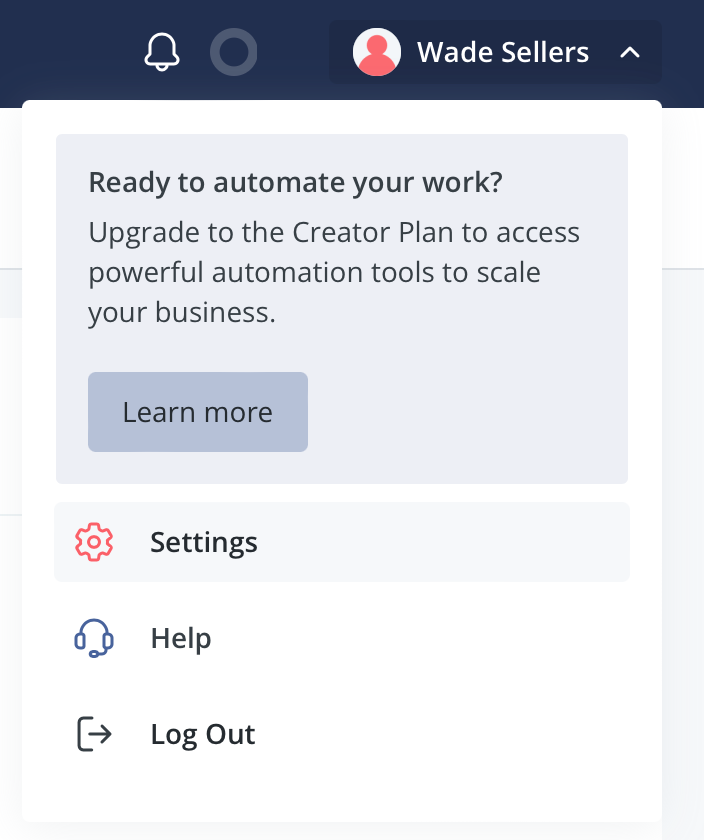
- In MailChimp, go to your Profile -> Account & billing -> “Extras” and select “API keys.”

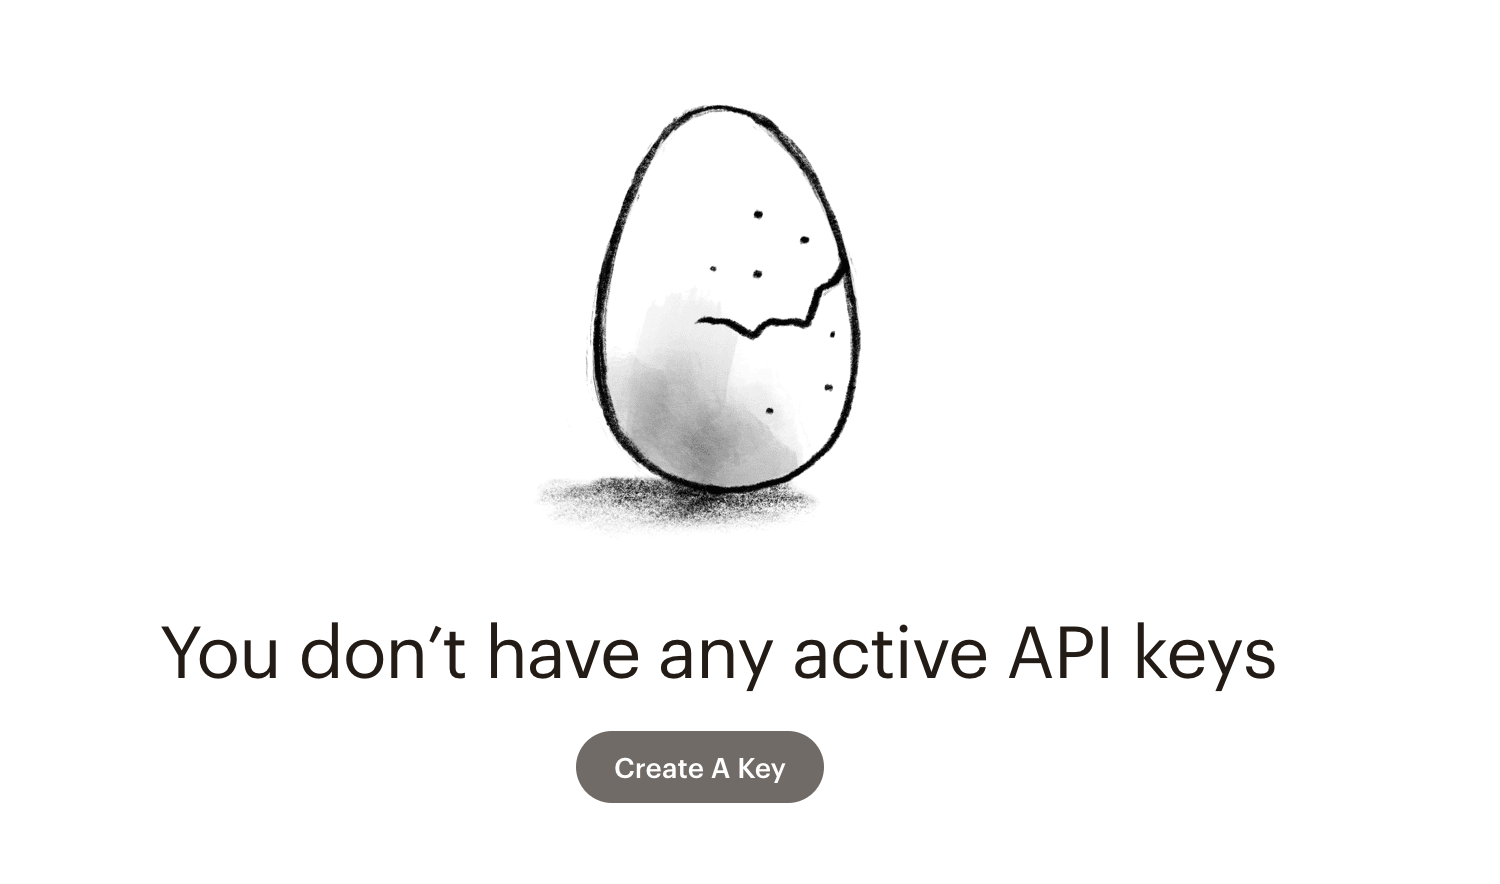
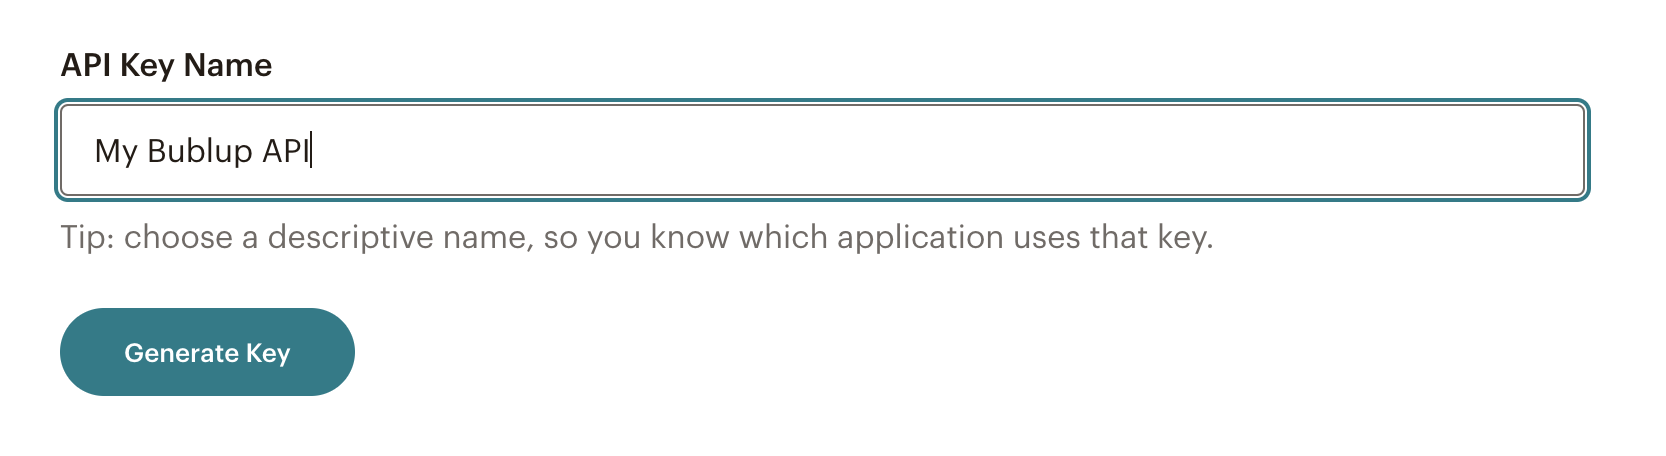
- Select “Create A Key”, name it, and hit “Generate Key”.
- Use “Copy To Clipboard” to copy the API key and paste it into the Bublup dialog.
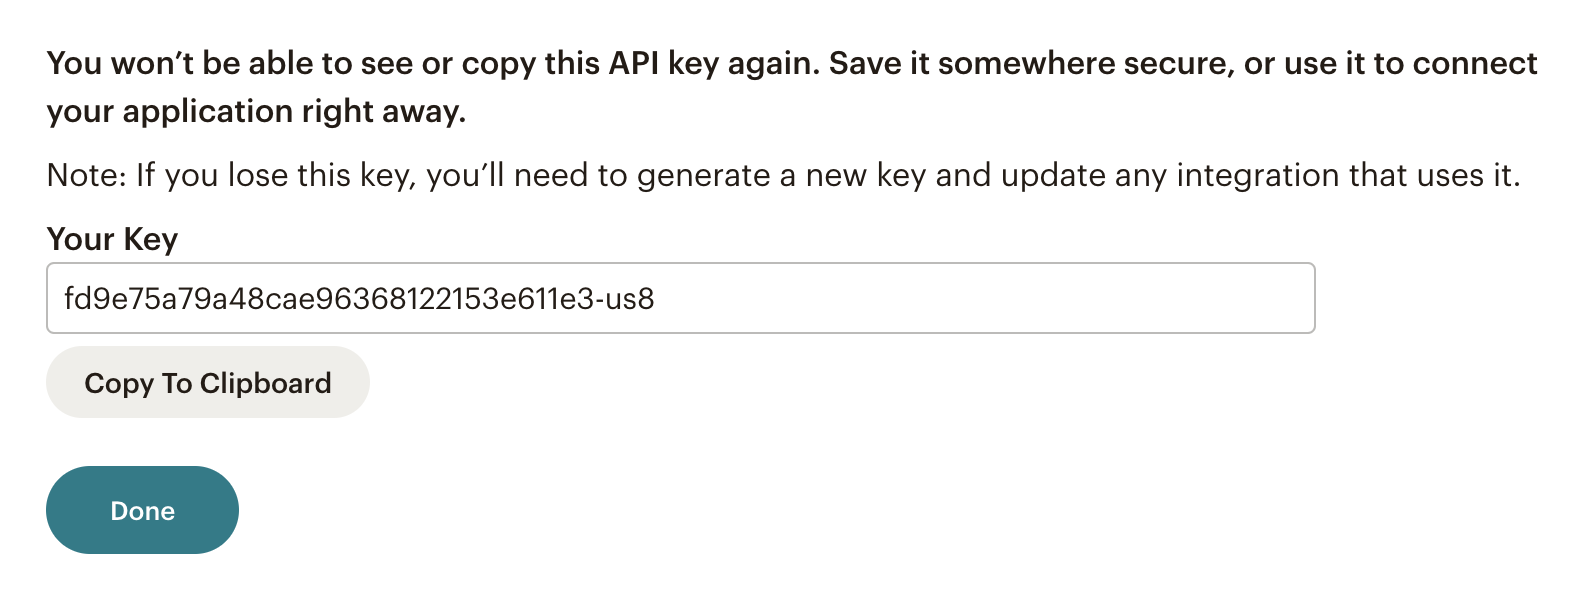
Server: The server is the last field in your API key:

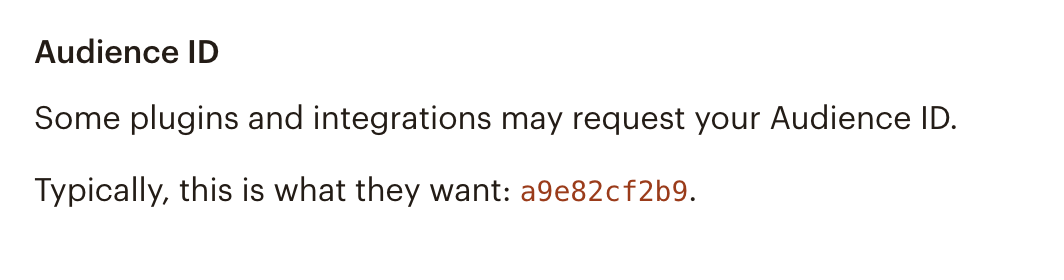
Audience ID:
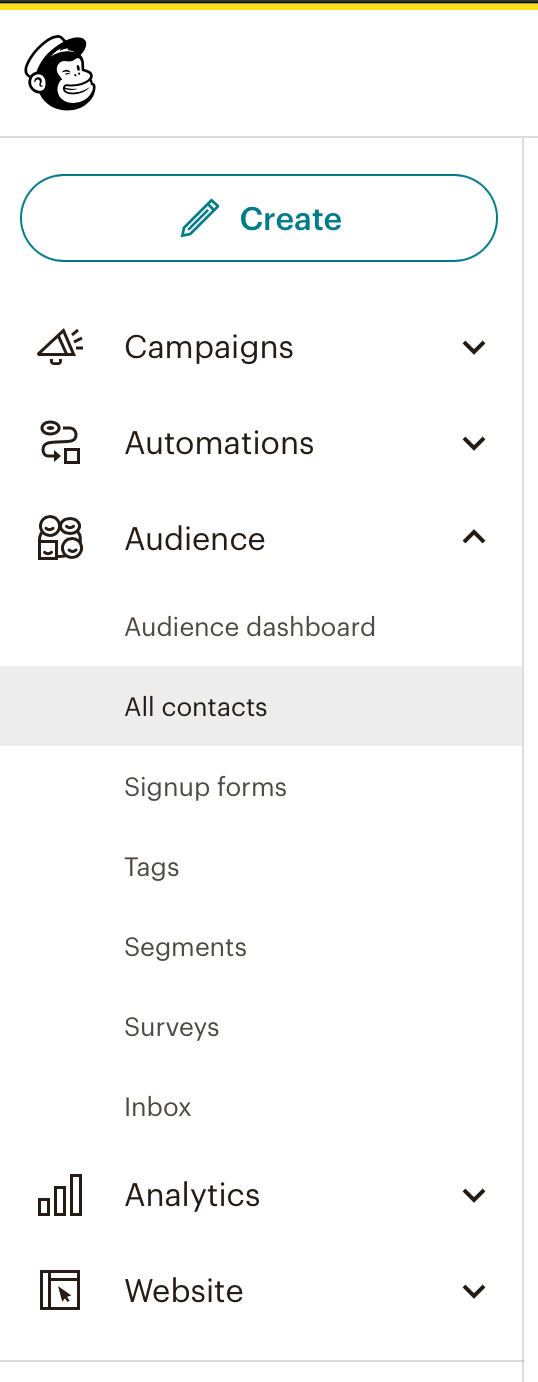
- Go to your MailChimp home and click on Audience -> “All contacts”
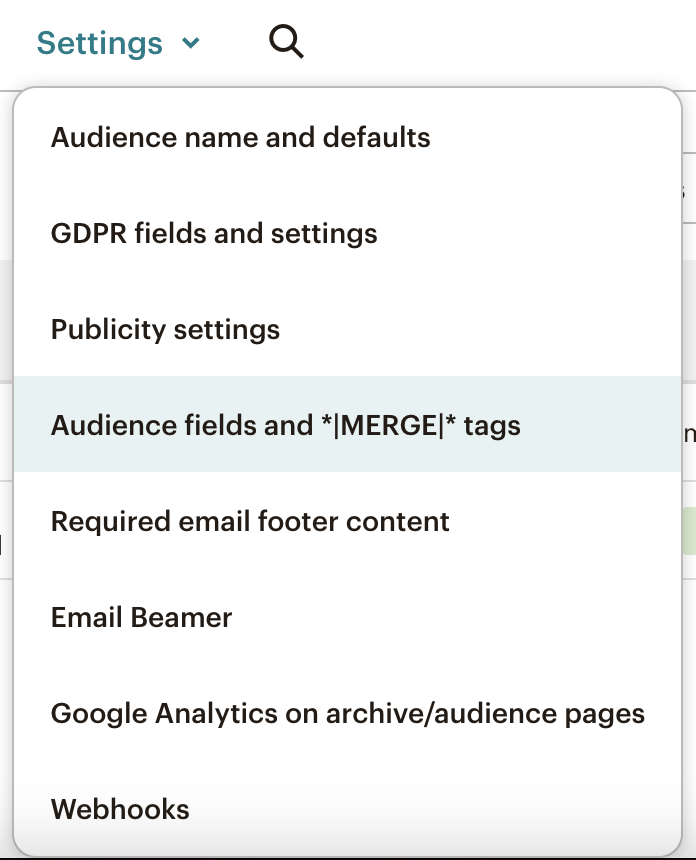
- Under “Settings” select “Audience name and defaults”.
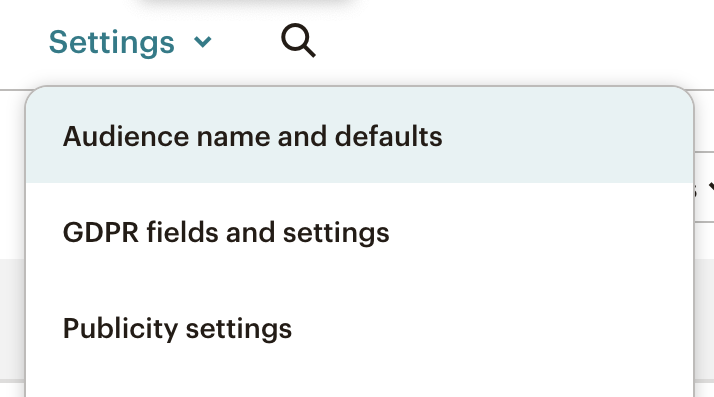
- Copy your Audience ID and paste into the Bublup dialog.
- Under “Settings”, go to “Audience fields and [MERGE] tags” and make sure that no fields are set as “Required” other than the Email Address.
![]()
Tags (optional): If you choose to add tags, they must be separated by commas. For example: tag1, tag2, …
Once this is setup, anyone entering your folder using an invite link will be required to enter their email, which will be saved to your MailChimp account.
For CONVERTKIT:
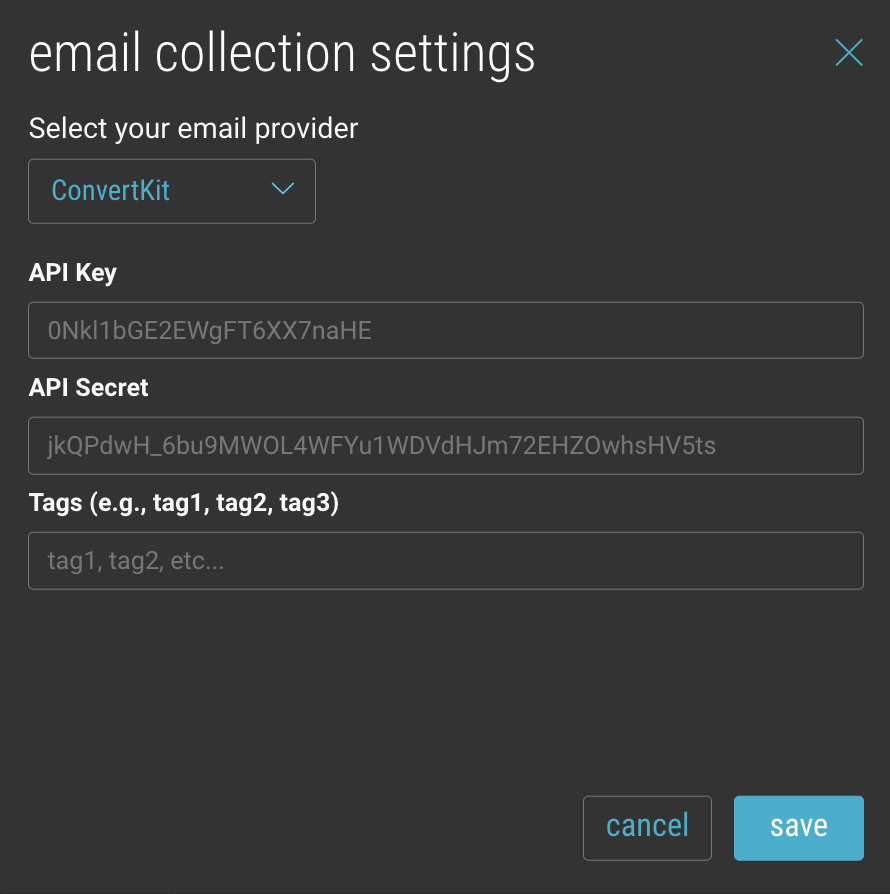
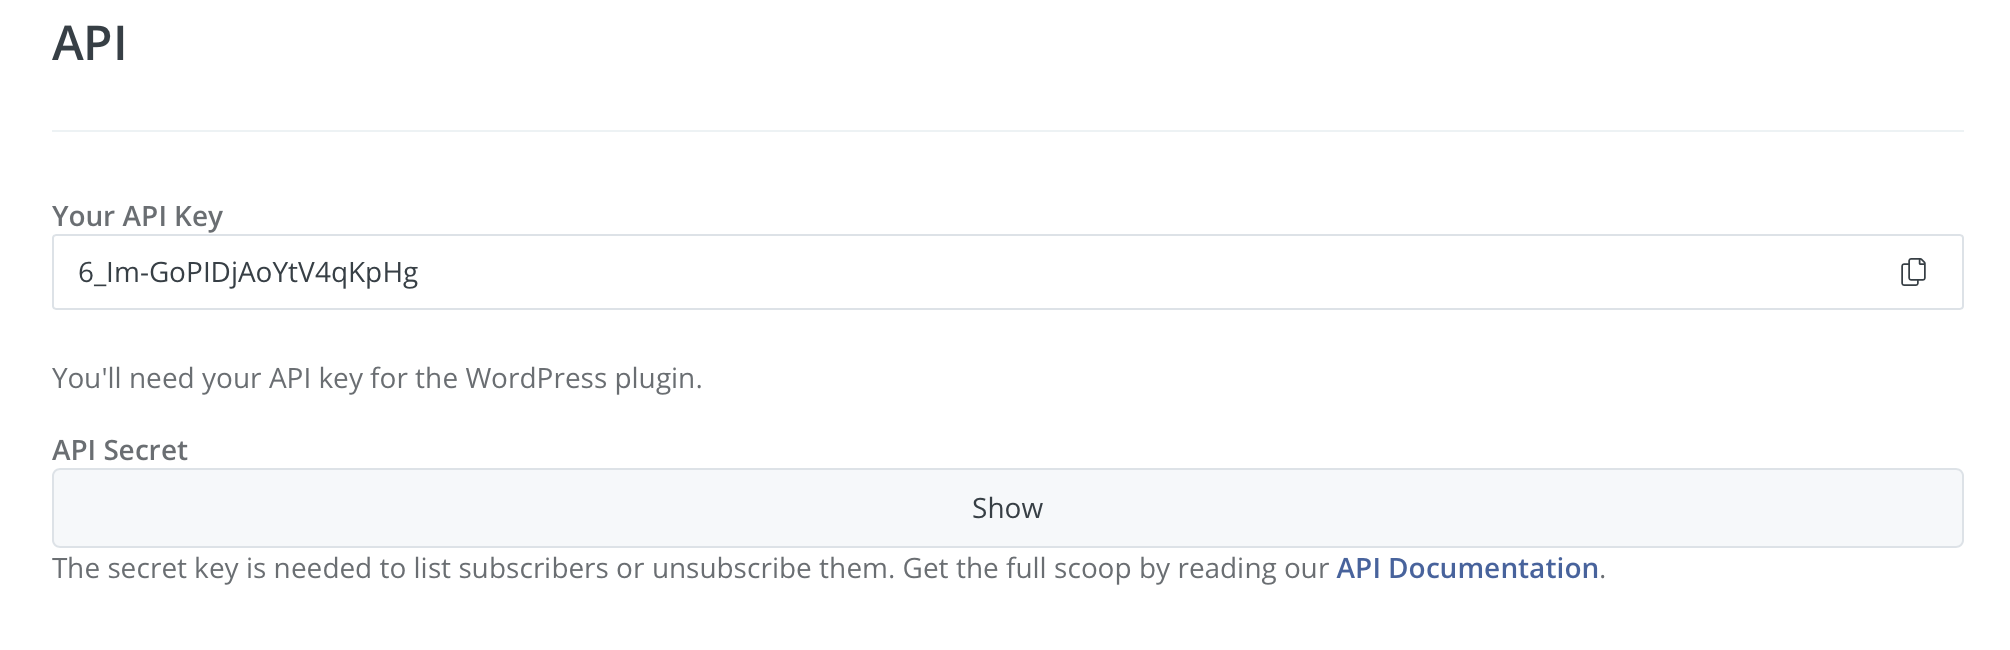
API Key and API Secret:
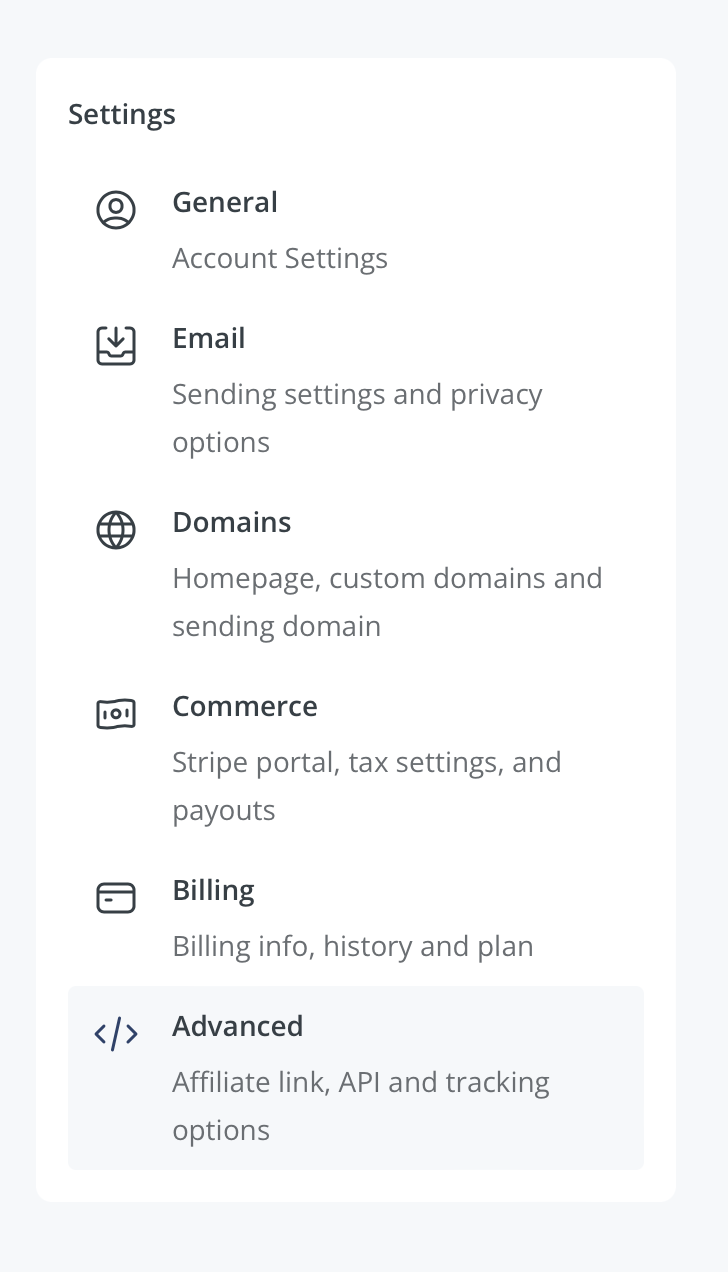
Go to your Profile -> “Settings” -> “Advanced” -> API
Tags: At least one tag is required. The tags being used must be set up within ConvertKit first, and then added in Bublup.
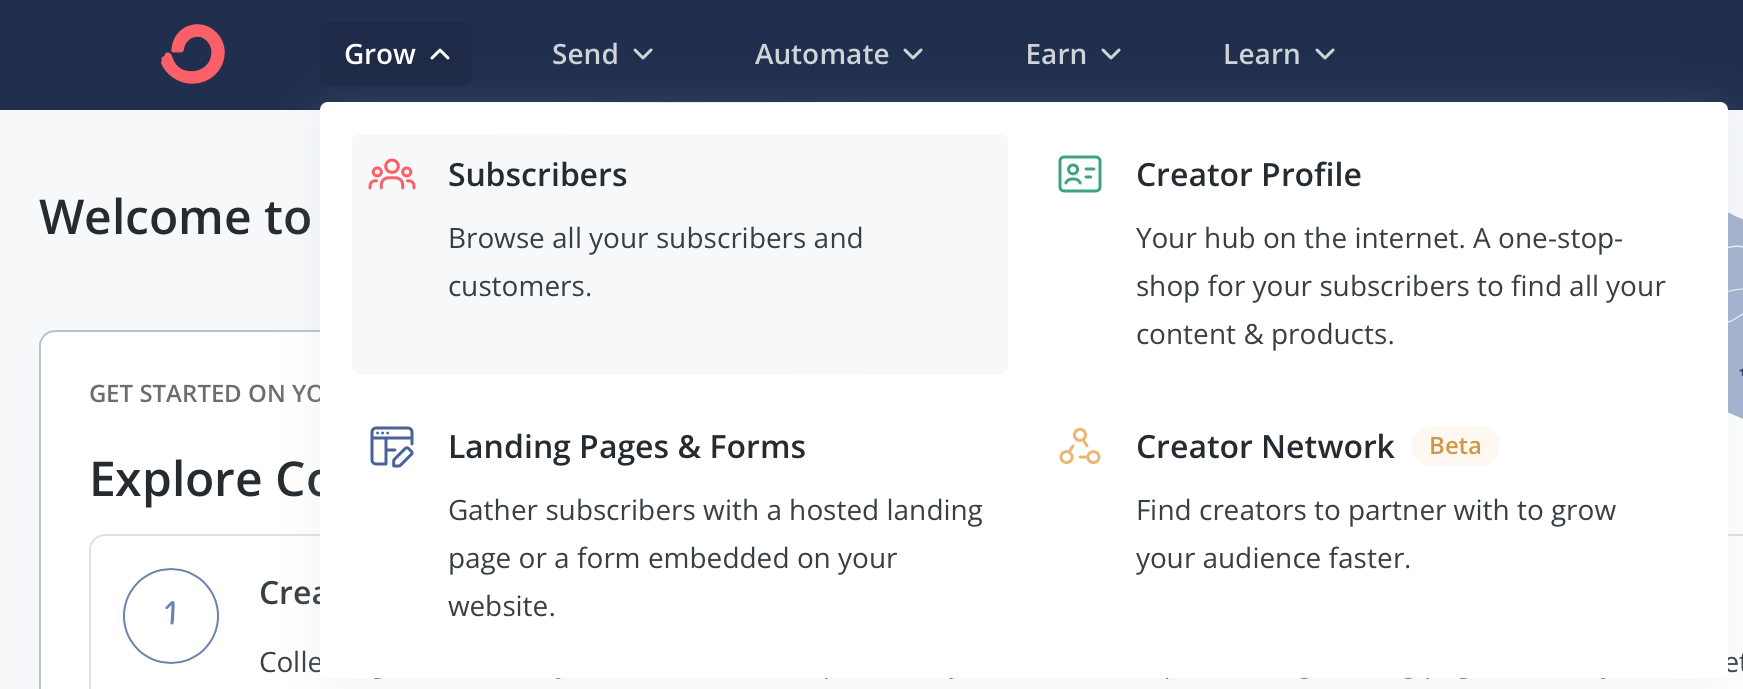
- Go to your ConvertKit home and select “Grow” -> “Subscribers”.
- In the tags section, select “Create a Tag”
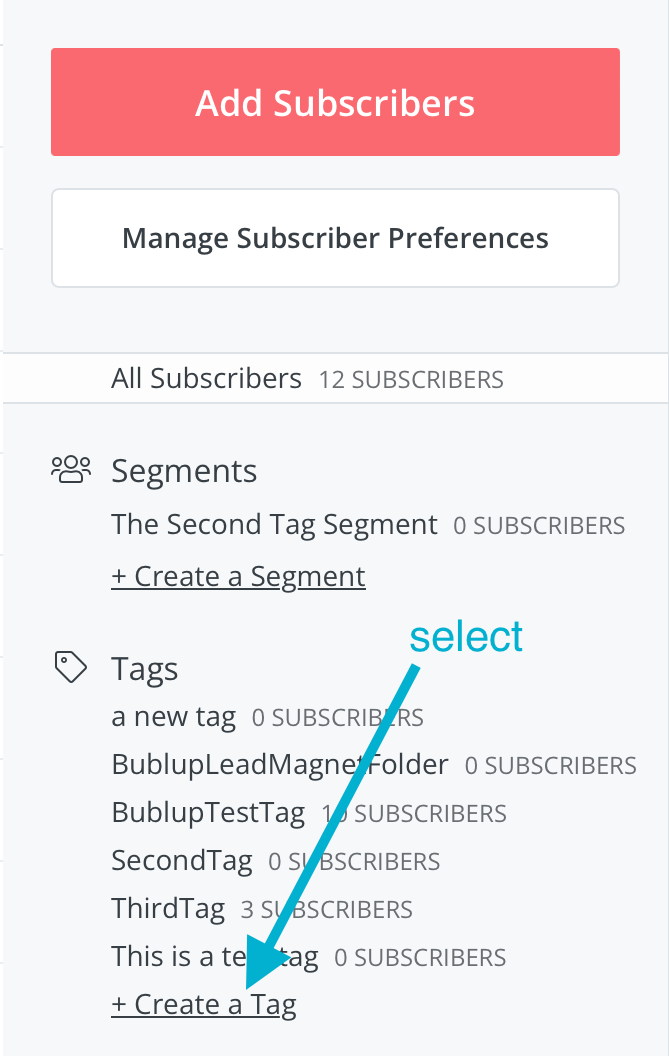
- Name your tag

- Enter the exact tag name in the Tag field in Bublup.If you choose to add multiple tags, they must be separated by commas.
Once this is setup, anyone entering your folder using an invite link will be required to enter their email, which will be saved to your ConvertKit account.