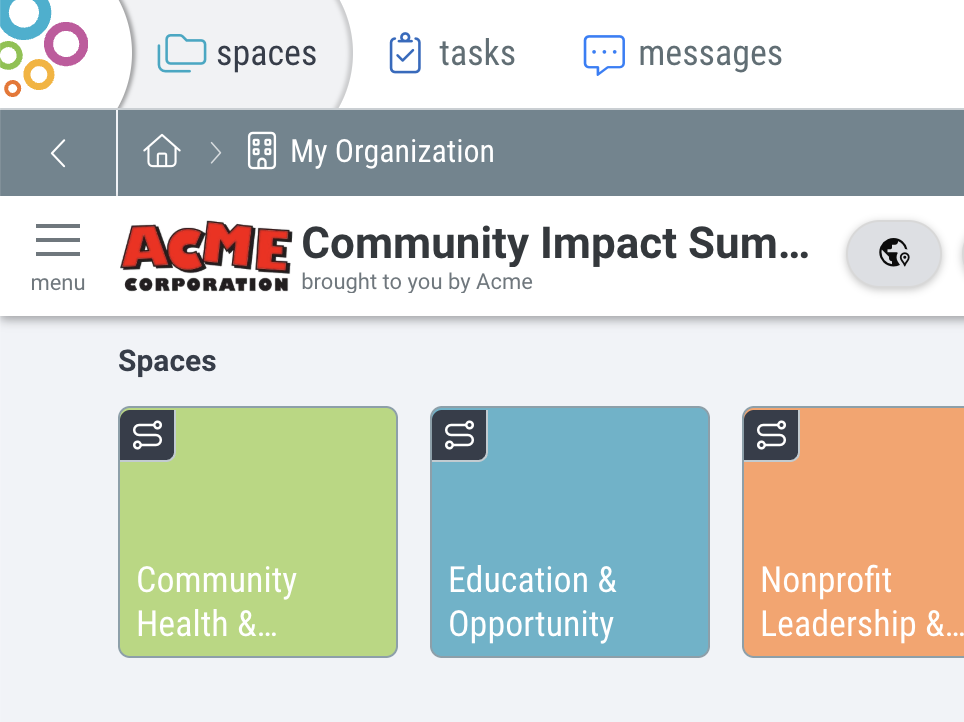

Create an Event Space
- Navigate to the Organization where you would like to create this space and click the “+” menu. Then select “Event”.
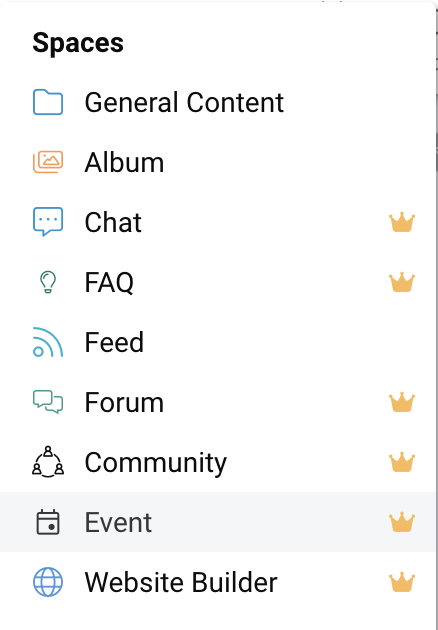
- Name your event space.
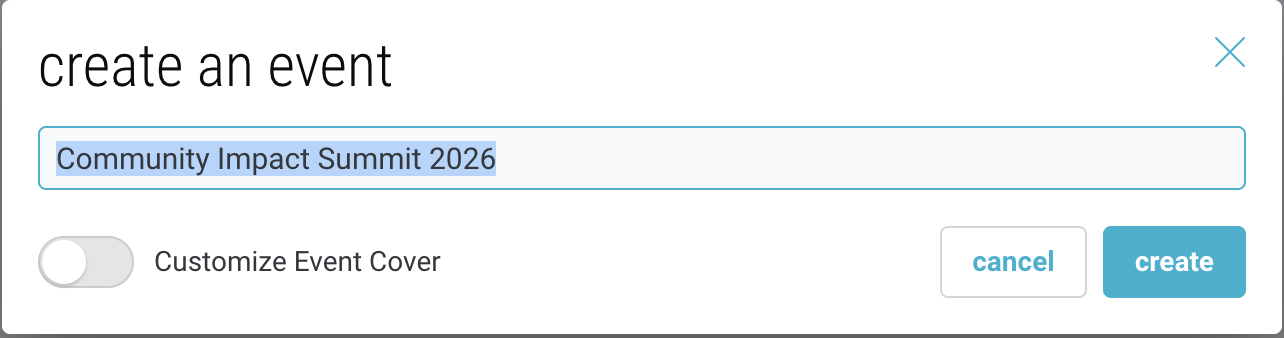
- Customize the cover image and background of your space by going to ☰ menu → “Change Cover & Background”.
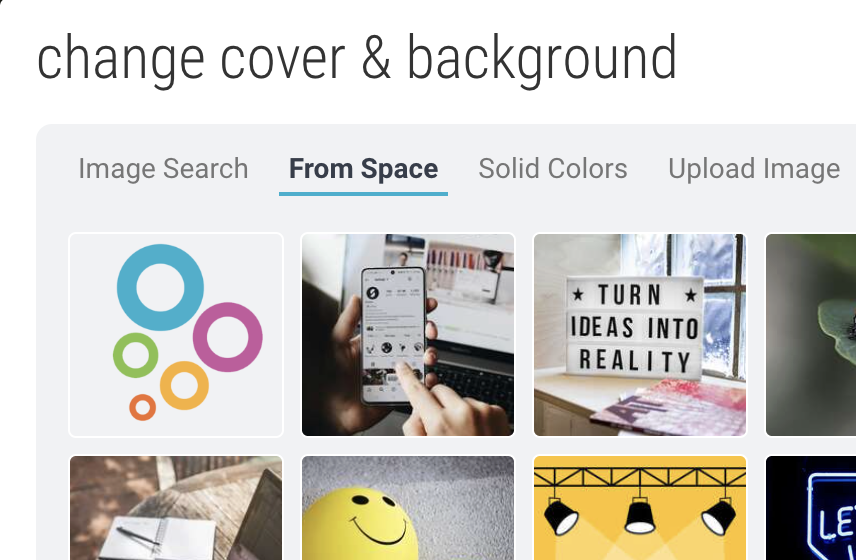
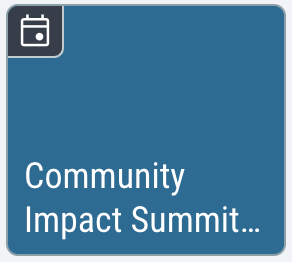
Search Bublup for images, select an image already within your space, choose a solid color, or upload a new image. This image will appear as the main image for your event. - Your space will appear with the event icon in the upper-left corner.
Create Event Tracks
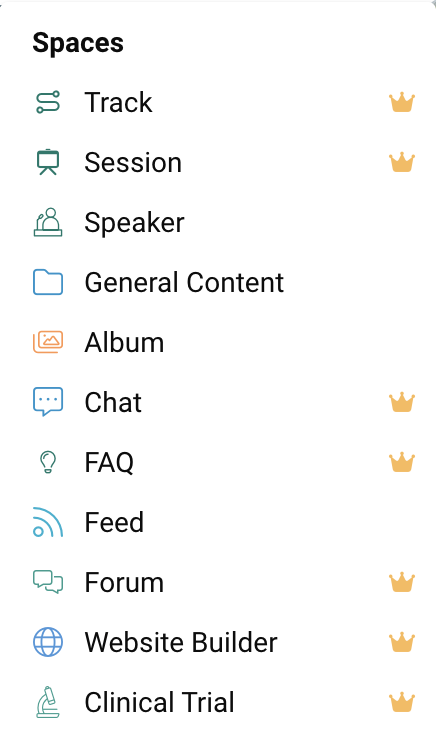
- Within your Event space, click the “+” menu and select “Track”.
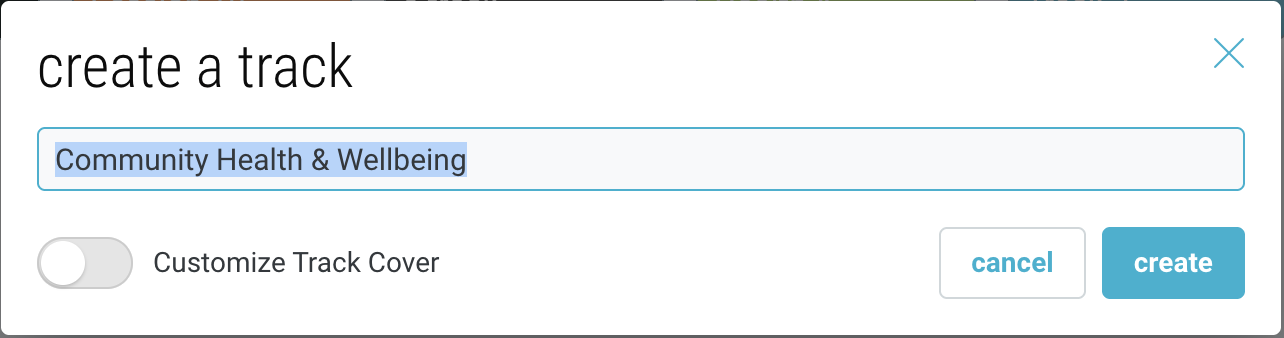
- Name the track and optionally give it a cover image.
- Your space will appear with the track icon in the upper-left corner.

Add Event Speakers
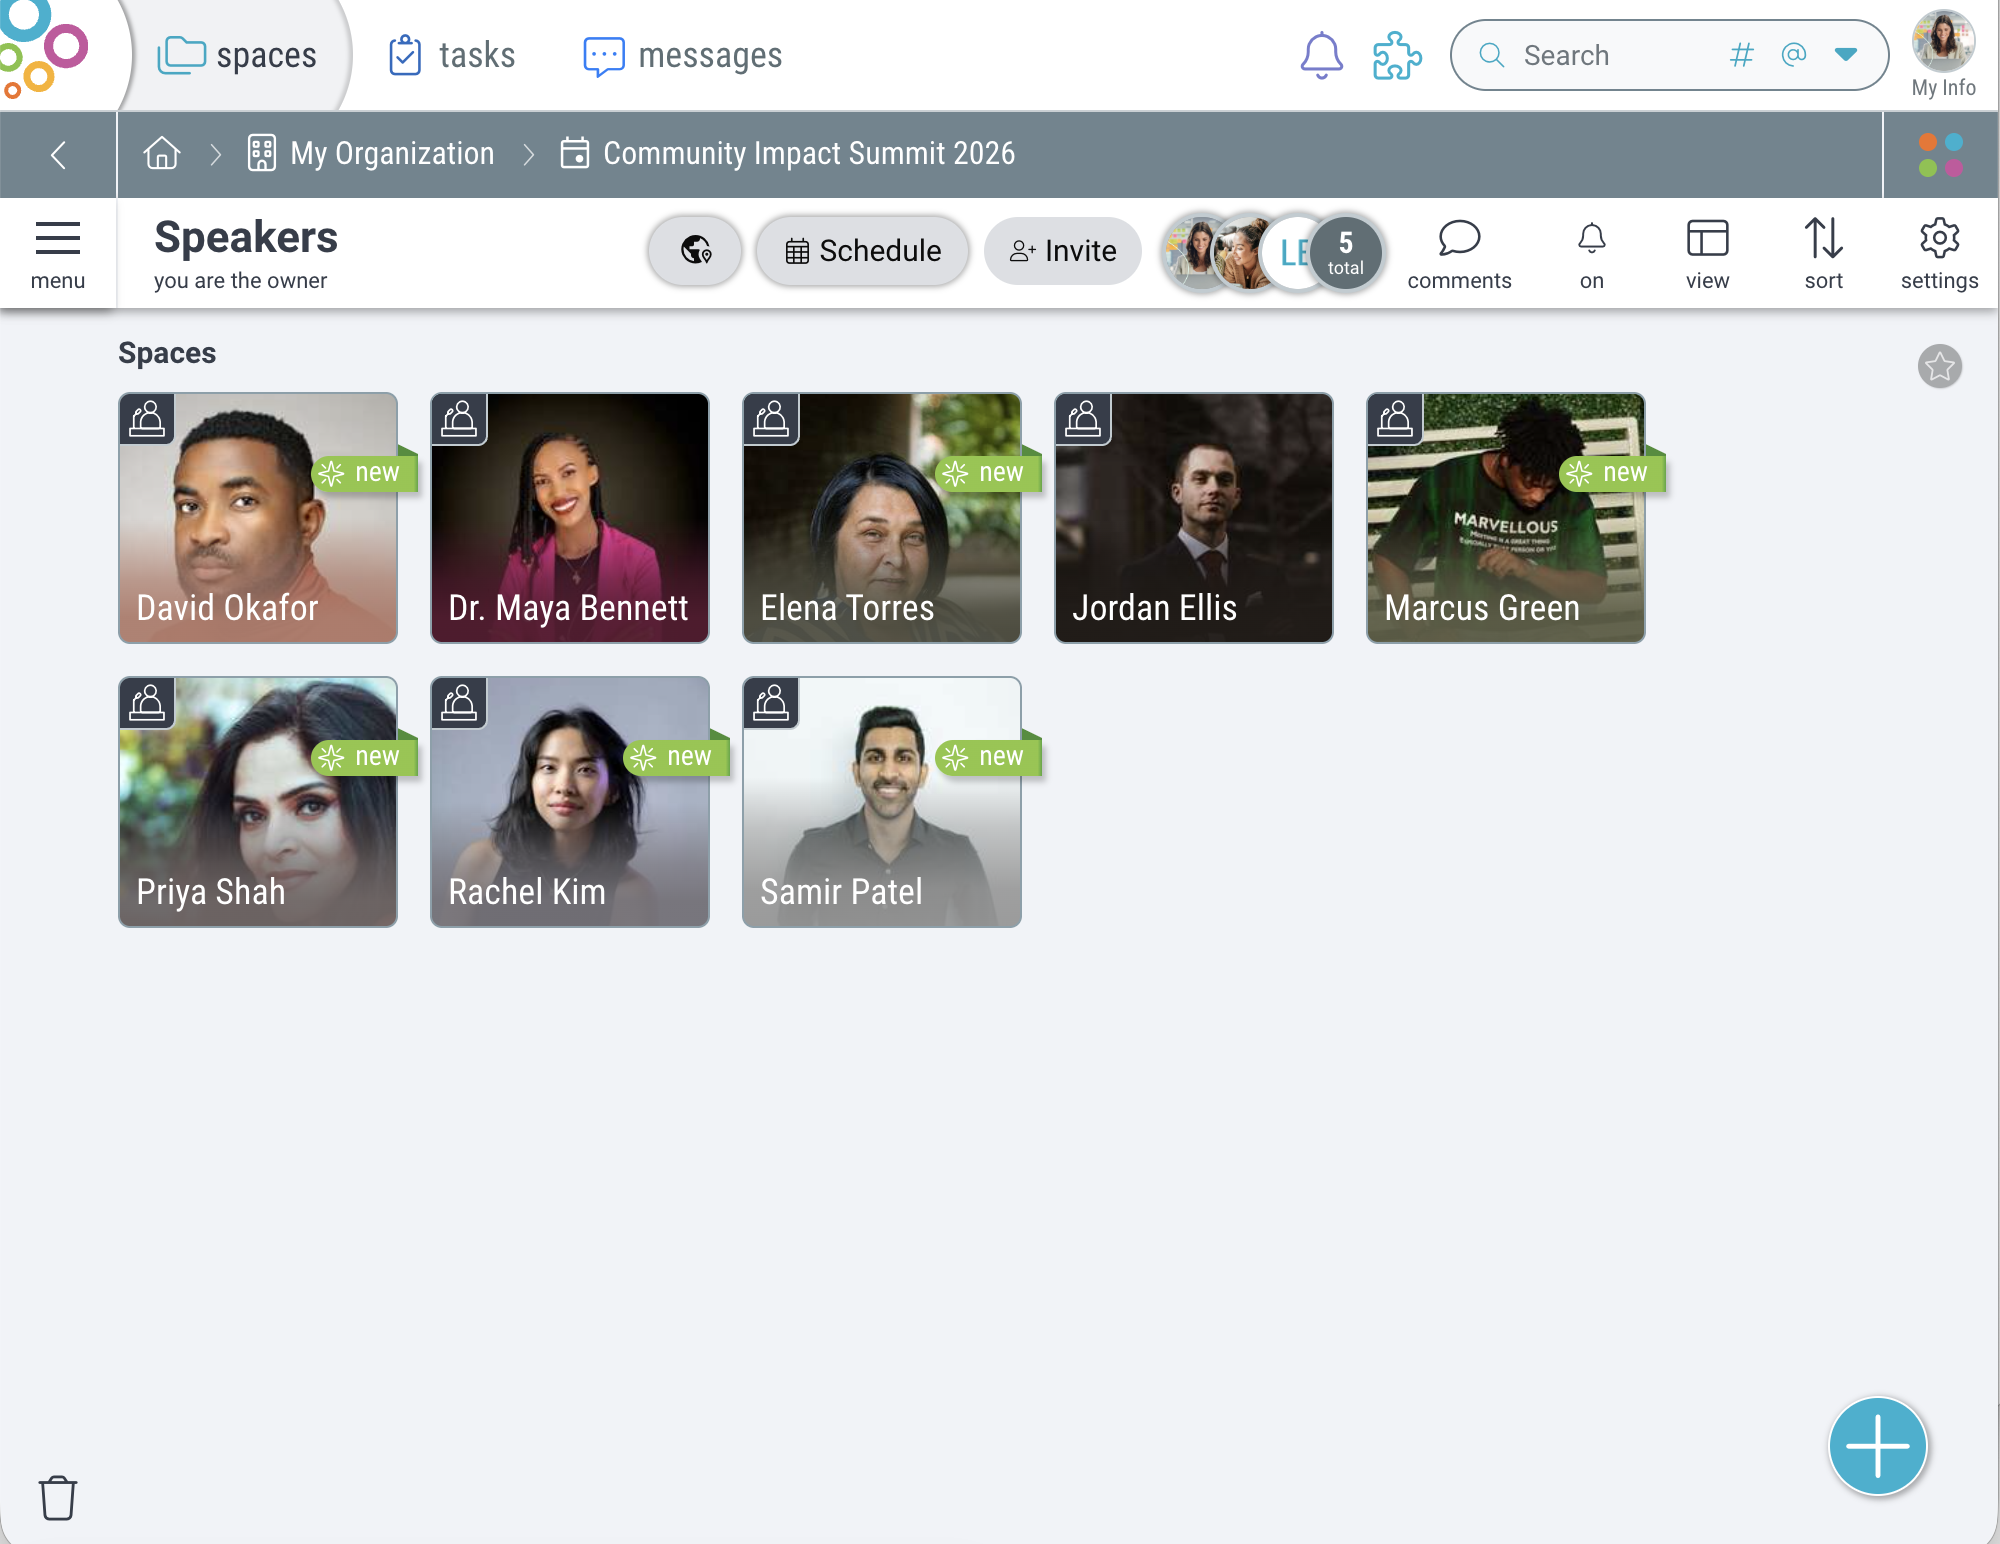
- Within your Event or Track space, click the “+” menu and select “Speaker”.
- Give your speaker a name and optionally add a bio.
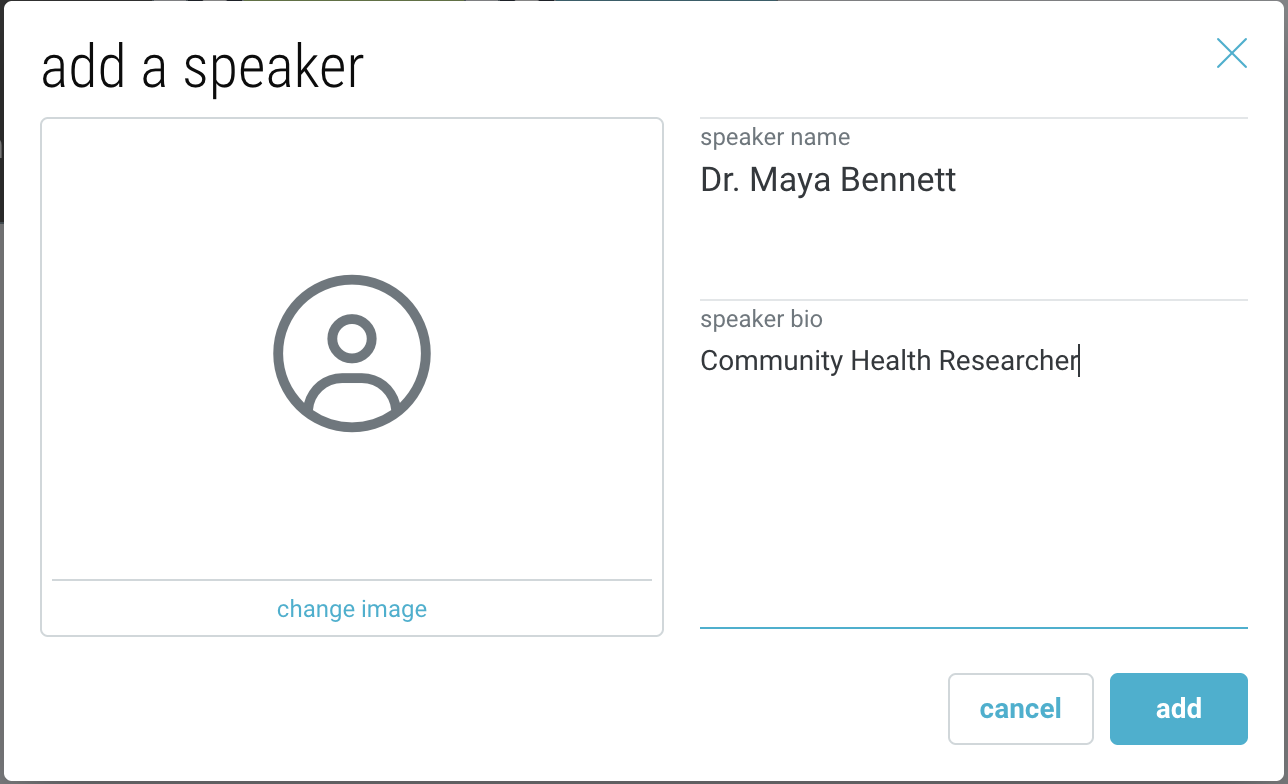
- Click “change image” to add an image to this speaker.
- Your space will appear with the speaker icon in the upper-left corner.
Add Event Locations
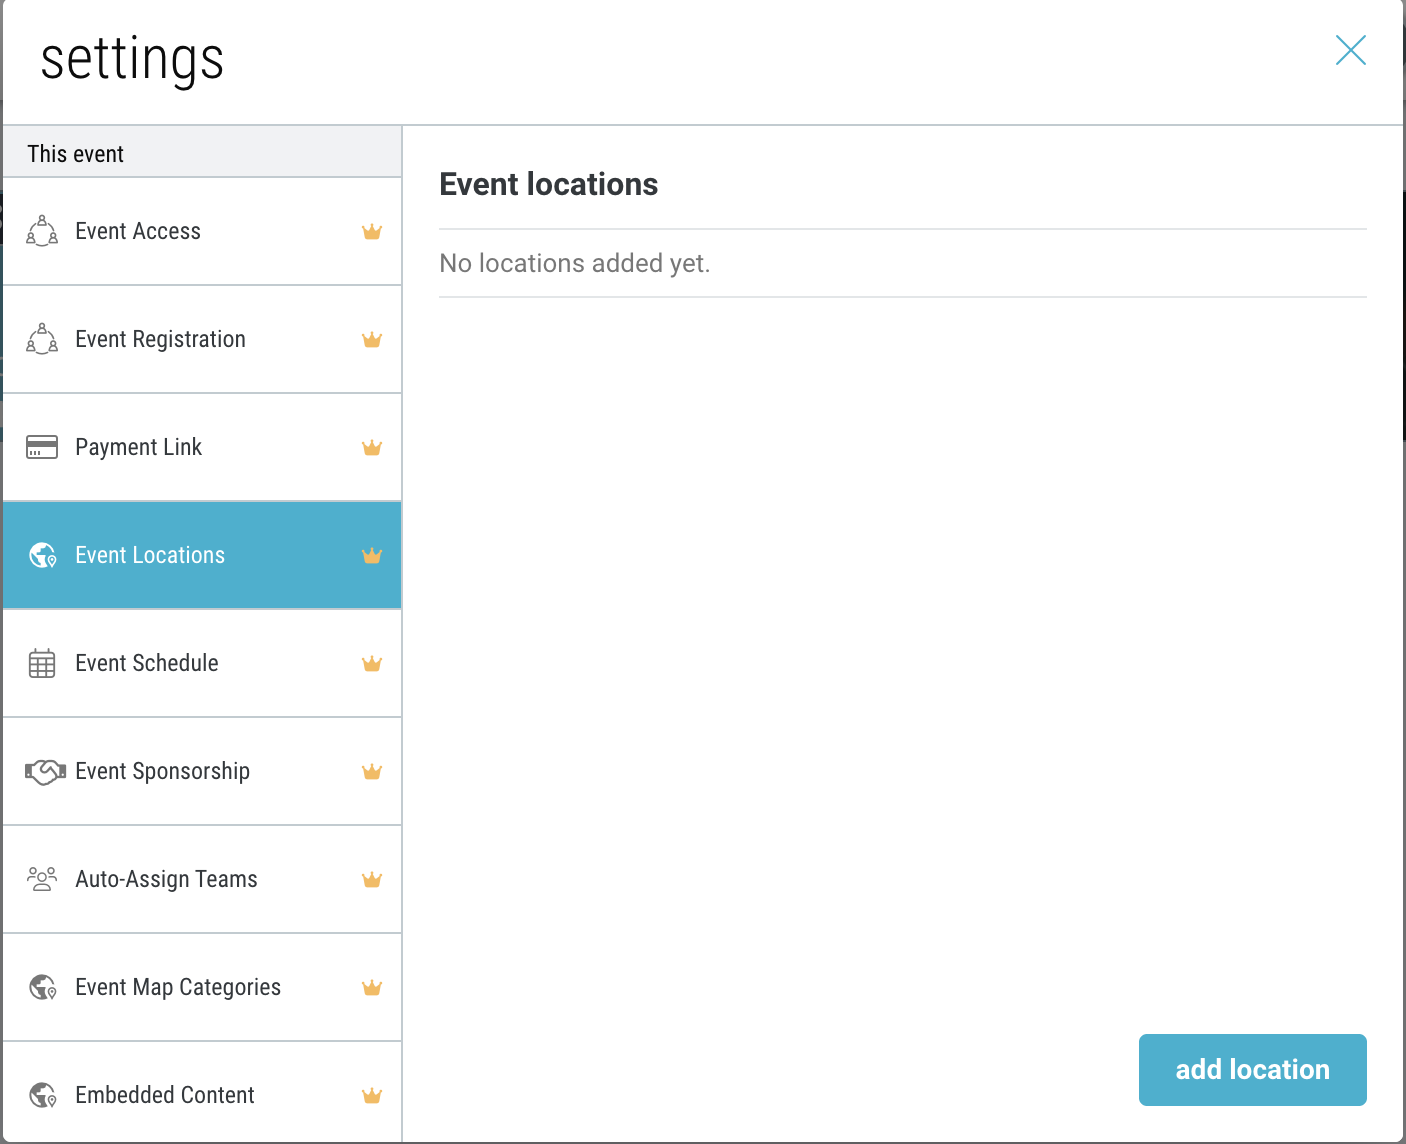
- Within your Event space, go to Settings → “Event Locations”.
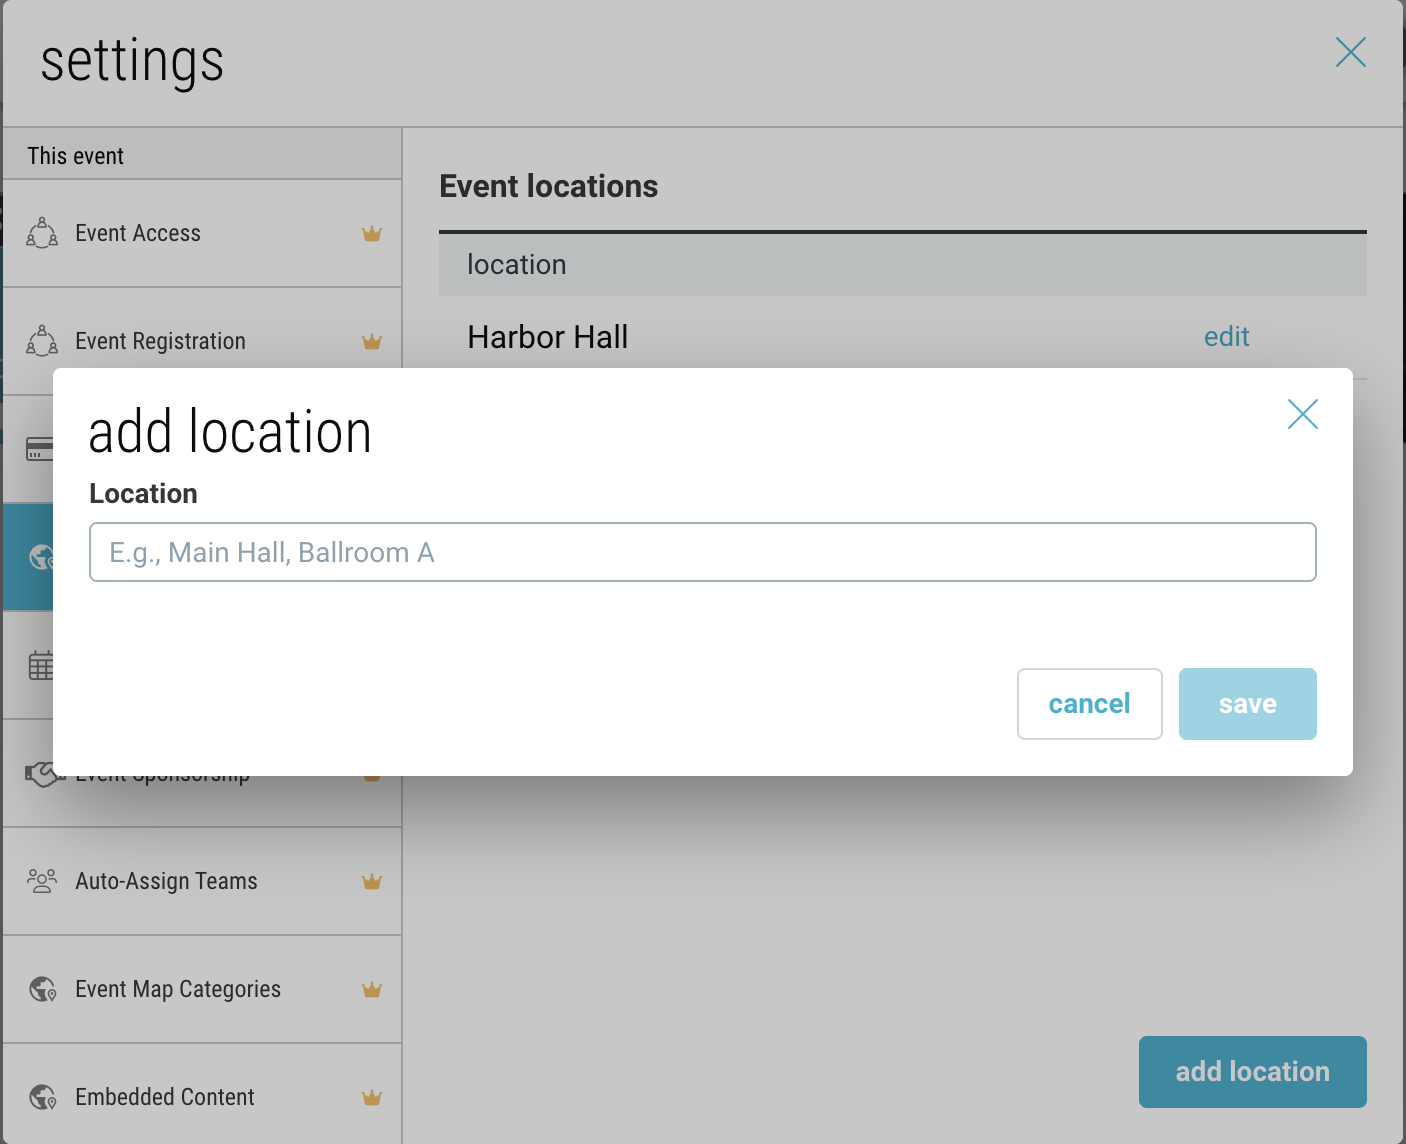
- Click “add location” and give your location a name.
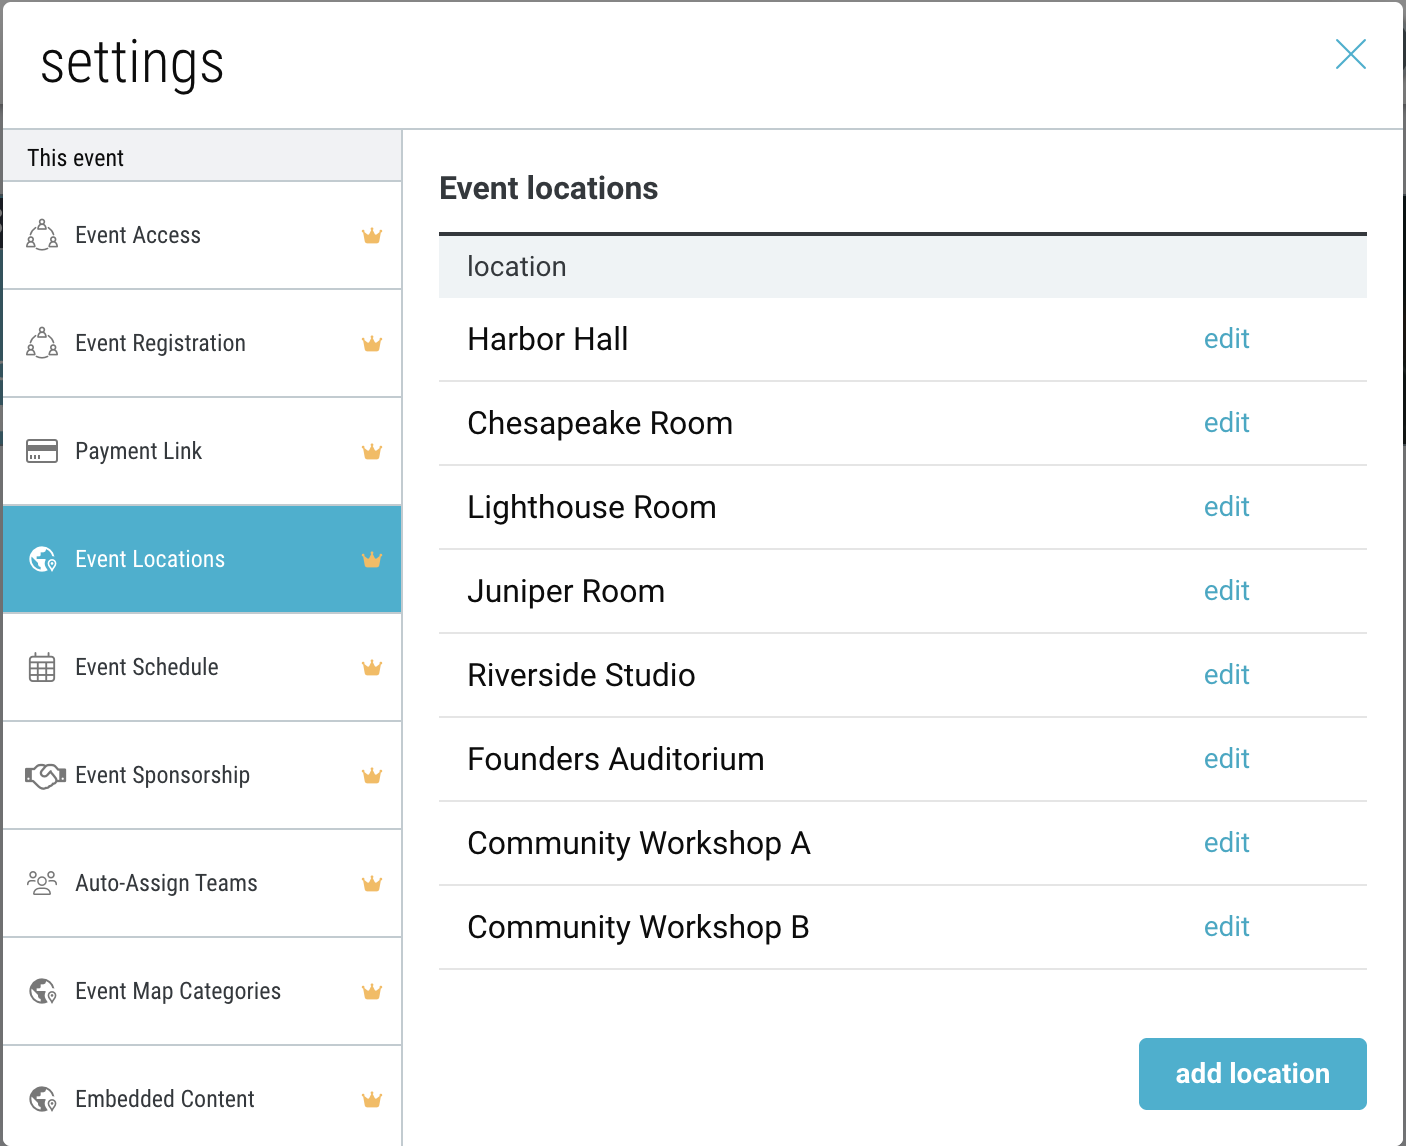
- Your locations correspond to rooms or areas where event sessions will be held, and they can be assigned during the session creation flow.
Create Event Sessions
- Within your Event or Track space, click the “+” menu and select “Session”.
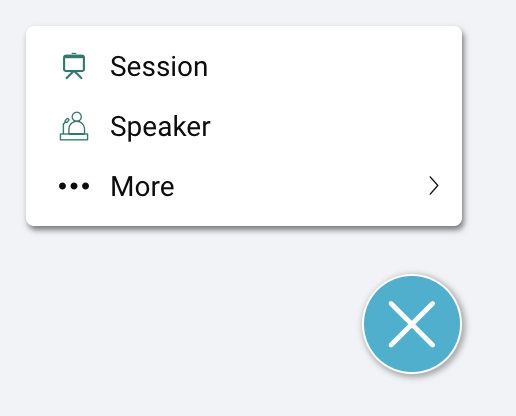
Note: sessions created in the top-level event space will be unassigned to a track. - Name the session and optionally give it a description.
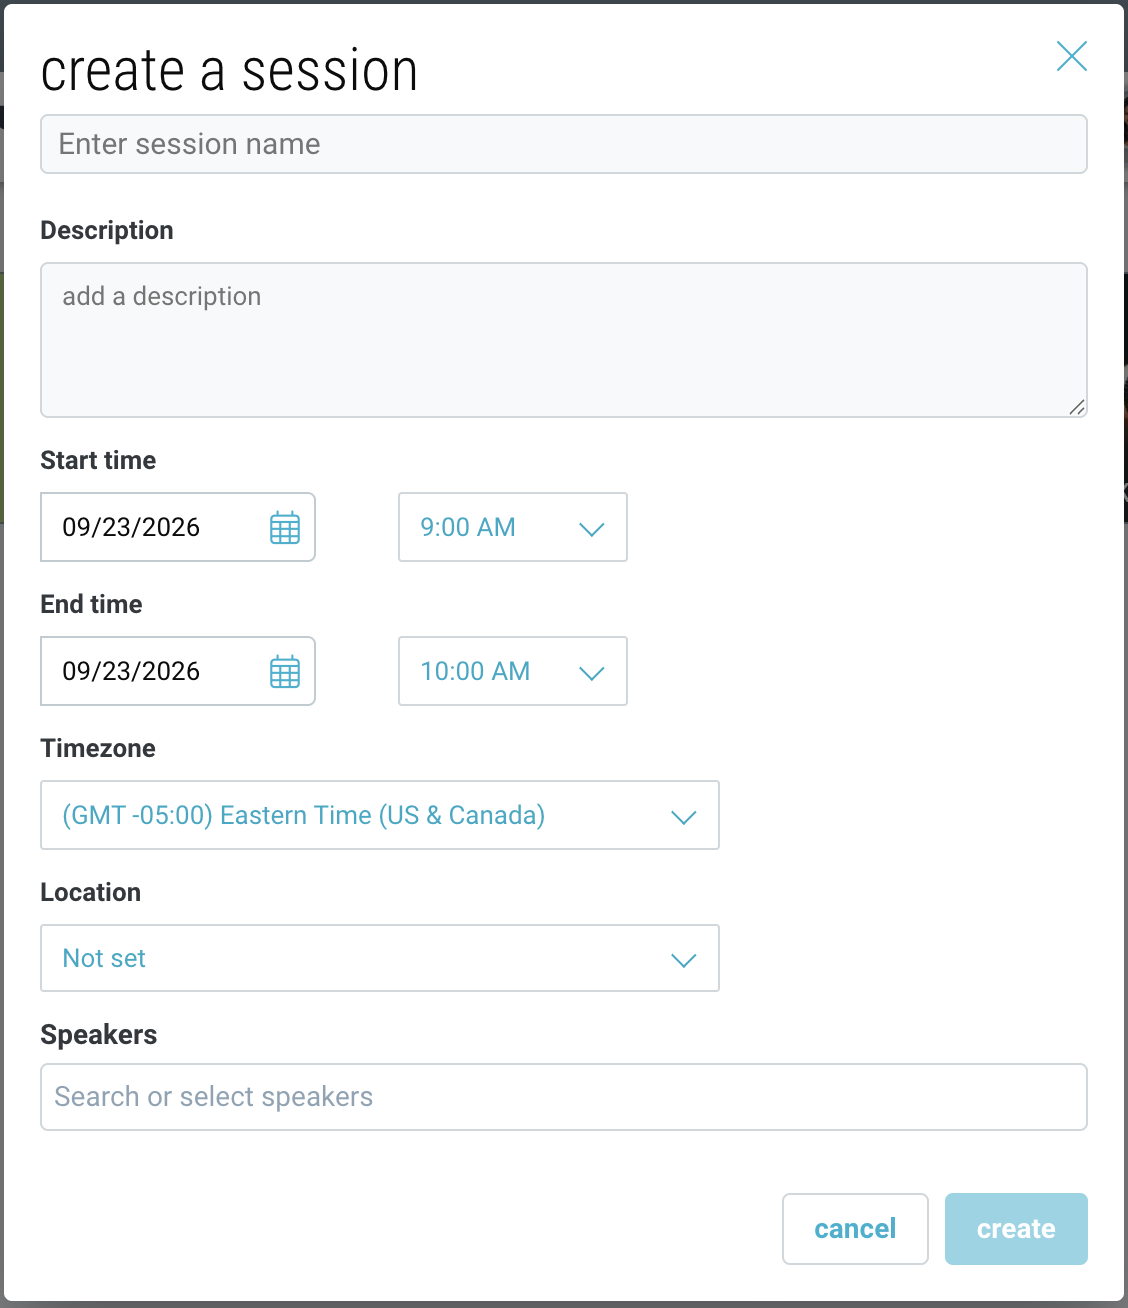
- Give your session a start and end time and date. Note: the timezone will default to the event timezone, which can be edited by going to Settings → “Event Schedule”.
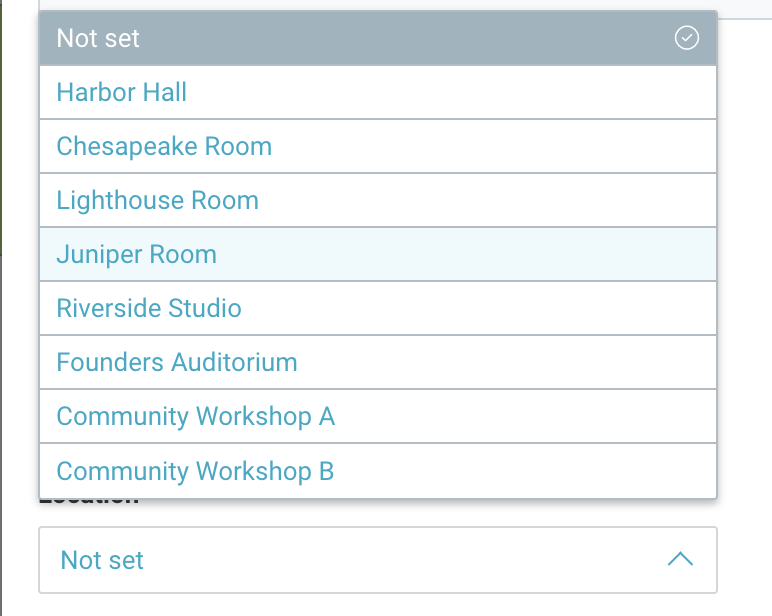
- Choose a location for the session. Note: to add new locations go to Settings → “Event Locations”.
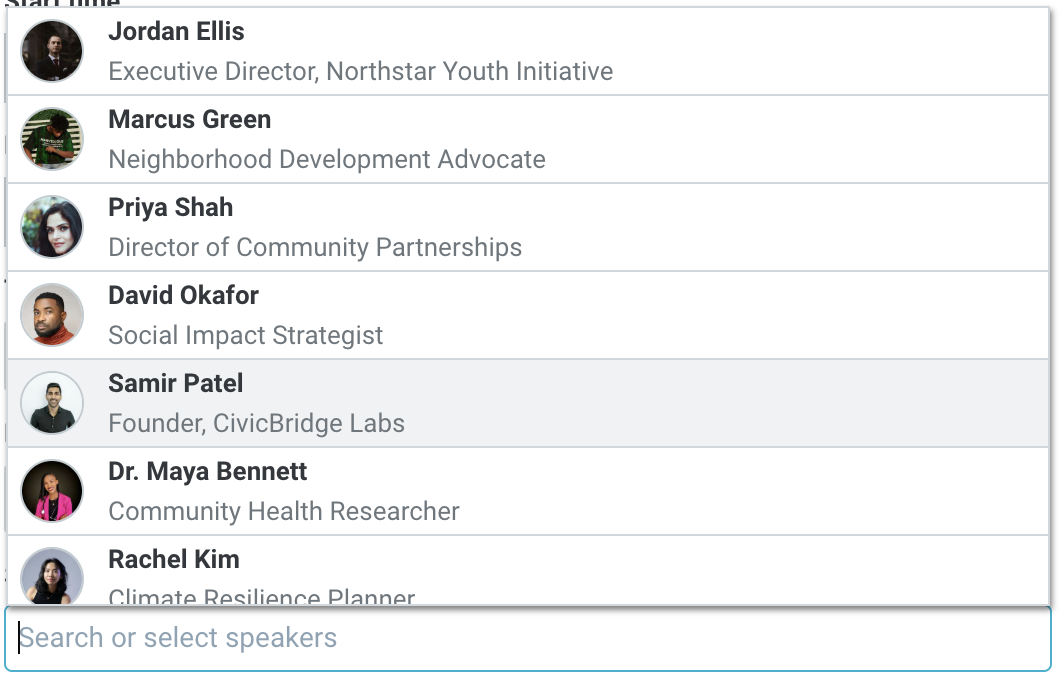
- Choose one or more speakers for the session. Note: to add new speakers, use the “+” menu.
- Click “save”. Your space will appear with the session icon in the upper-left corner.
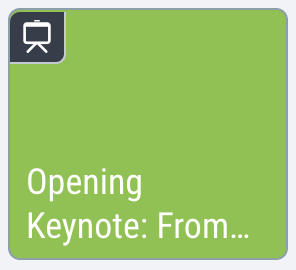
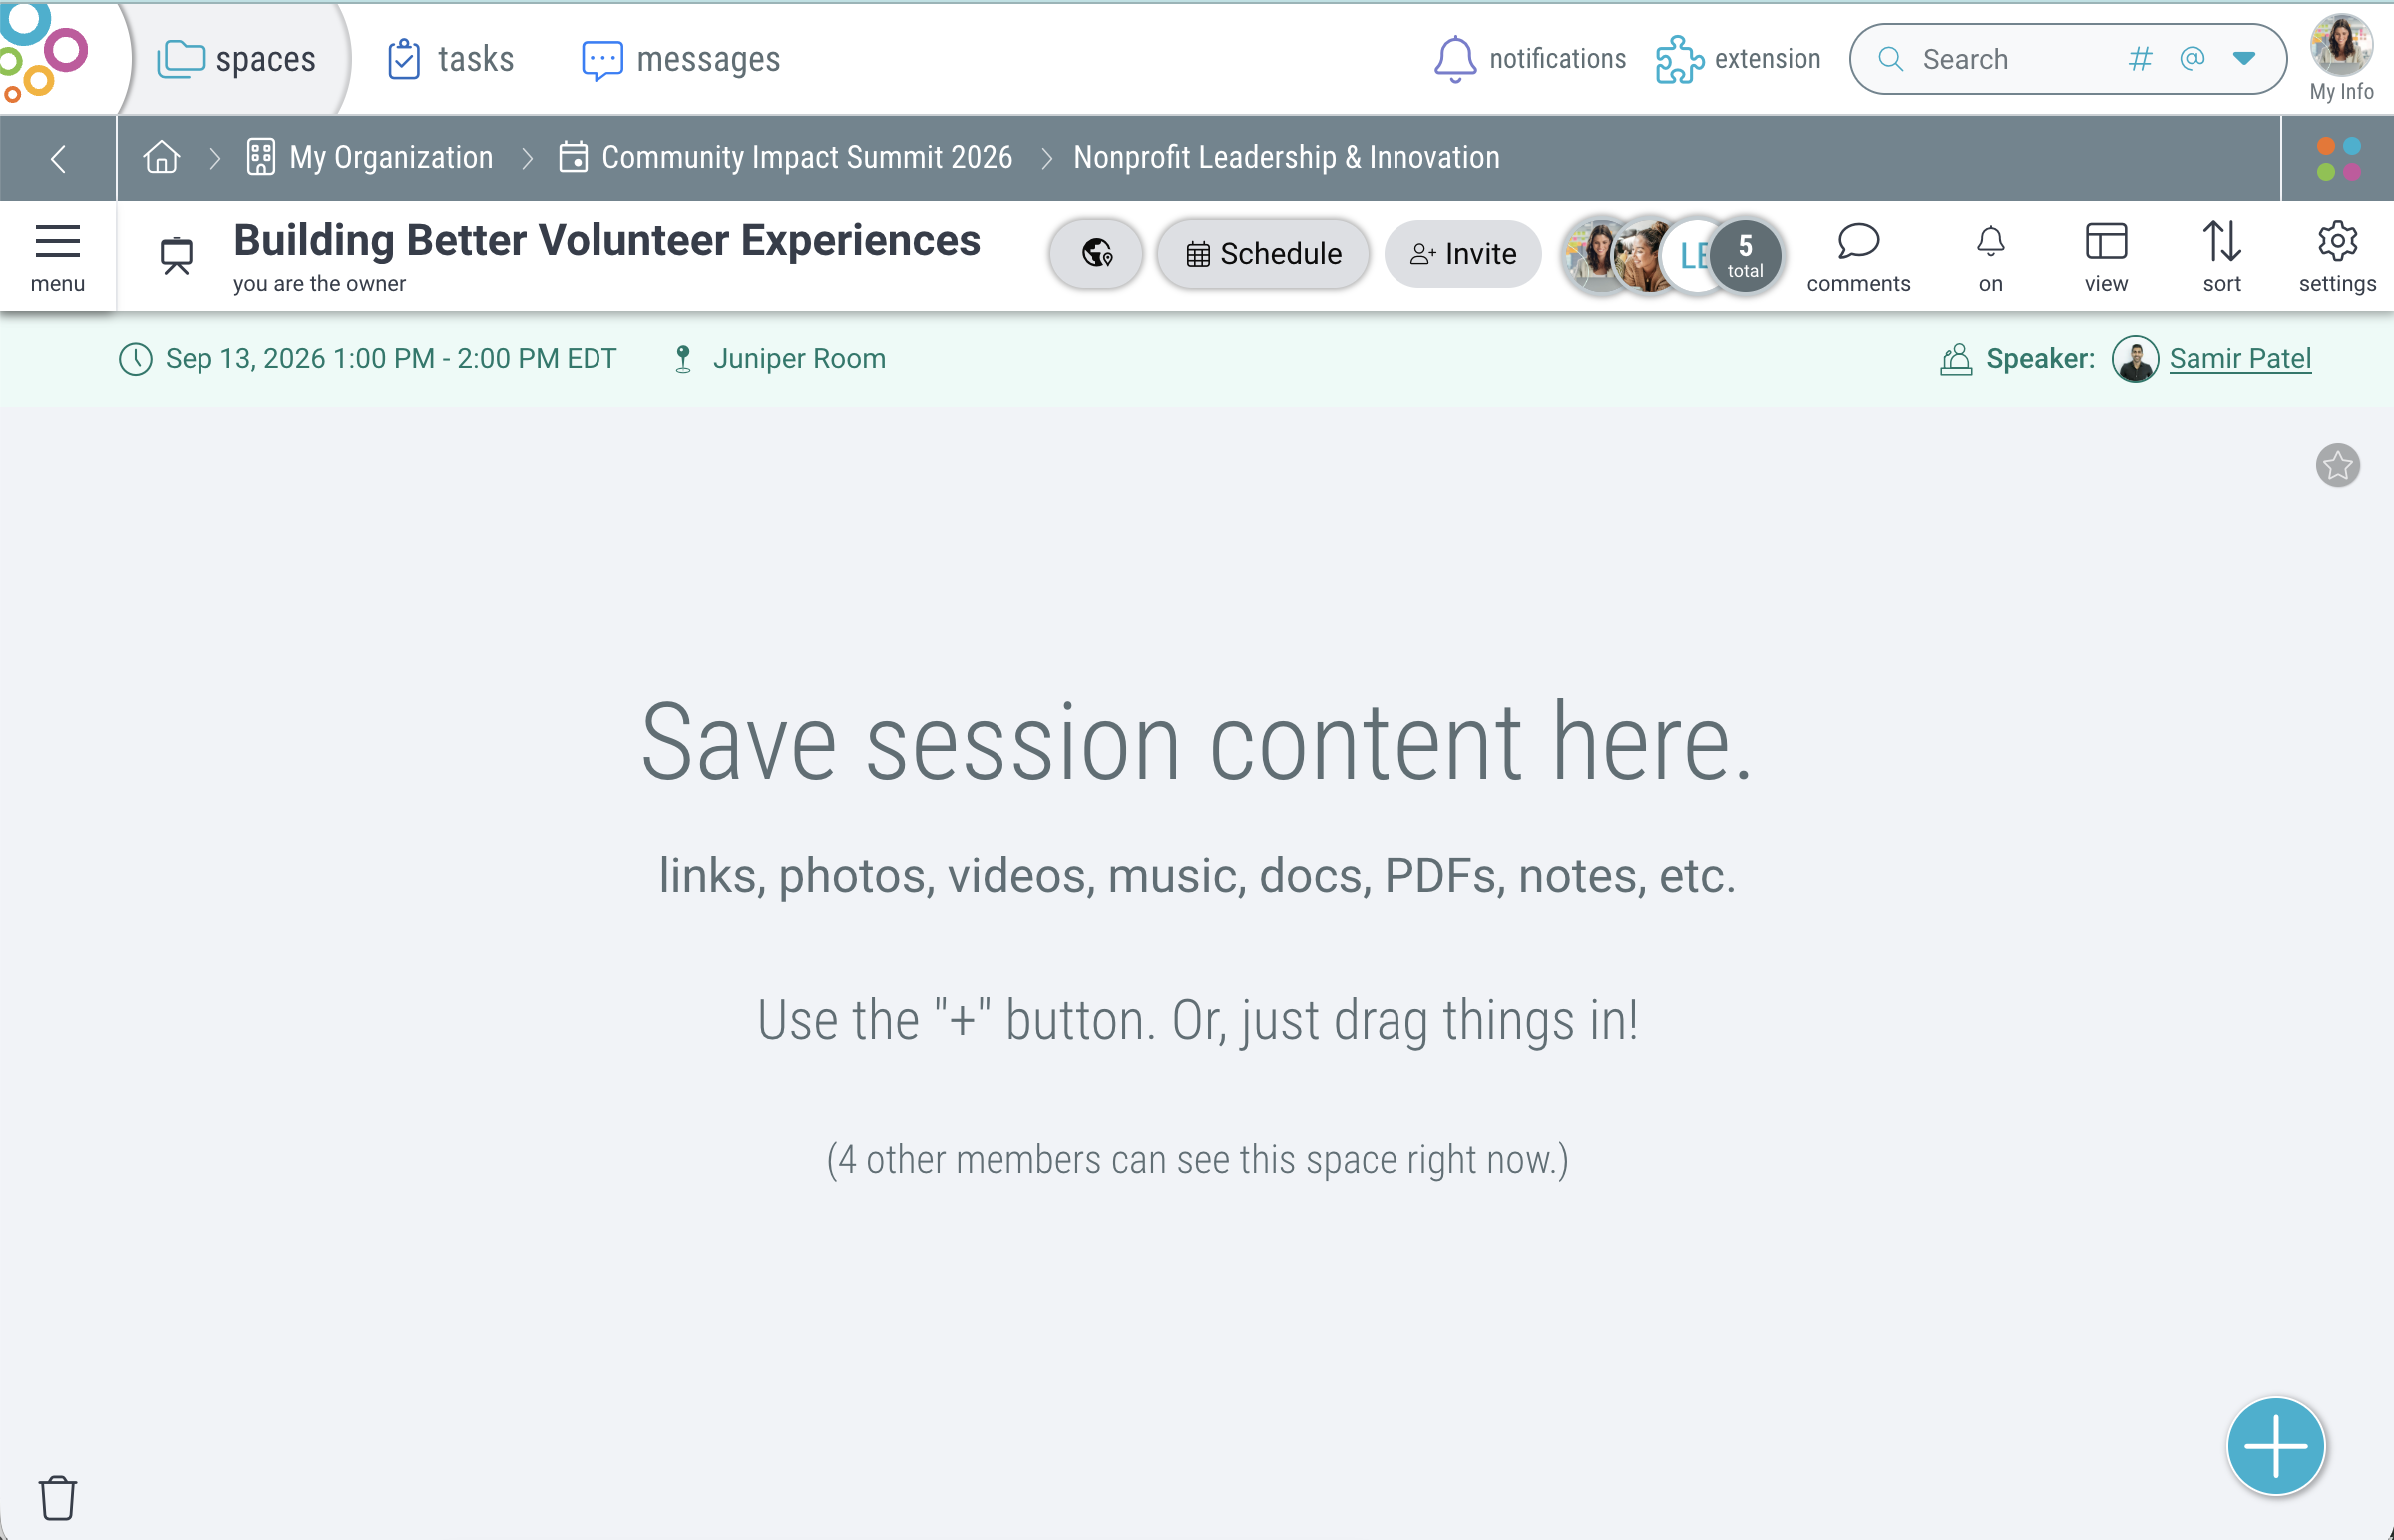
- Once the space is created, use the “+” menu to add any relevant session content, such as slideshows, PDFs, links, etc.
View & Filter Event Schedule
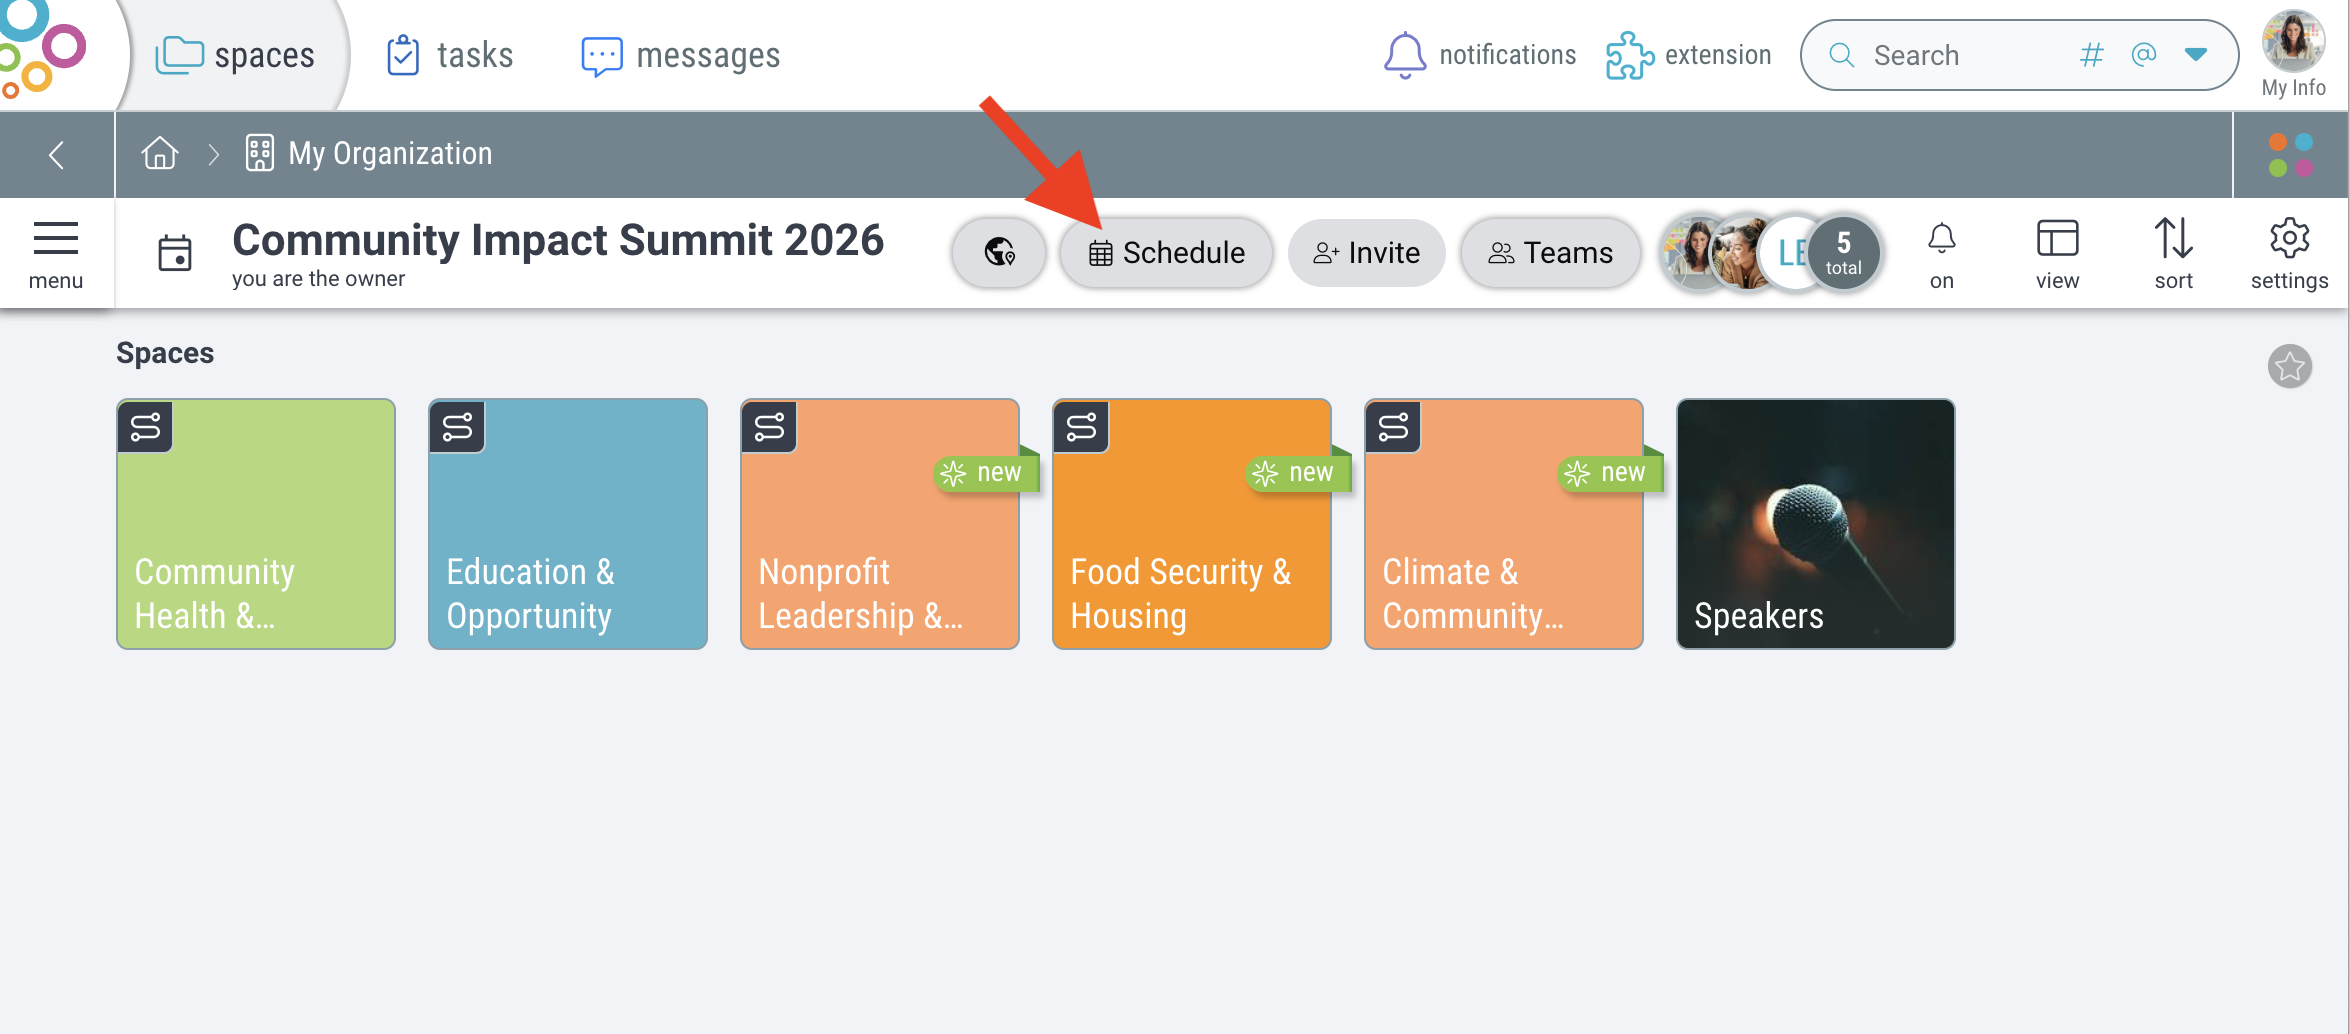
- Within your Event space, click the “Schedule” button.
- Here attendees can view all of the event sessions, organized by day and track.
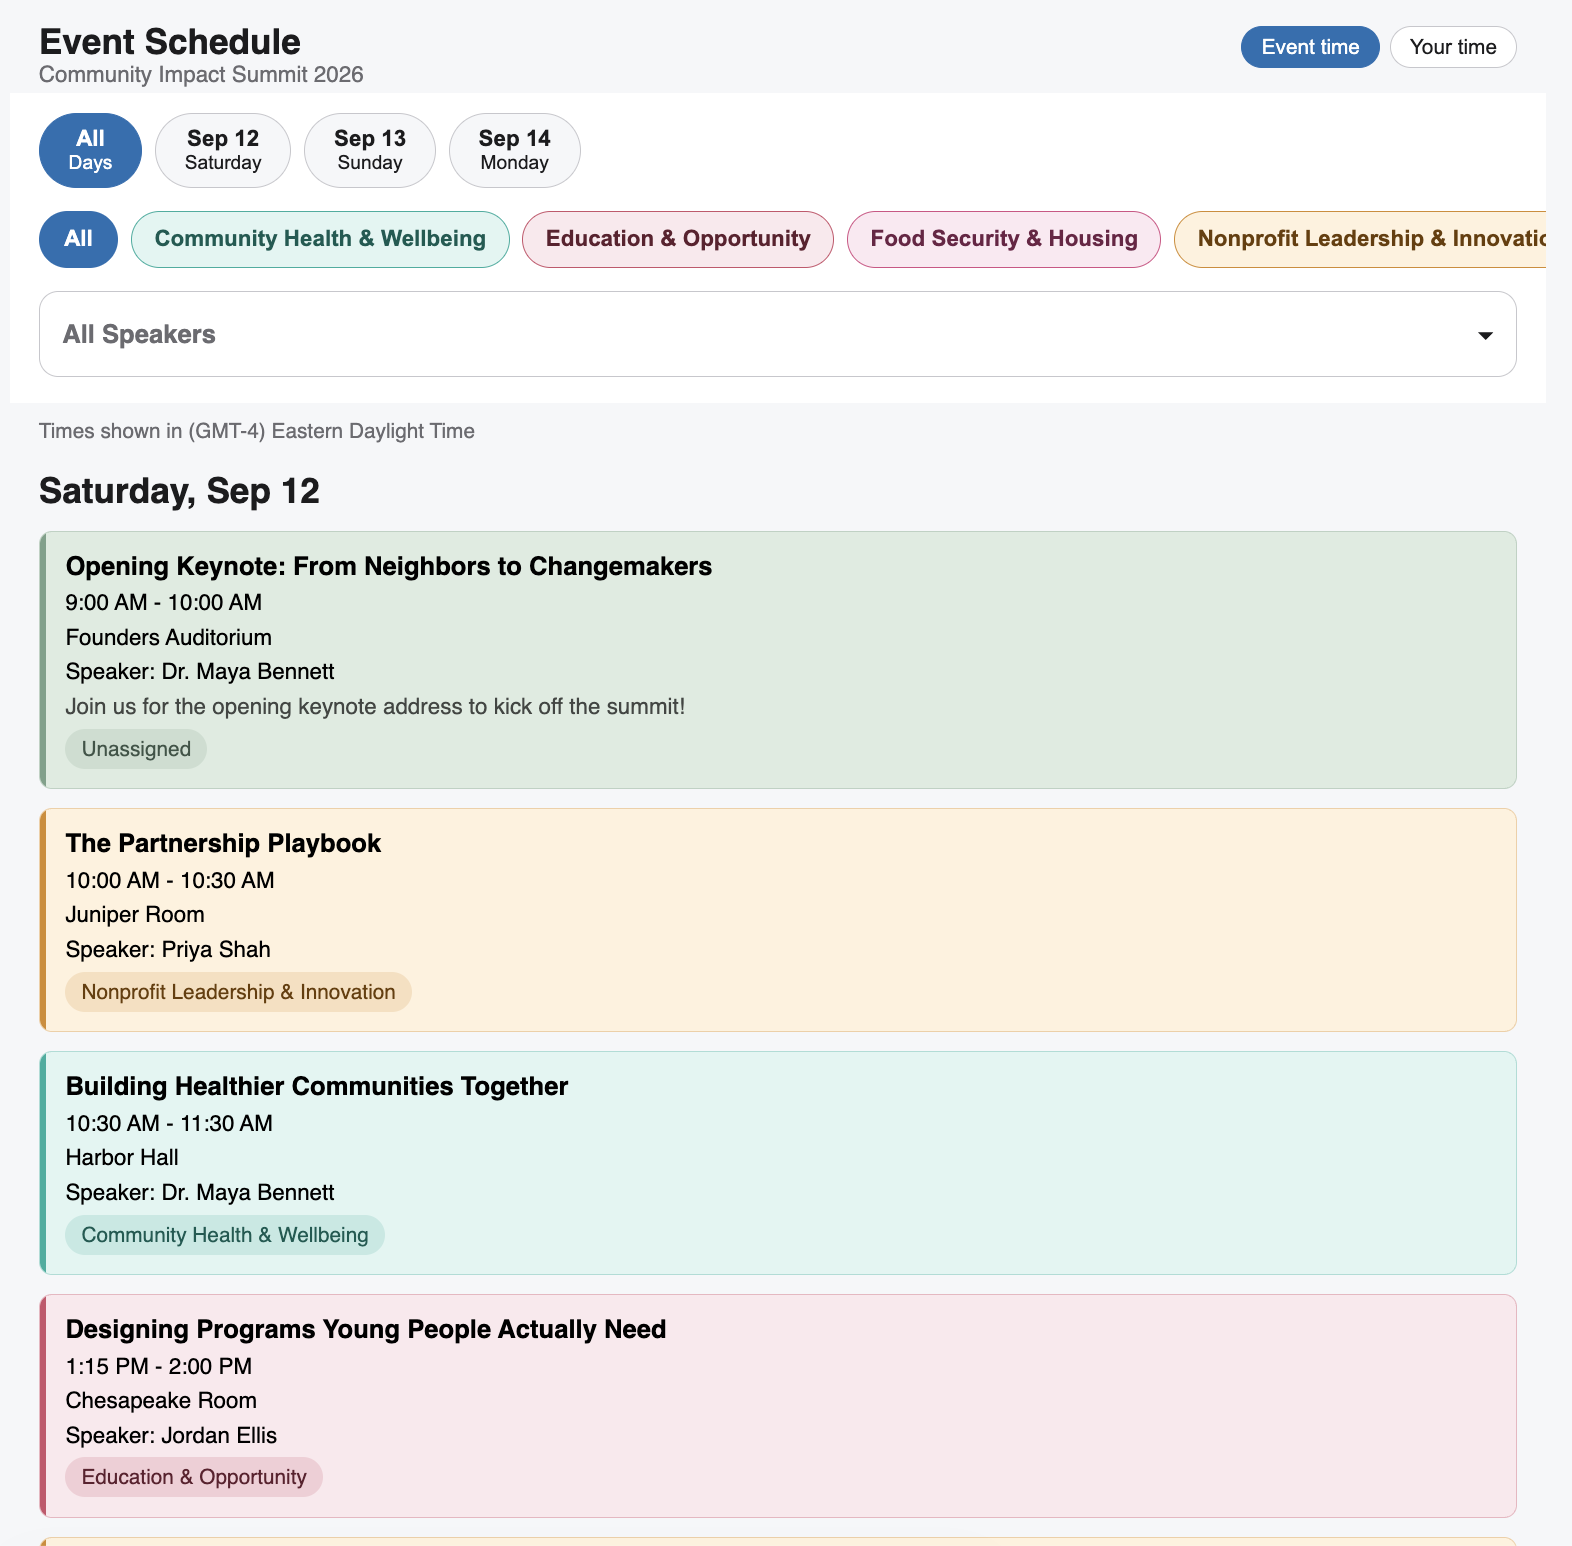
- To filter by a particular day, click the date badge at the top.
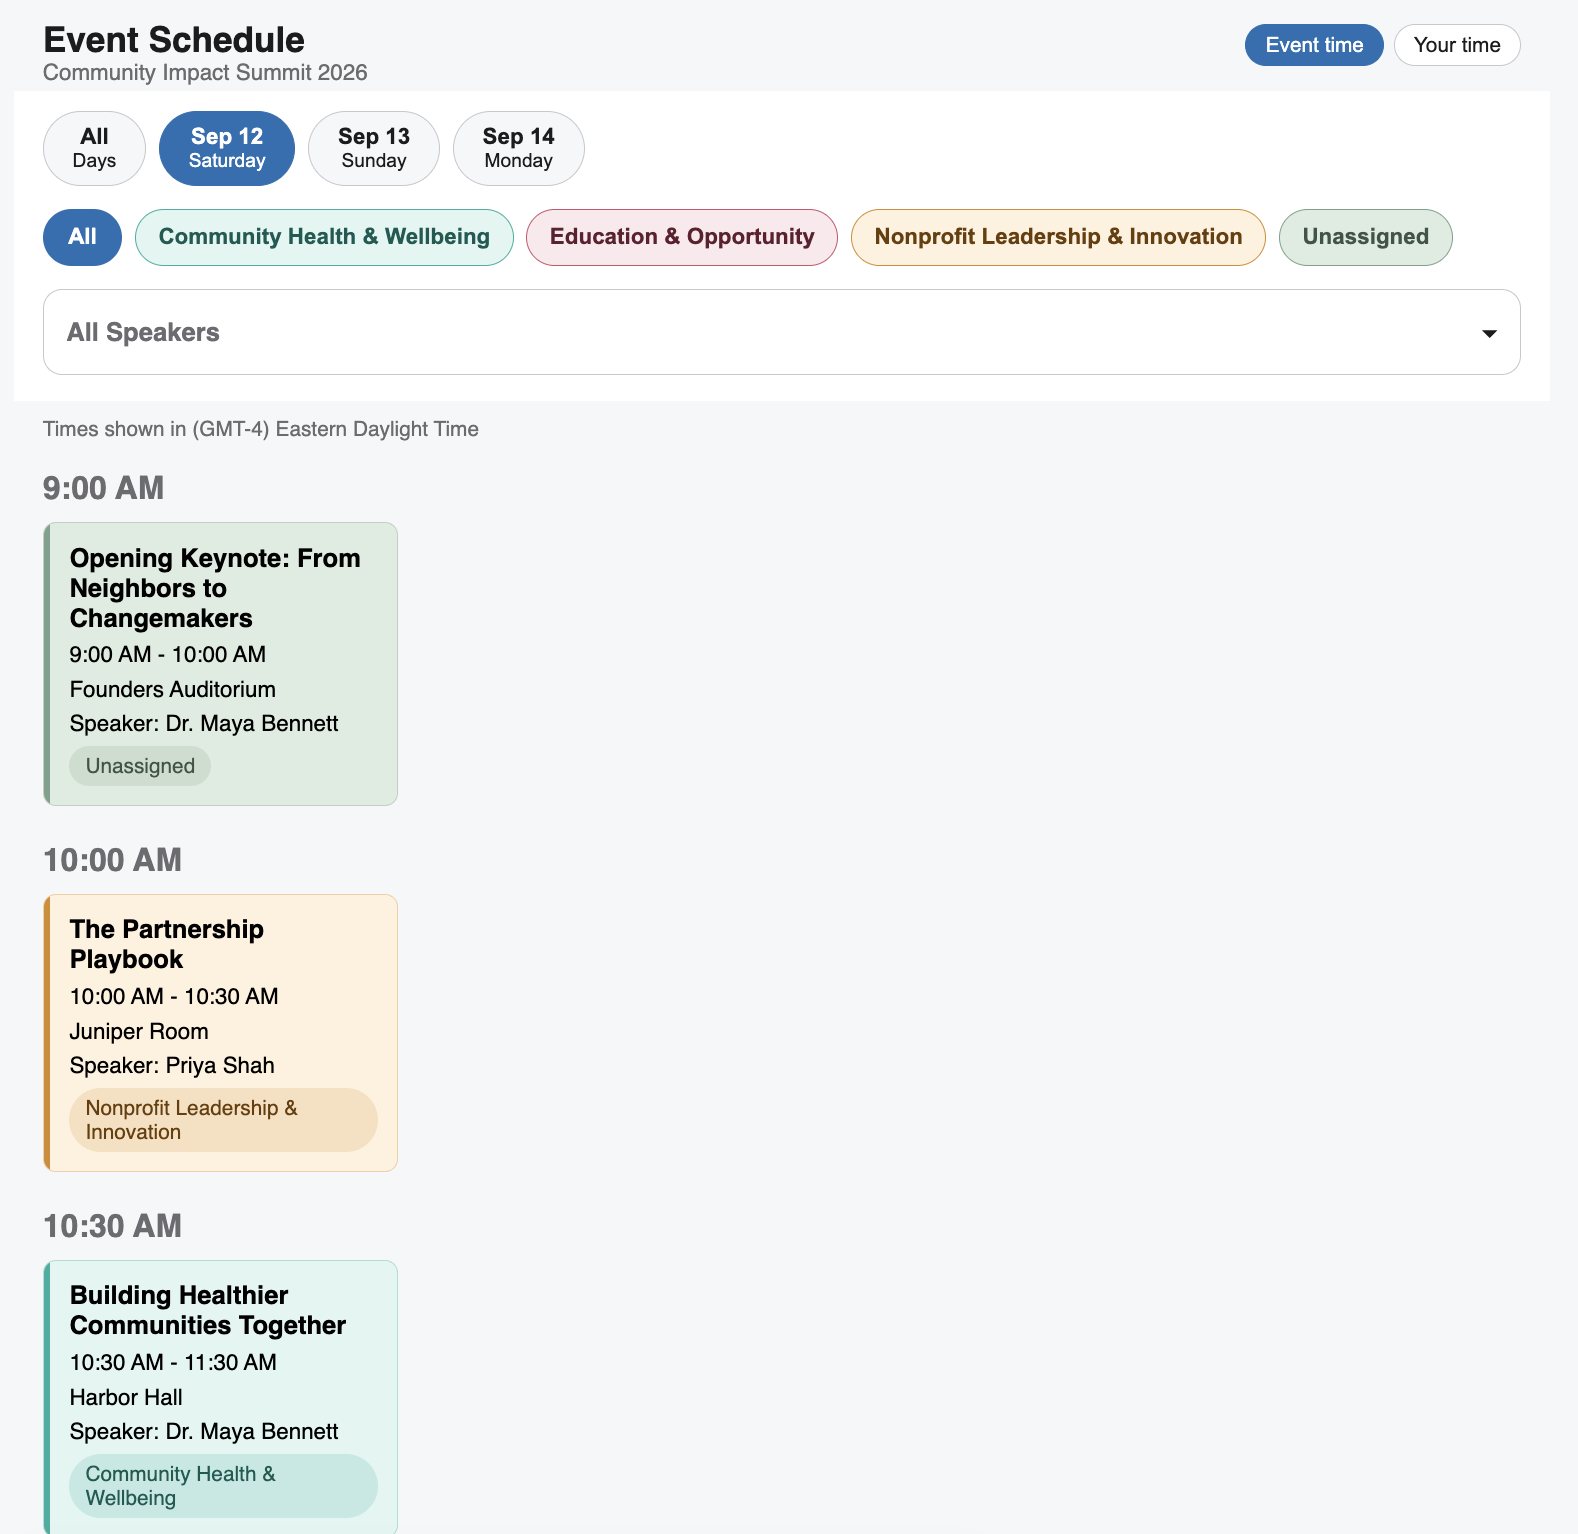
- To filter by a particular track or tracks, click on those tracks’ badges at the top.
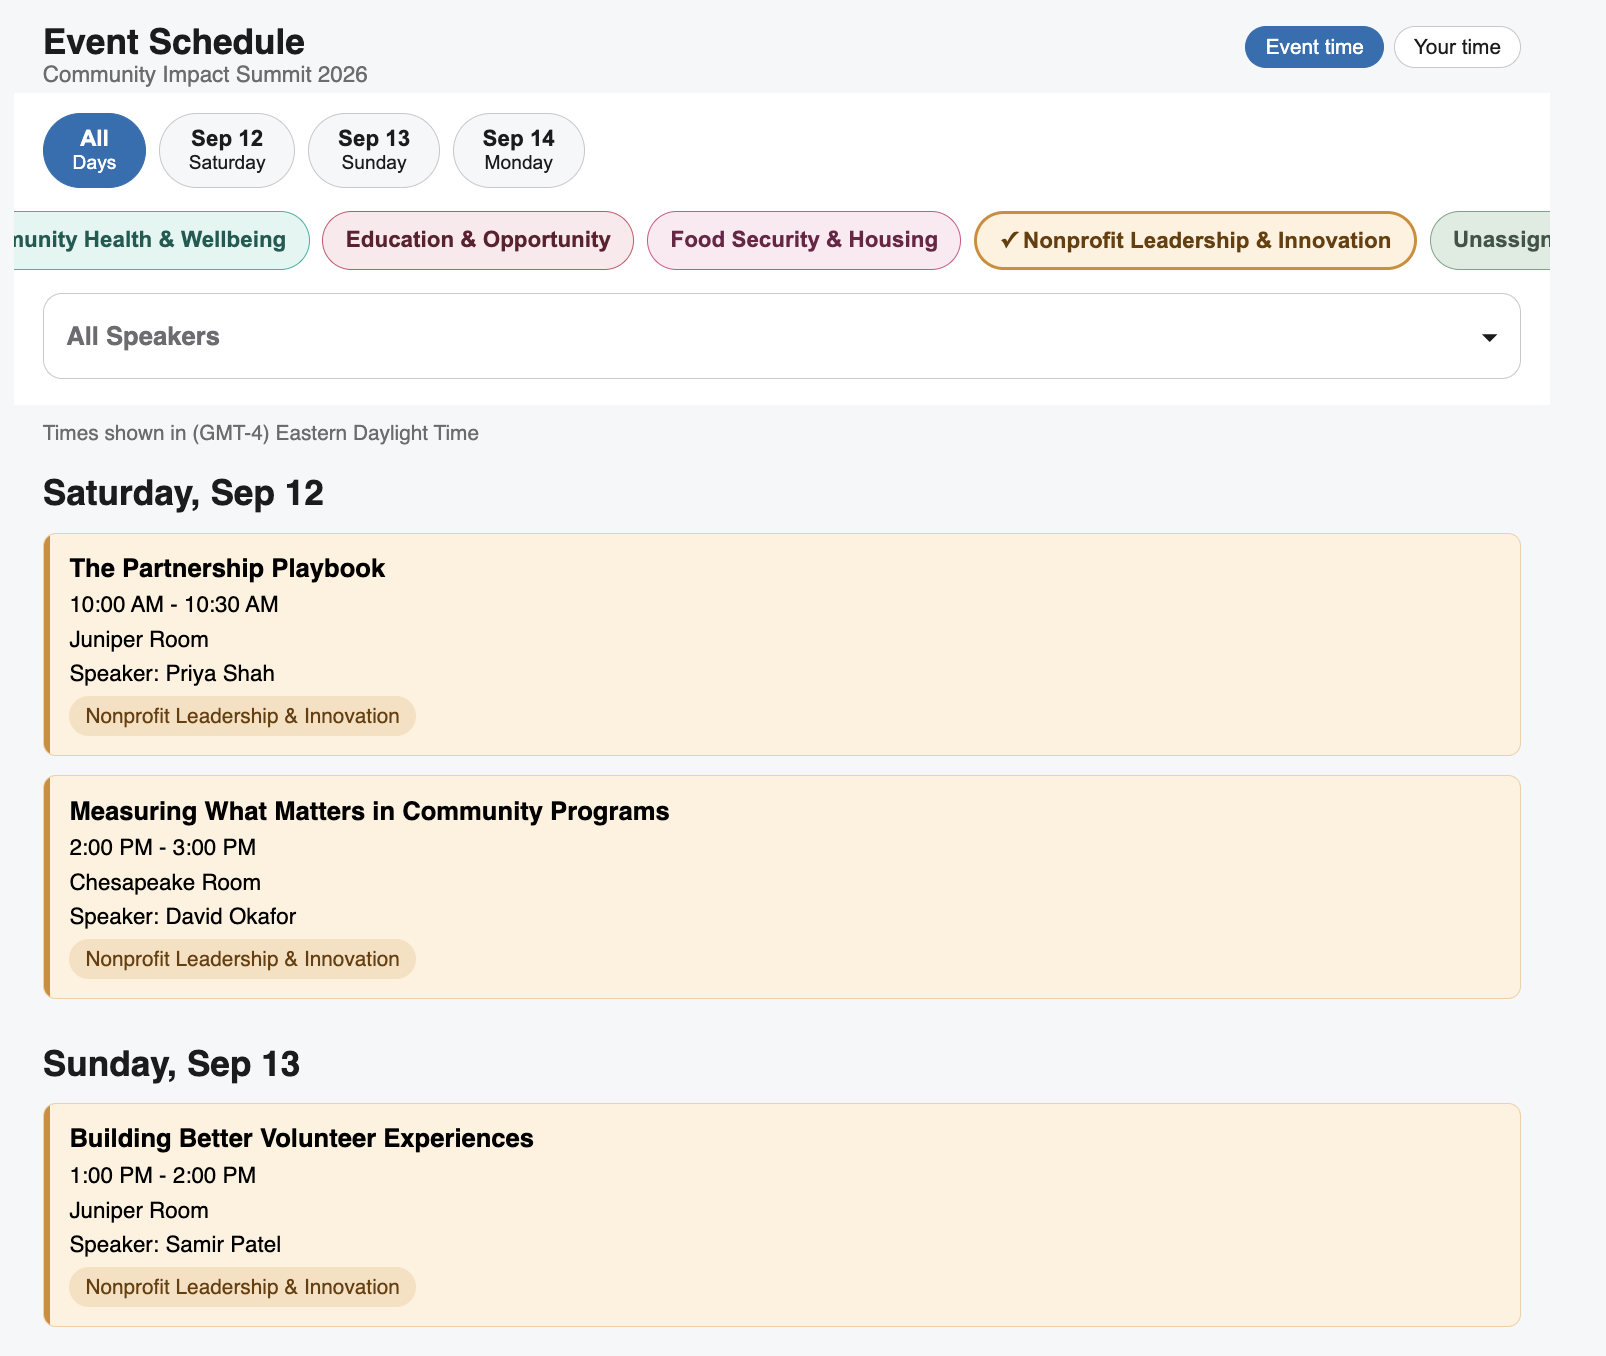
- To filter by a particular speaker, click on “All Speakers” and select the speaker you are interested in.
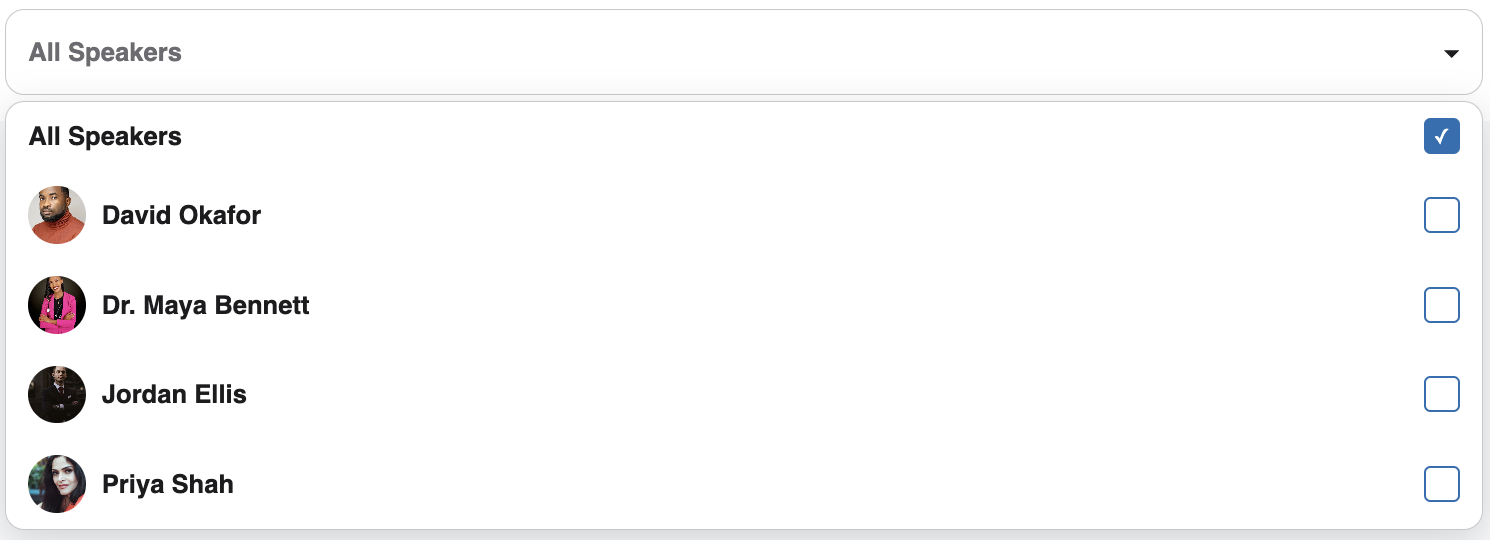
- Click on a session to view its details.
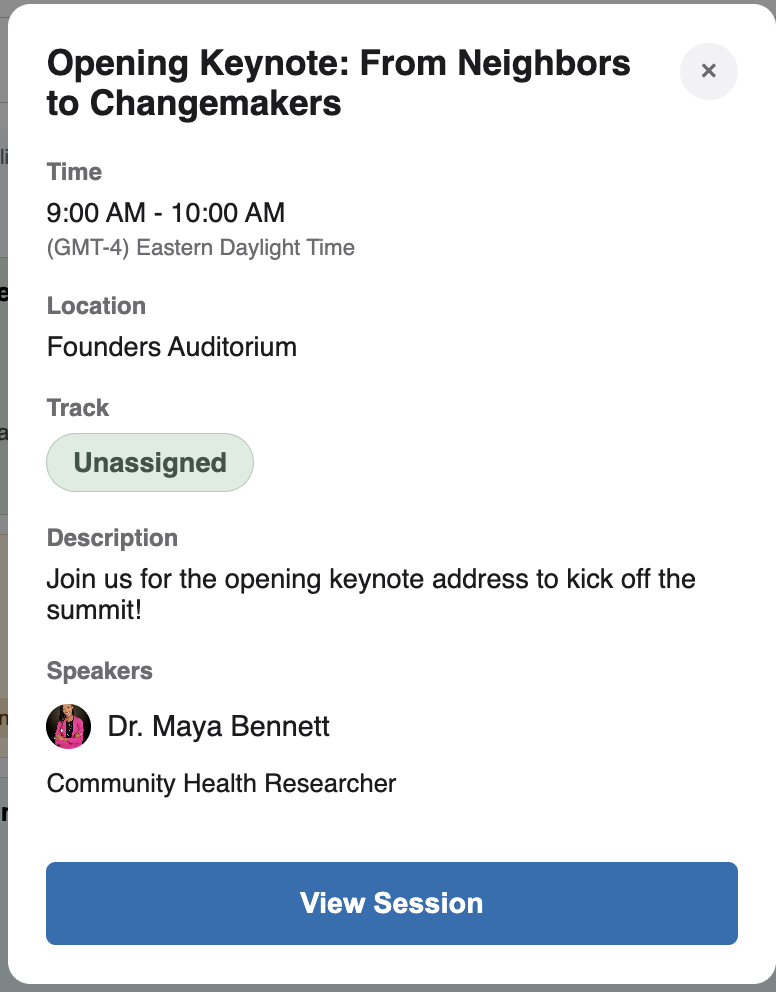
To control who has access to view the Event’s schedule (agenda) link, go to Settings → “Event Schedule”.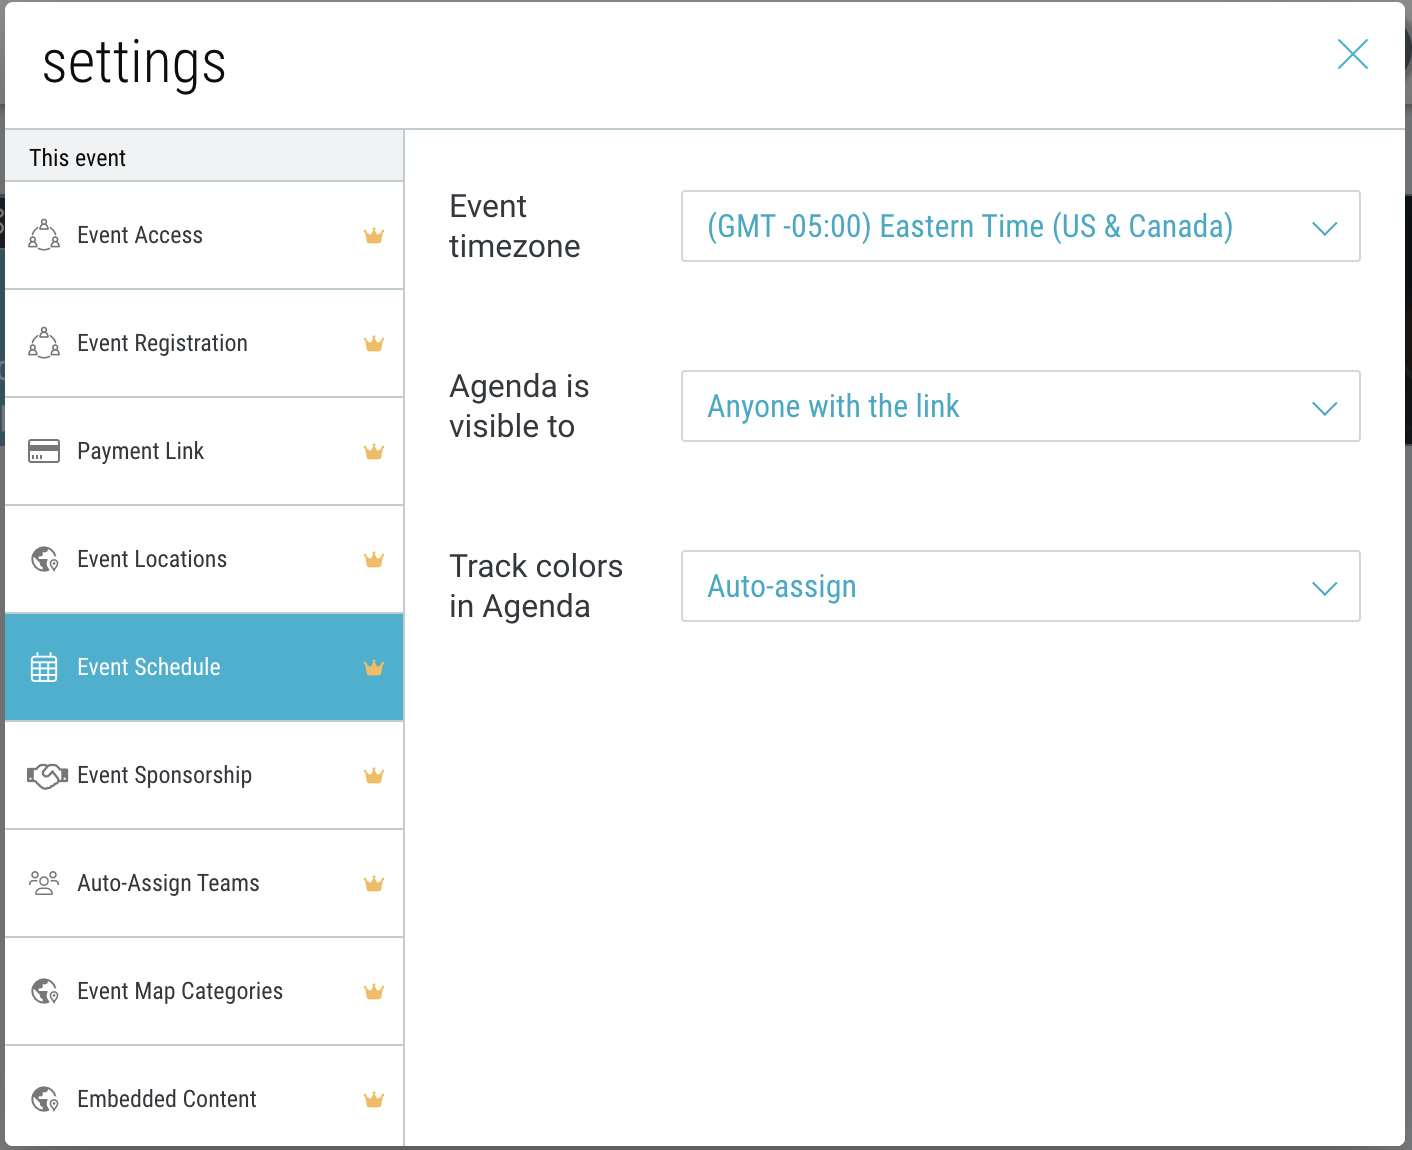
Restricting Event Access
- Within the Event space, go to Settings → “Event Access”.
- Toggle on this feature to require admin approval for anyone attempting to register for the event.
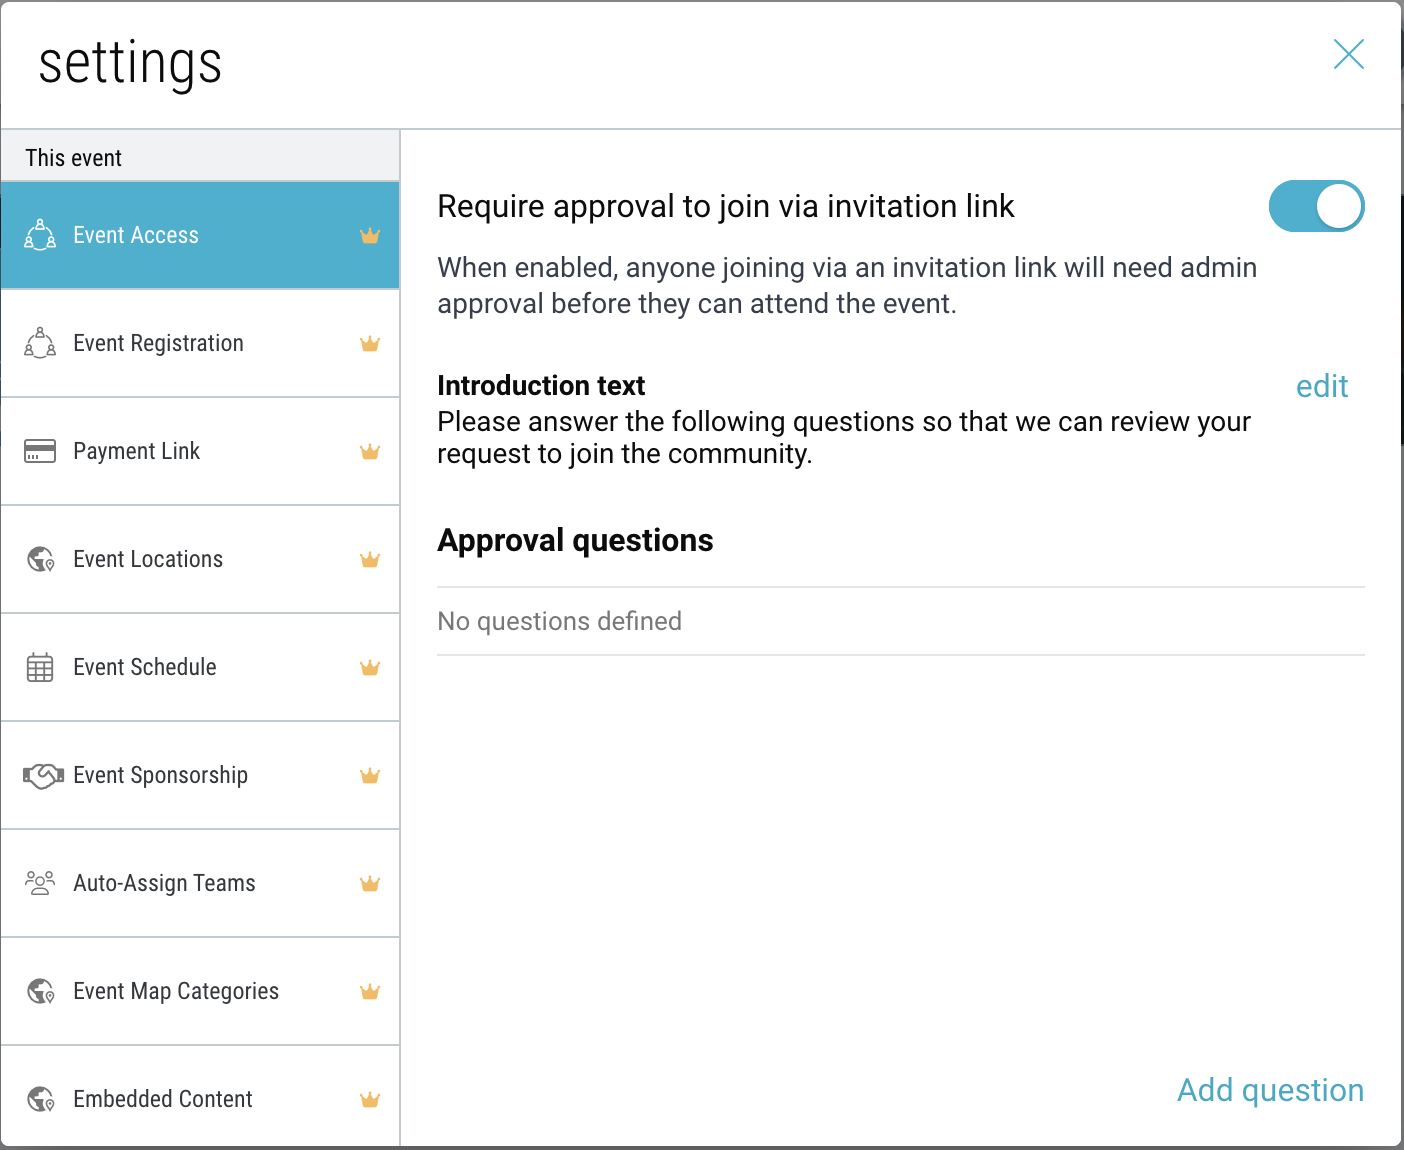
- Click “Add question” to define questions for people to answer to prior to registration approval.
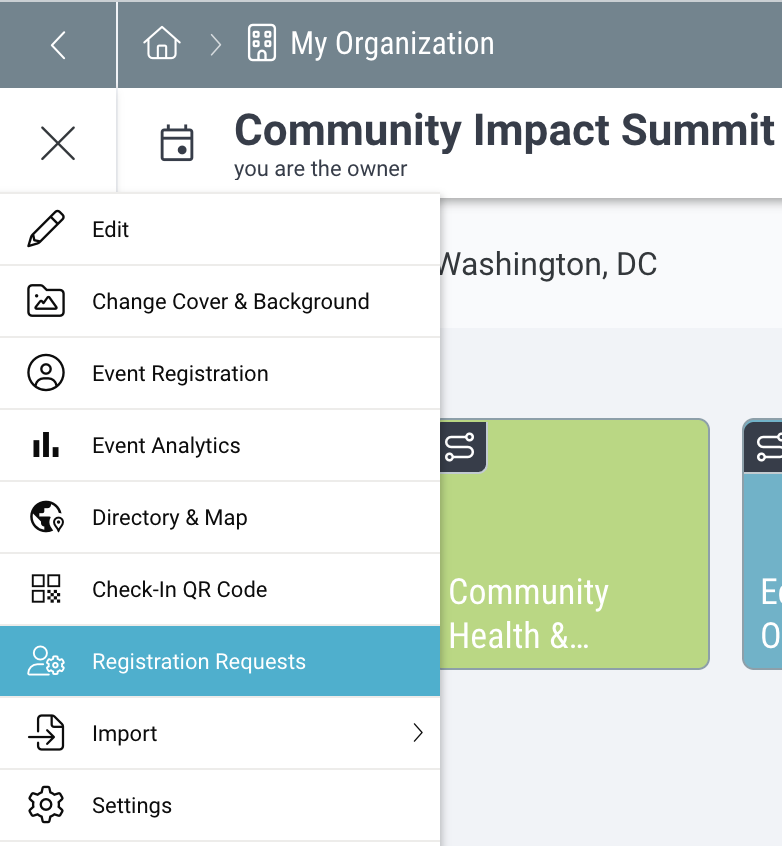
- As an Event admin, open the ☰ menu and click “Registration Requests” to monitor and approve all requests.
Event Registration & Payment
Collection Attendee Information
Collect information from event attendees when they register for the event. Within the Event space, go to Settings → “Event Registration”.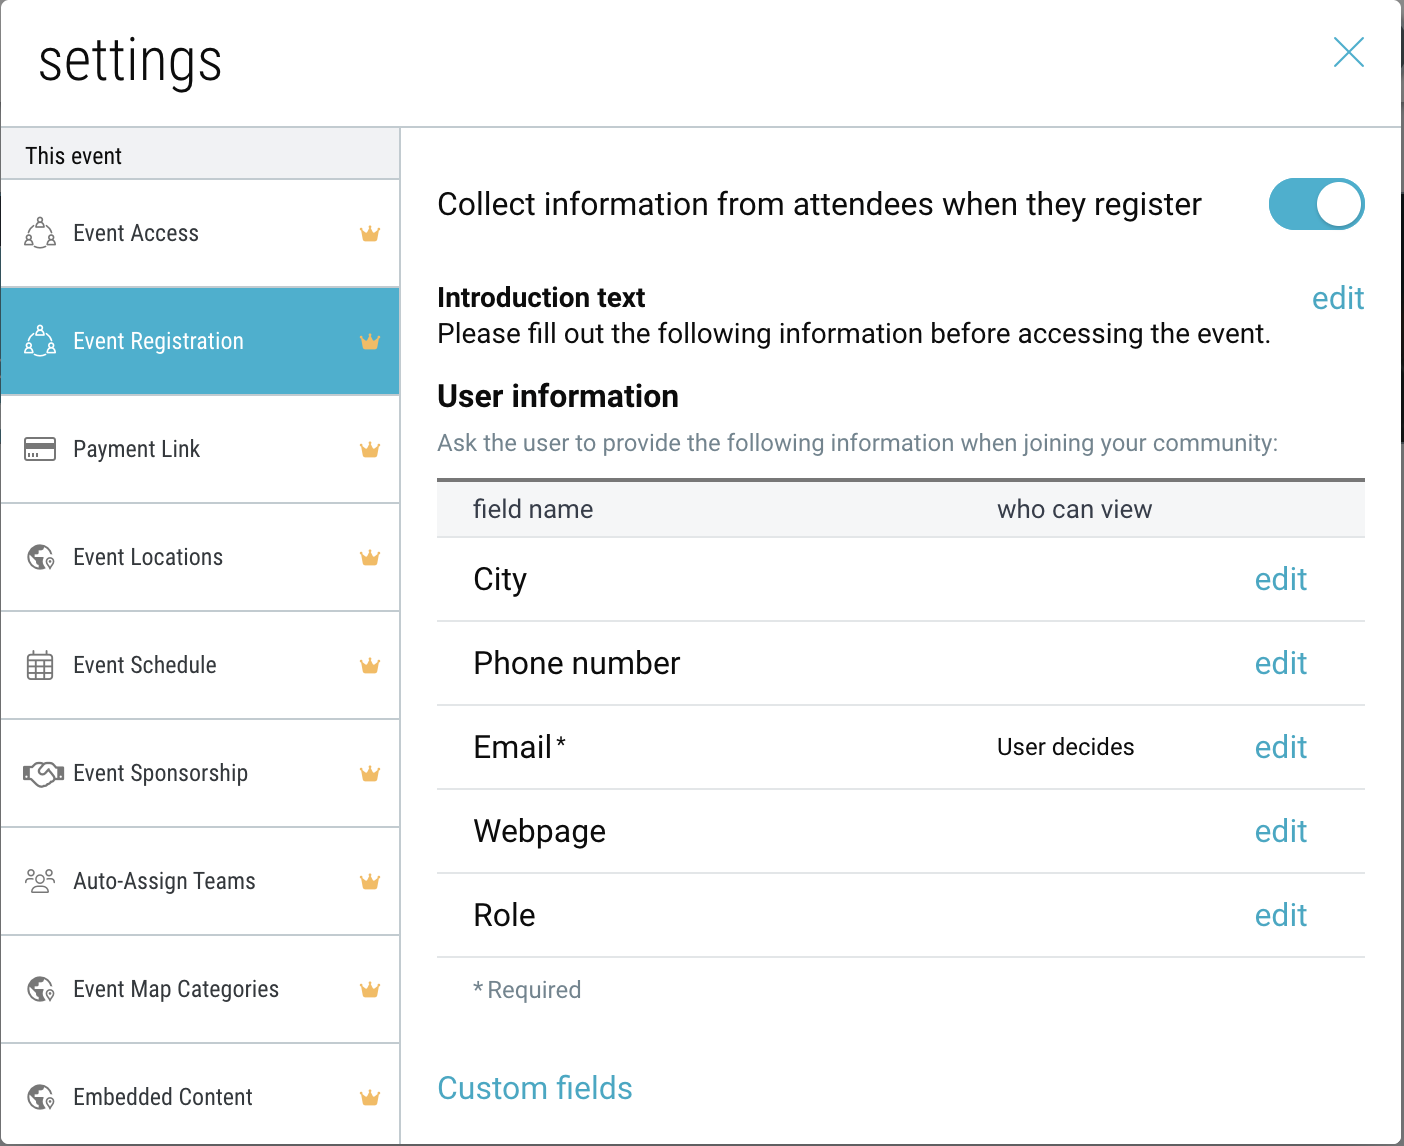
Set Up an Event Payment Link
- First, navigate to your Organization space and go to Settings → “Payments Integration”. Follow the steps outlined to set up your Stripe account.
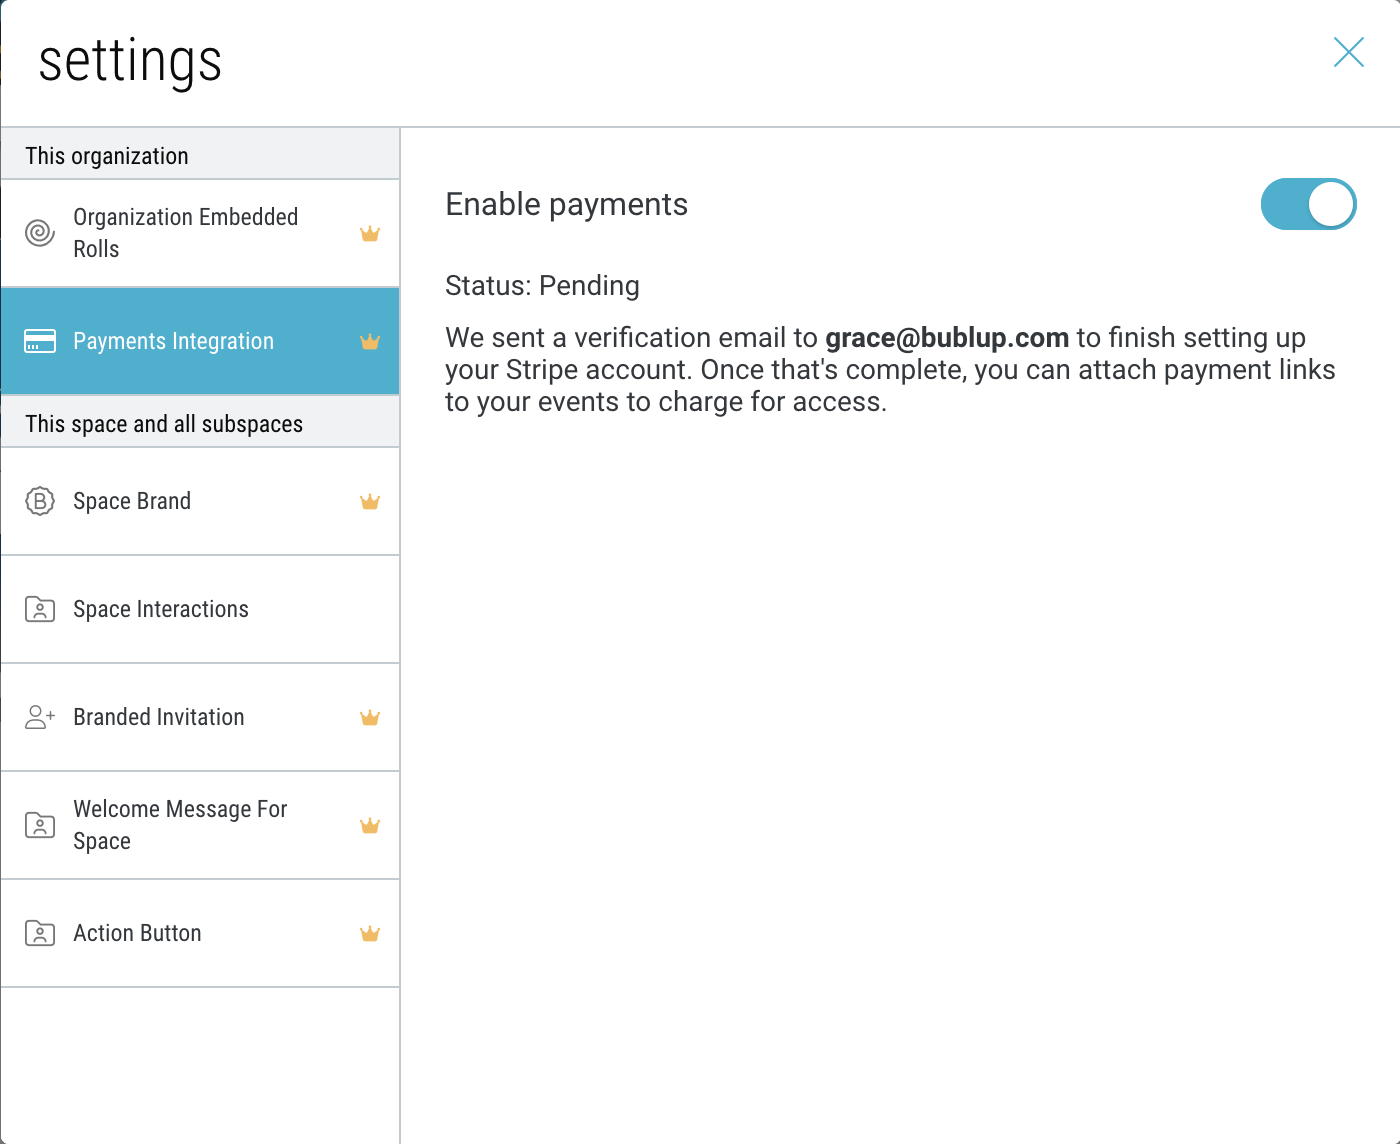
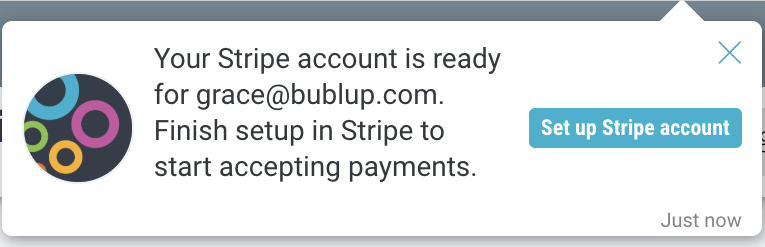
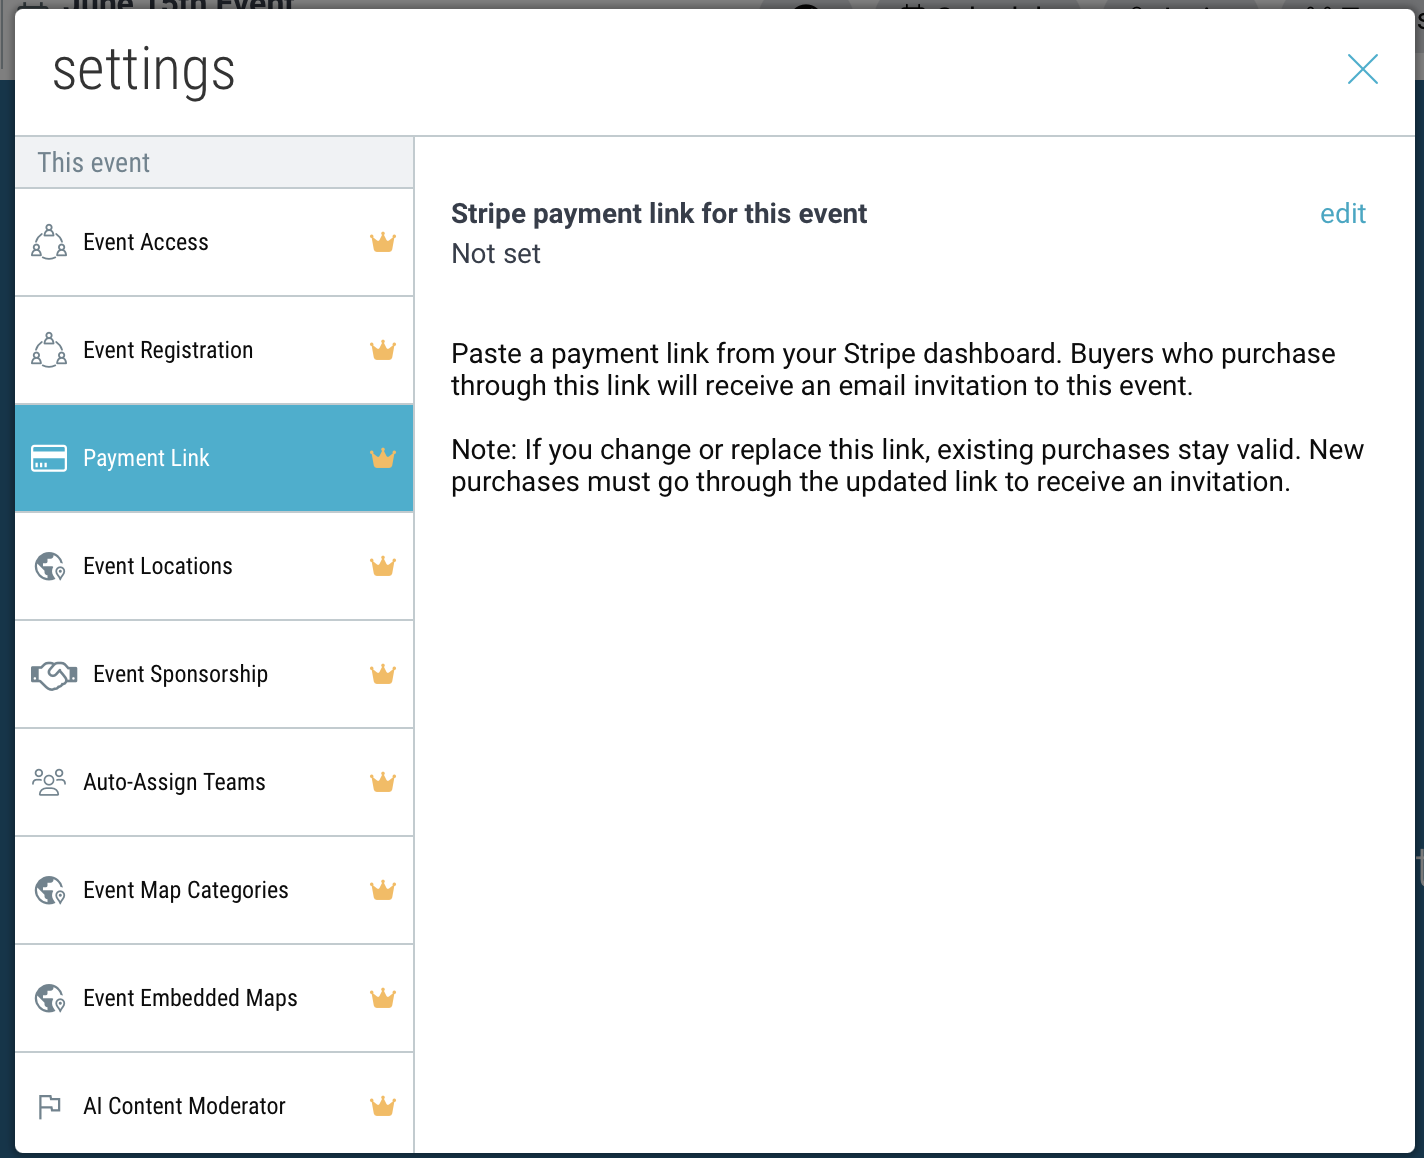
- Once your Stripe is integrated with Bublup, return to your Event space and go to Settings → “Payments Integration”. Then paste the payment link you wish to use for this Event registration.
Event Branding & Sponsorship
Event & Organization Branding
- First, create a Brand for your Organization. Go to My Info → “My Brands” to customize your brand.
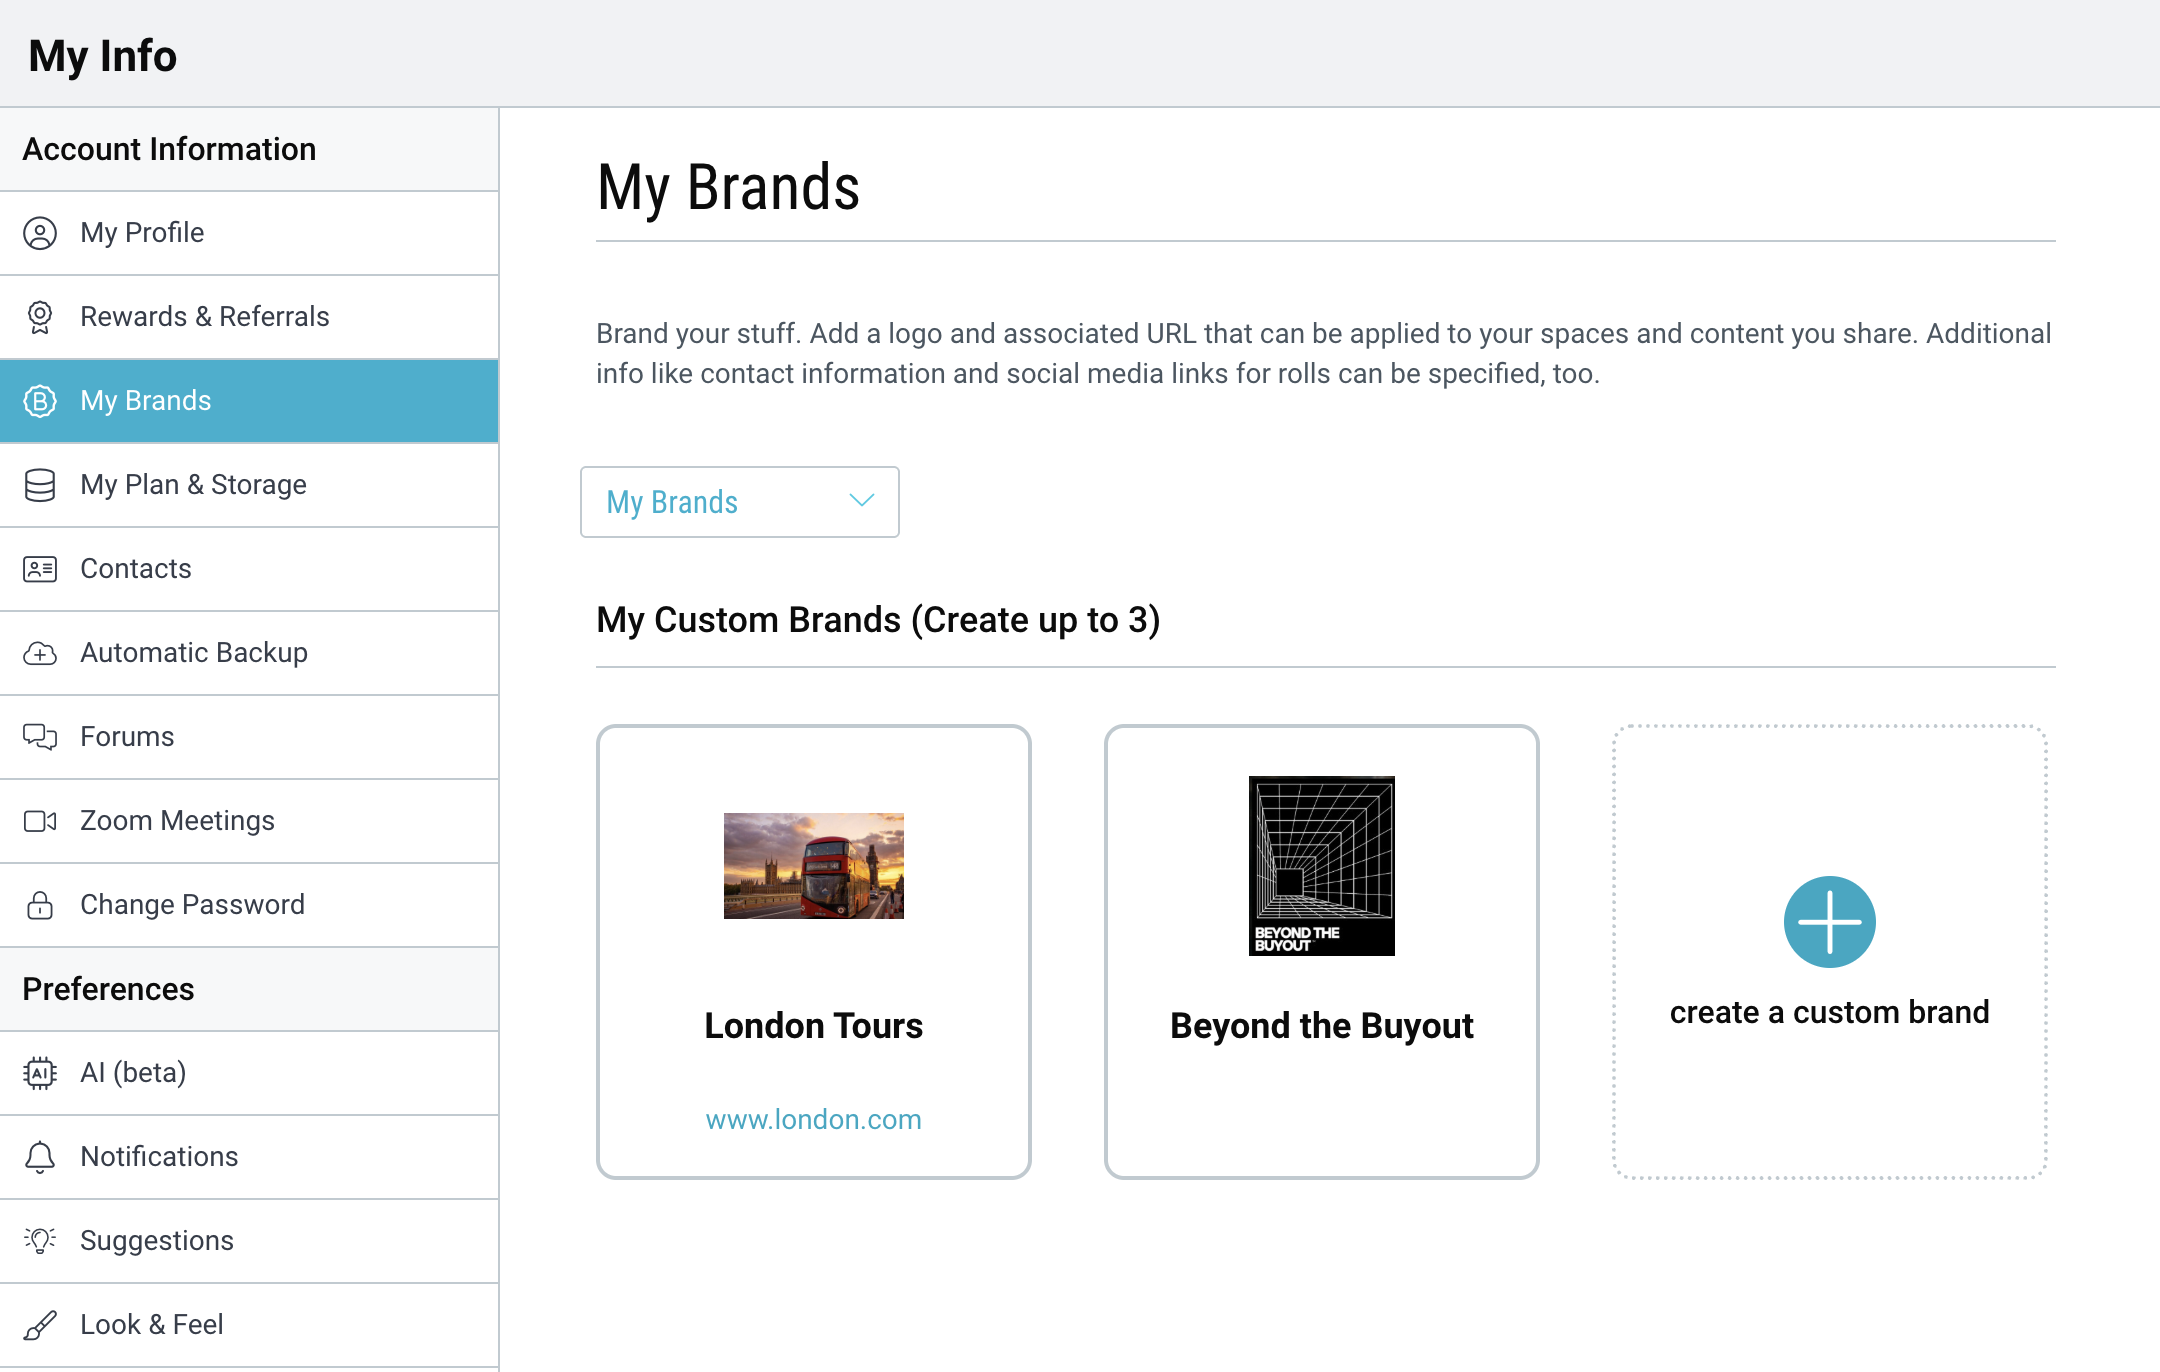
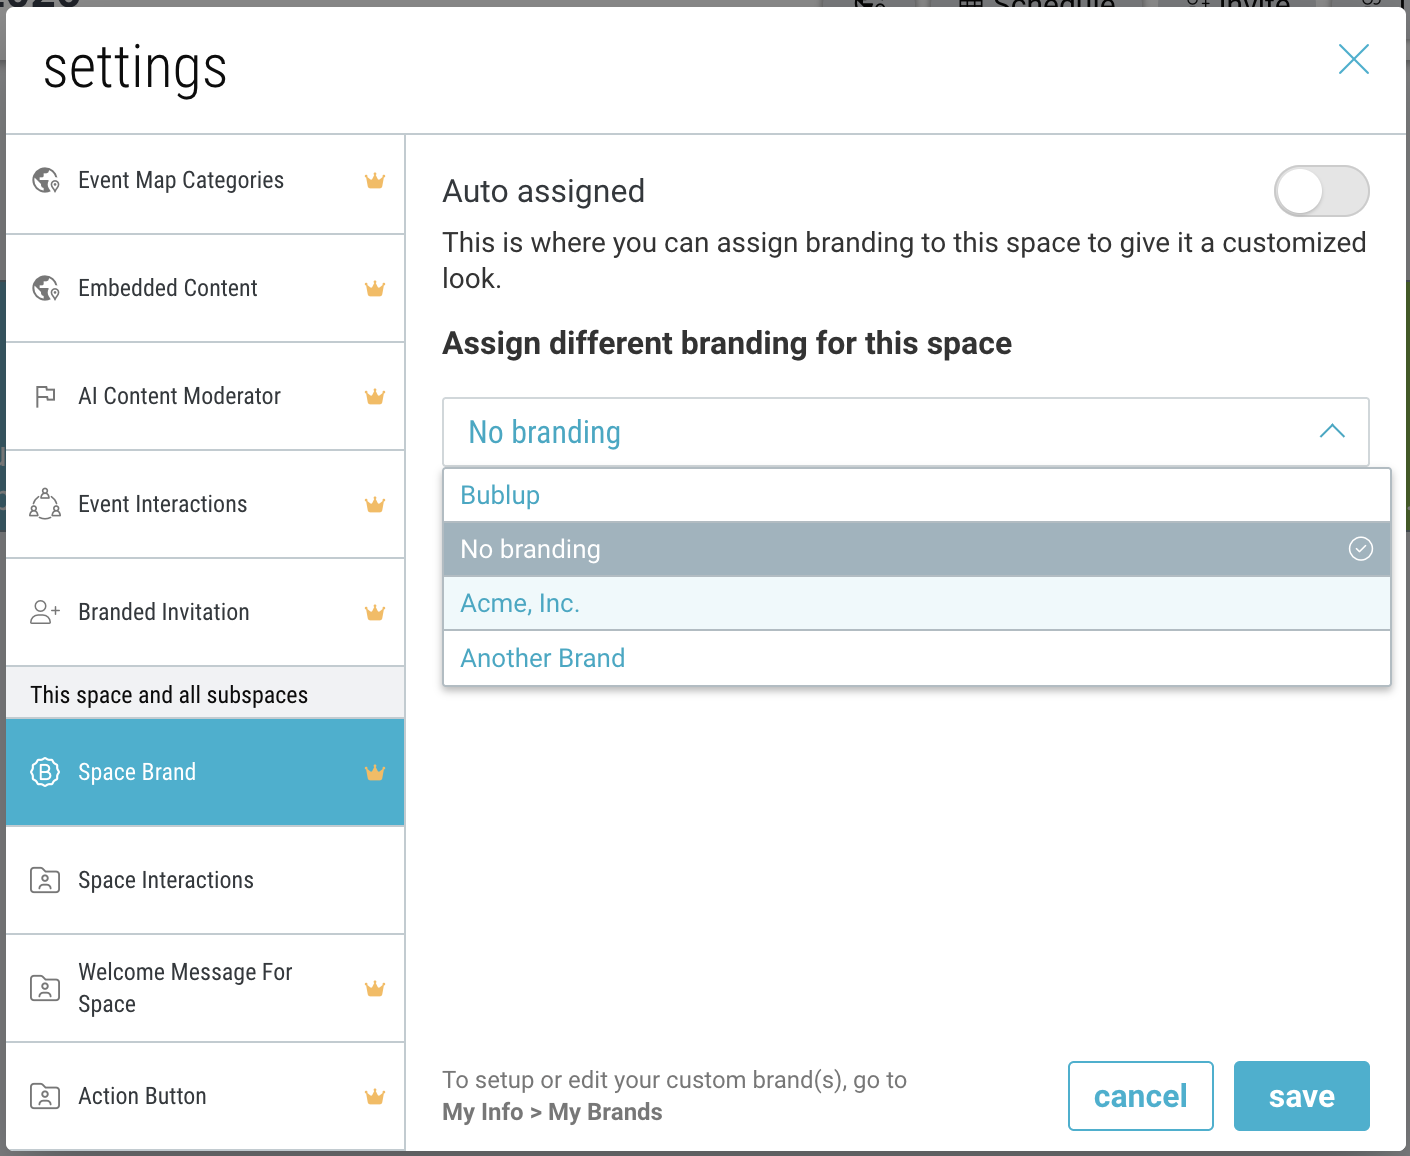
- Then return to your Event space and go to Settings → “Space Brand” to set your brand.
Event Sponsorship Branding
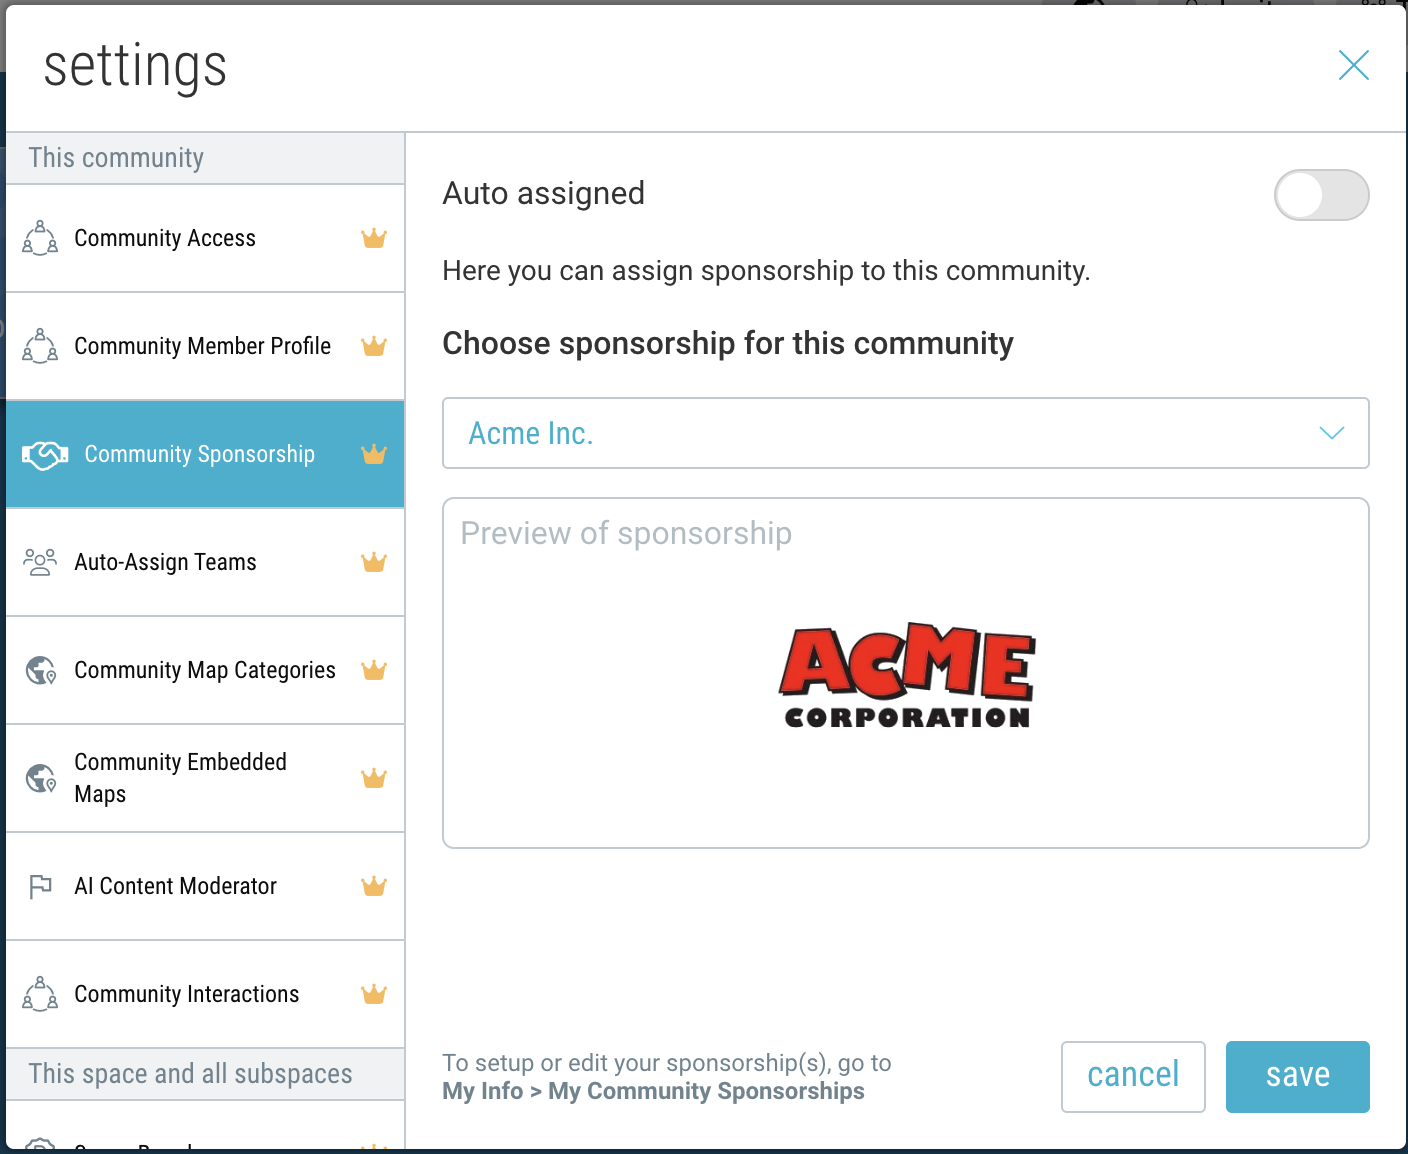
- First, create a Sponsorship Brand. Go to My Info → “My Community and Event Sponsorships” to create your sponsored brand.
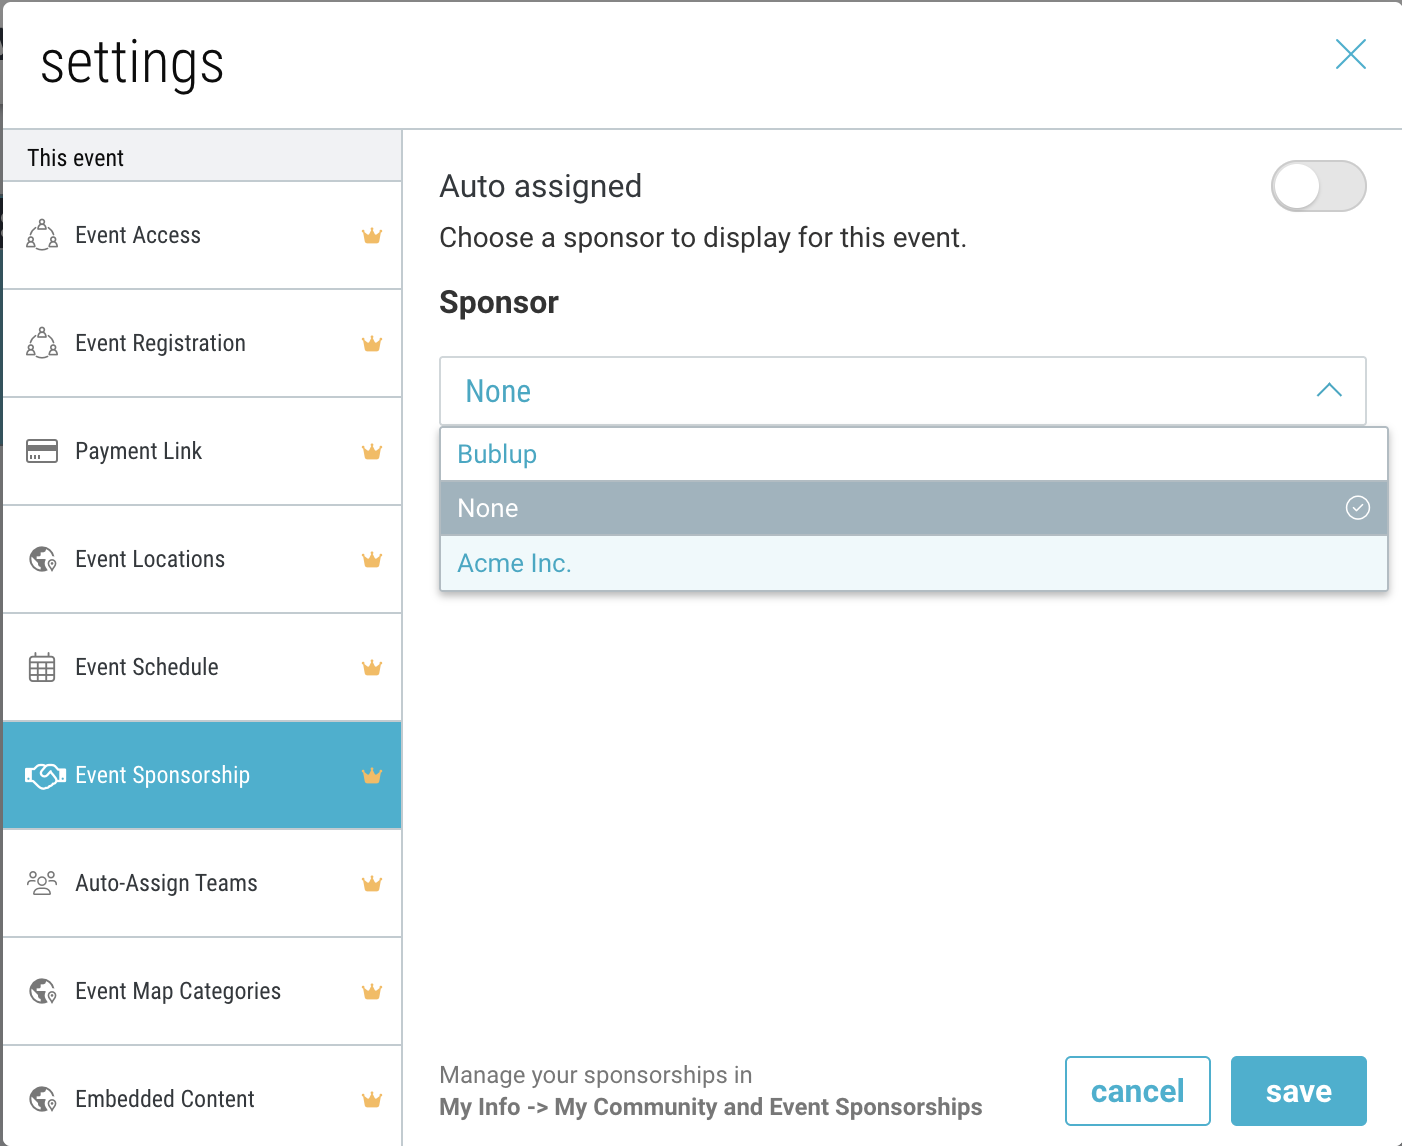
- Then return to your Event space and go to Settings → “Event Sponsorship” to set your sponsorship for this event.
- Your sponsor brand will appear at the top of your Event space.