A roll is a web page made from a Bublup space in just a few clicks. Webpage Builder spaces provide enhanced functionality to create and manage rolls with a classic webpage structure, including customizable header navigation menus. Website spaces allow you to group related webpages that share a common menu structure and settings, making it easy to sync changes across multiple pages at once.
(Available to Business and Enterprise plans)
Create a Website Builder Space
Website spaces allow you to group related webpage spaces.
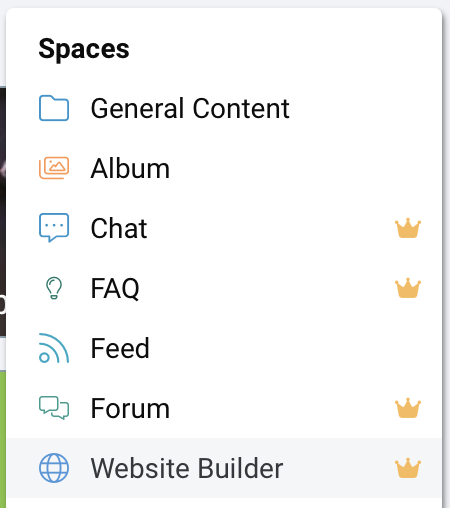
- Navigate to where you would like to create this space and click the “+” menu. Then select “Website Builder”.
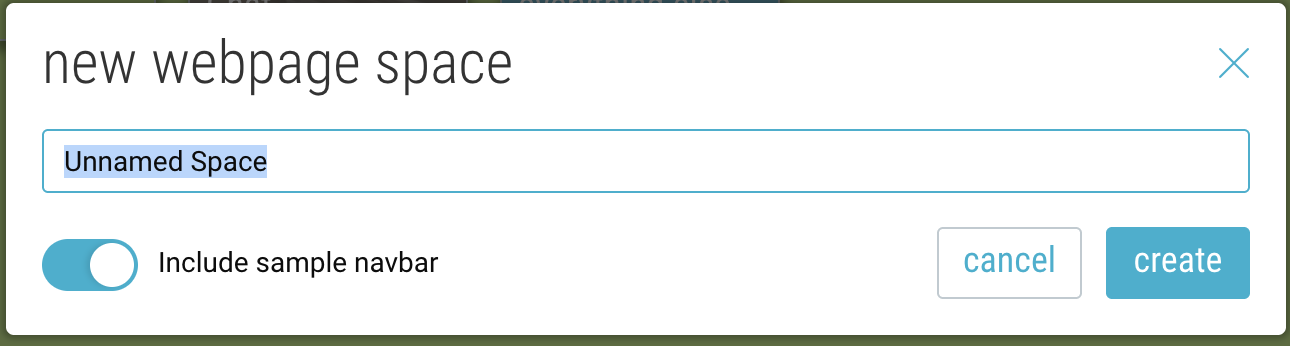
- Name your space.
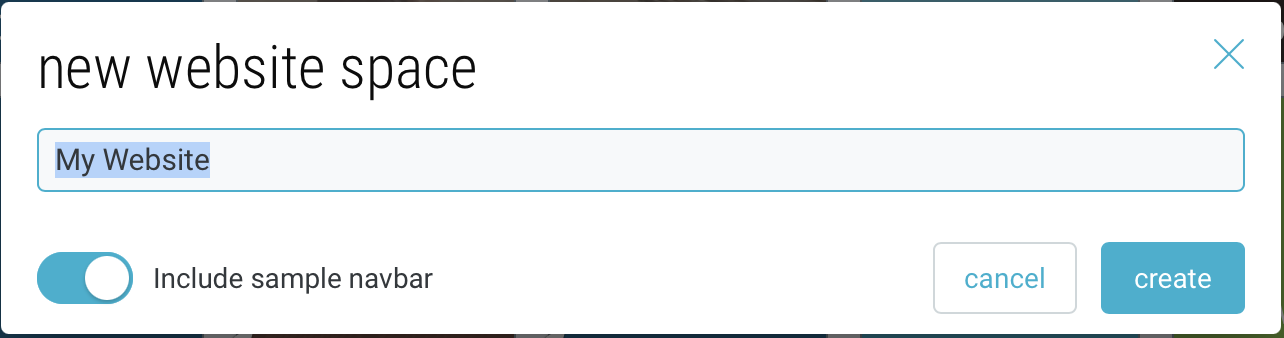
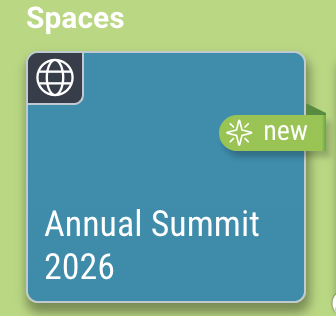
Optionally, toggle off the “include sample navbar”. - Your space will appear with the website icon in the upper-left corner.
- Customize the cover image and background of your space by going to ☰ menu → “Change Cover & Background”.
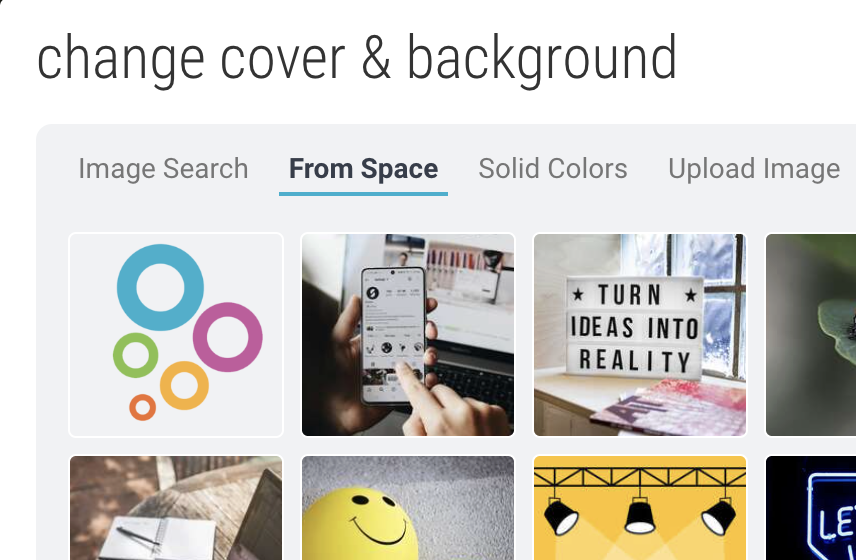
Search Bublup for images, select an image already within your space, choose a solid color, or upload a new image. This image will appear as the main banner image for your roll.
Create Webpages within your Website
- Open your Website Builder space. Then click the + button.

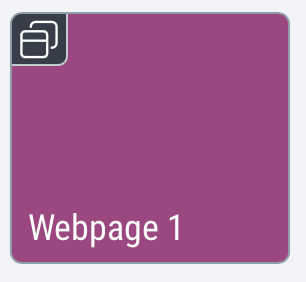
- Name your space.
Optionally, toggle off the “include sample navbar”. - Your space will appear with the webpage icon in the upper-left corner.
- Customize the cover image and background of your space by going to ☰ menu → “Change Cover & Background”.Search Bublup for images, select an image already within your space, choose a solid color, or upload a new image. This image will appear as the main banner image for your roll.
Add a Navigation Bar
The Navbar determines what will be seen in the menu at the top of your Roll.
Setting up the Navbar
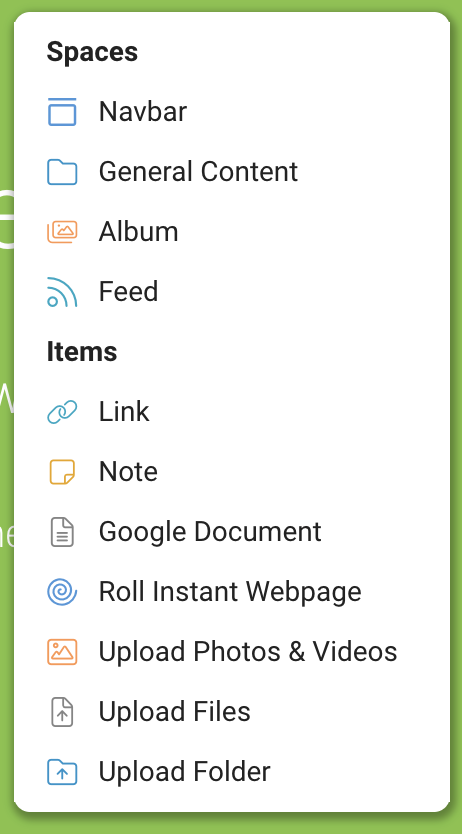
You can only have one Navbar subspace per Webpage Builder. If one doesn’t yet exist, select “Navbar” from the “+” menu within the Builder.
The Navbar subspace will appear with this icon.![]()
Within the Navbar, you can have multiple submenus. To create a new submenu, click the “+” button inside the Navbar space.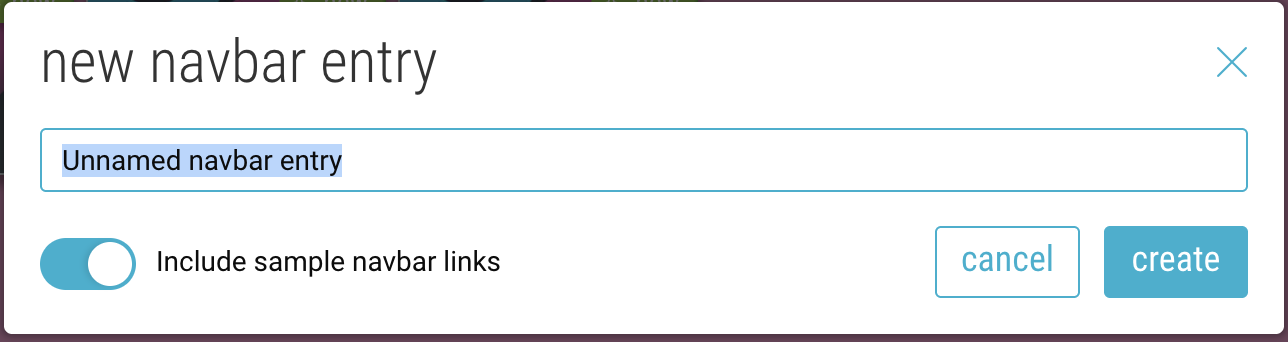
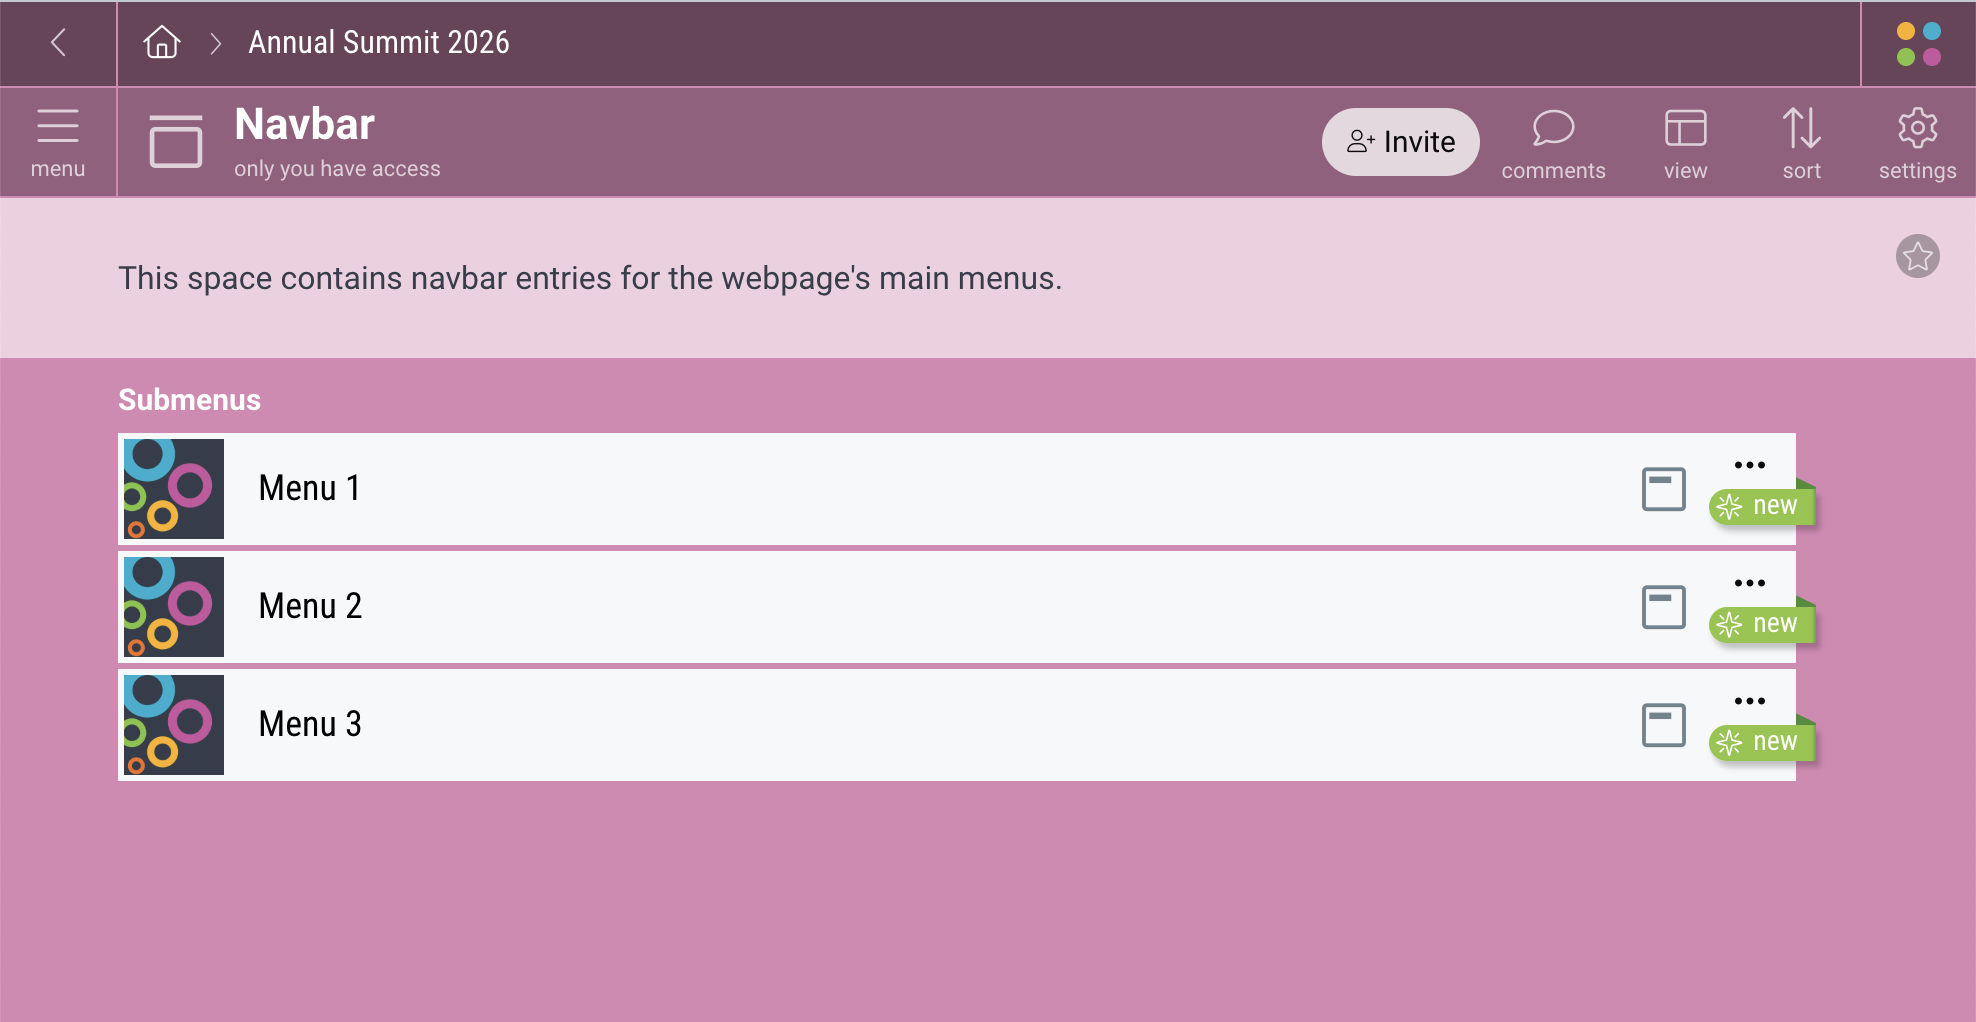
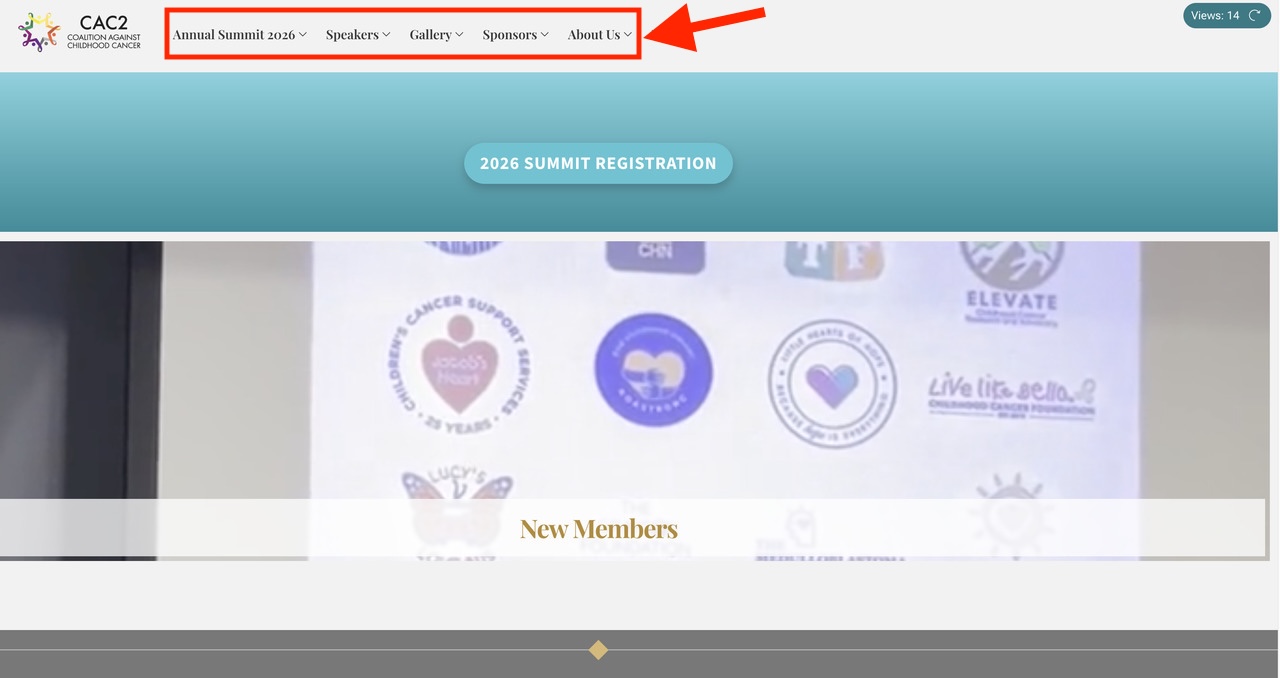
The name of the menus is what will be seen in the navigation at the top of your Roll.
Within each menu, you can add links. Open a menu and click the “+” button to add a new link.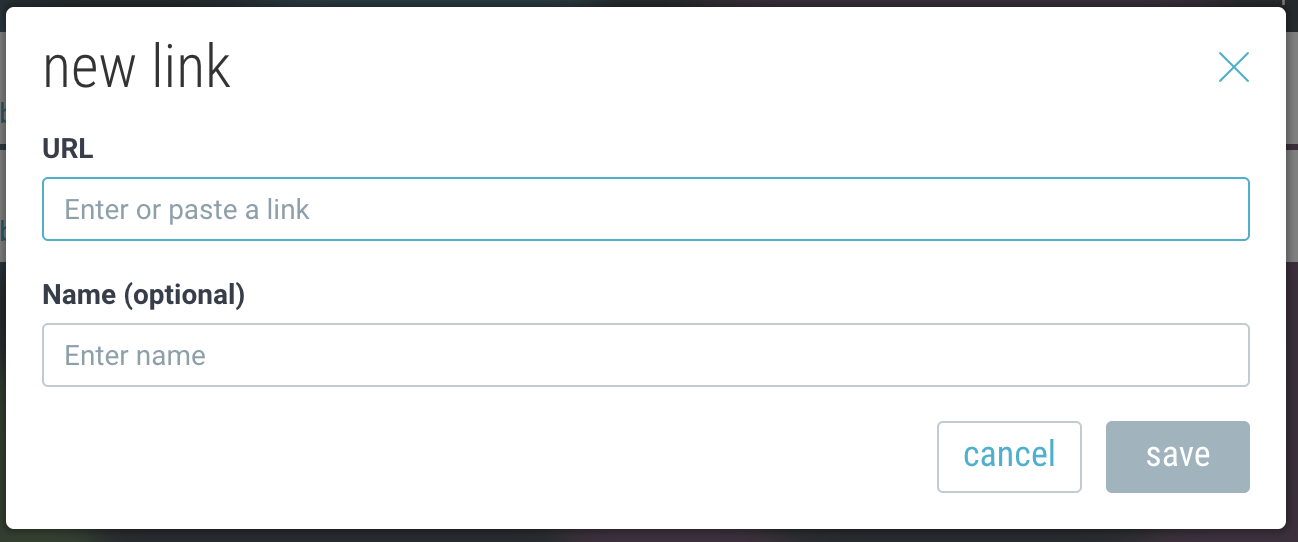
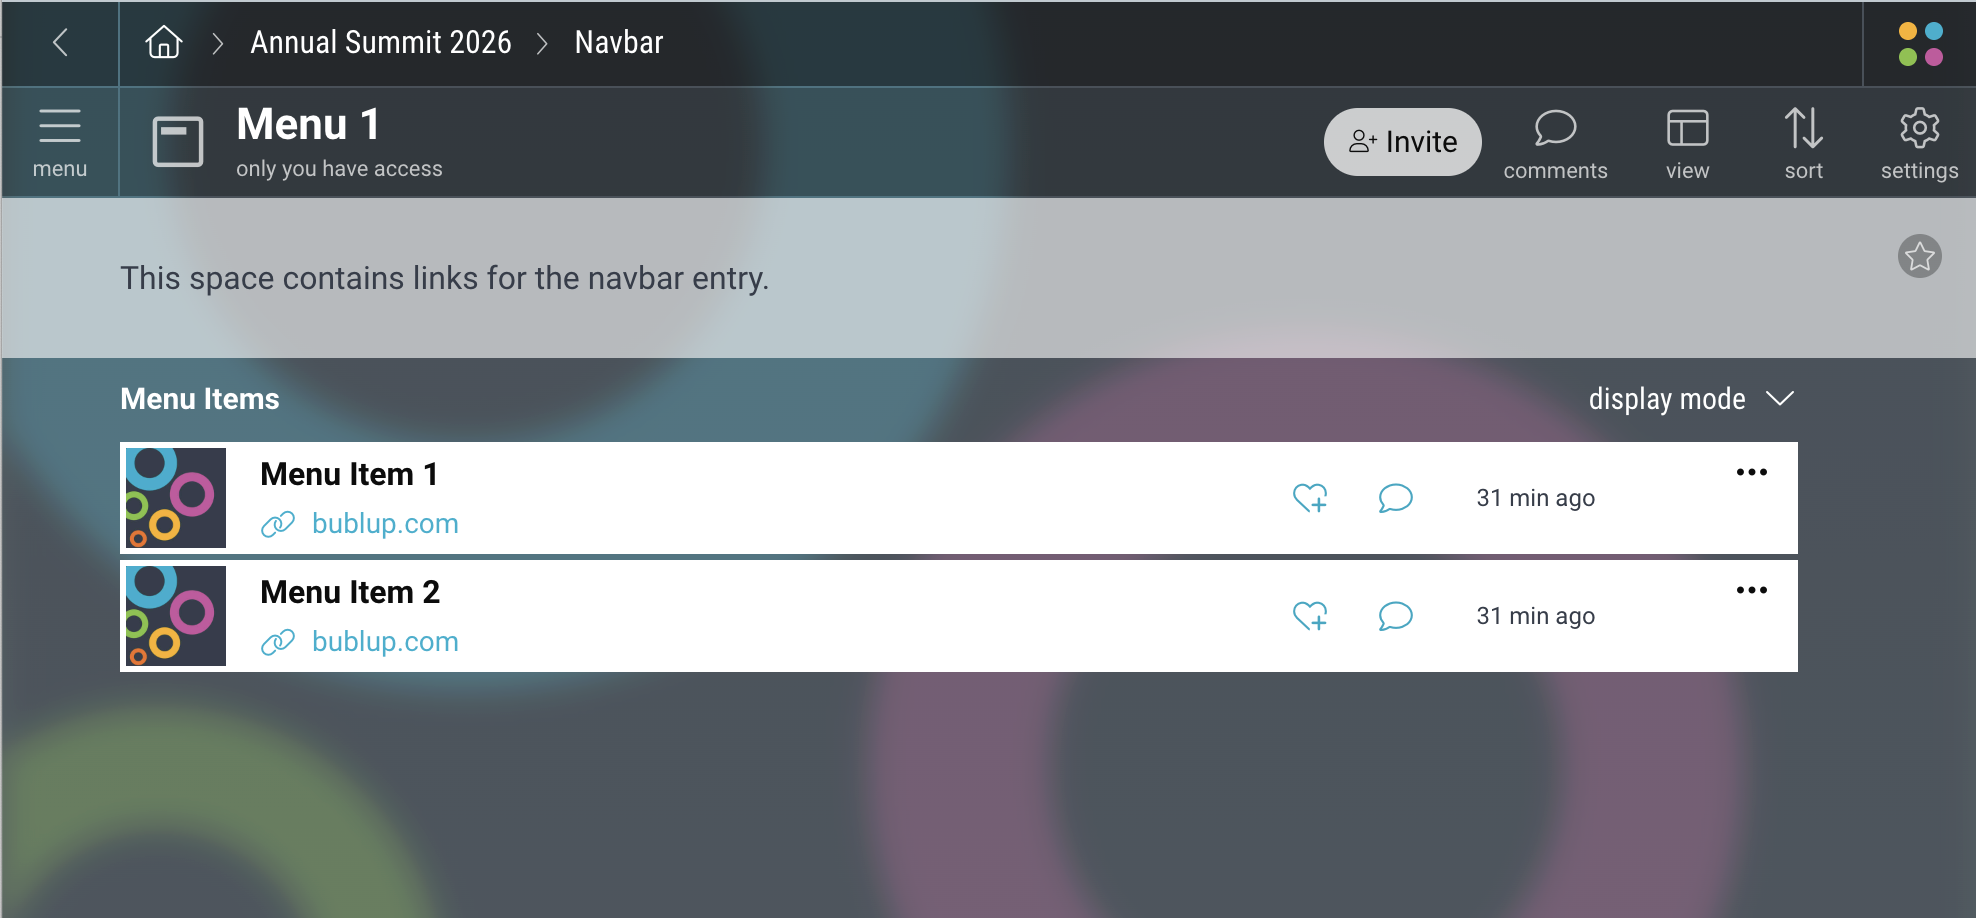
To edit a navbar menu or item, click the 3-dot menu and select “Edit”.
Note: only the name will be visible in the roll navigation header; the description and image will not be.
Editing Within a Roll
Once your roll has been created, the menu items will appear in the top navigation header.
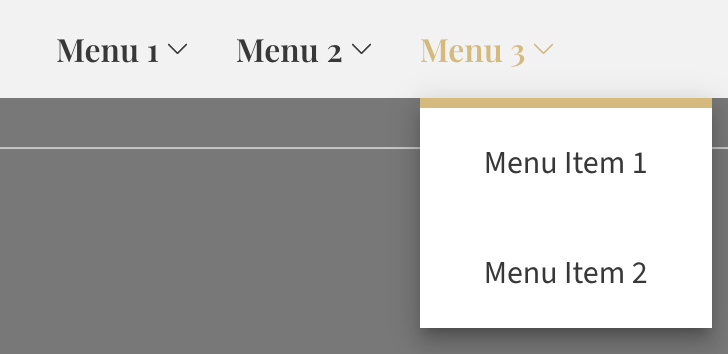
In edit mode, select between different header options, such as fixed position, hover effects, and menu styles.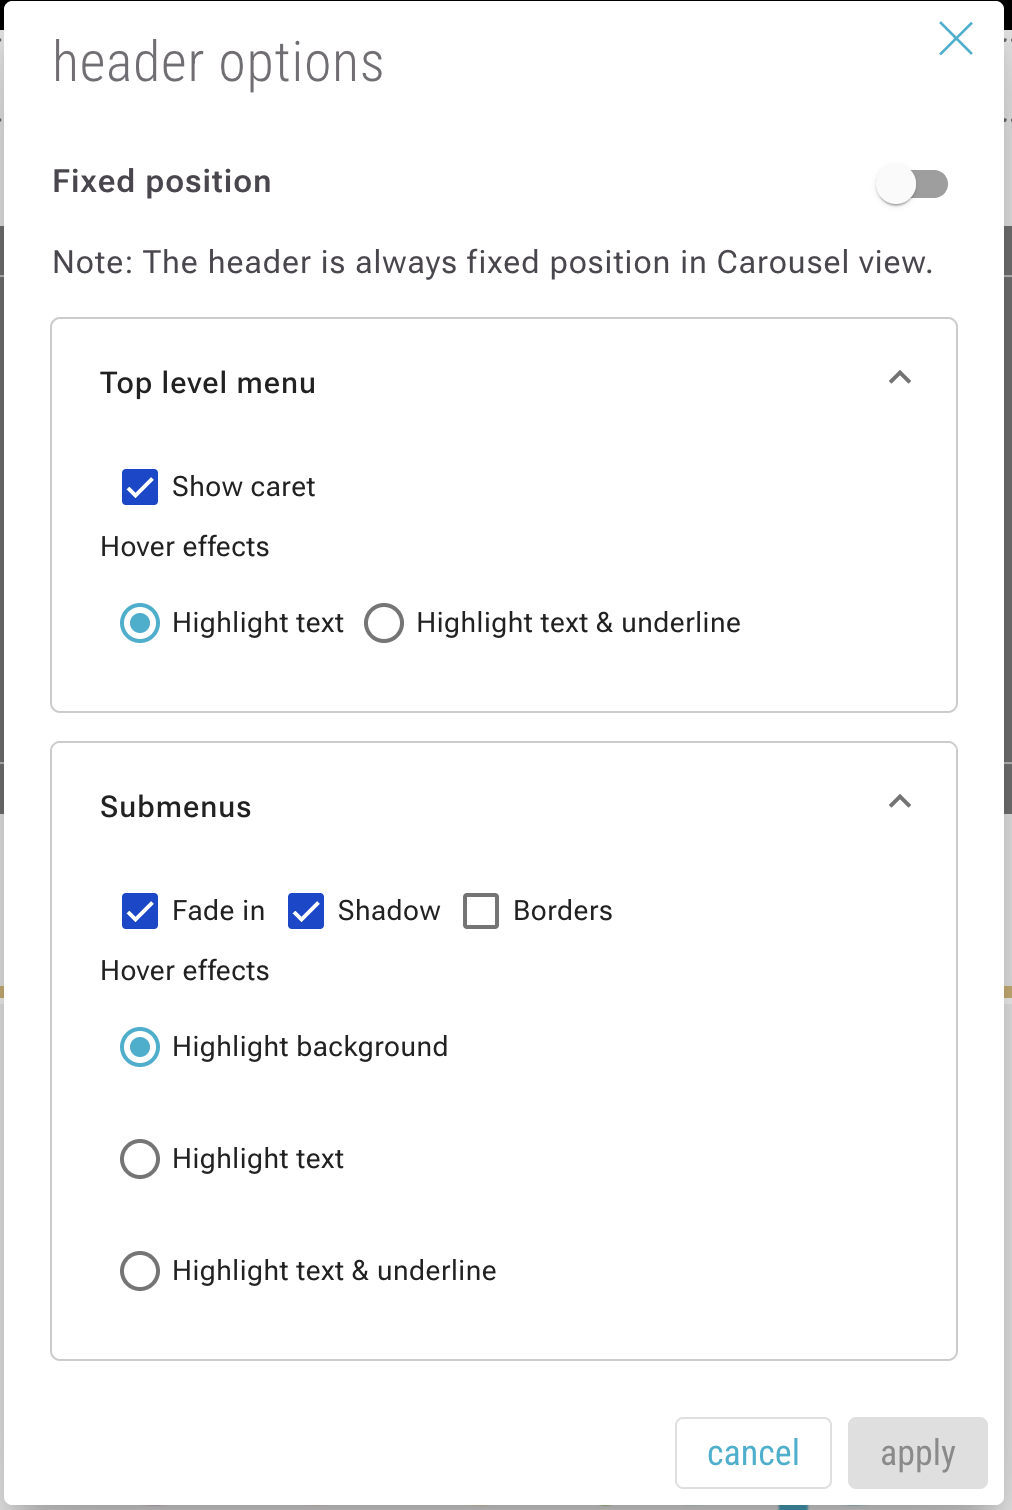
Subspaces and Items
Roll Subsections
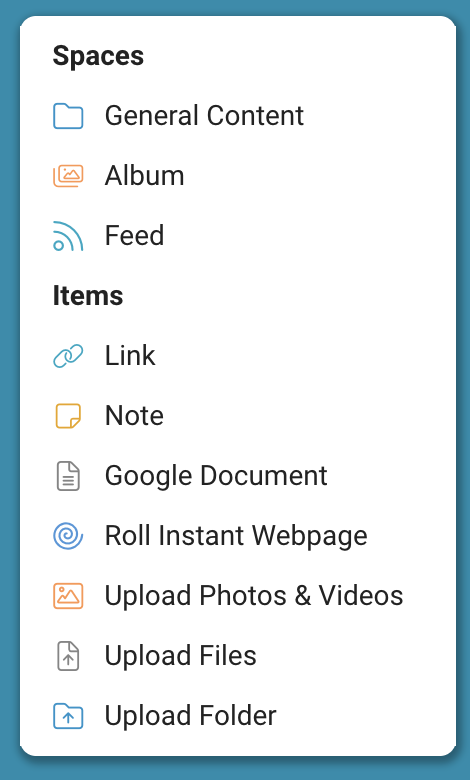
The subspaces of the Webpage Builder (with the exception of the Navbar) correspond to different subsections within a Roll. To create a new section, click the “+” button and select a space type.
Customize the cover image and background of a space by going to ☰ menu → “Change Cover & Background”. This image will appear as the banner image for that section of your roll.
Roll Content
Within a space there can be many different types of content:
- Links
- Notes
- PDFs
- Documents
- Photos
- Videos
- Audio files
- Imported folders or files
- Google Docs, Sheets, Slides and Forms
Add content to your space via the “+” menu.

Set Up Custom Branding
Custom branding allows you to create visually impactful, branded experiences whenever you share content from a Bublup space.
If your Webpage Builder space is within the hierarchy of your Organization or Community, it will automatically inherit the branding of that space, or you can customize it.
Create a Custom Brand
1. Click on “my info” in the upper-right corner. Then select “My Brands” and choose “create a custom brand”.
2. Start by naming your brand and adding a logo image. Note: The branding for a space will apply to rolls you create, emails, shared space invitations, and shareable links that you send from that space.
3. Add more information by using the 3-dot (…) menu on your brand and selecting “edit”.
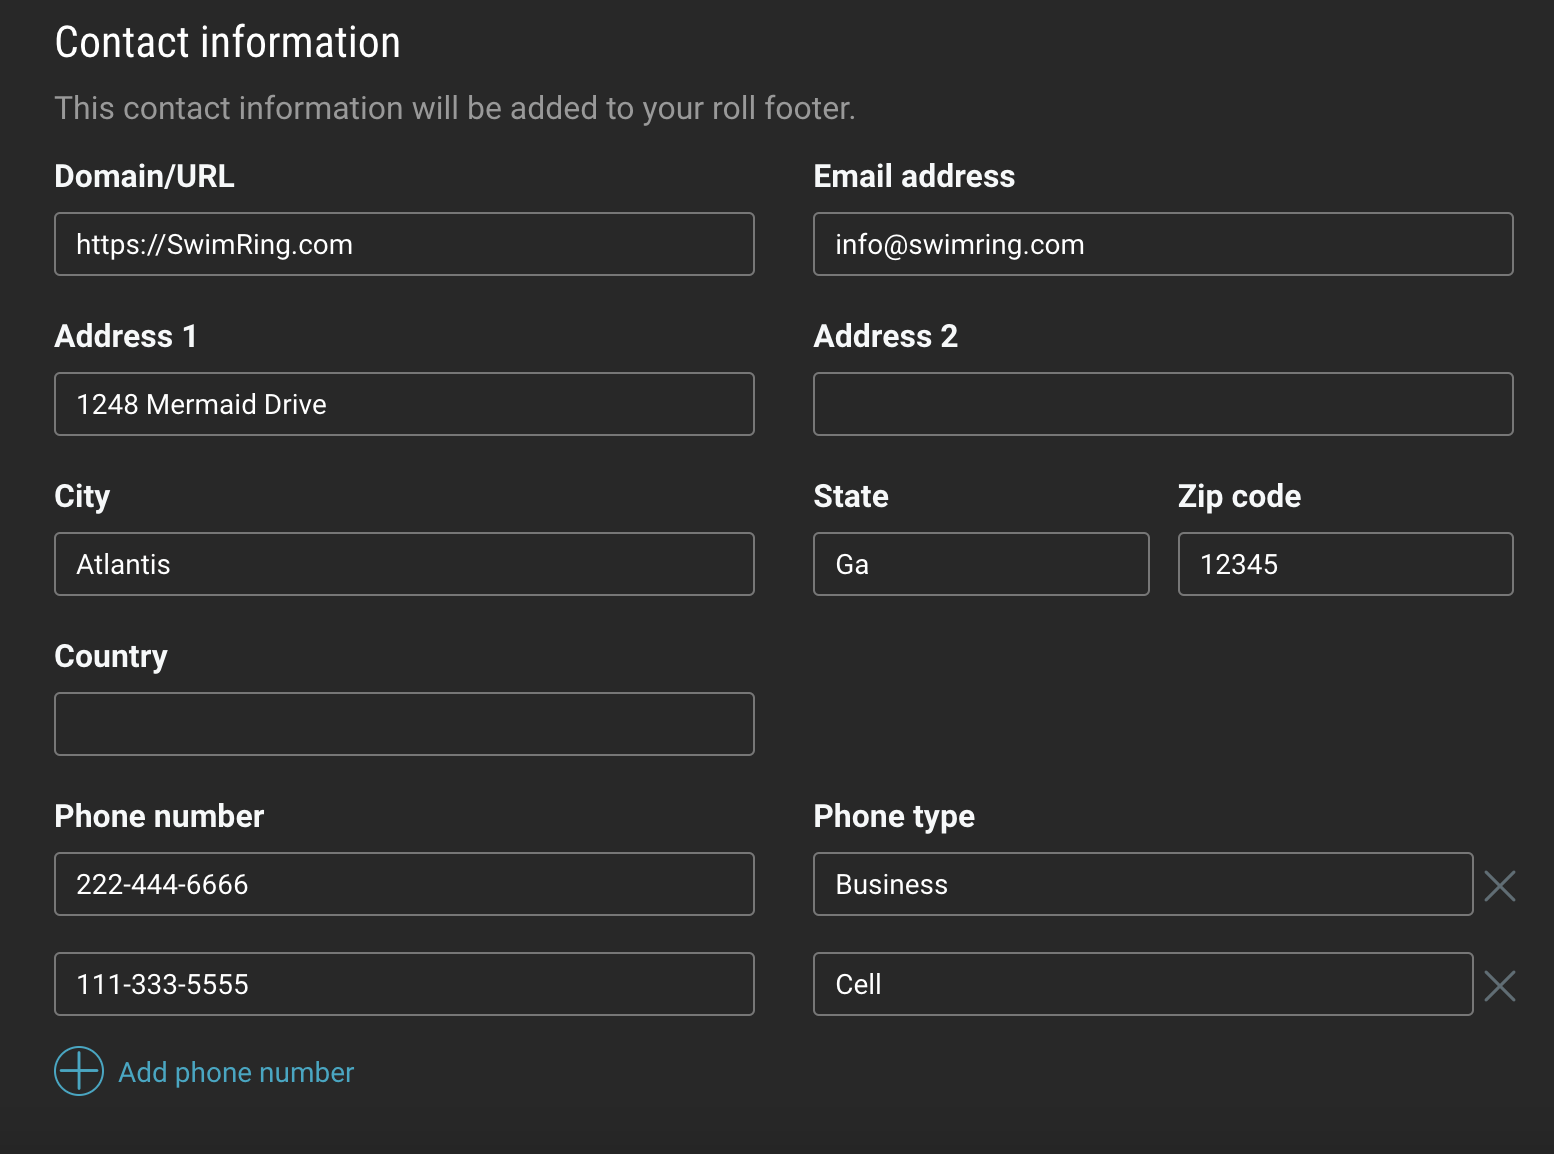
This information will be displayed in any branded roll footers: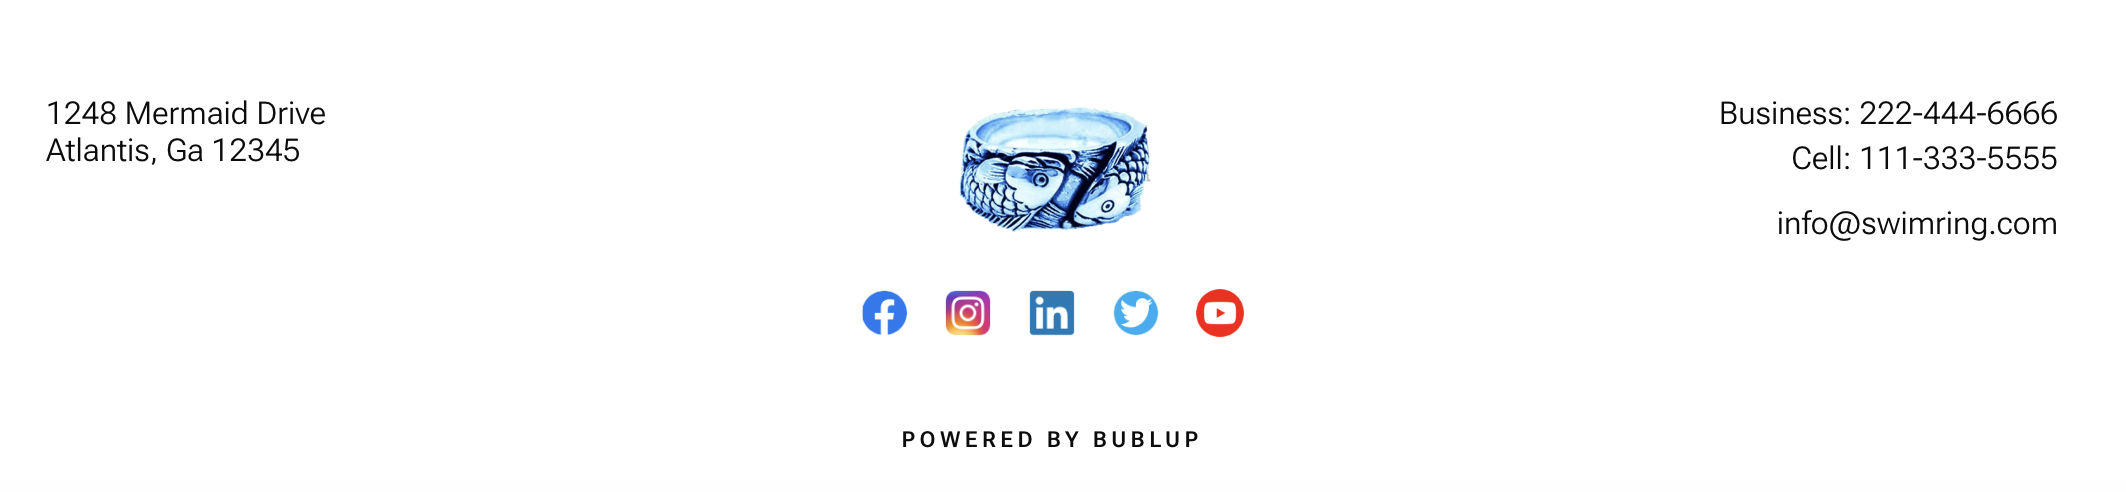
Now that you have created a brand you can easily apply it to a space:
1. Navigate to your Organization, Community, or other space where you wish to apply the branding.
2. Click the “settings” icon in the upper-right corner and select “Space Brand”.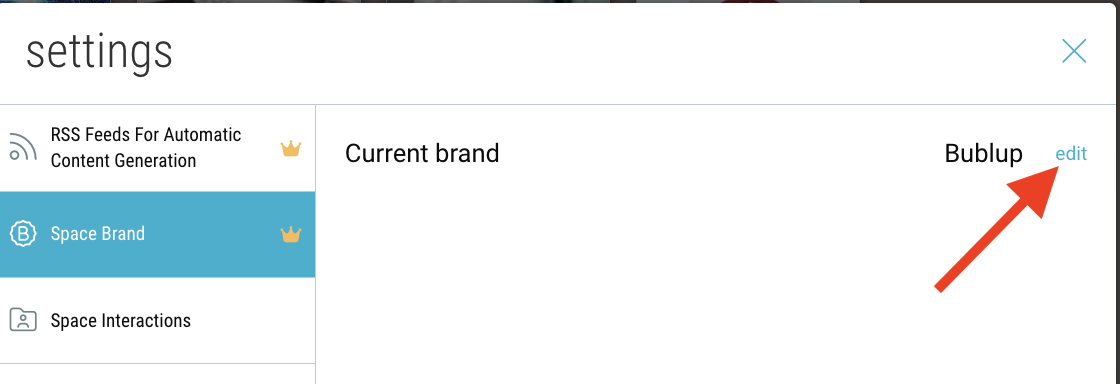
3. Click “edit”, then toggle off the “auto-assigned” option. Click the dropdown menu to open your list of brands. This will always include the “Bublup” and “No Brand” options. When you have selected your brand, click “save”.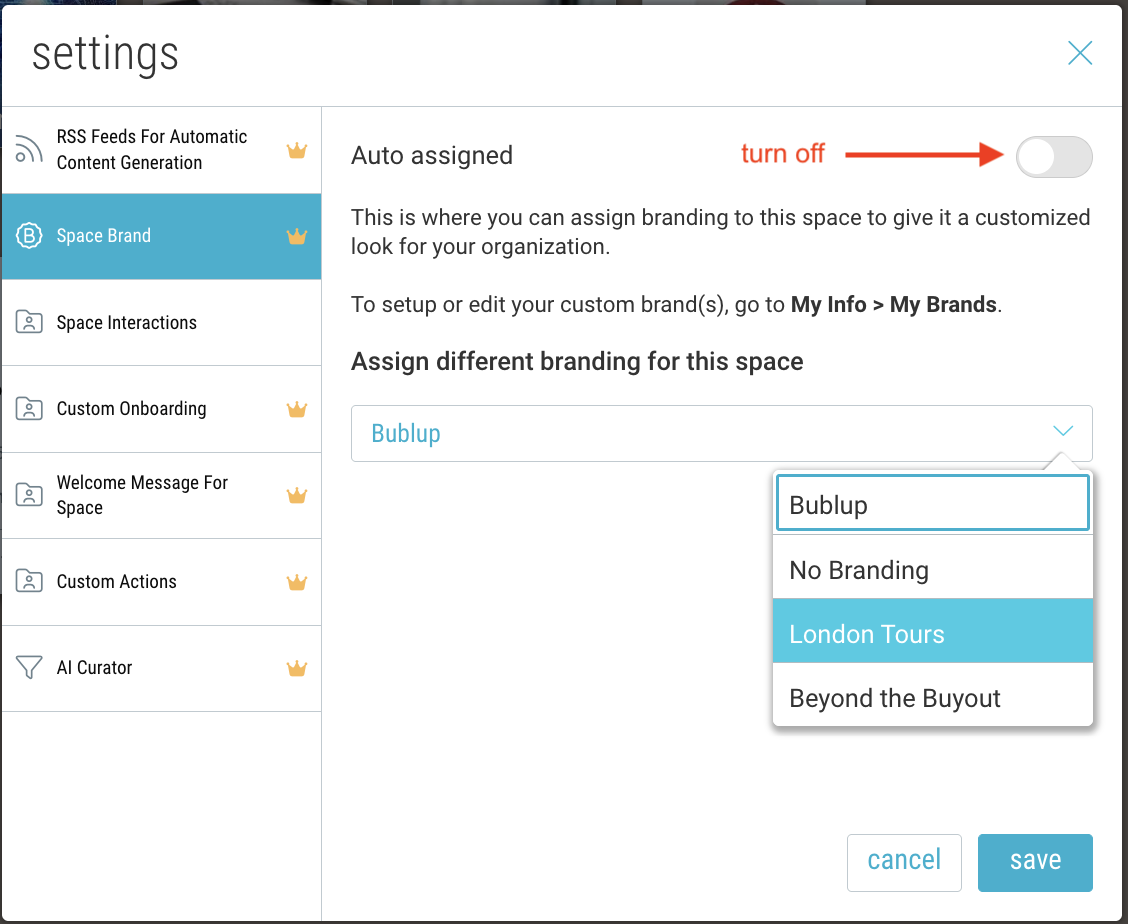
4. Notice the space now has a header that includes your brand image.
Note: Your brand image will hyperlink to the domain URL you specified in your brand’s contact info during setup.
Pro Tip: You can create up to 3 brands in your account. This may be useful to you if you are associated with multiple organizations, or if you want to have different versions of your favorite logo.
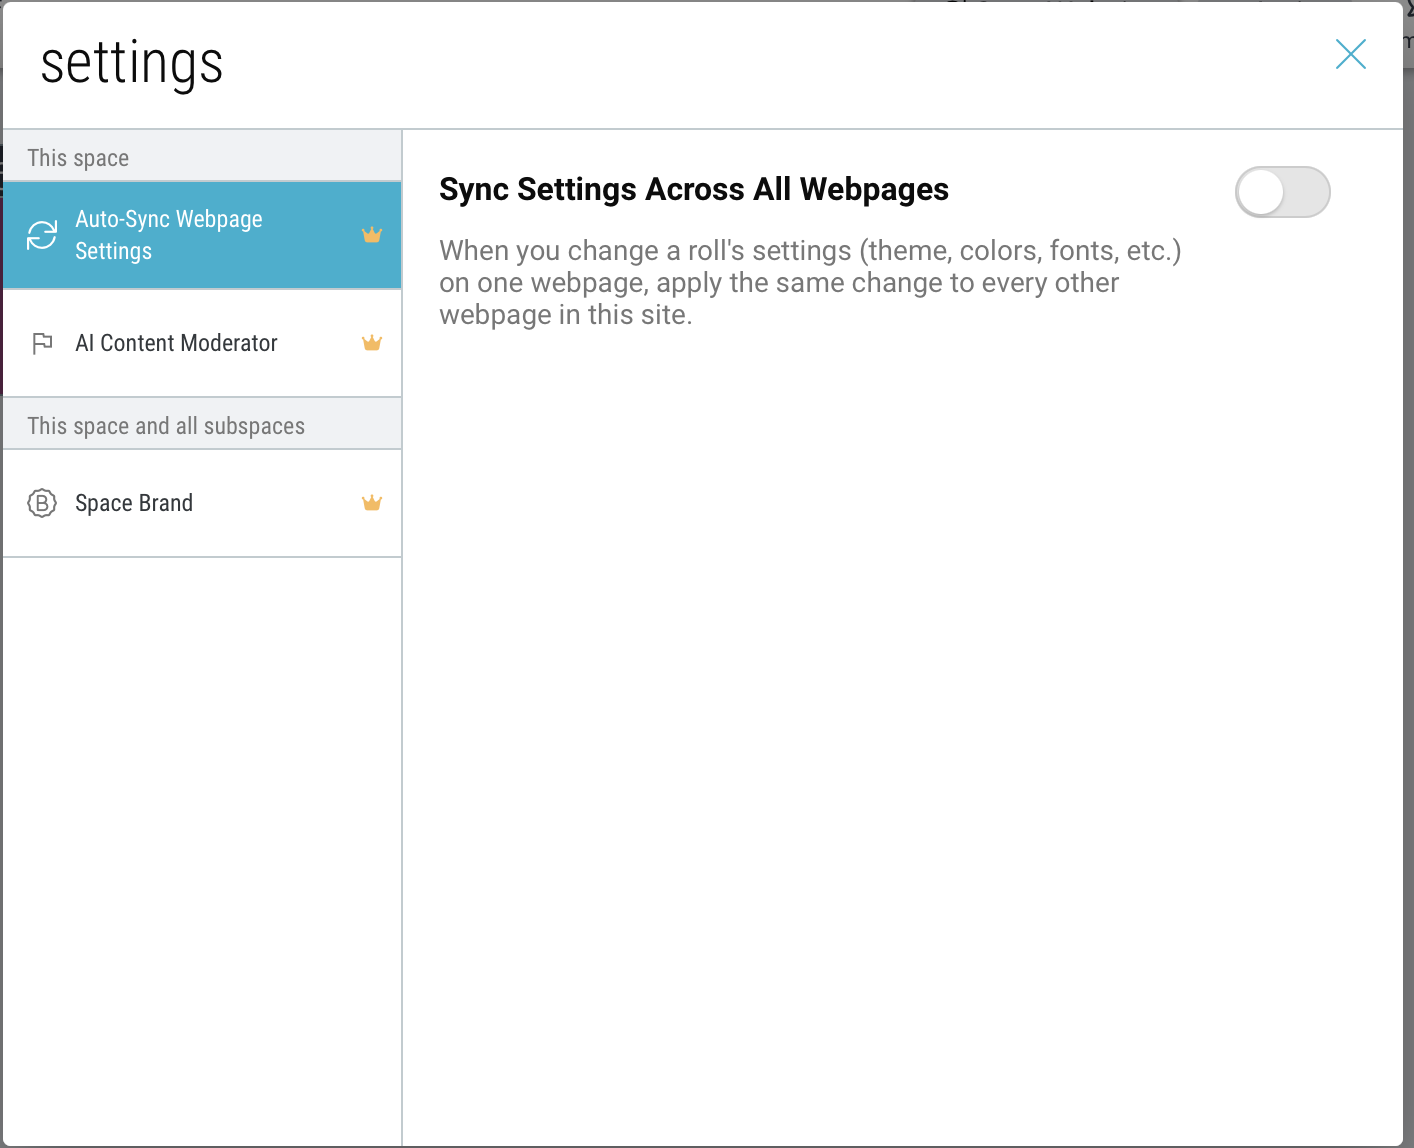
Auto-Sync Your Webpages
When you change a roll’s settings (theme, colors, fonts, etc.) on one webpage, apply the same change to every other webpage in this site.
To enable, navigate to your Website space and open the folder settings.
Create and Edit a Roll
Creating a Roll from a Webpage Builder Space
Click “Roll a Webpage” to create your first roll. Then click “view now” to open your roll in a separate window.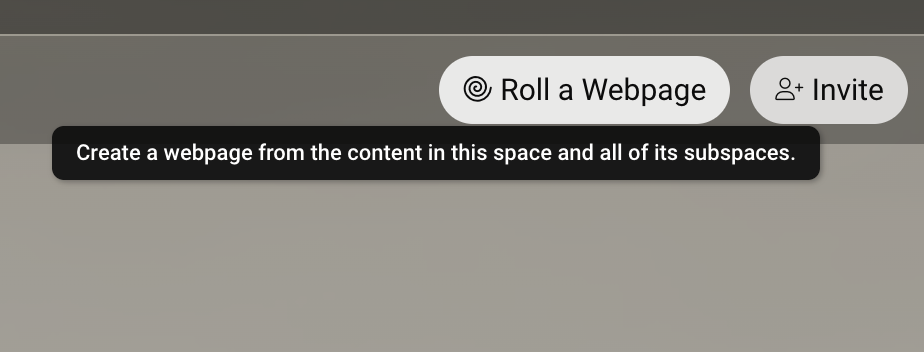
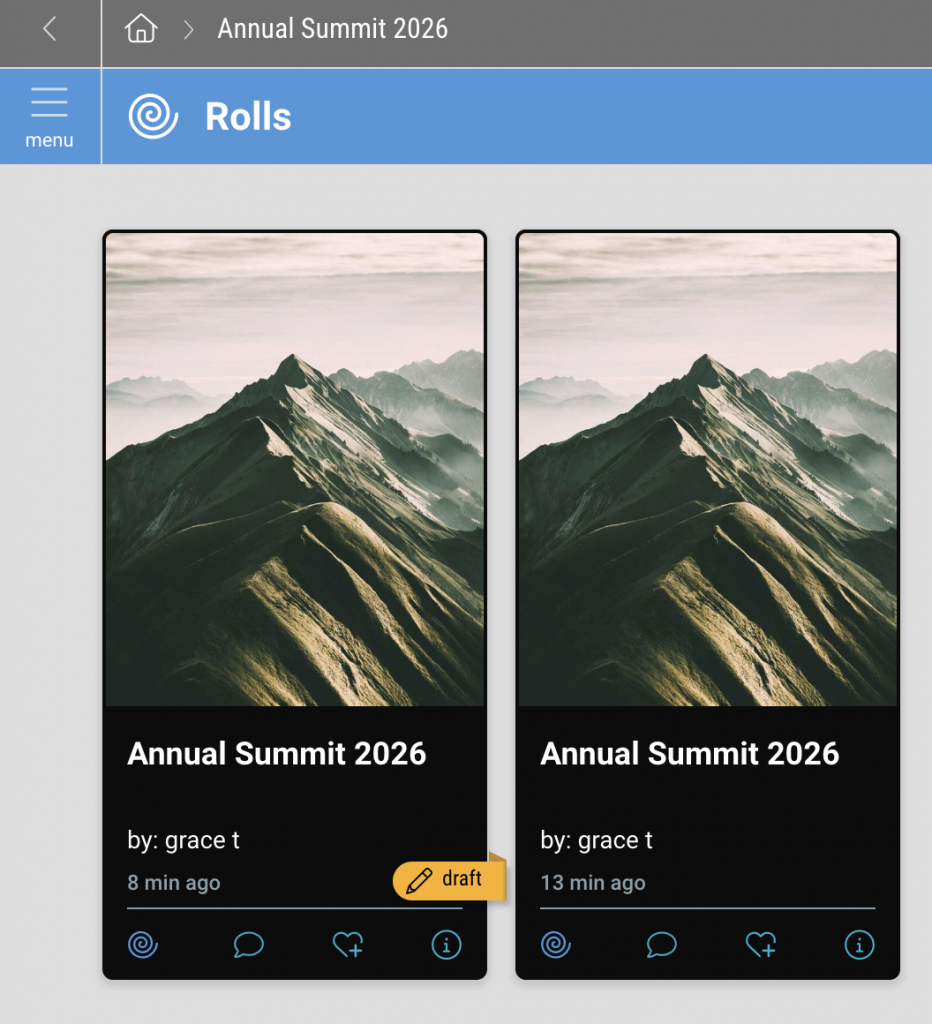
To create multiple rolls, select “Roll New Instant Webpage” from the “+” menu. Any rolls within this space will appear within the “Rolls” subspace.
Editing Your Roll
To edit your roll, click the pencil icon in the upper-left corner and choose between “Edit Live” or “Edit in Draft Mode”.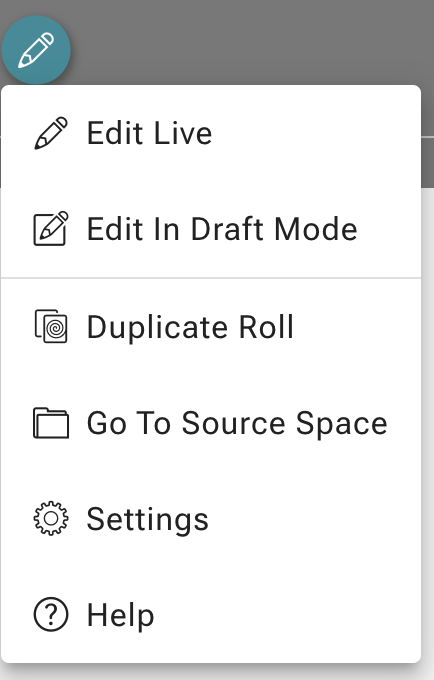
Live edits will reflect immediately for anyone with access to view your roll, whereas draft mode will require you to click “Publish” the roll before any edits will be seen.
Customize Roll Themes, Colors & Fonts
Customize your roll by changing the theme, colors, or fonts, or copy styles from an existing roll.

Theme
Choose among several themes. You can preview the changes to your roll before clicking “apply”.
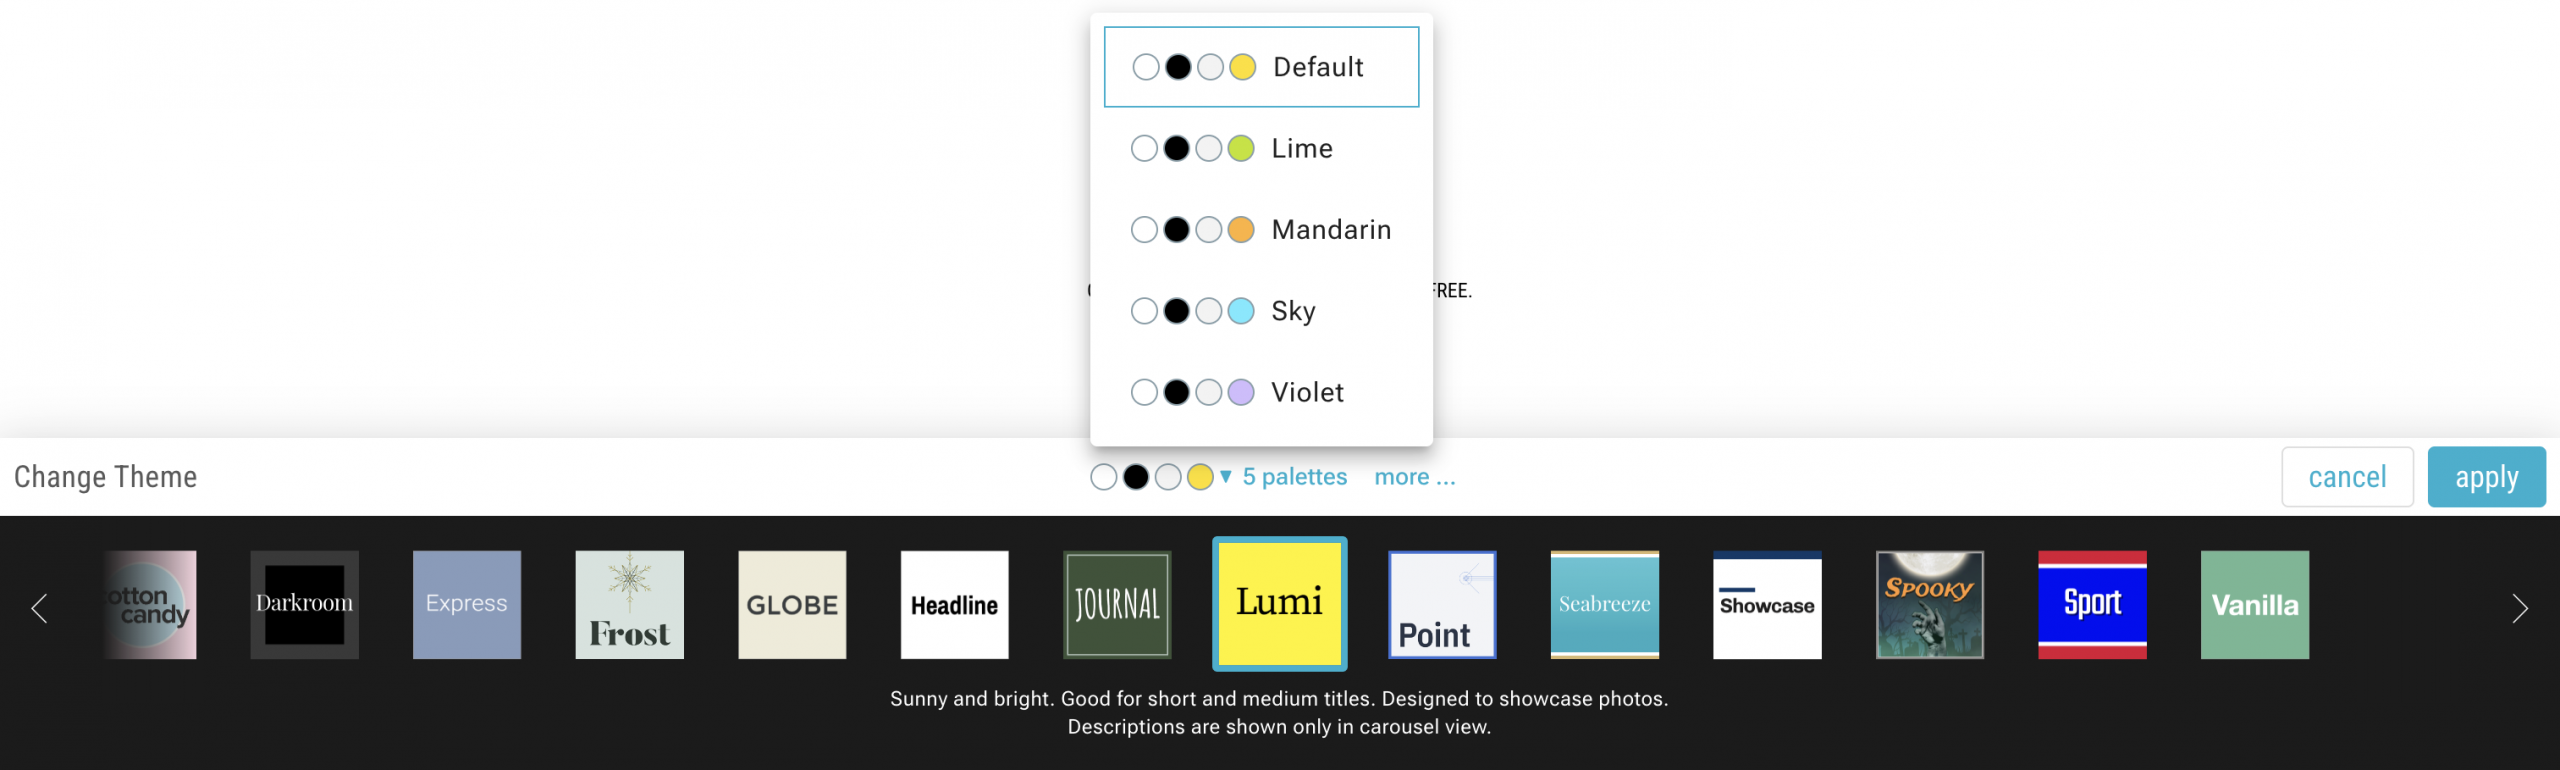
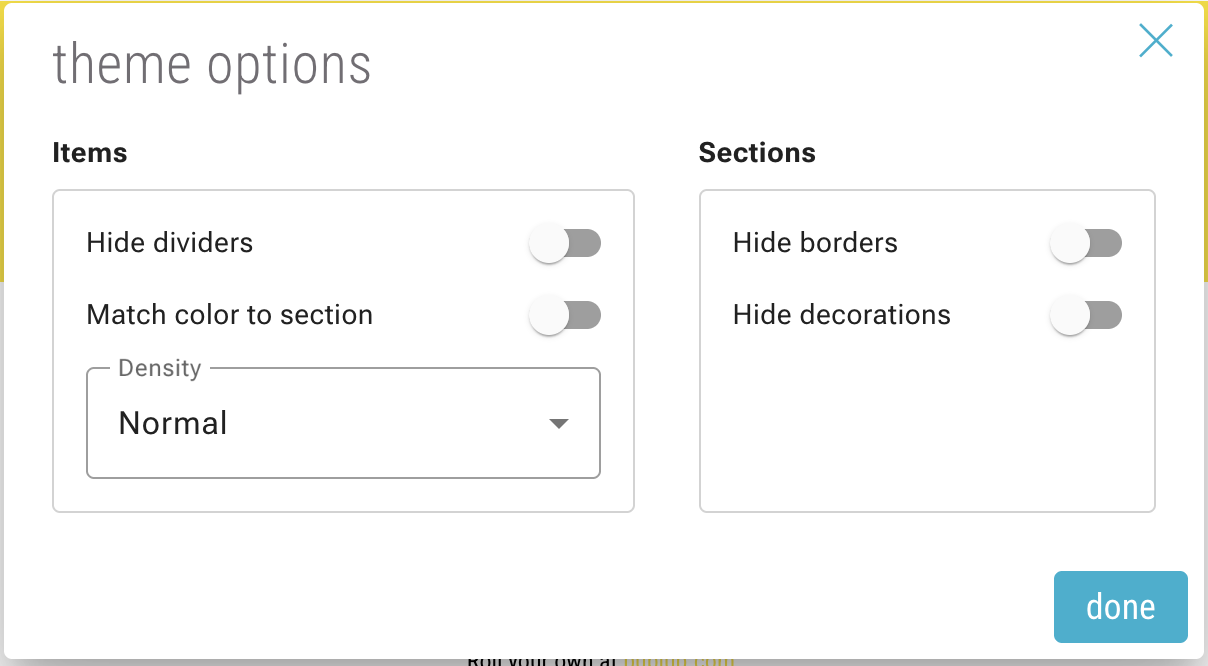
Each theme has multiple color palettes to choose from. Additionally, you can click “more” to view advanced options.
Colors
Start from one of your theme’s preset palettes or completely customize the colors.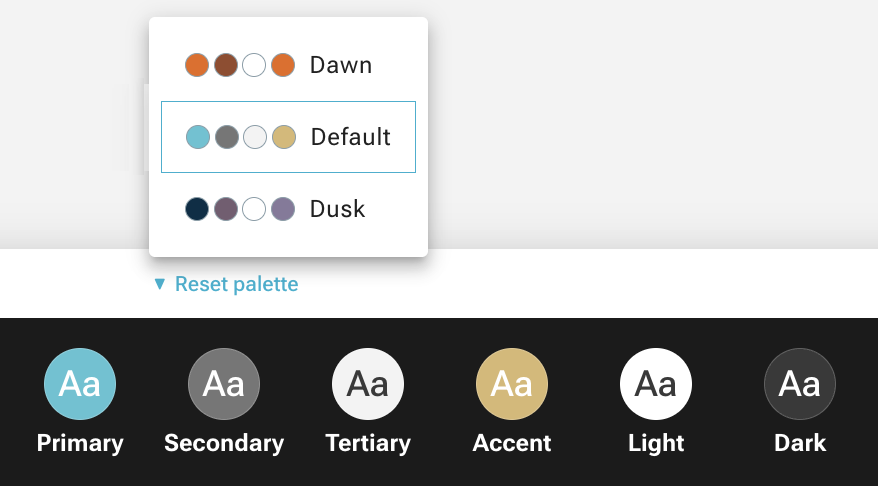

Fonts
Choose from a selection of fonts and sizes for each section of your Roll.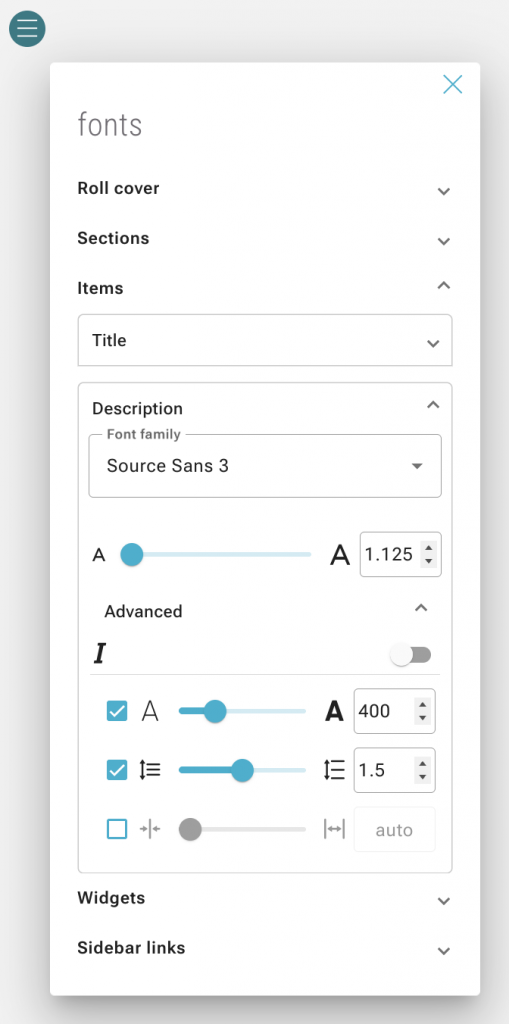
Clone Styles
Once you have a roll style you prefer, you can use that clone that roll’s style choices (theme, colors, fonts, layout, etc.).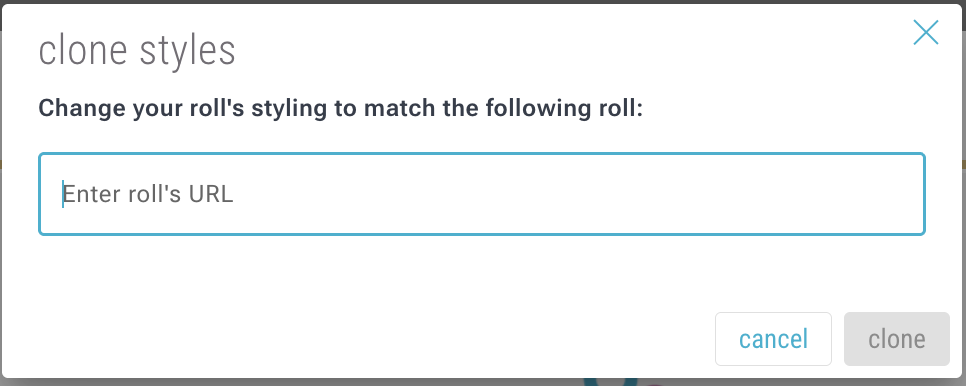
Customize Roll Layouts, Images, and Effects
Customize your roll by changing the section layouts and image sizes & effects.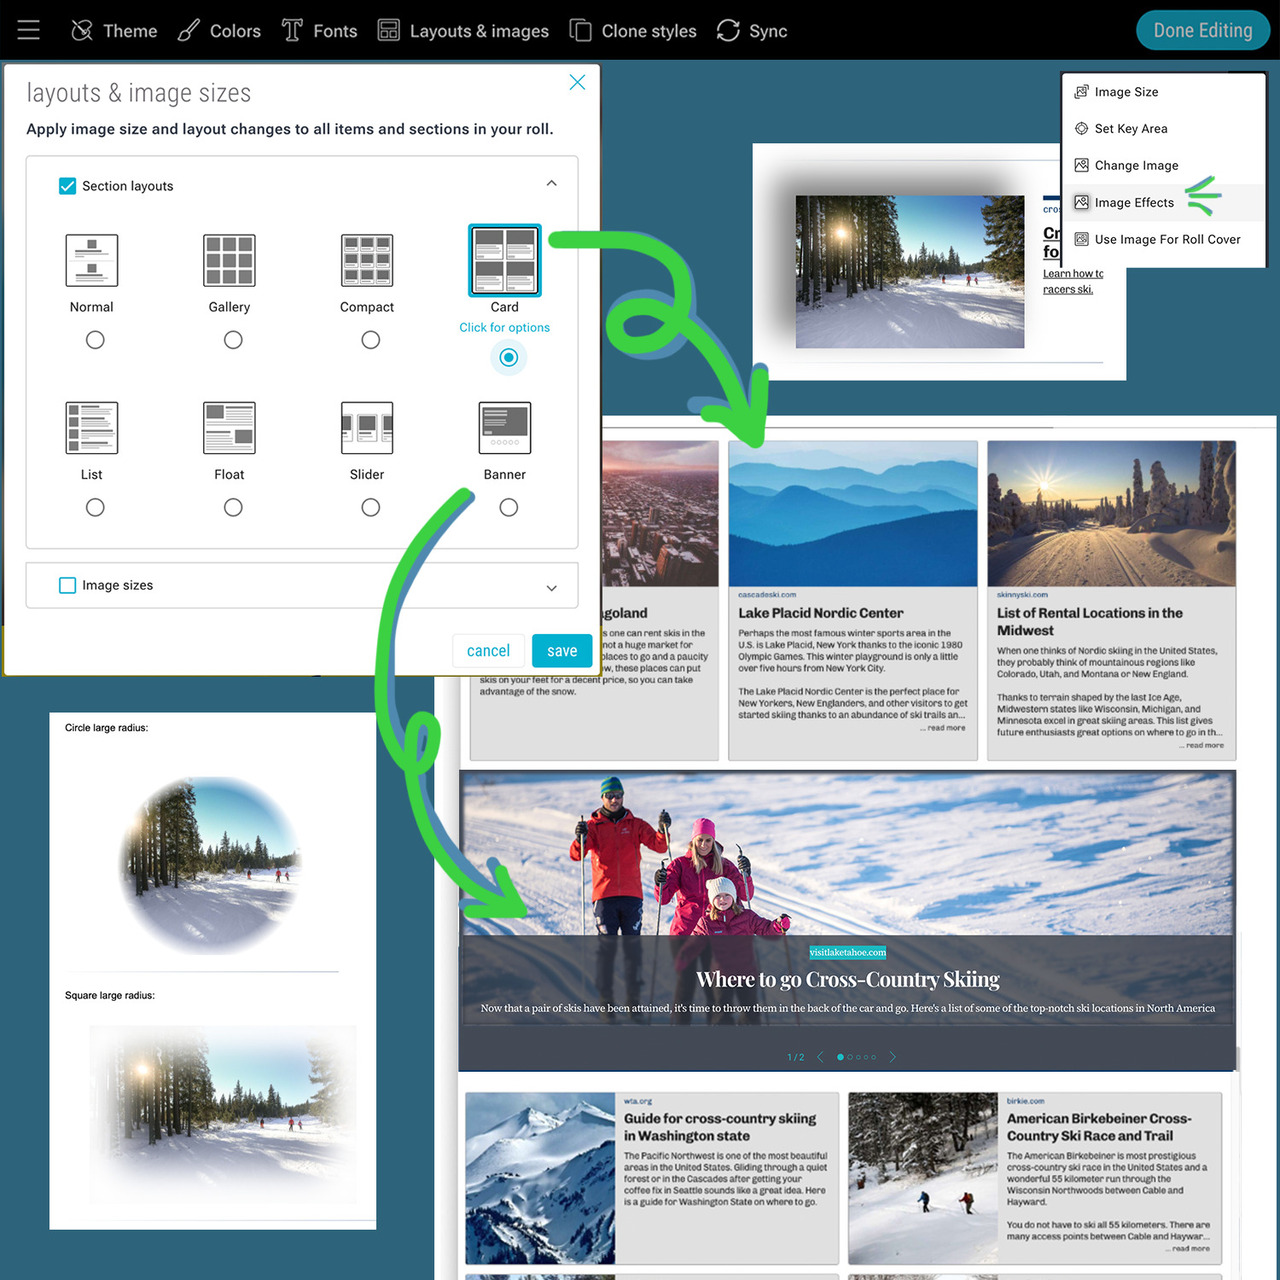
Open your roll in “edit” mode and select “Layouts & images”.![]()
Section Layouts
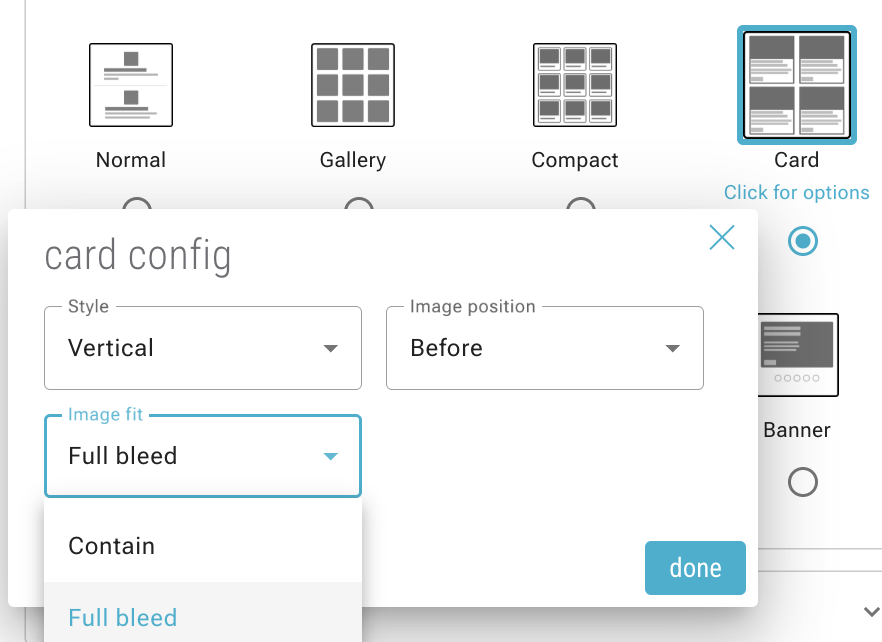
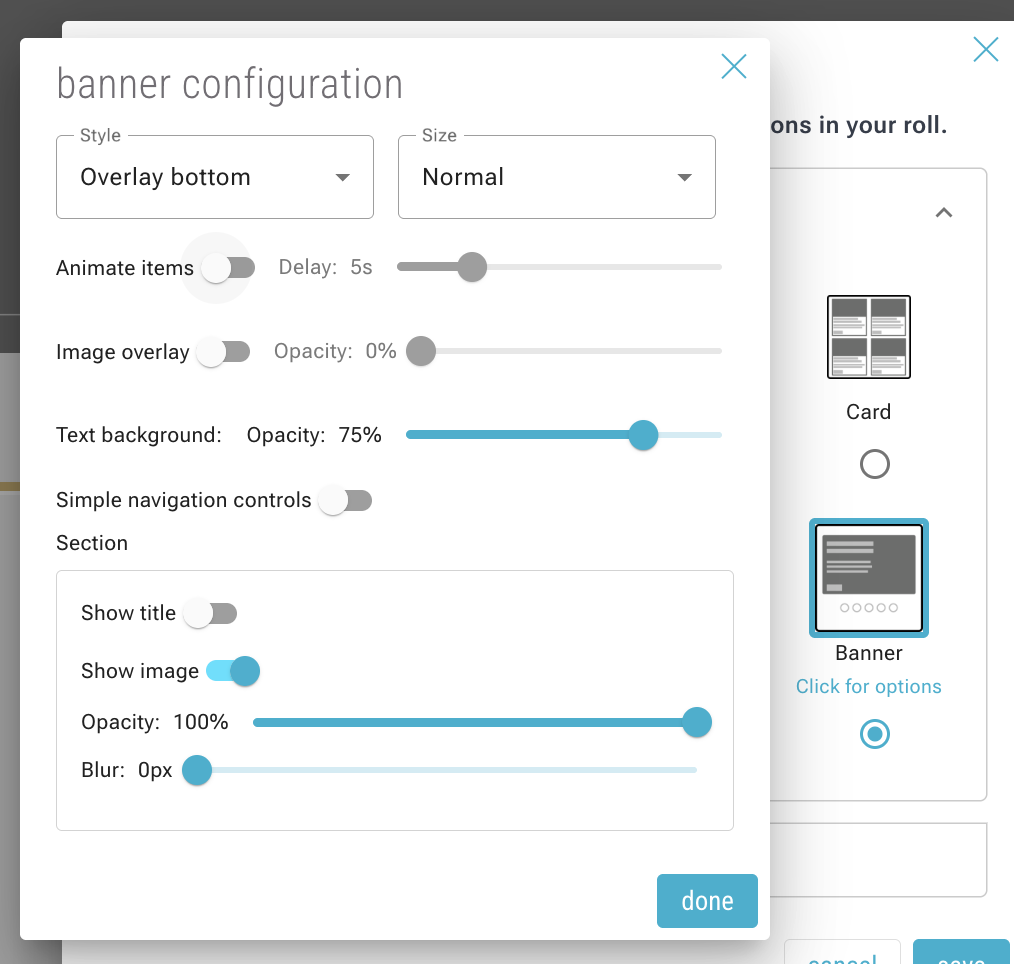
Choose from several different layout options based on your preferred use case. Some layouts have additional options and advanced settings.
- Normal/Simple
- Gallery
- Compact
- Card
- List
- Float
- Slider
- Banner
You can also adjust the layouts of individual sections of your roll by via the section’s 3-dot menu.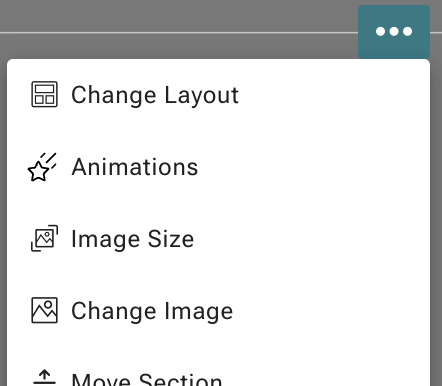
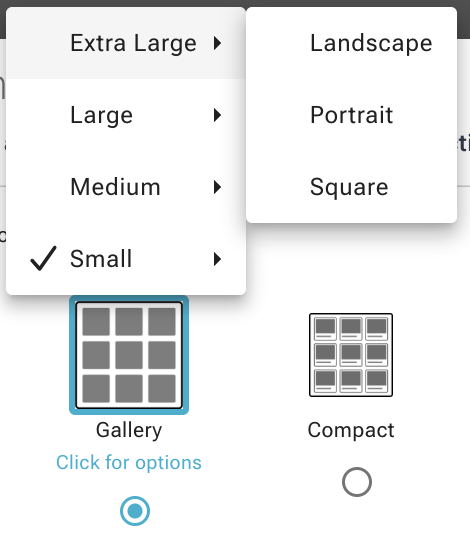
Image Sizes
Select the default image sizes for your roll content.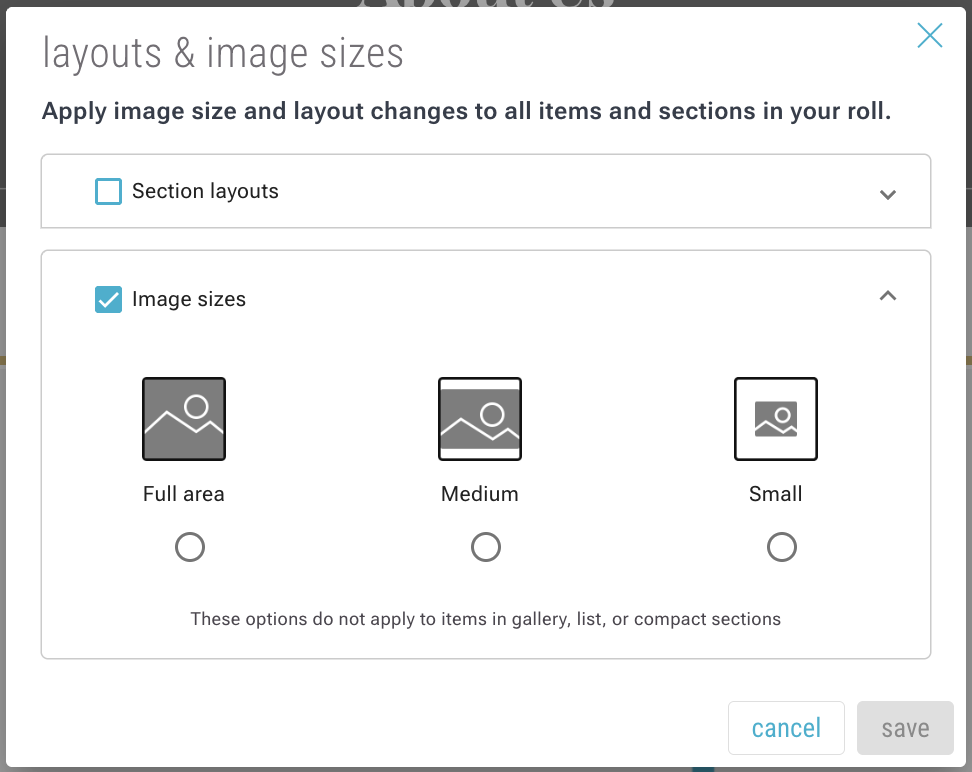
You can also adjust the image size of individual items in your roll via their 3-dot menu.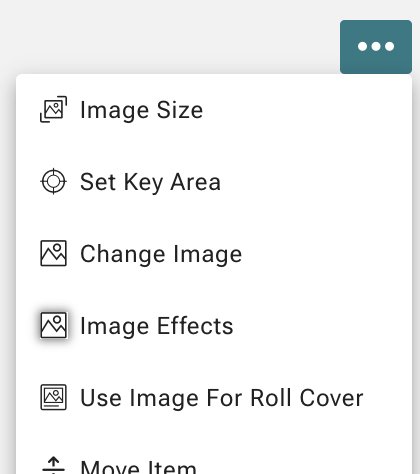
Section Animations
Open the 3-dot menu of a section and select “Animations” to enable and customize the animation effect.
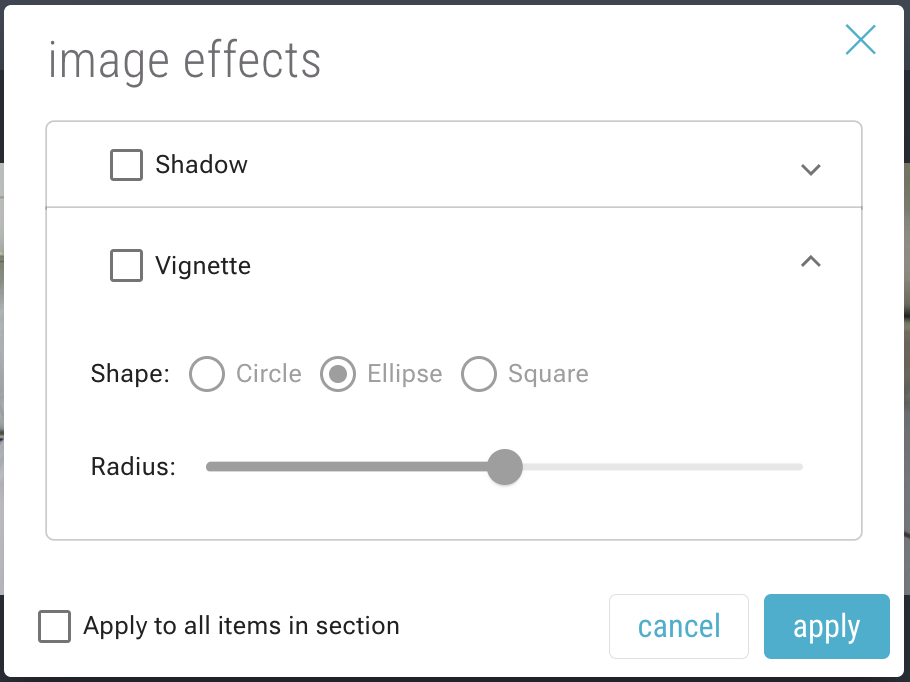
Image Effects
Open the 3-dot menu of an item and select “Image Effects”. Then adjust your image with shadow and vignette effects.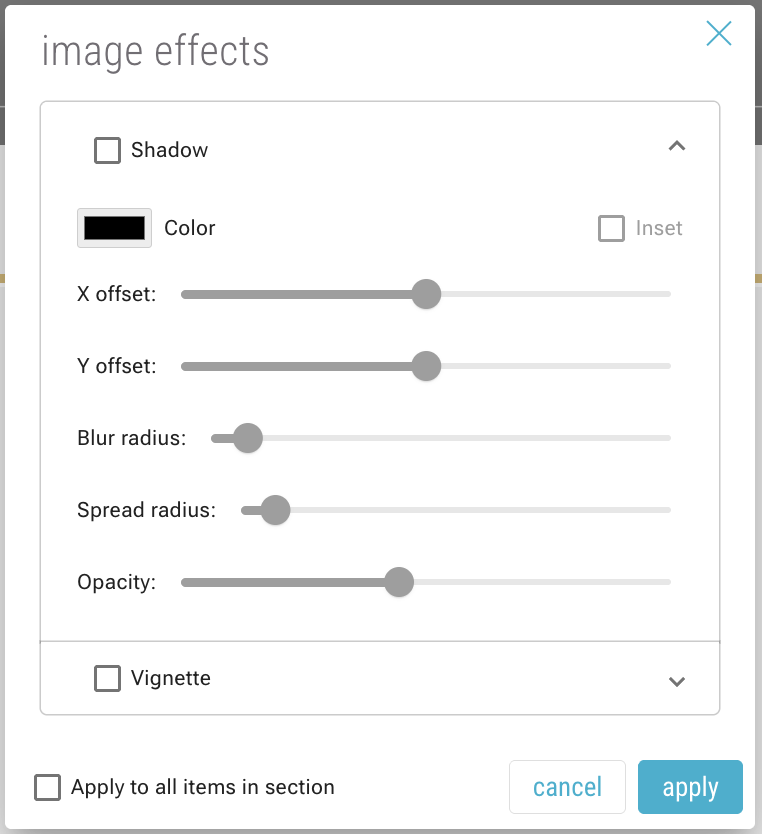
Add Widgets to Rolls
You can add widgets to items or spaces within your roll. There are several different types of widgets.
To add a widget, click the 3-dot menu on an item or section, and select “Widgets”.
Note: some widgets are only available on items whereas others are only applicable to sections.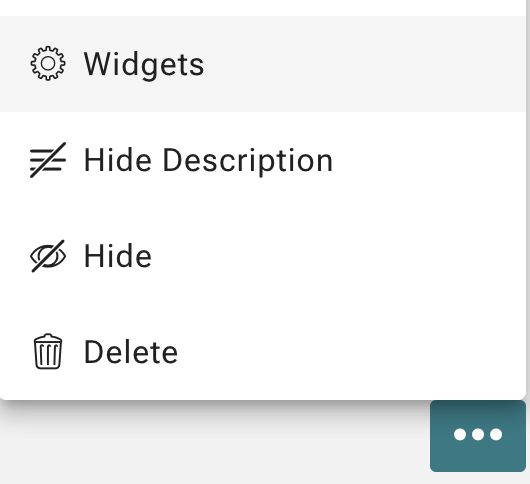
Call to Action Button
On items within a roll, you can add a Call to Action widget.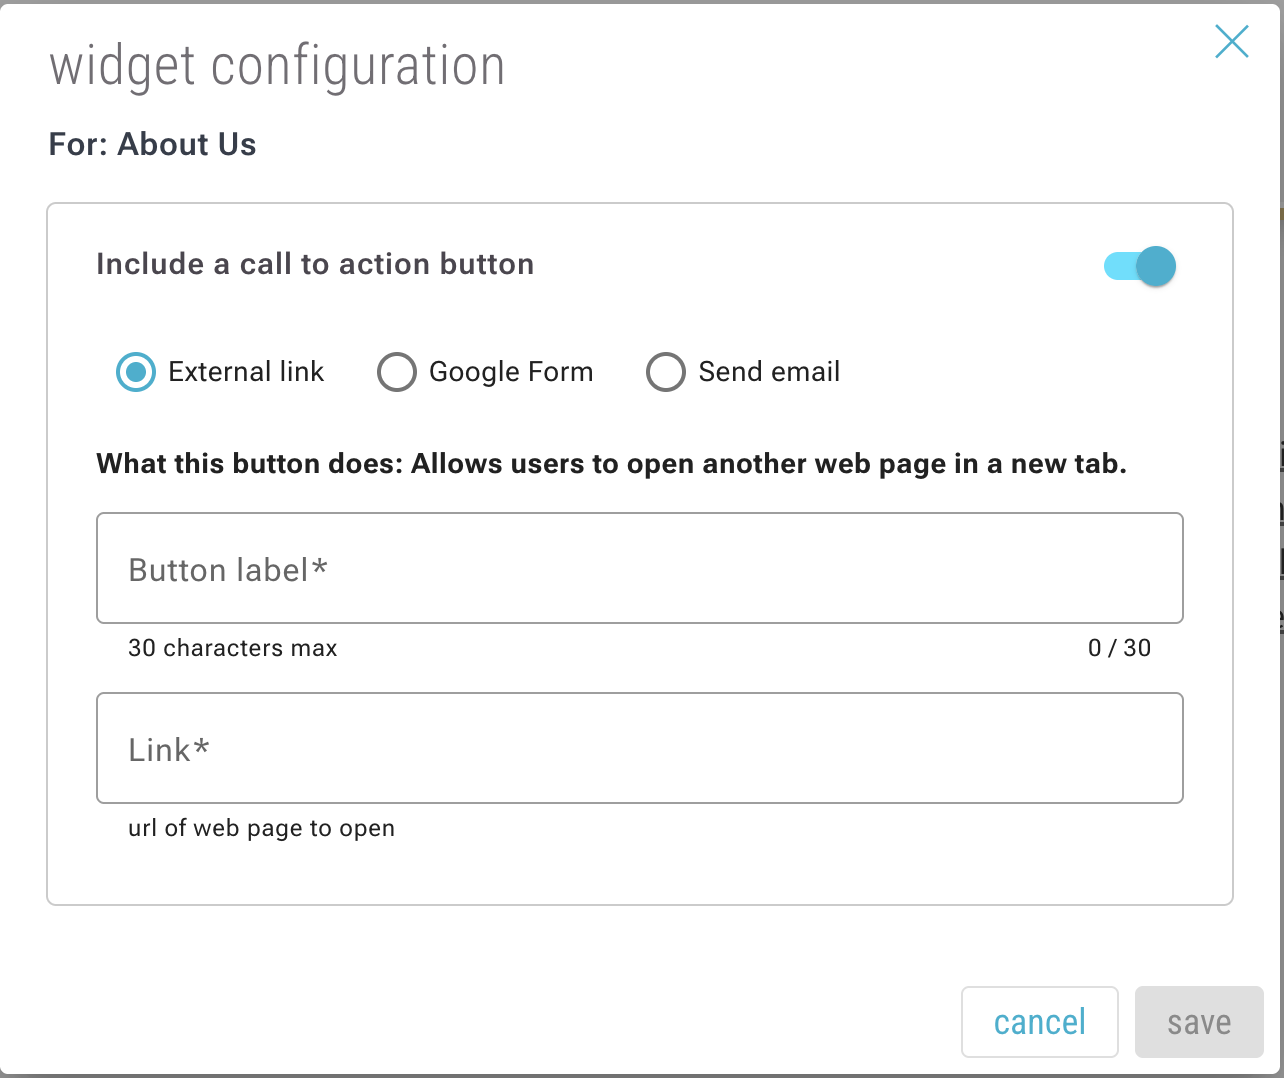
Slideshow
On sections, you can add a Slideshow widget.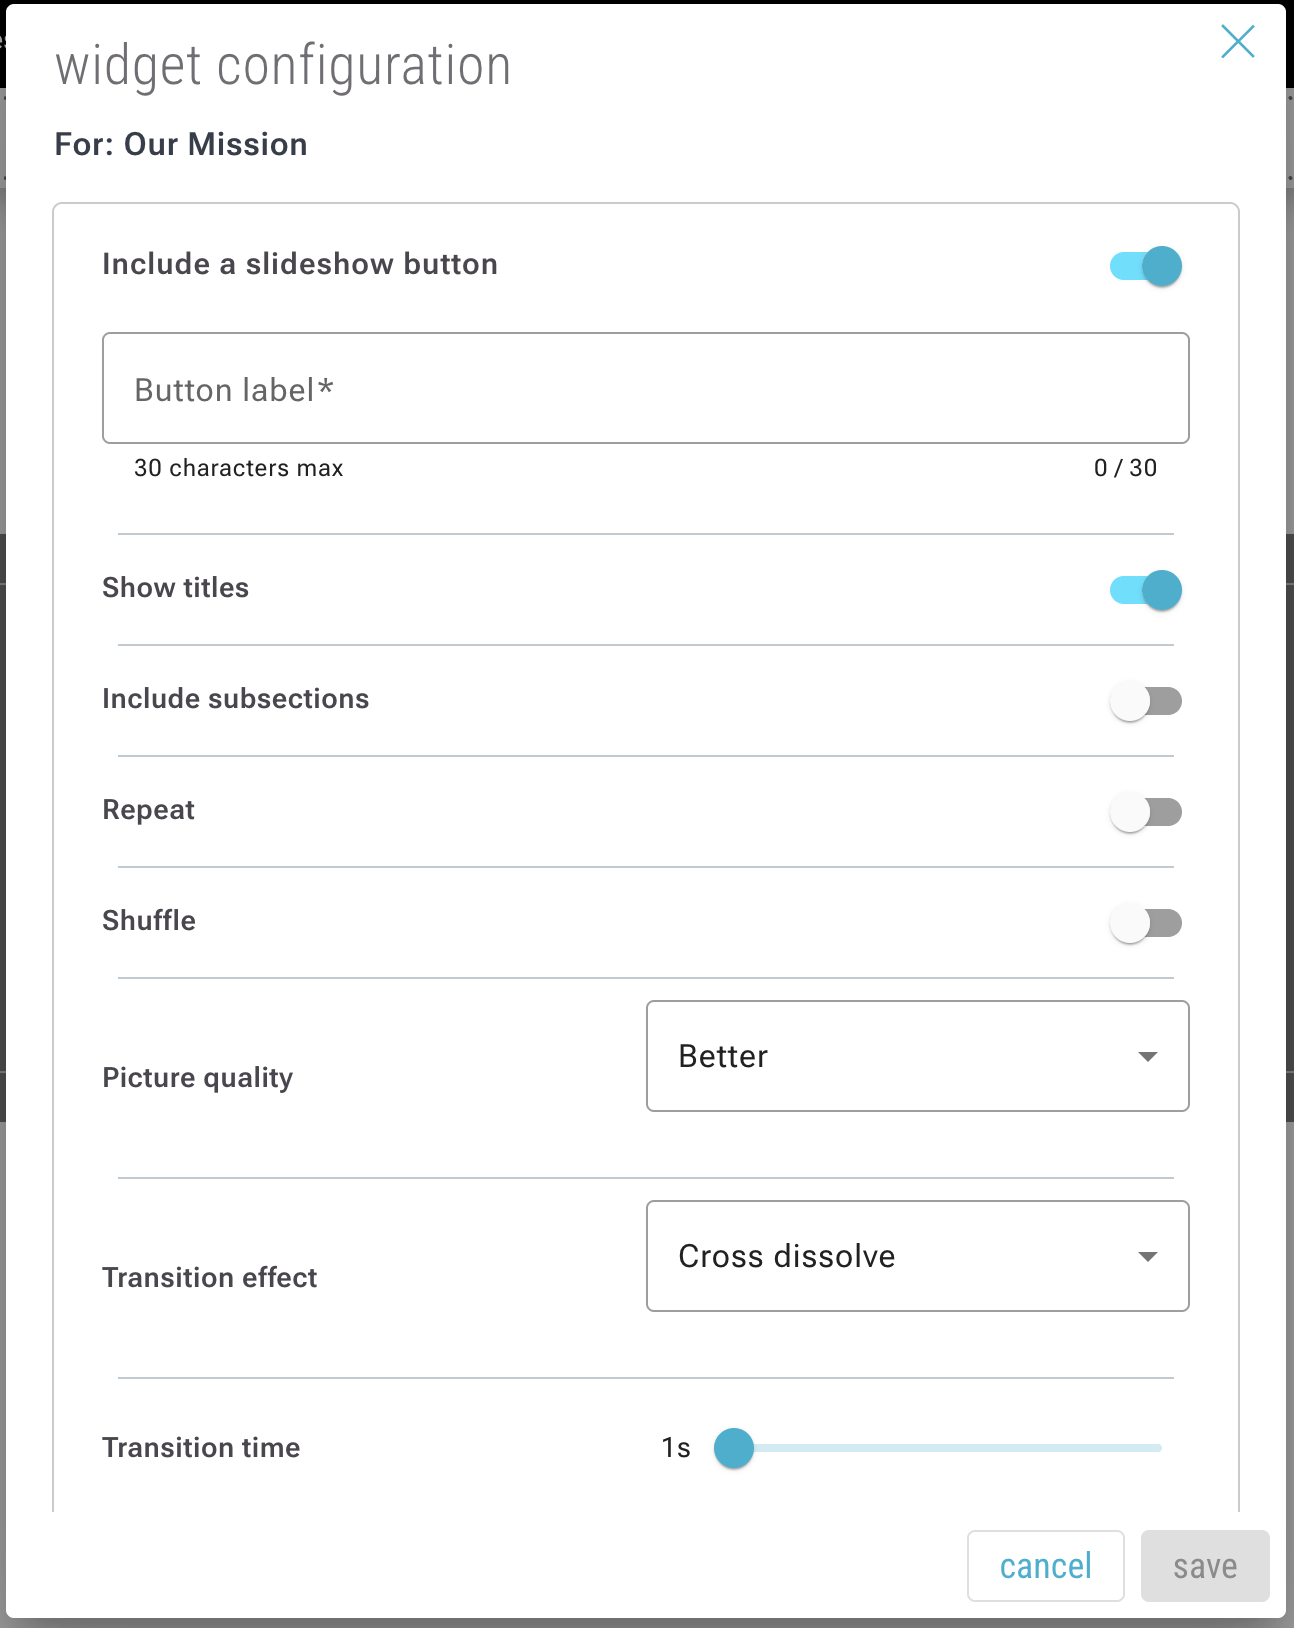
Embed Widget
On sections, you can add a Embed widget, which allows you to embed another website within your roll.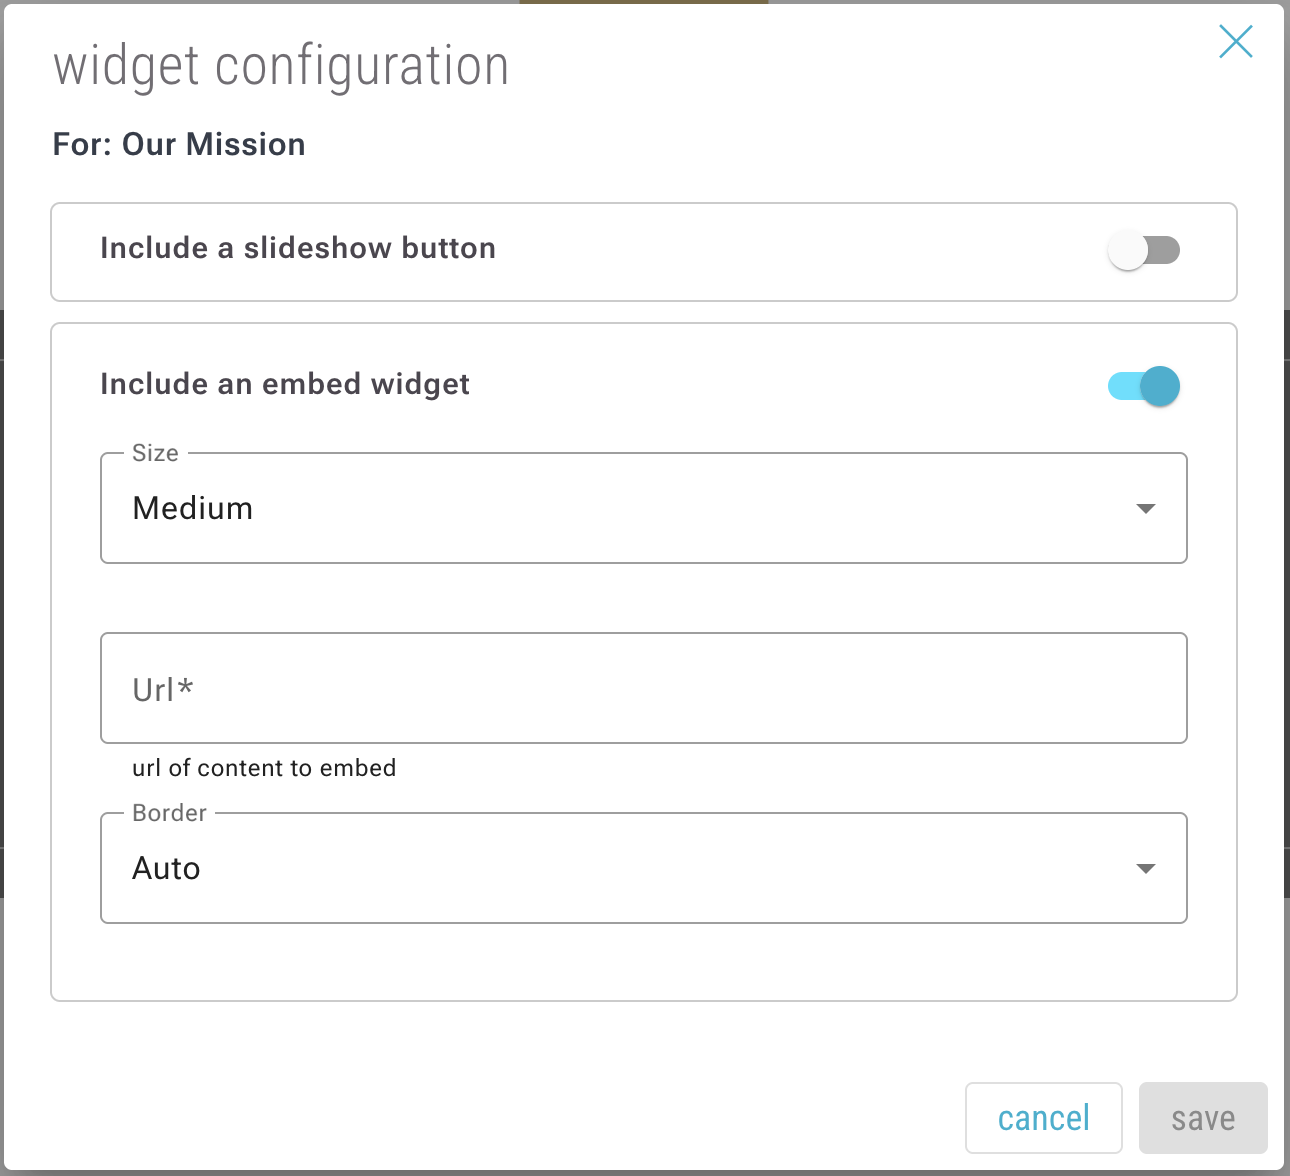
This can be done with your Community maps by following these steps:
- Navigate to your Community and open the settings (gear icon).
- Go to the “Community Embedded Map” tab and click the toggle to enable the feature.
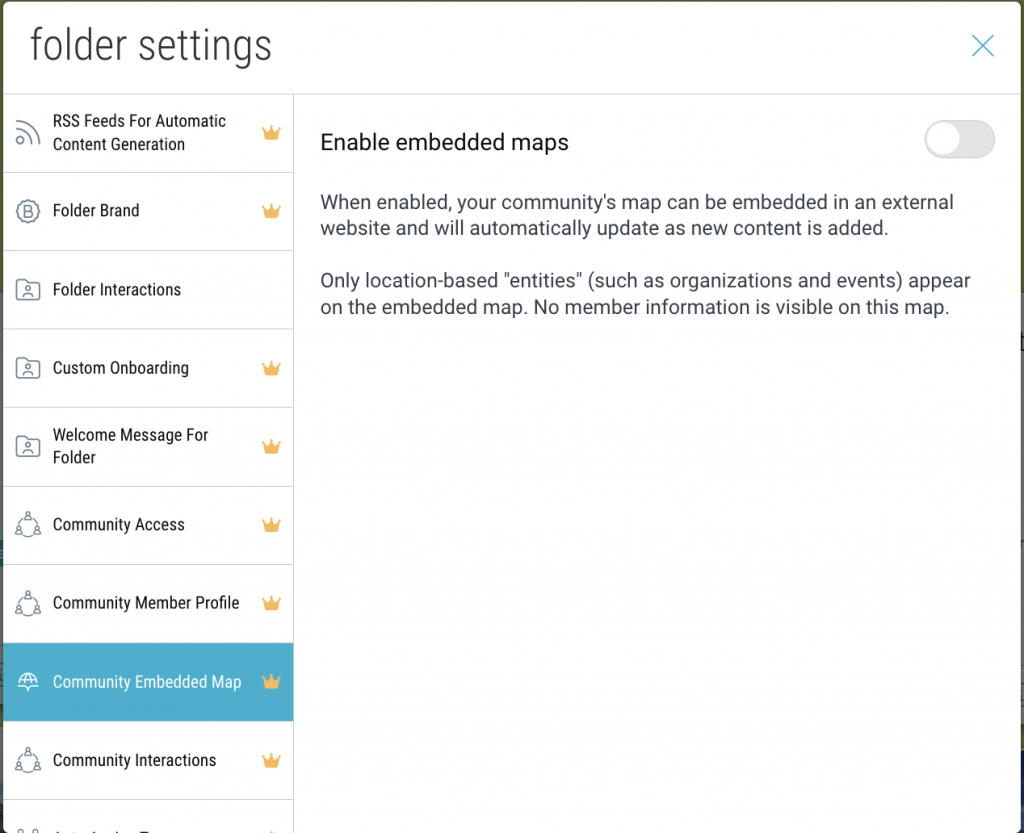
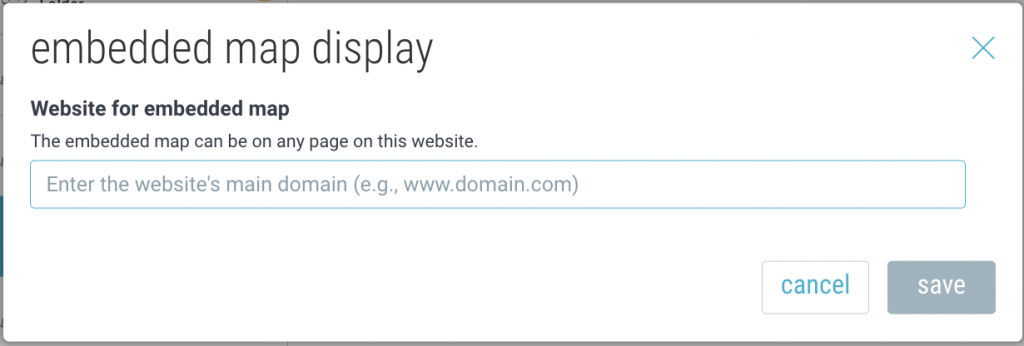
- Enter your website url.
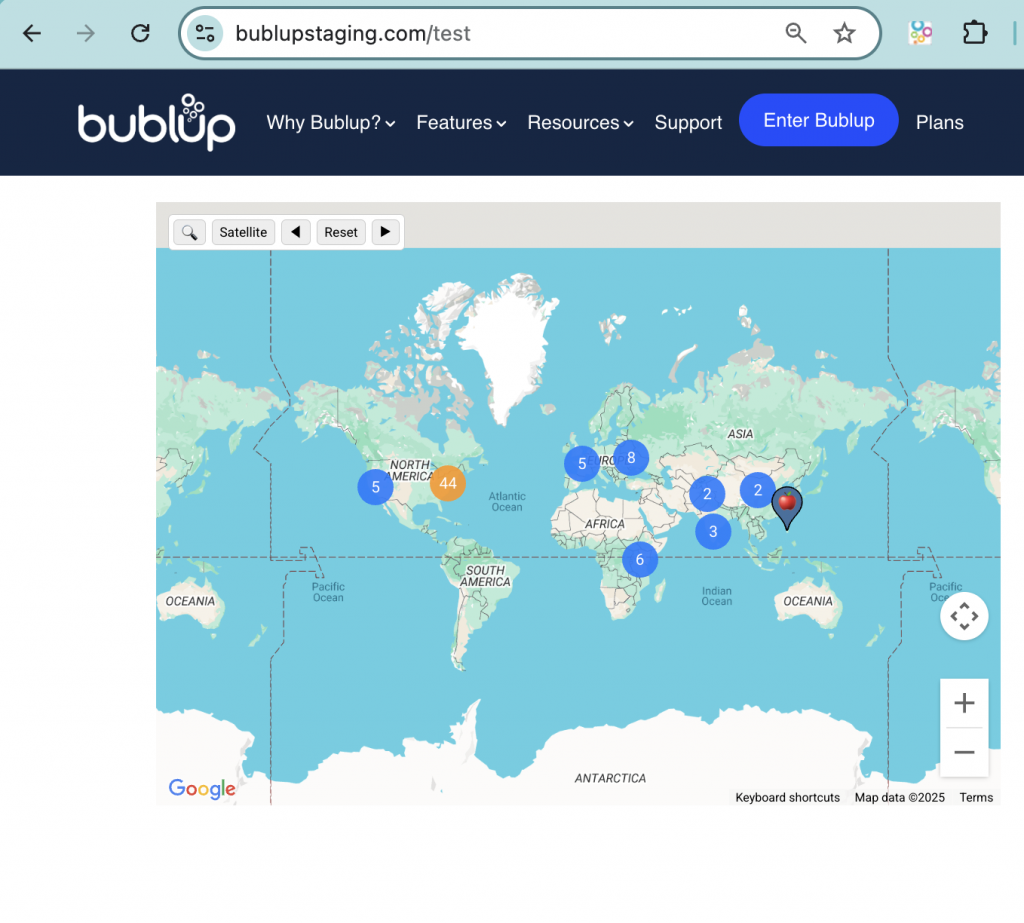
- Copy the HTML snippet and paste that code into your website in your desired location.

- You wil now see the embedded map within your roll.
Sync Your Roll to Your Space
There are two ways to sync a roll to its corresponding Space within Bublup.
From within the Roll
Open the Roll in “edit” mode and select “Sync”.![]()
Then choose where in the section you would like the new content to appear.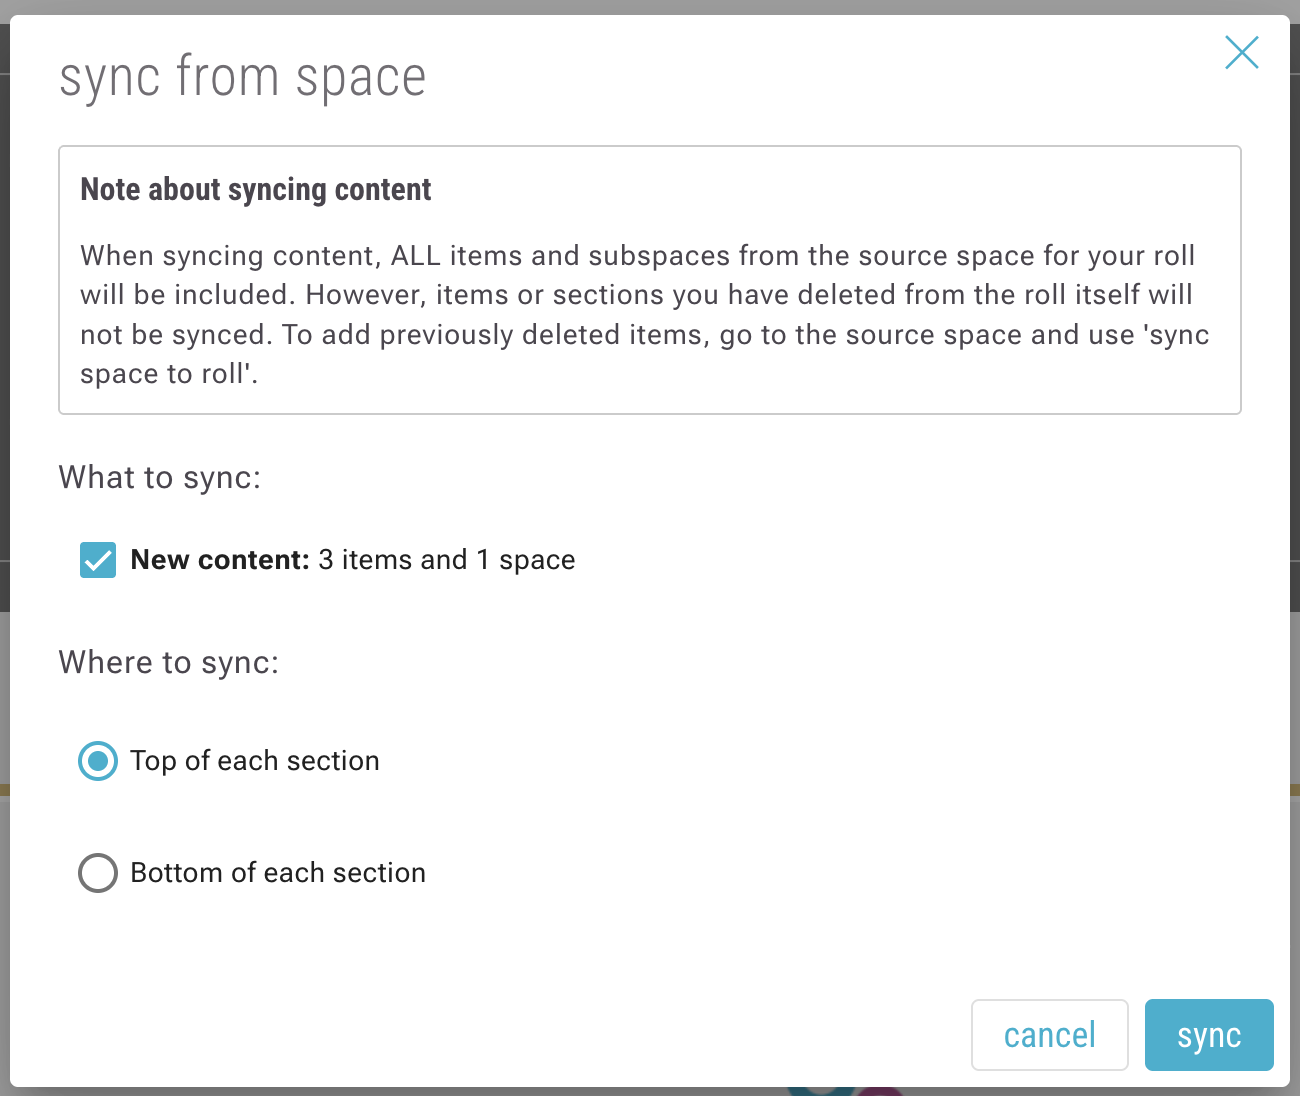
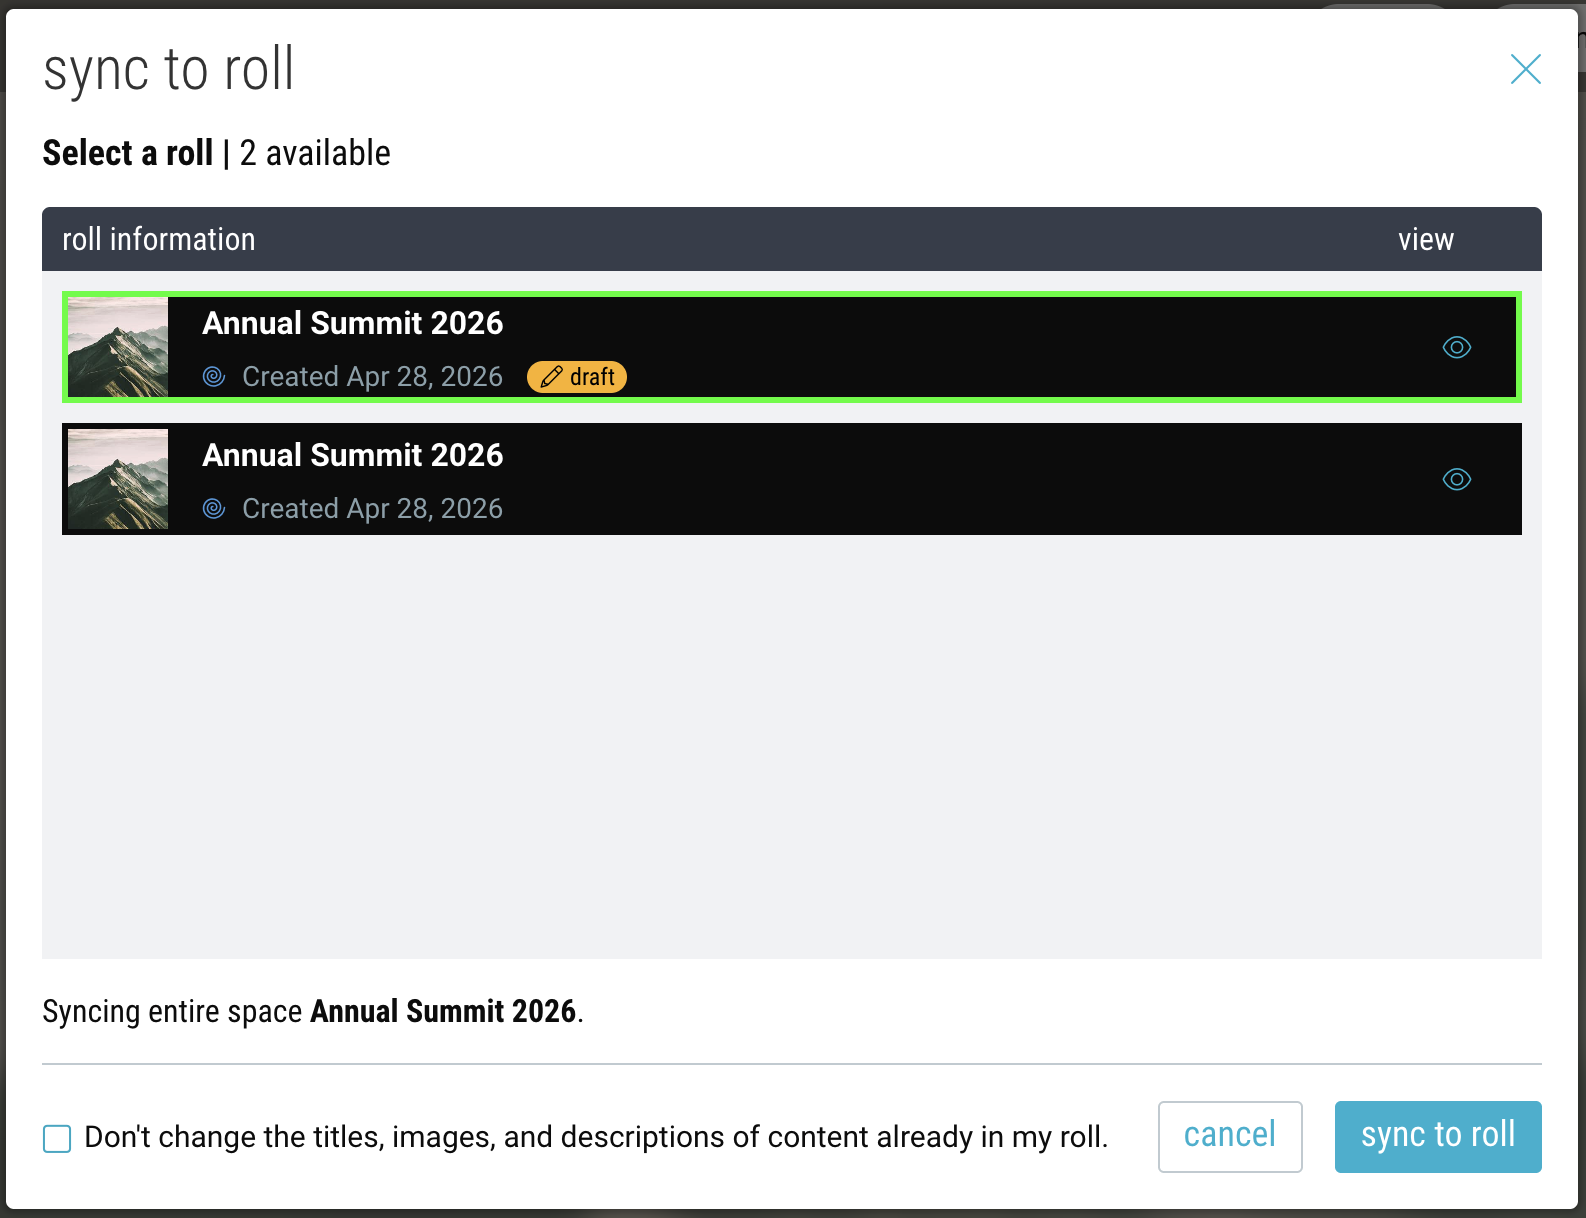
From within the Space
Click the “Sync” button from within your Bublup space.
If you have multiple rolls from this space, select which roll you would like to sync to.