Create private spaces dedicated to your community. Share resources, manage your community members and discuss topics of interest, all in one place. Utilize analytics features to empower your community and make data-driven decisions.
Some basics about Communities in Bublup:
-
- Creating a Community and community teams requires a Business or Enterprise account.
- A Community exist as a subfolder within an Organization folder.
- Anyone invited into a Community will be asked to create a Bublup account, if they do not already have one.
- Free community members can view, comment and react, as well as post in Forums.
How to Create a Community:
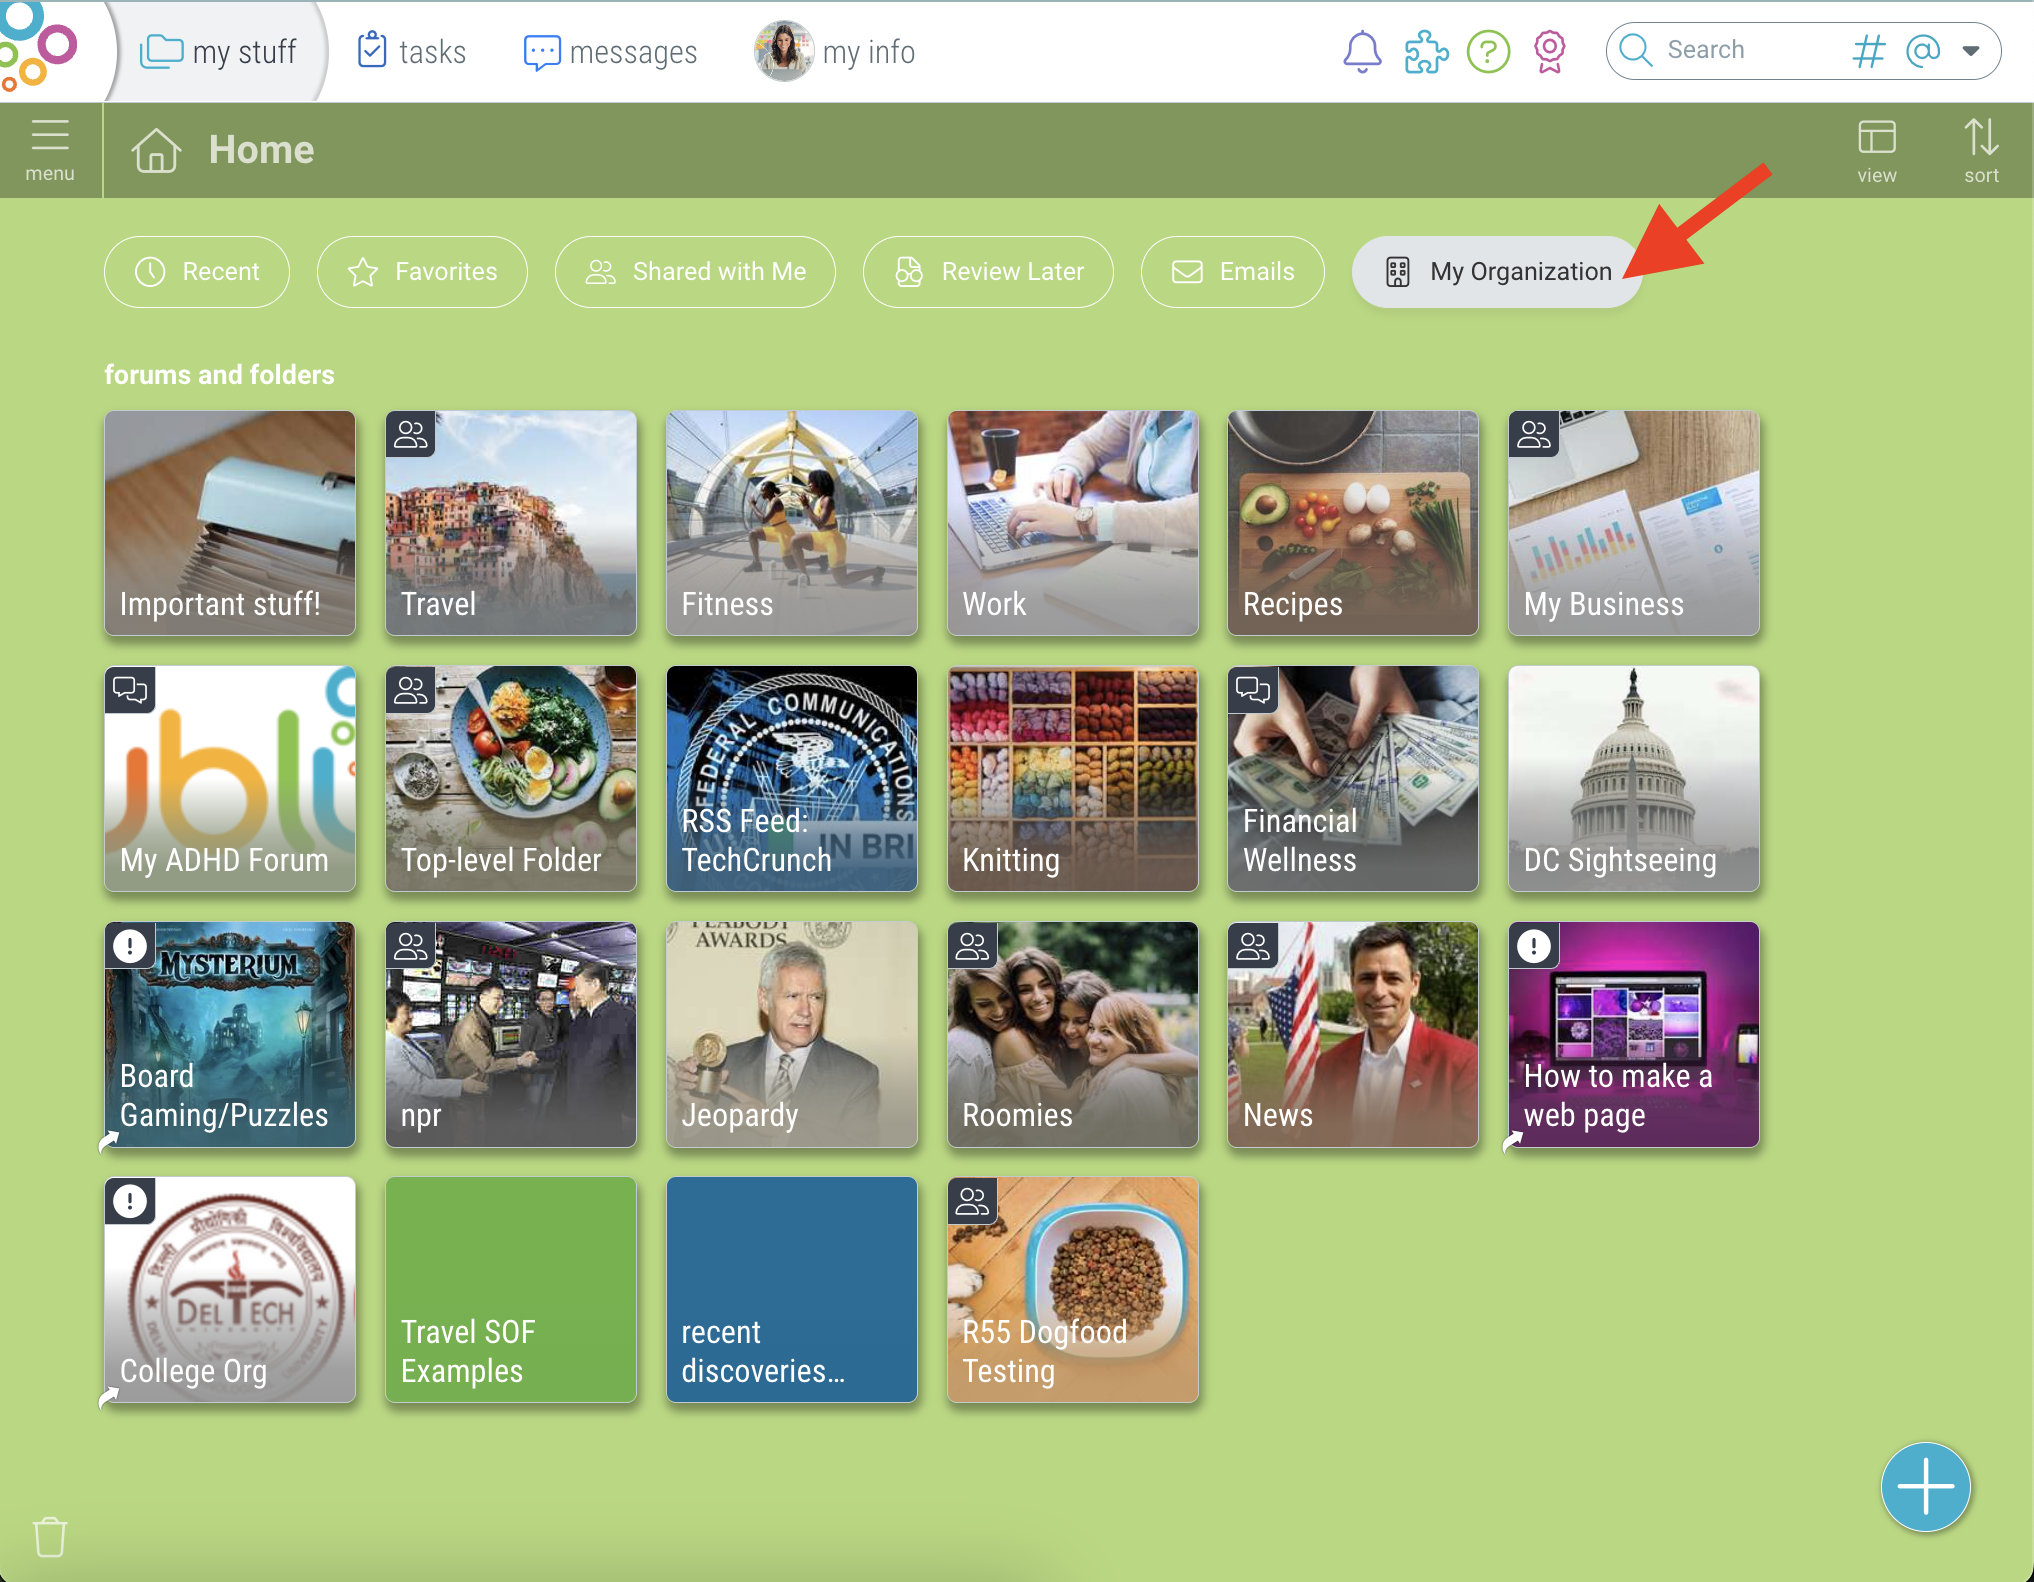
- Open your Organization folder on desktop. (Note: If you have not set up an Organization yet, follow these steps.)
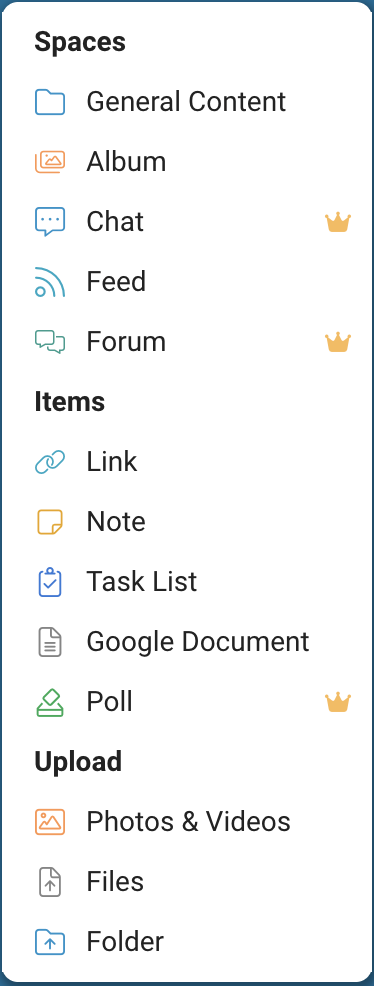
- Click the + button and select “Community”.
- Name your community and click “Create”.
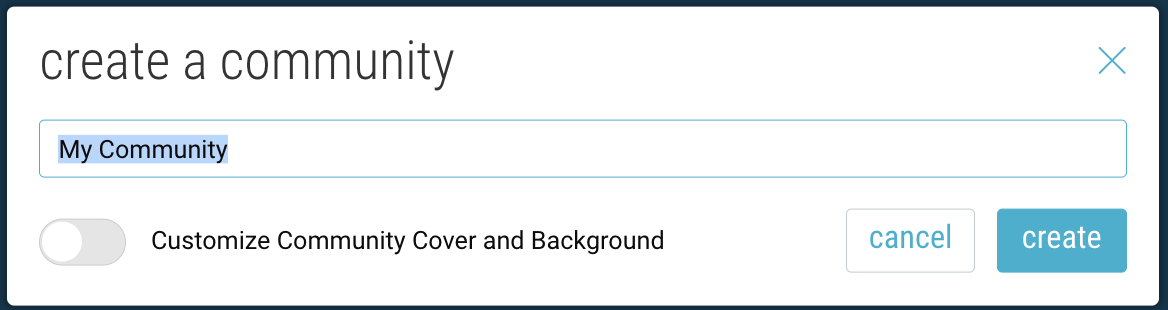
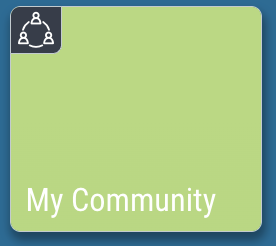
Optional: Customize the folder cover & background. (This can always be changed later.) - Community folders are indicated by the icon in the upper-left corner of the folder.
- Use the “Invite” button to invite user to join your Community.
Advanced Community Settings
Go to the “settings” icon in the upper-right hand corner of the community.
- Restricted Community Access
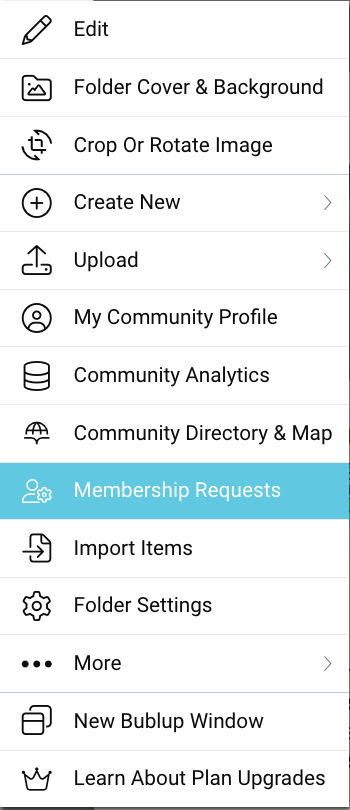
Require admin approval for all users prior to being admitted as a member of the community. To review and approve membership requests, go to the community ☰ menu and click “Membership Requests”.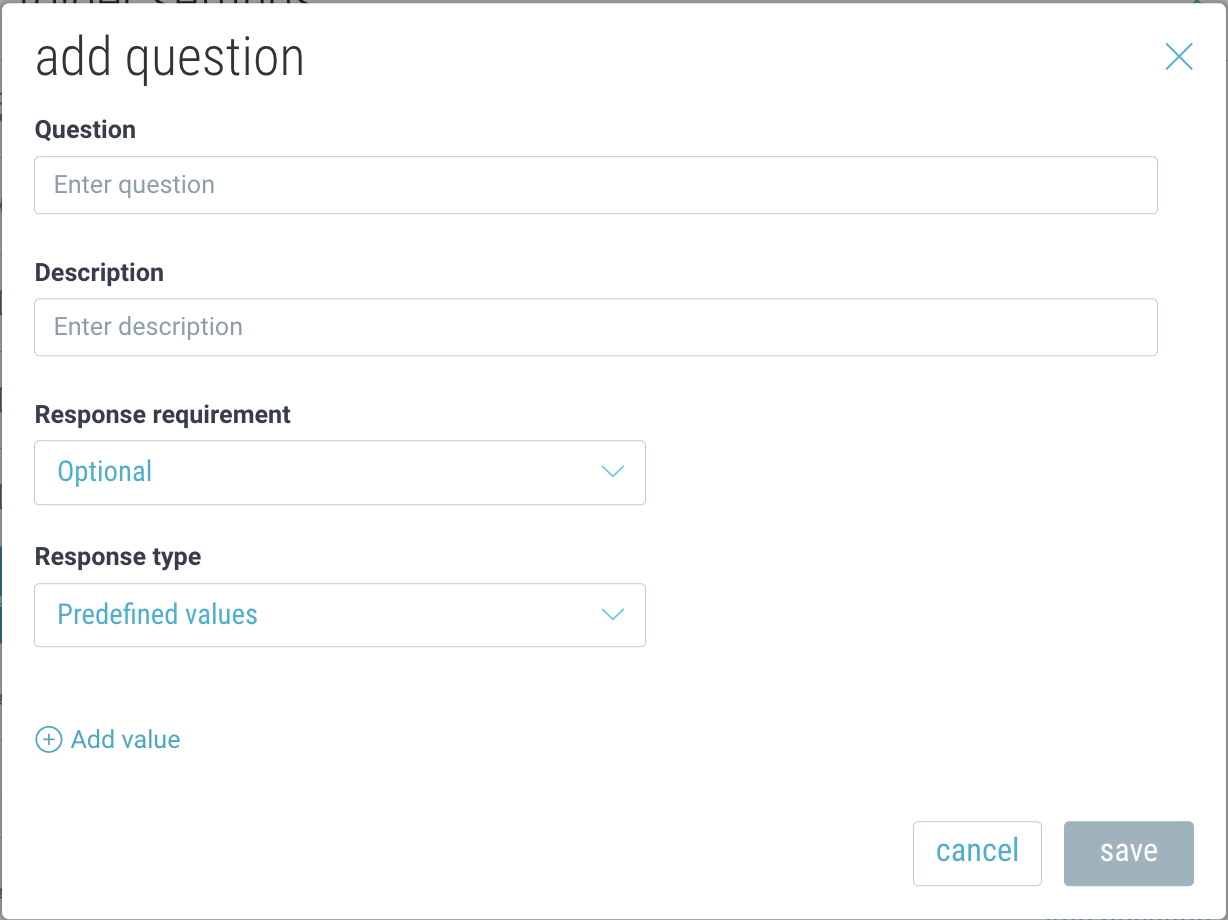
- Community Member Profile
Community admins can request that their community members share profile information, including custom fields, with other members. Click here to learn more.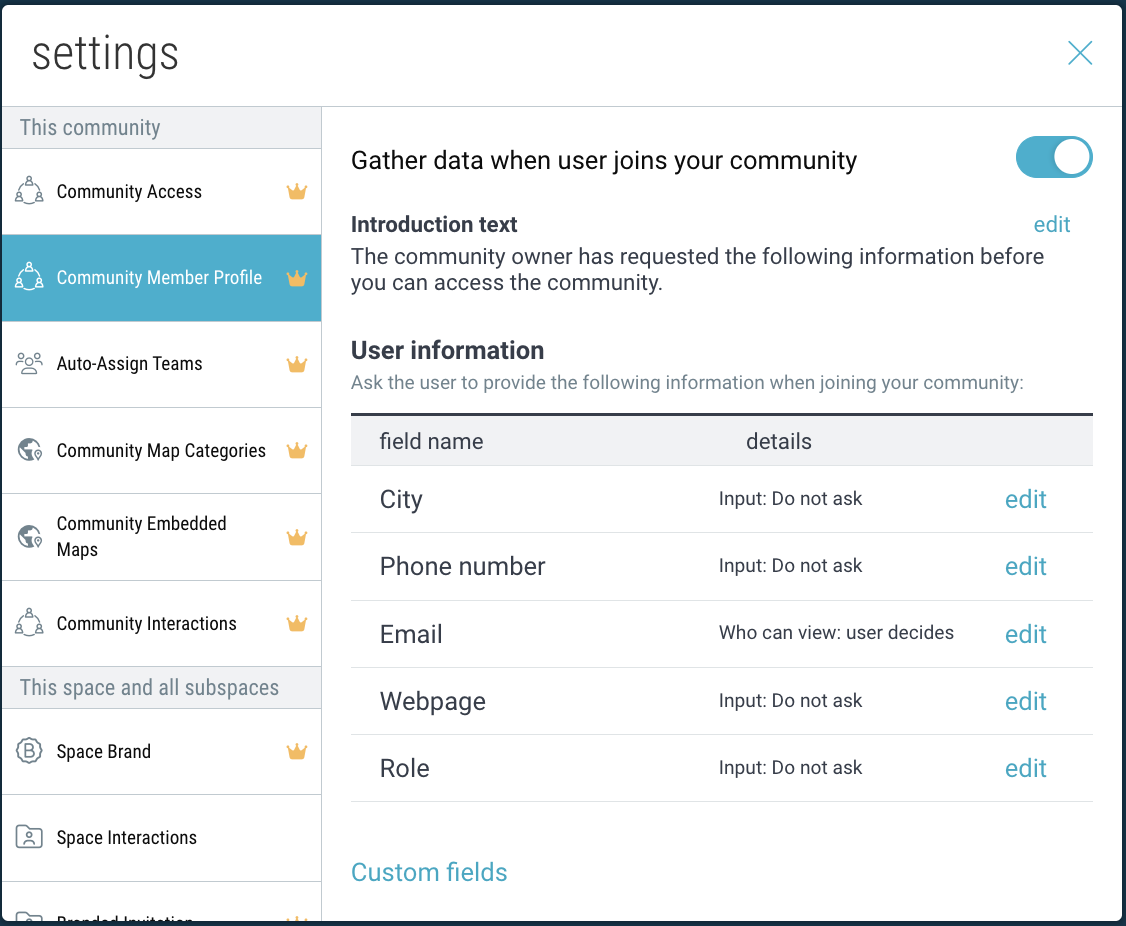
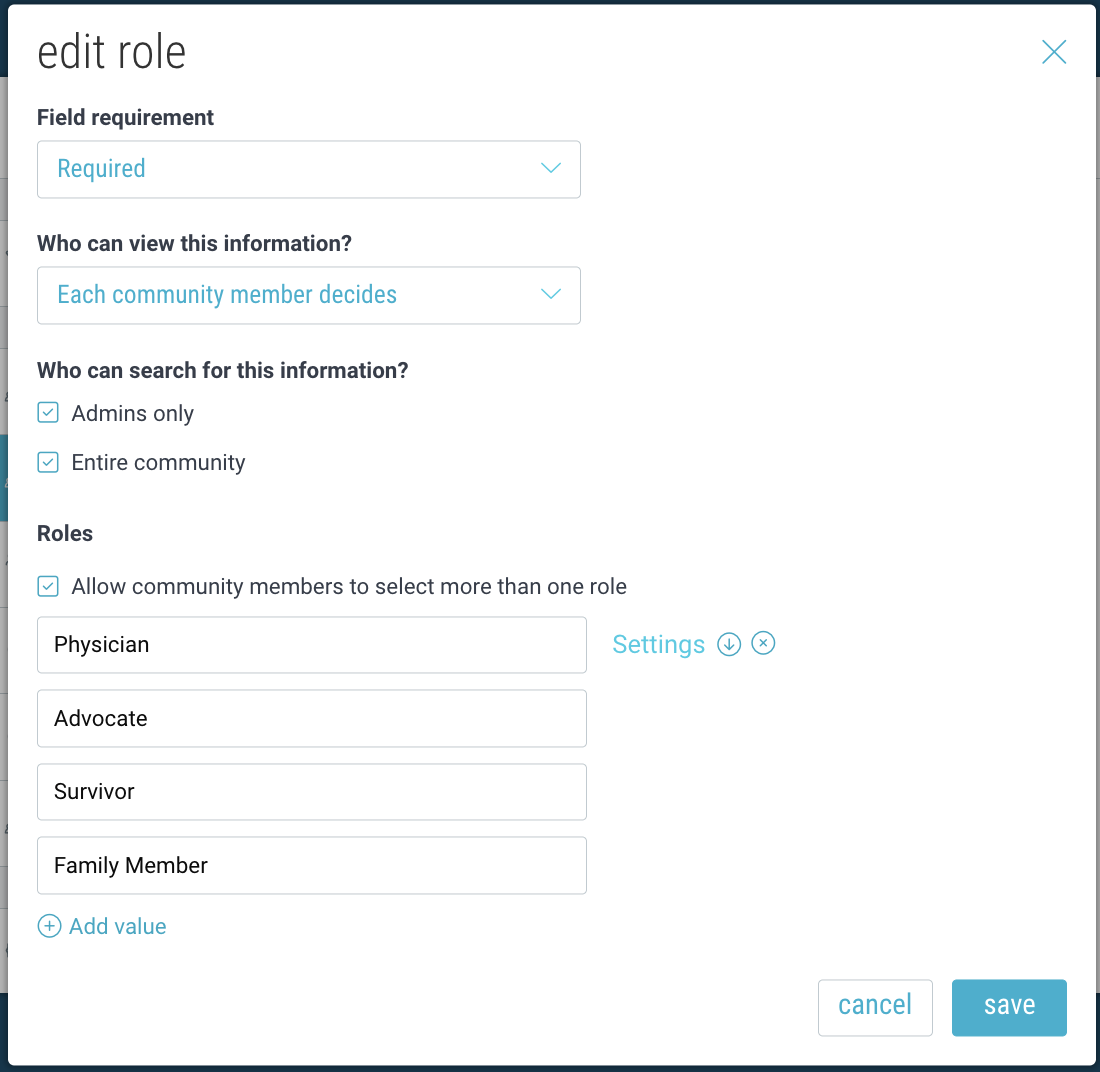
(Pro tip: You can map a role to existing teams by hovering over the role and clicking “Settings”.) - Auto-Assign Teams
Auto-assign community members to specific teams based on their role or other rules. - Community Map Categories
Create categories for entities that will appear on your community map and assign them to the items within different subspaces of your community. Click here to learn more. - Community Embedded Maps
Add your community map to your website to showcase entities and resources. Click here to learn more. - AI Content Moderator
Bublup’s AI-powered moderation feature helps keep your communities and forums safe, respectful, and on-topic. Use custom rules to moderate user content to your liking. Click here to learn more. - Space Branding: Include your organization’s brand visible within the space and when sharing content or rolls from this space. Click here to learn more.
- Branded Invitation: Display a custom message to appear on the sign-up screen for new users who receive your space invite.
- Welcome Message: Provide a customized welcome message for users to see the first time they enter your folder.
- Custom Action Button: Add a custom button at the top of your space. Customize the text and colors, as well as the URL that it will link to.
- Feeds & AI Curator: Use Bublup’s AI Curator, in combination with Feeds to automatically curate content whenever new content is added to your feed—no need to do it manually. Click here to learn more.
- Other Community & Space-specific Interactions
How to Create Community Teams:
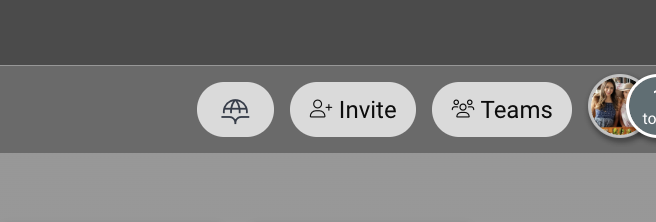
- Open your Community folder and click “Teams” at the top of the Community.
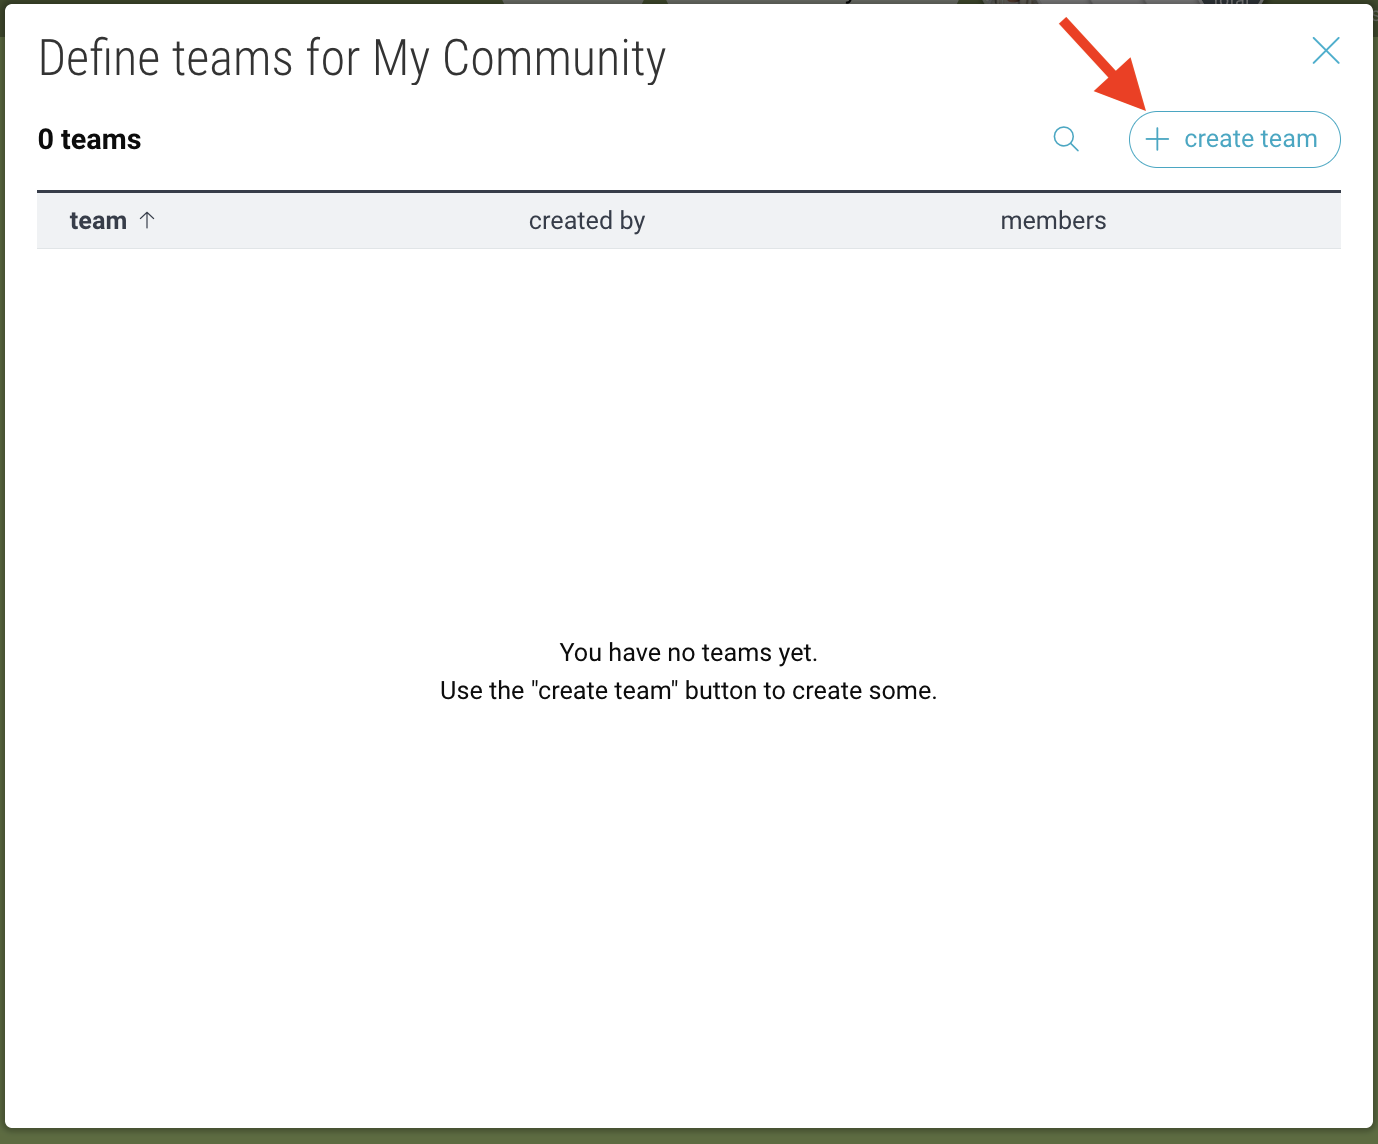
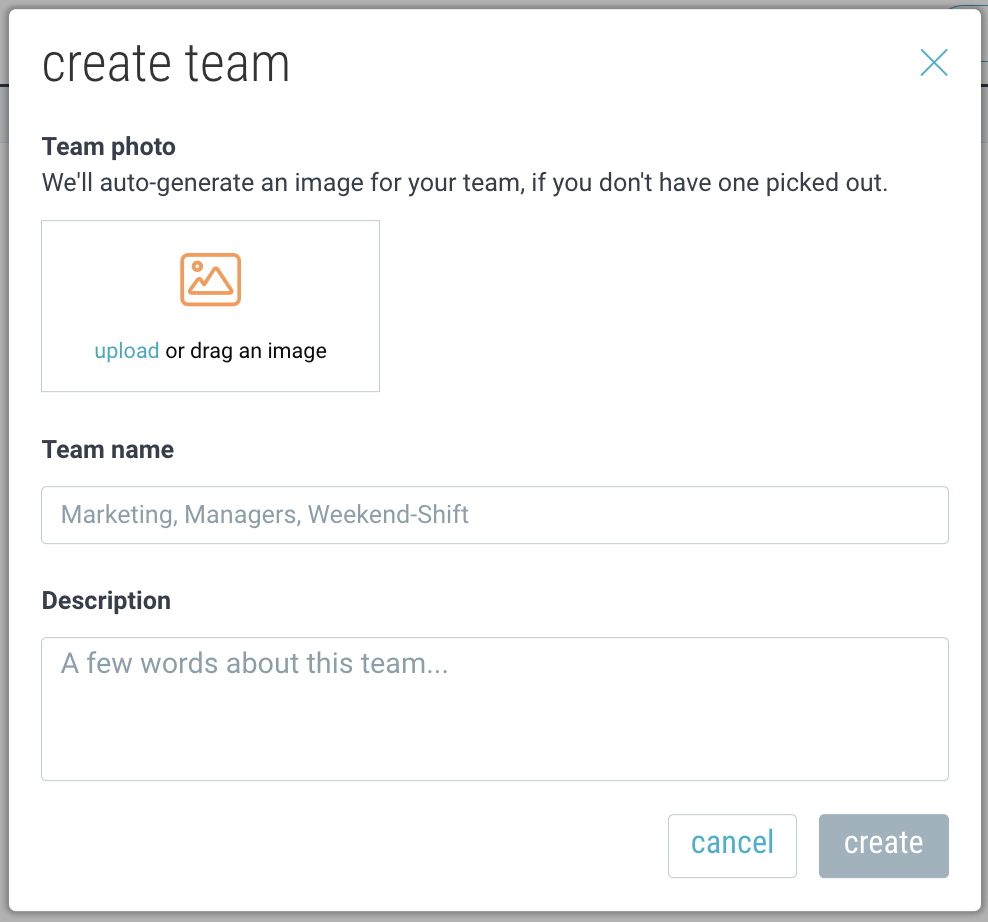
- Click “create team”. Then name your team and optionally provide a description or photo. Click “create” to save.
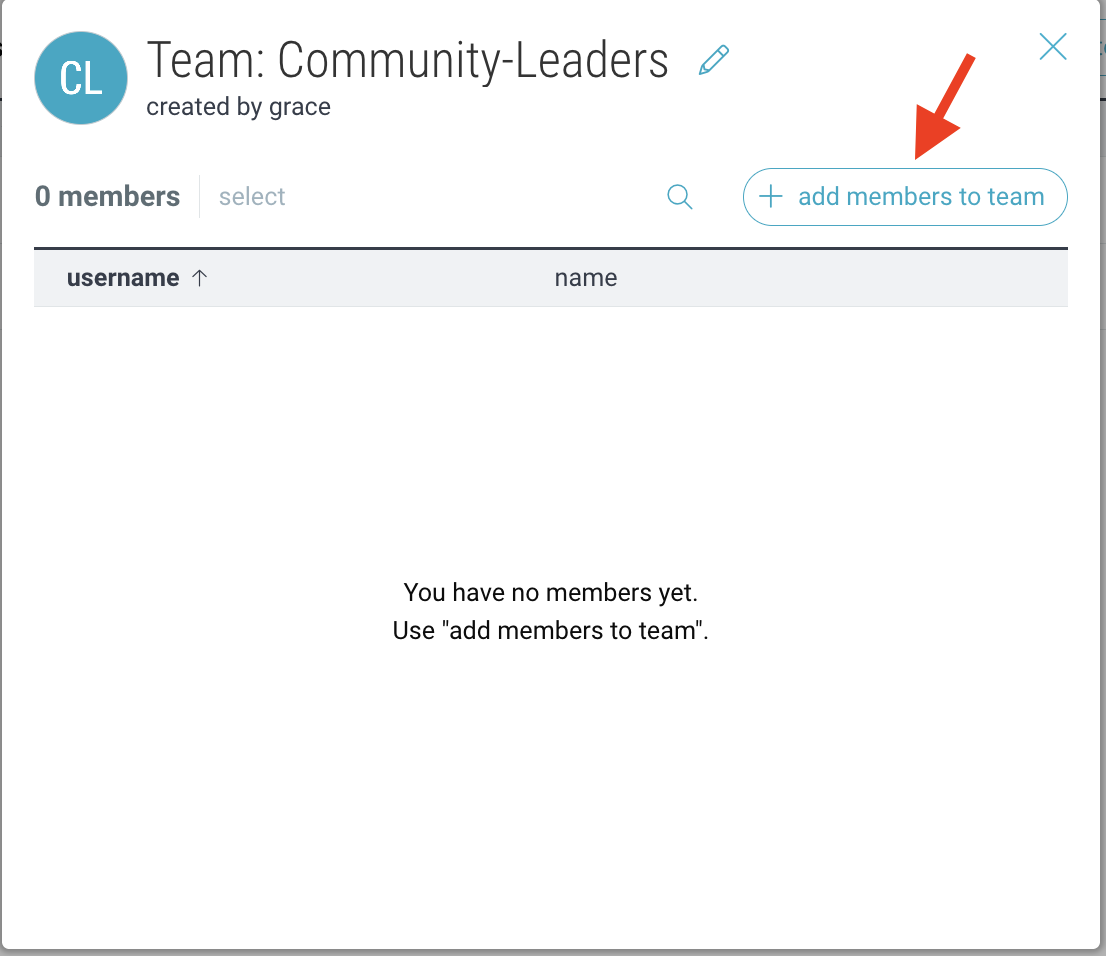
- Navigate to the team you just created and click “add members to team”. Search for folder members by username and click “add”.
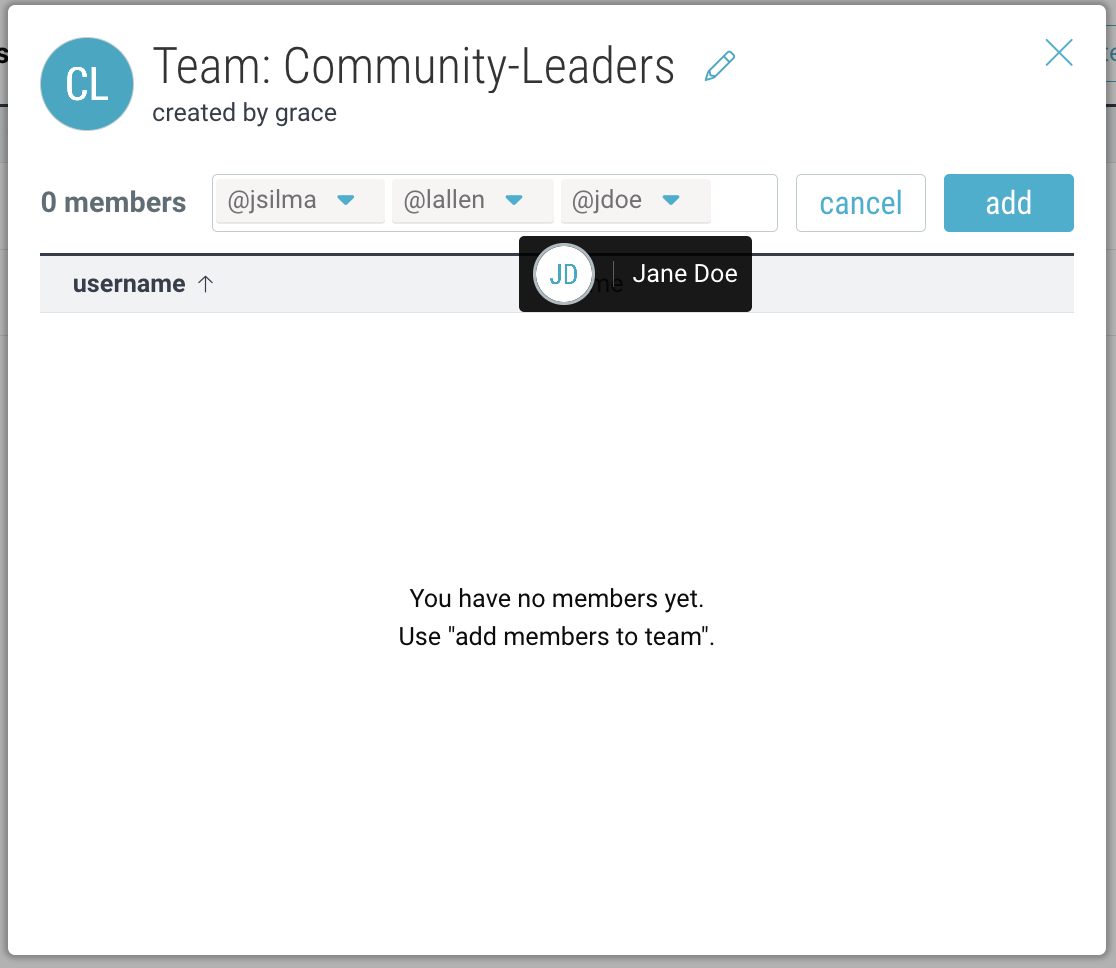
- Your team members will now appear under that team.

Note: Community teams are separate from Organization teams. Org teams can only contain direct members of your Organization.
Managing Community Teams & Members:
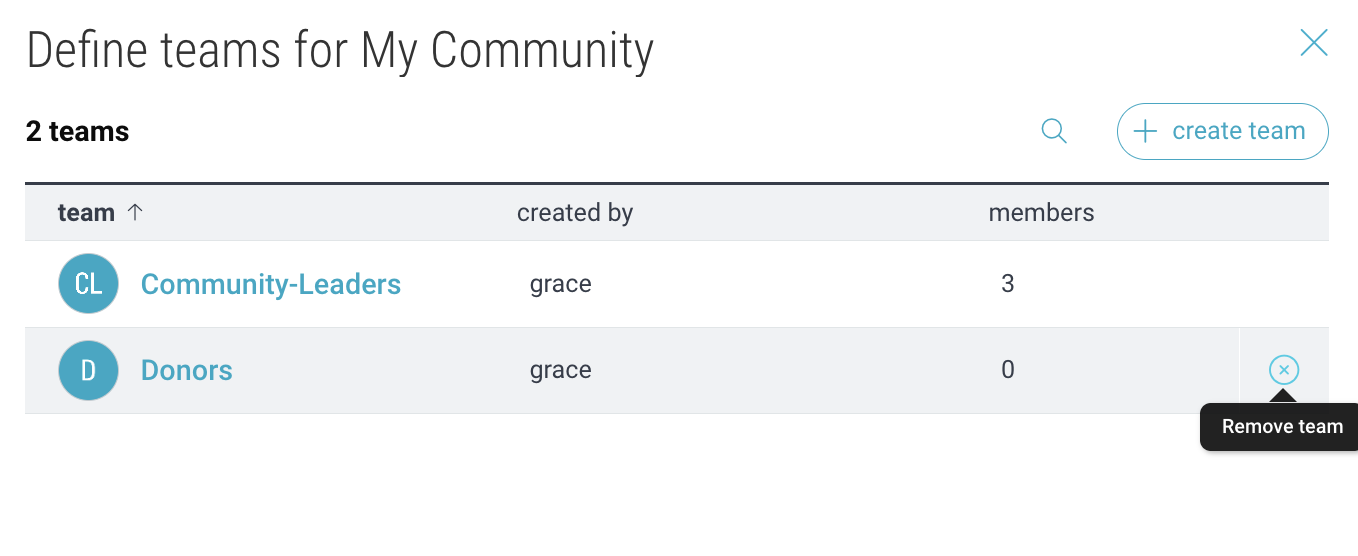
- Click “Teams” to view your existing teams.
- Click on a team to view its members and click the “edit” icon to modify the team name, description, or avatar.
- However over a team or a member and click “X” to delete them.
Mentioning Teams in Comments:
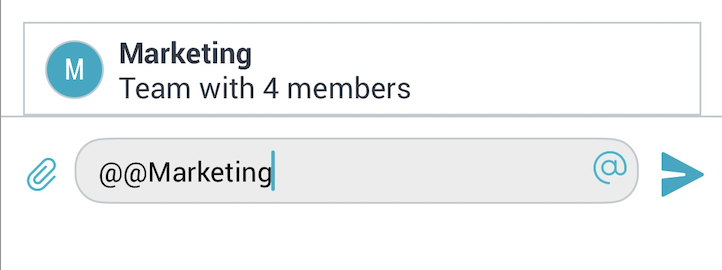
If you belong to a Community that contains Teams, you can use @@ to mention the team, and all team members will receive a notification.
Creating and Managing Forums:
Within communities you can add special Forum folders for your community members to post and interact. For more info on setting up forums, click here.
Community Forum Analytics:
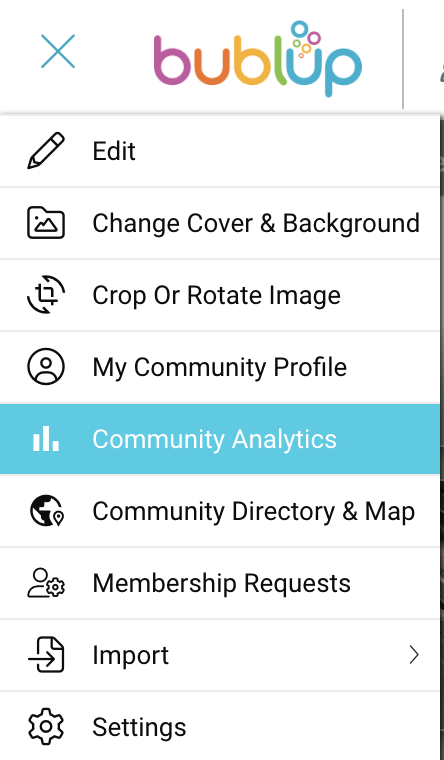
On desktop, go to ☰ menu → “Community Analytics”.
View your most popular topics, active users, and community engagement (page views, comments created, posts created, device type).
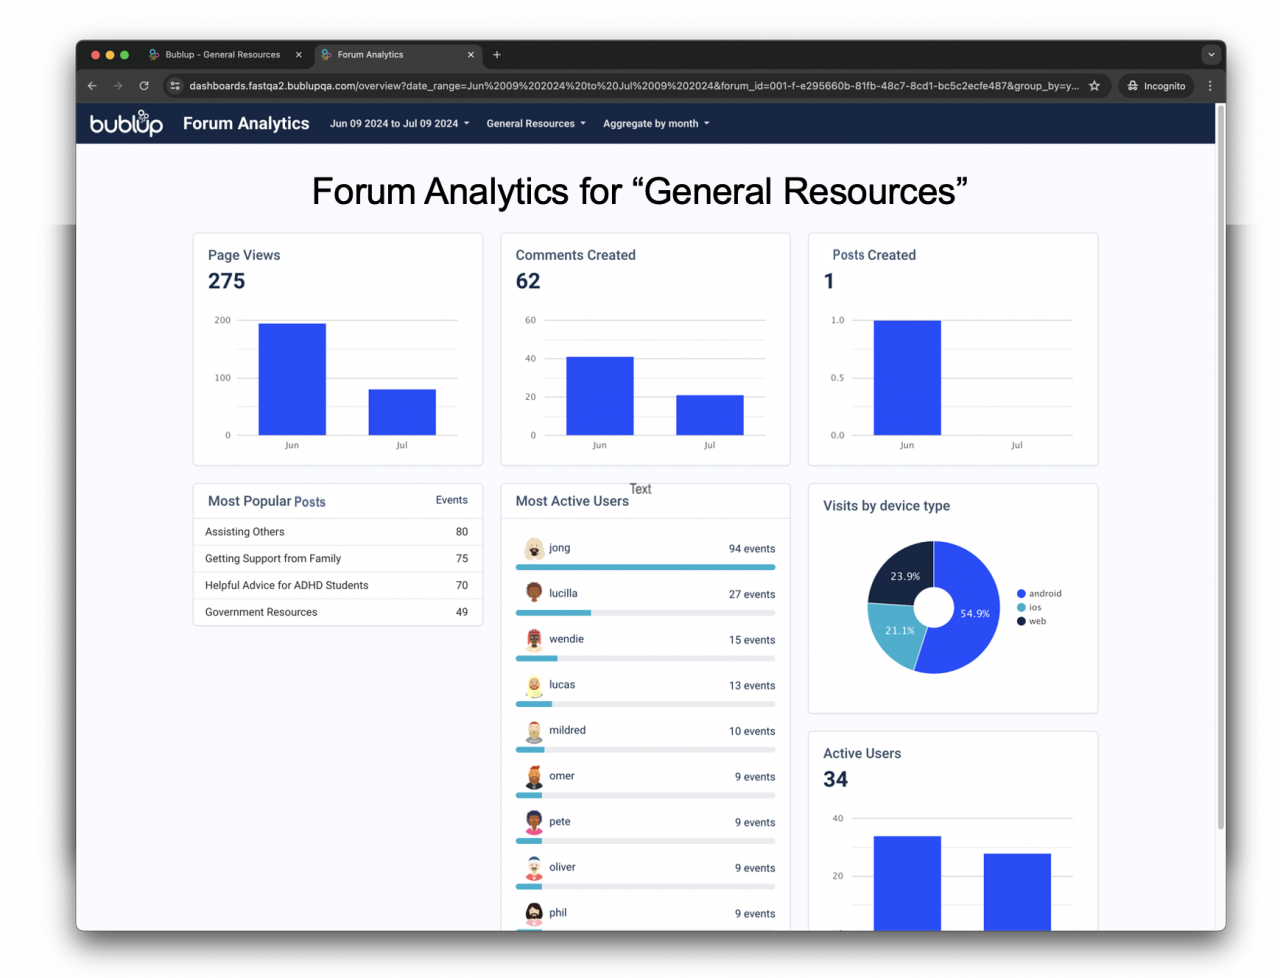
Select which forums to view, the date range, and the aggregate method (day, week, month).
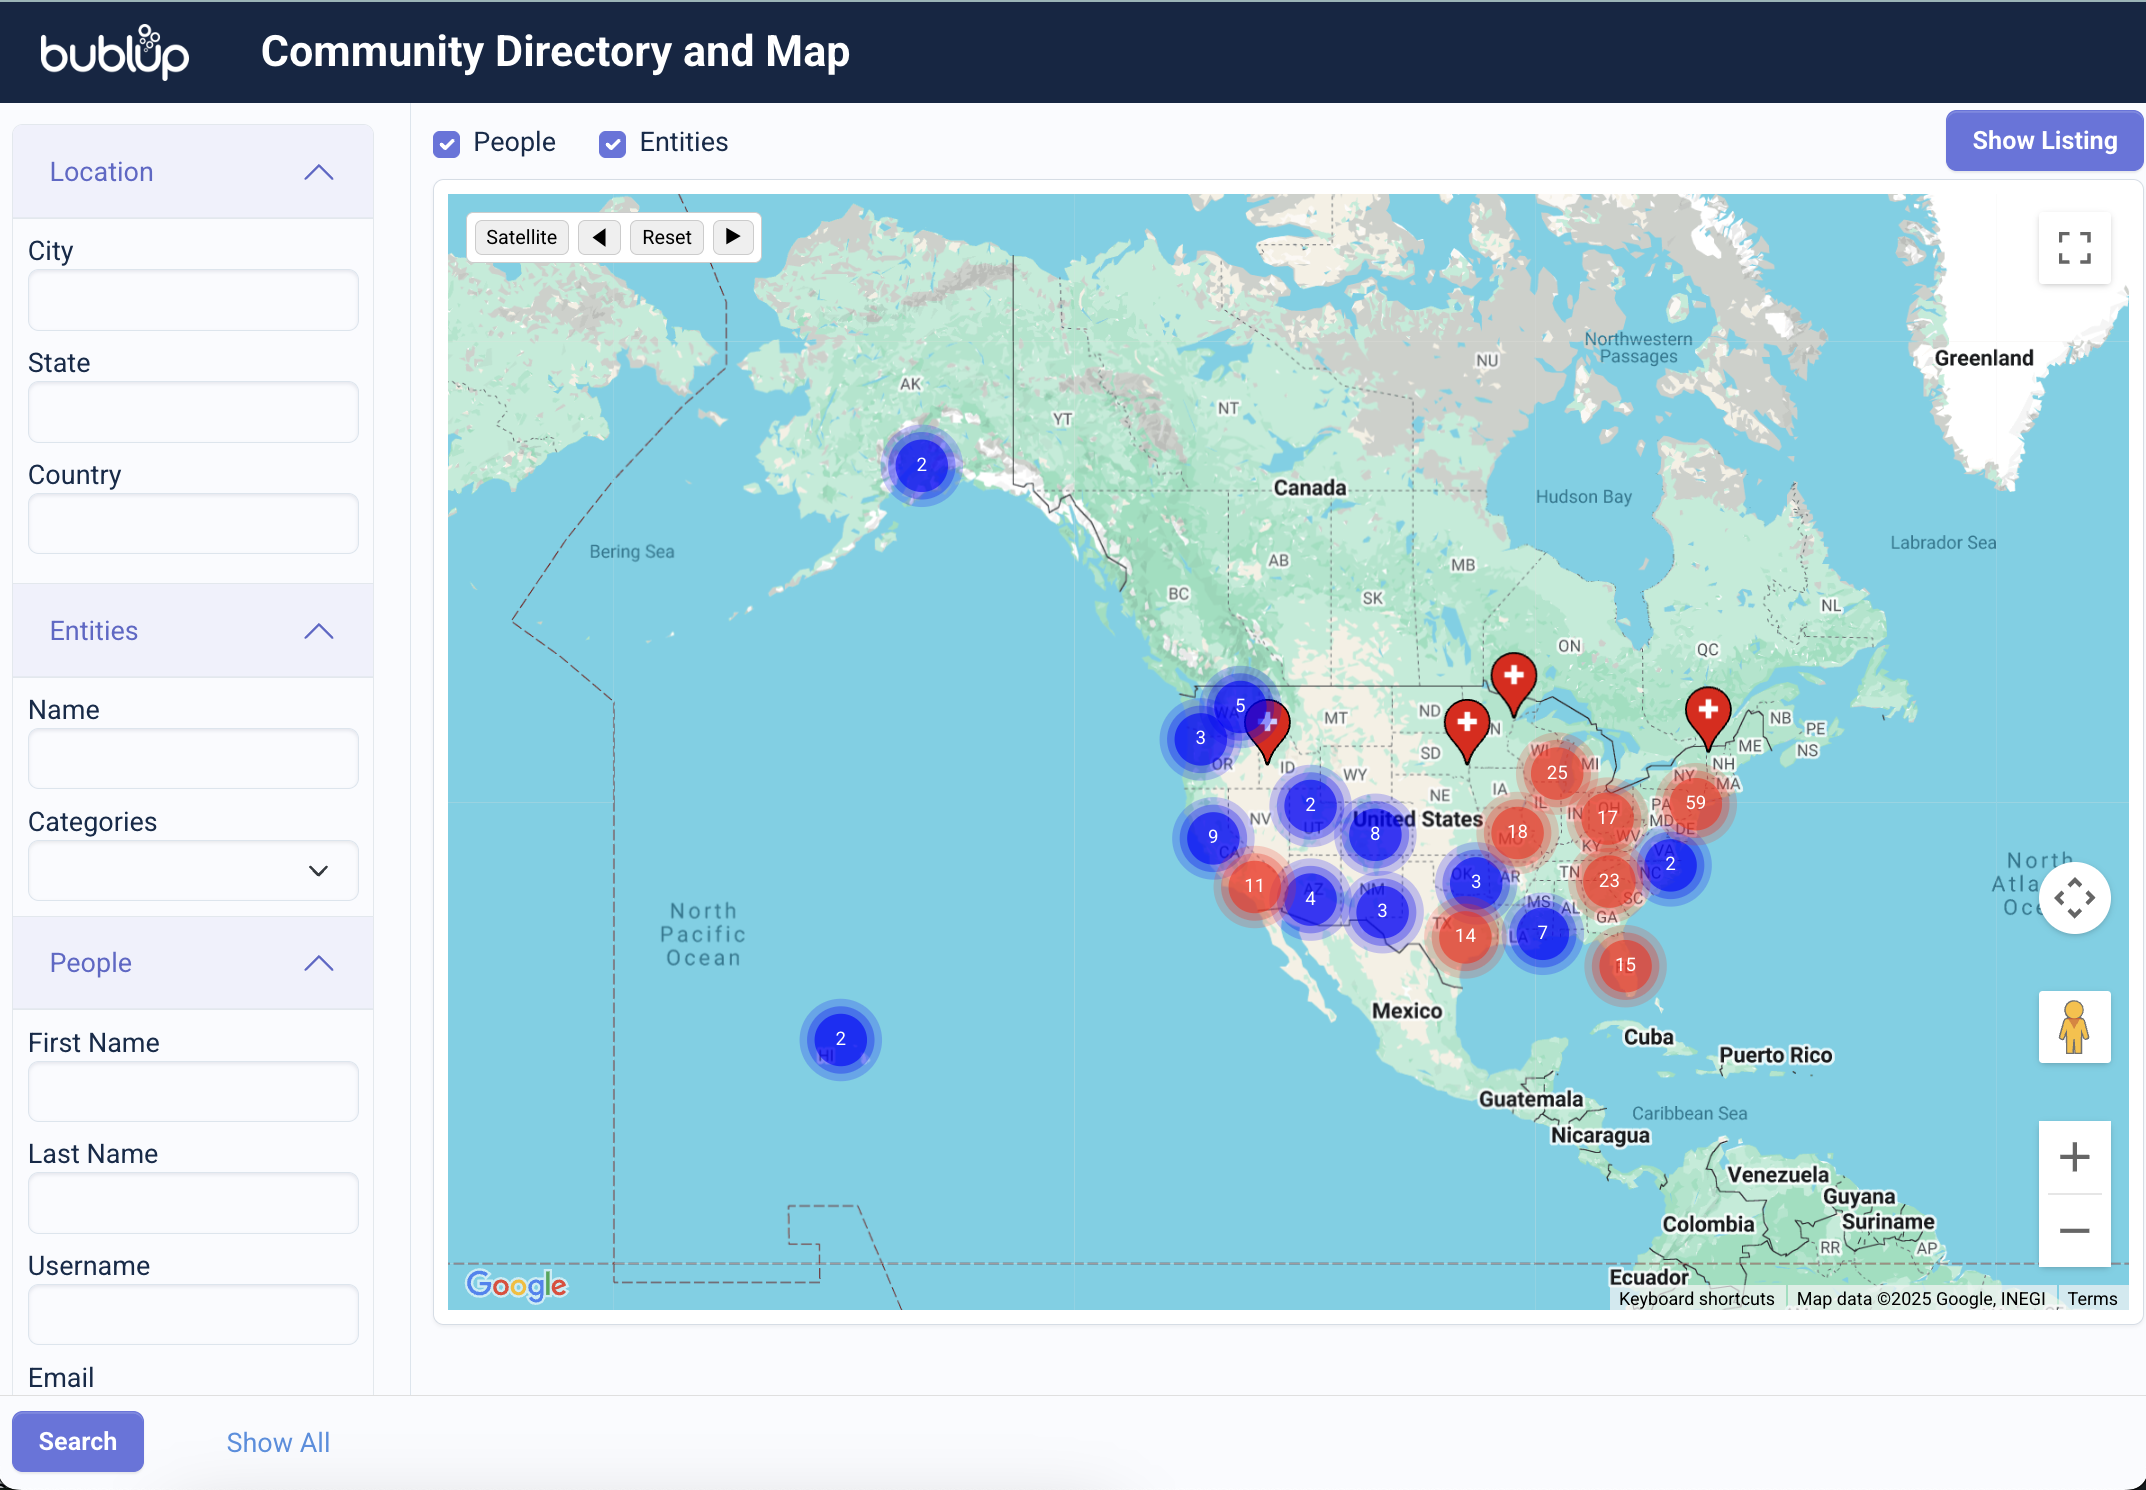
Community Directory & Maps
See where community members and entities are located around the world—bringing people together. Embed these maps within your company websites. Click here to learn more.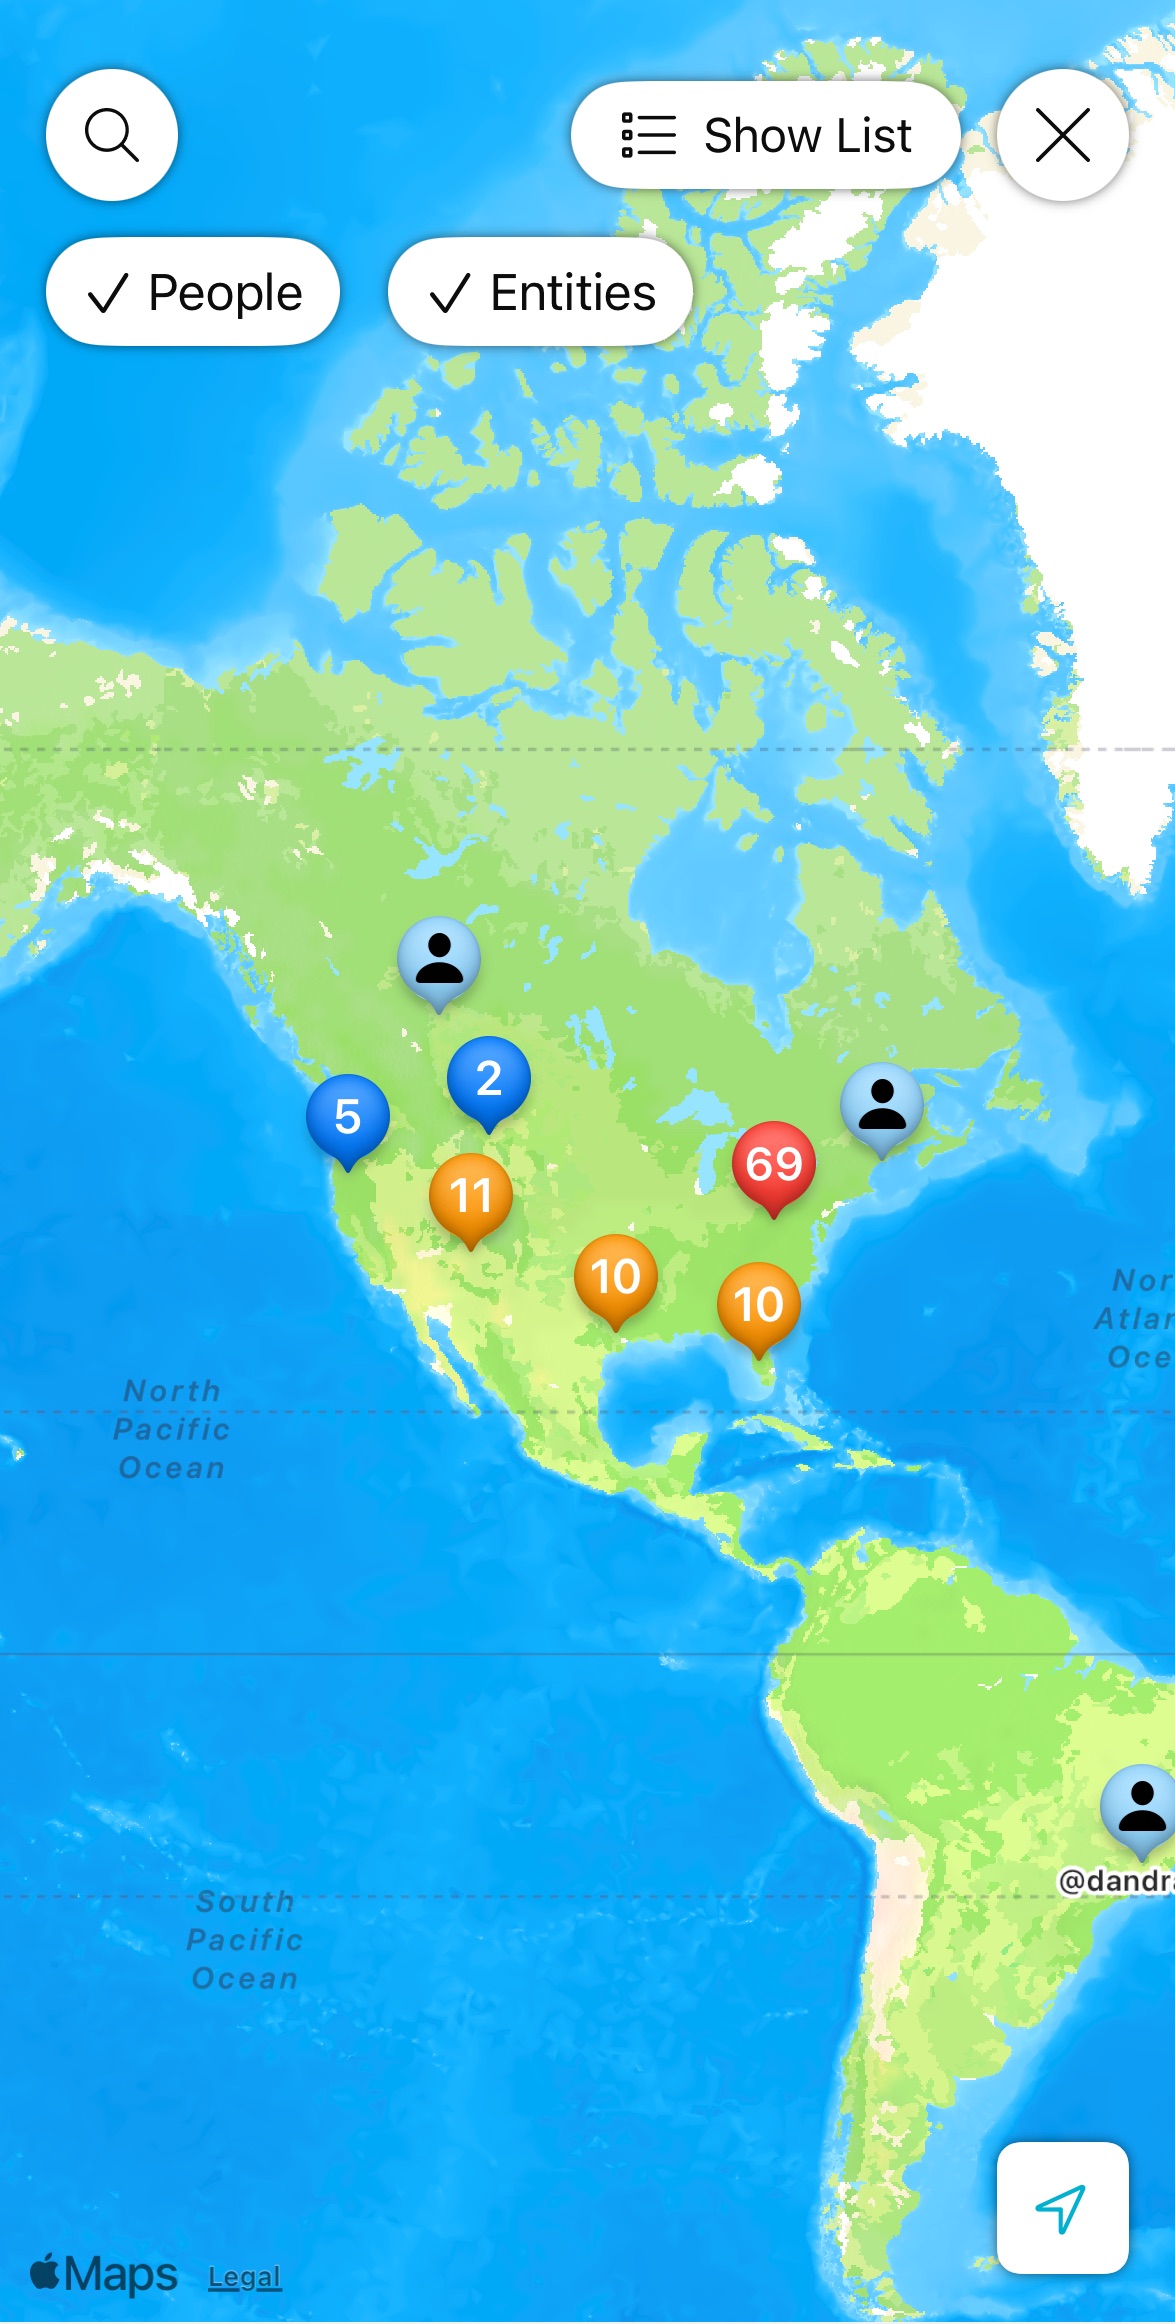
Create private spaces dedicated to your community. Share resources, manage your community members and discuss topics of interest, all in one place. Utilize analytics features to empower your community and make data-driven decisions.
Some basics about Communities in Bublup:
-
- Creating a Community and community teams requires a Business or Enterprise account.
- A Community exist as a subfolder within an Organization folder.
- Anyone invited into a Community will be asked to create a Bublup account, if they do not already have one.
- Free community members can view, comment and react, as well as post in Forums.
How to Create a Community:
- Open your Organization folder. (Note: If you have not set up an Organization yet, follow these steps.)
- Click the + button and select “Community”.
- Name your community and click “Create”.
Optional: Customize the folder cover & background. (This can always be changed later.) - Community folders are indicated by the icon in the upper-left corner of the folder.
- Use the “Invite” button to invite user to join your Community.
Advanced Community Settings
Go to the “settings” icon in the upper-right hand corner of the community.
- Restricted Community Access
Require admin approval for all users prior to being admitted as a member of the community. To review and approve membership requests, go to the community ☰ menu and click “Membership Requests”. - Community Member Profile
Community admins can request that their community members share profile information, including custom fields, with other members. Click here to learn more.
(Pro tip: You can map a role to existing teams by hovering over the role and clicking “Settings”.) - Auto-Assign Teams
Auto-assign community members to specific teams based on their role or other rules. - Community Map Categories
Create categories for entities that will appear on your community map and assign them to the items within different subspaces of your community. Click here to learn more. - Community Embedded Maps
Add your community map to your website to showcase entities and resources. Click here to learn more. - AI Content Moderator
Bublup’s AI-powered moderation feature helps keep your communities and forums safe, respectful, and on-topic. Use custom rules to moderate user content to your liking. Click here to learn more. - Space Branding: Include your organization’s brand visible within the space and when sharing content or rolls from this space. Click here to learn more.
- Branded Invitation: Display a custom message to appear on the sign-up screen for new users who receive your space invite.
- Welcome Message: Provide a customized welcome message for users to see the first time they enter your folder.
- Custom Action Button: Add a custom button at the top of your space. Customize the text and colors, as well as the URL that it will link to.
- Feeds & AI Curator: Use Bublup’s AI Curator, in combination with Feeds to automatically curate content whenever new content is added to your feed—no need to do it manually. Click here to learn more.
- Other Community & Space-specific Interactions
How to Create Community Teams:
- Open your Community folder and click “Teams” at the top of the Community.
- Click “create team”. Then name your team and optionally provide a description or photo. Click “create” to save.
- Navigate to the team you just created and click “add members to team”. Search for folder members by username and click “add”.
- Your team members will now appear under that team.
Note: Community teams are separate from Organization teams. Org teams can only contain direct members of your Organization.
Managing Community Teams & Members:
- Click “Teams” to view your existing teams.
- Click on a team to view its members and click the “edit” icon to modify the team name, description, or avatar.
- However over a team or a member and click “X” to delete them.
Mentioning Teams in Comments:
If you belong to a Community that contains Teams, you can use @@ to mention the team, and all team members will receive a notification.
Creating and Managing Forums:
Within communities you can add special Forum folders for your community members to post and interact. For more info on setting up forums, click here.
Community Forum Analytics:
On desktop, go to ☰ menu → “Community Analytics”.
View your most popular topics, active users, and community engagement (page views, comments created, posts created, device type).
Select which forums to view, the date range, and the aggregate method (day, week, month).
Community Directory & Maps
See where community members and entities are located around the world—bringing people together. Embed these maps within your company websites. Click here to learn more.