
Create an Organization
Creating an Organization requires a Business or Enterprise account.
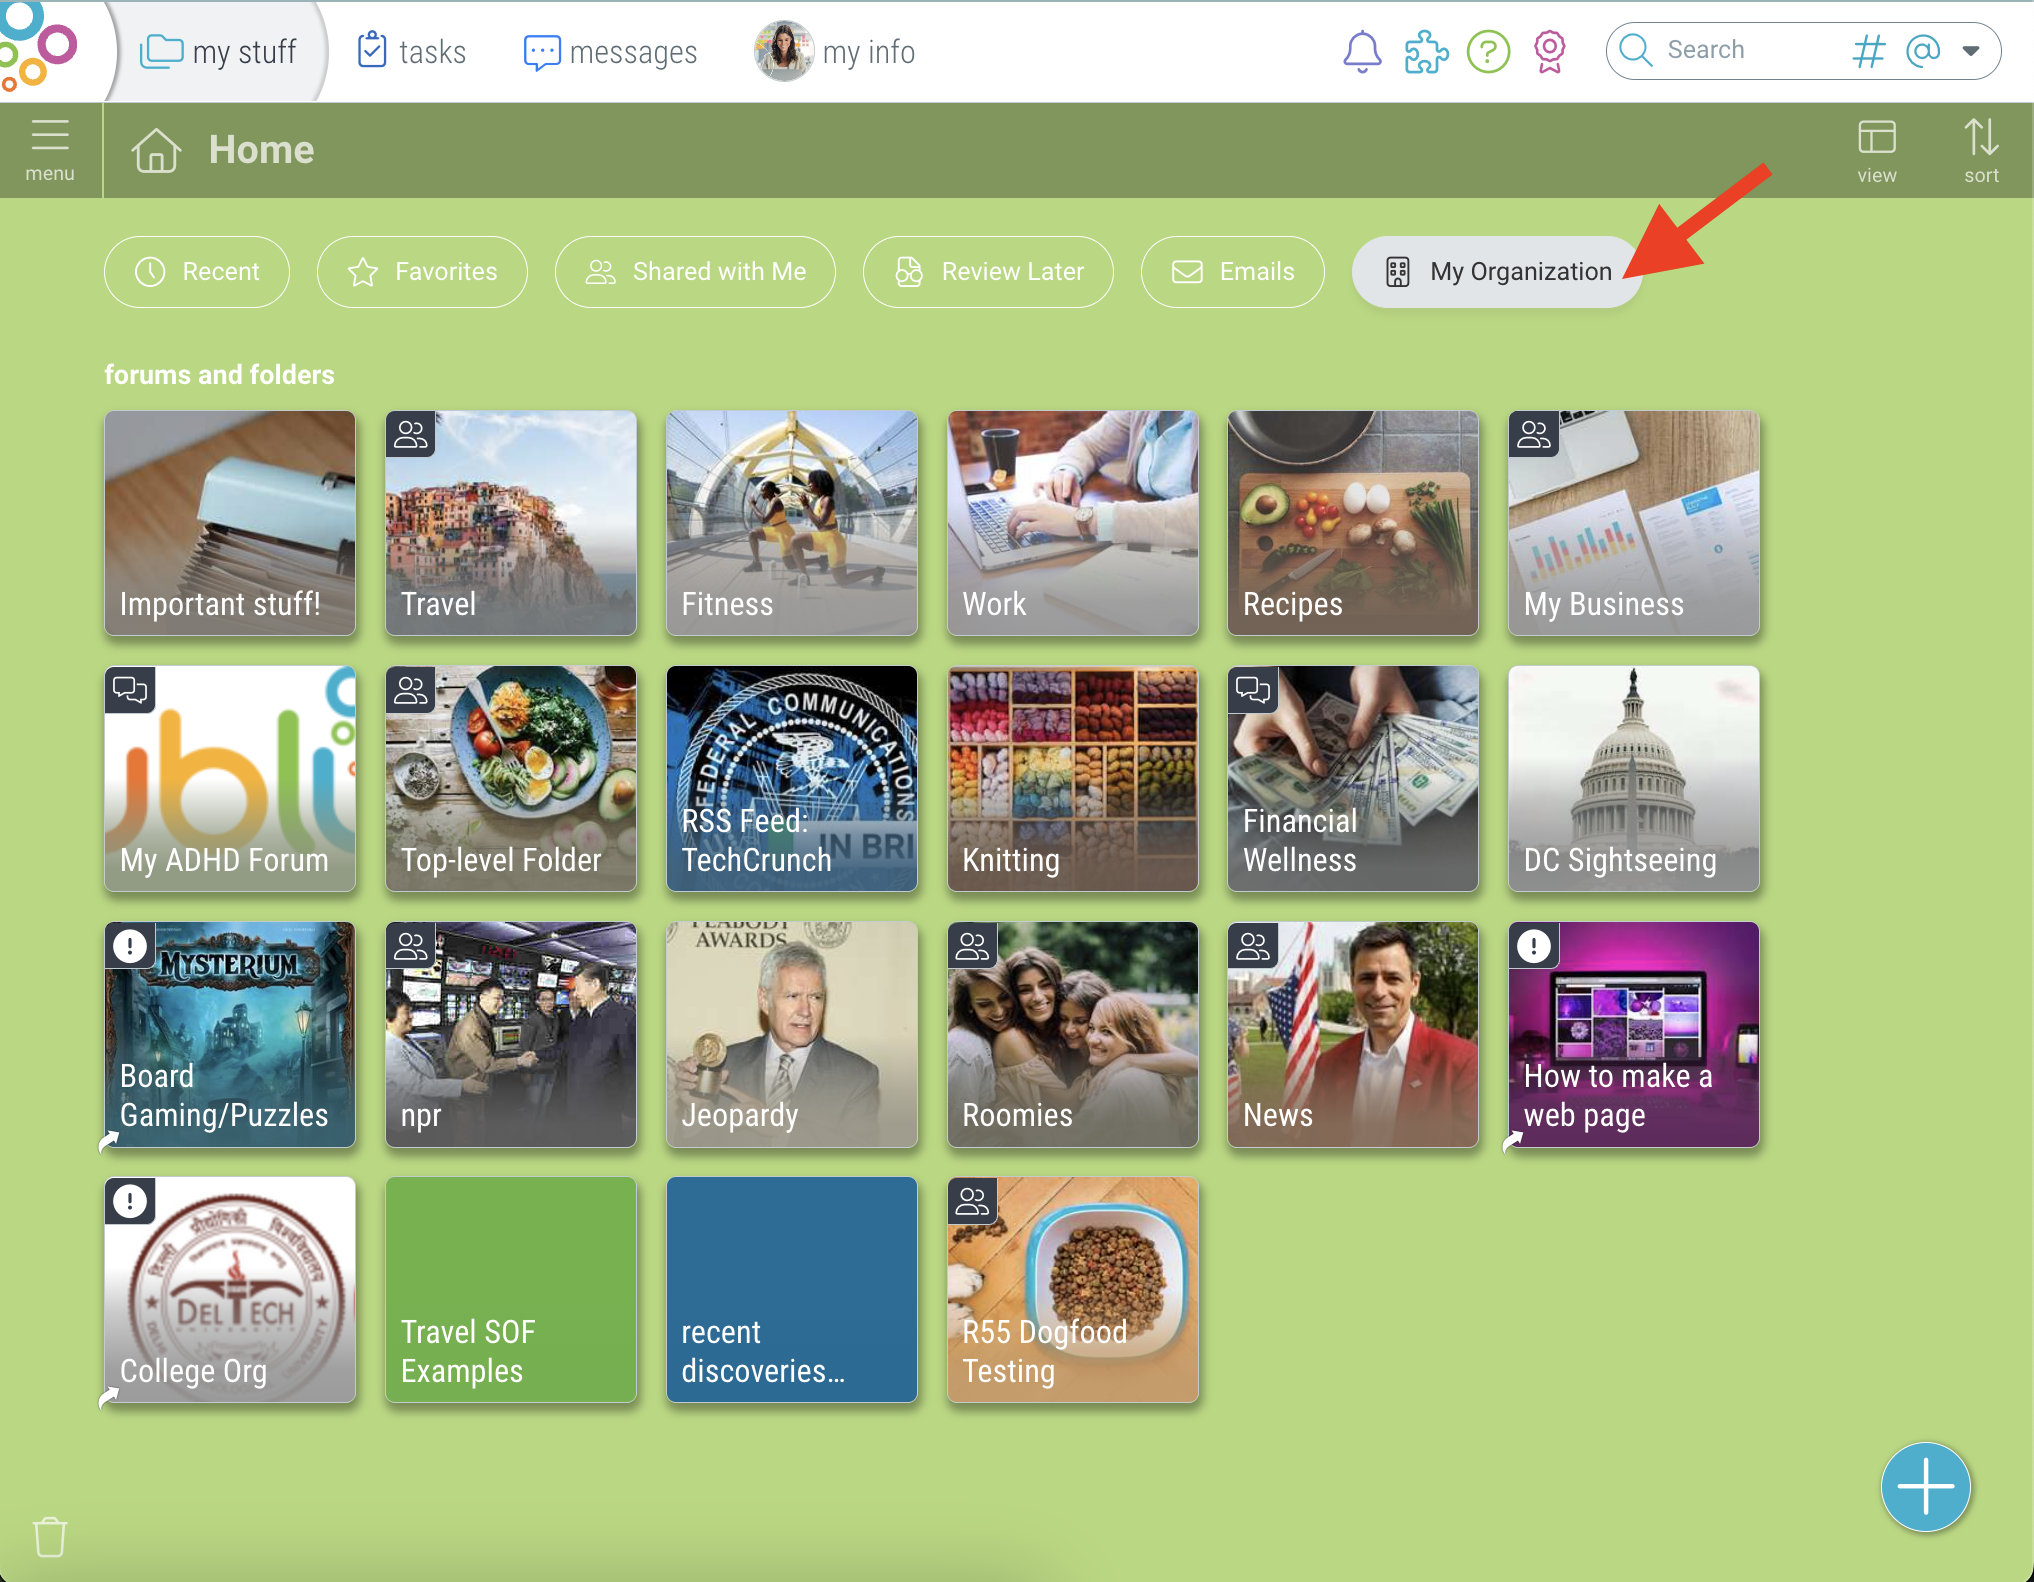
The owner of an Organization will see it as a special folder in Home, alongside Recents and Favorites. For Organization members, it will appear as a shared folder, with a special Org icon.
![]()
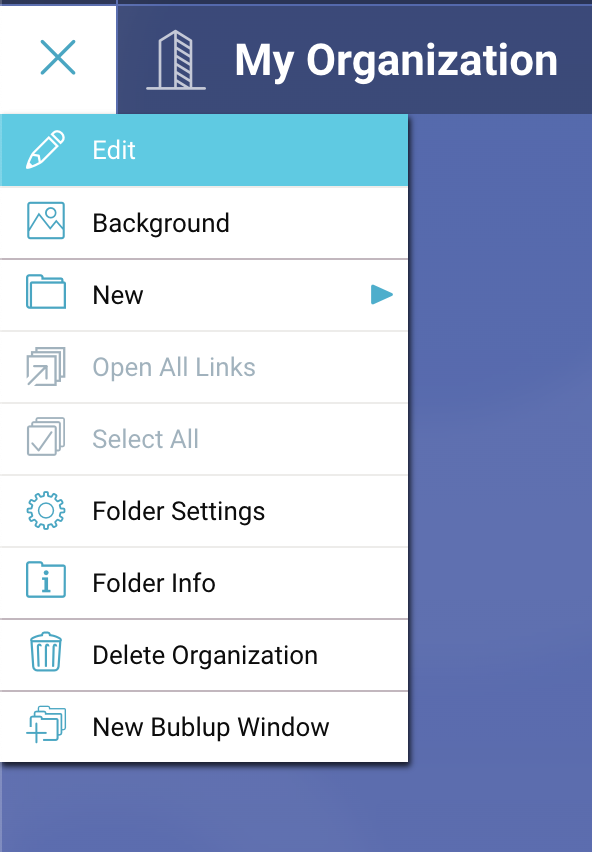
You can rename your Organization by selecting “edit” in the main menu at the top-level folder.
Customize Your Cover Image & Avatar
Customize your Organization’s cover image and background by going to ☰ menu → “Change Cover & Background”.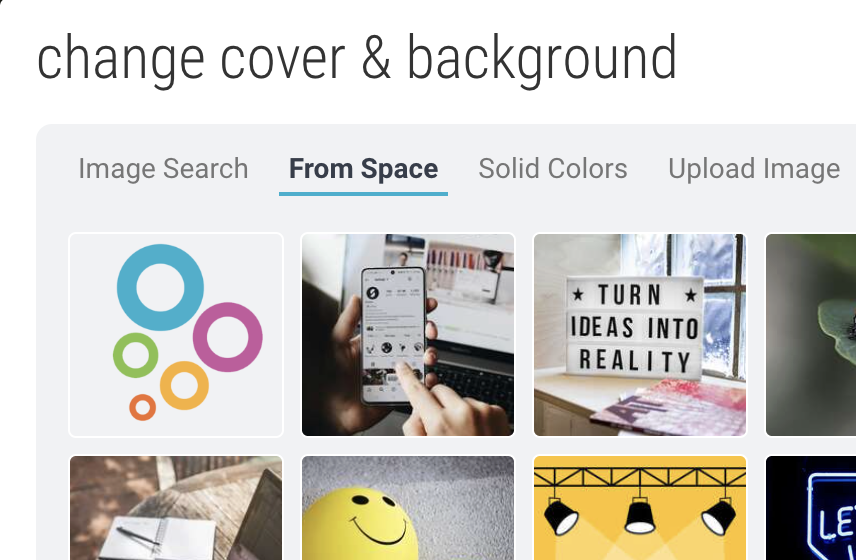
Search Bublup for images, select an image already within your space, choose a solid color, or upload a new image. This can also be done for any subspaces you create.
Customize your account avatar by going to “My Info” → “My Profile”. 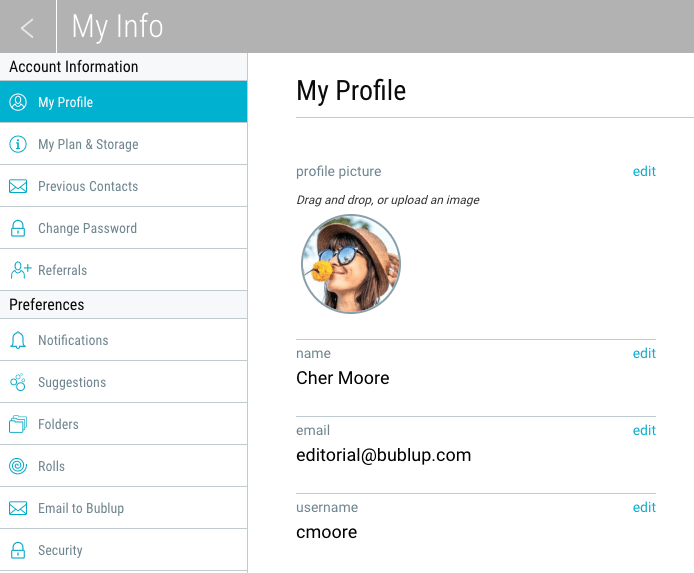
The name, username, and image set here will be visible whenever you add content or leave comments.
Note: You can also set up branding within your Organization (See next section.)
Set Up Custom Branding
Create a Custom Brand
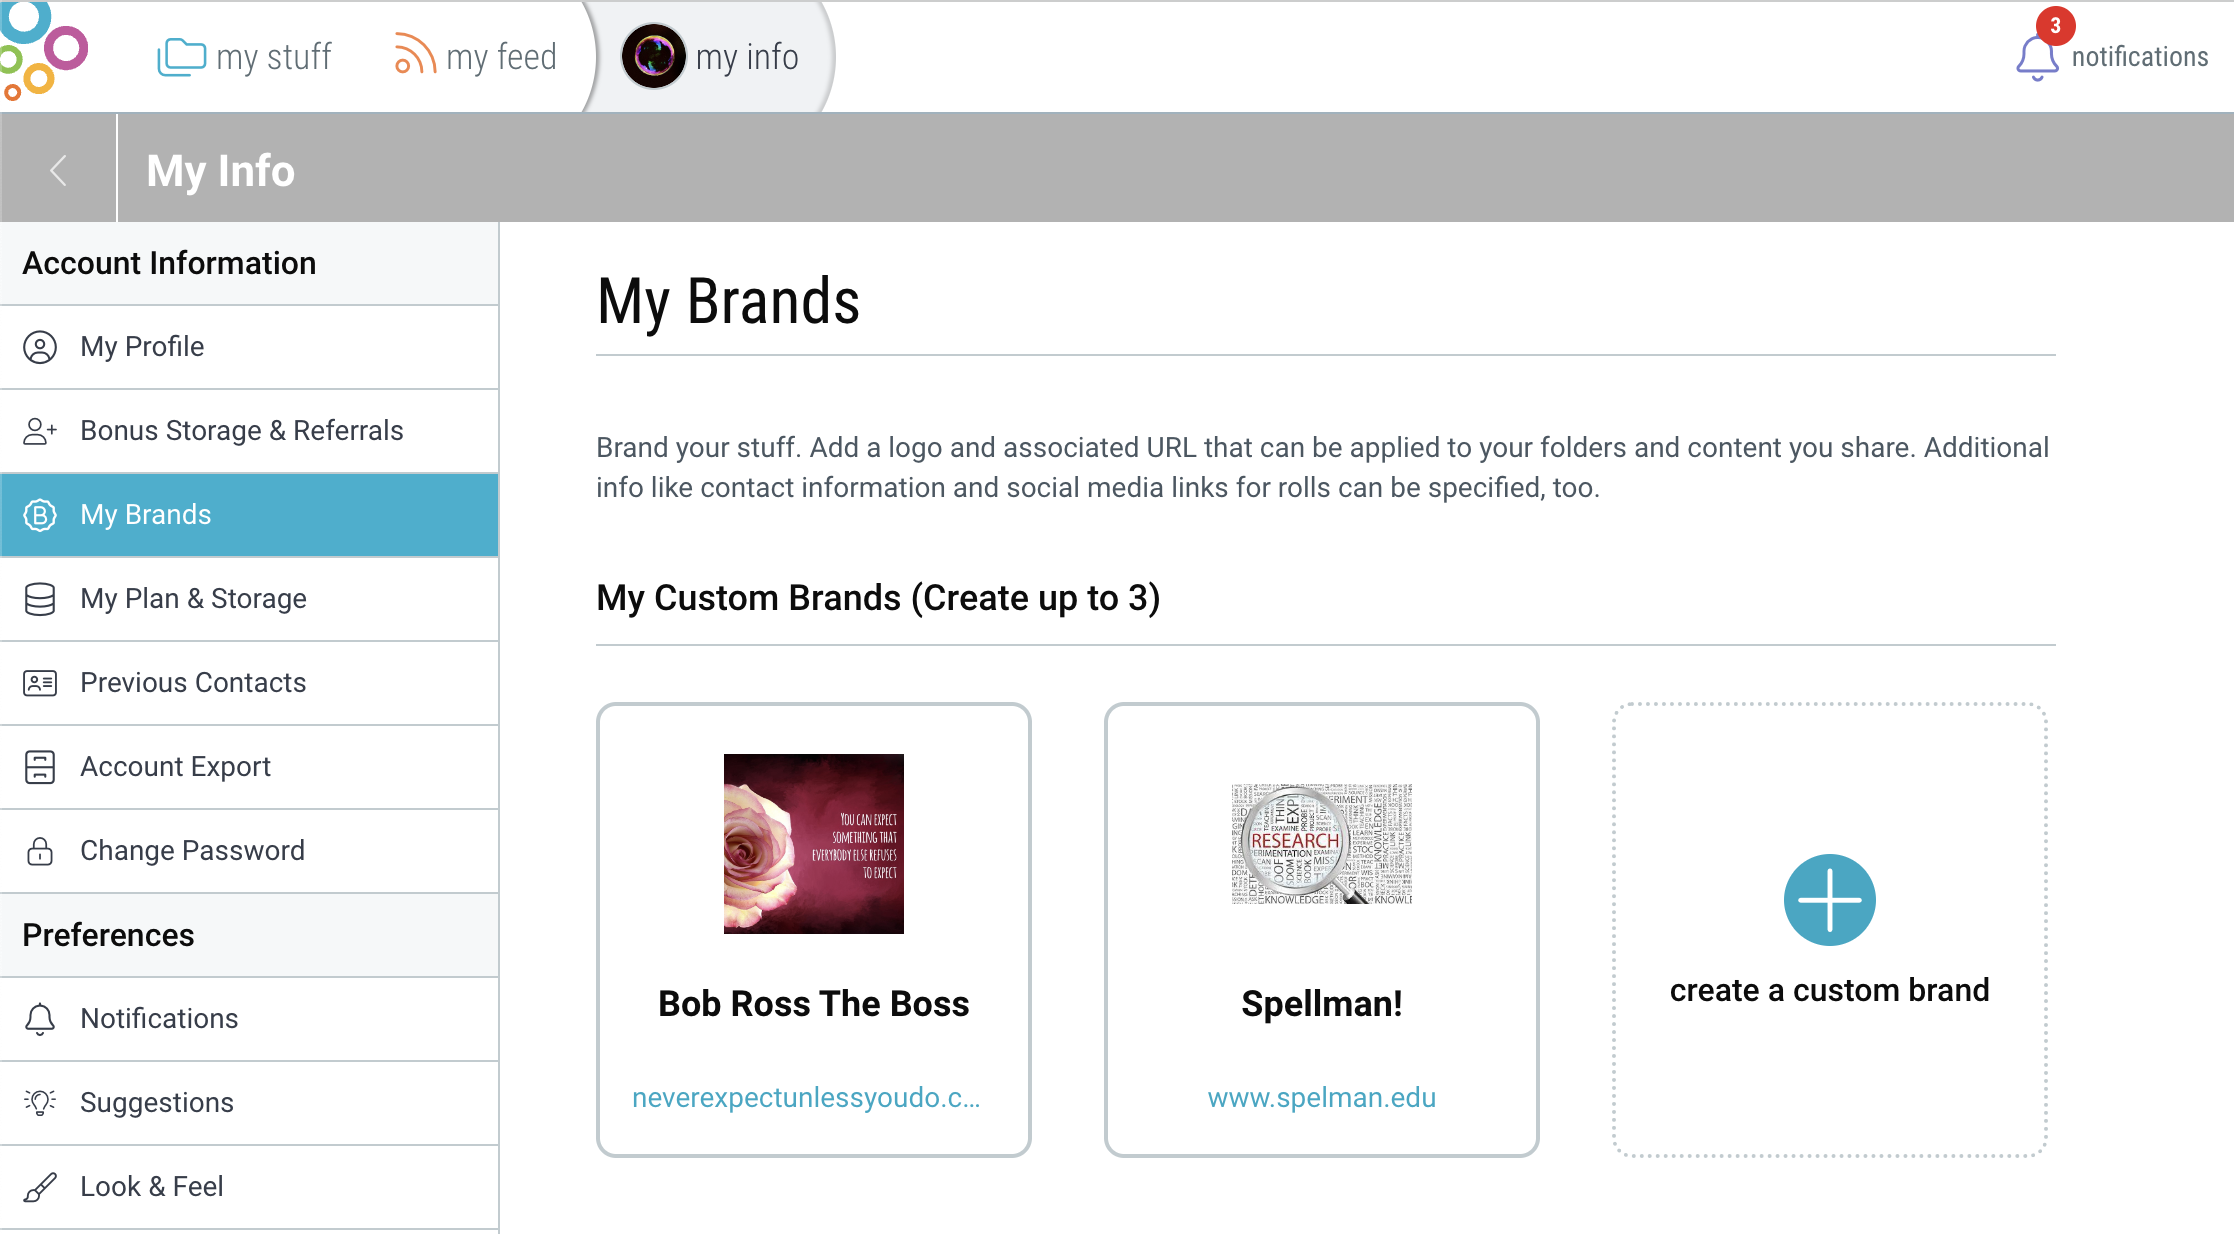
1. Click on “my info” in the upper-right corner. Then select “My Vrands” and choose “create a custom brand”.
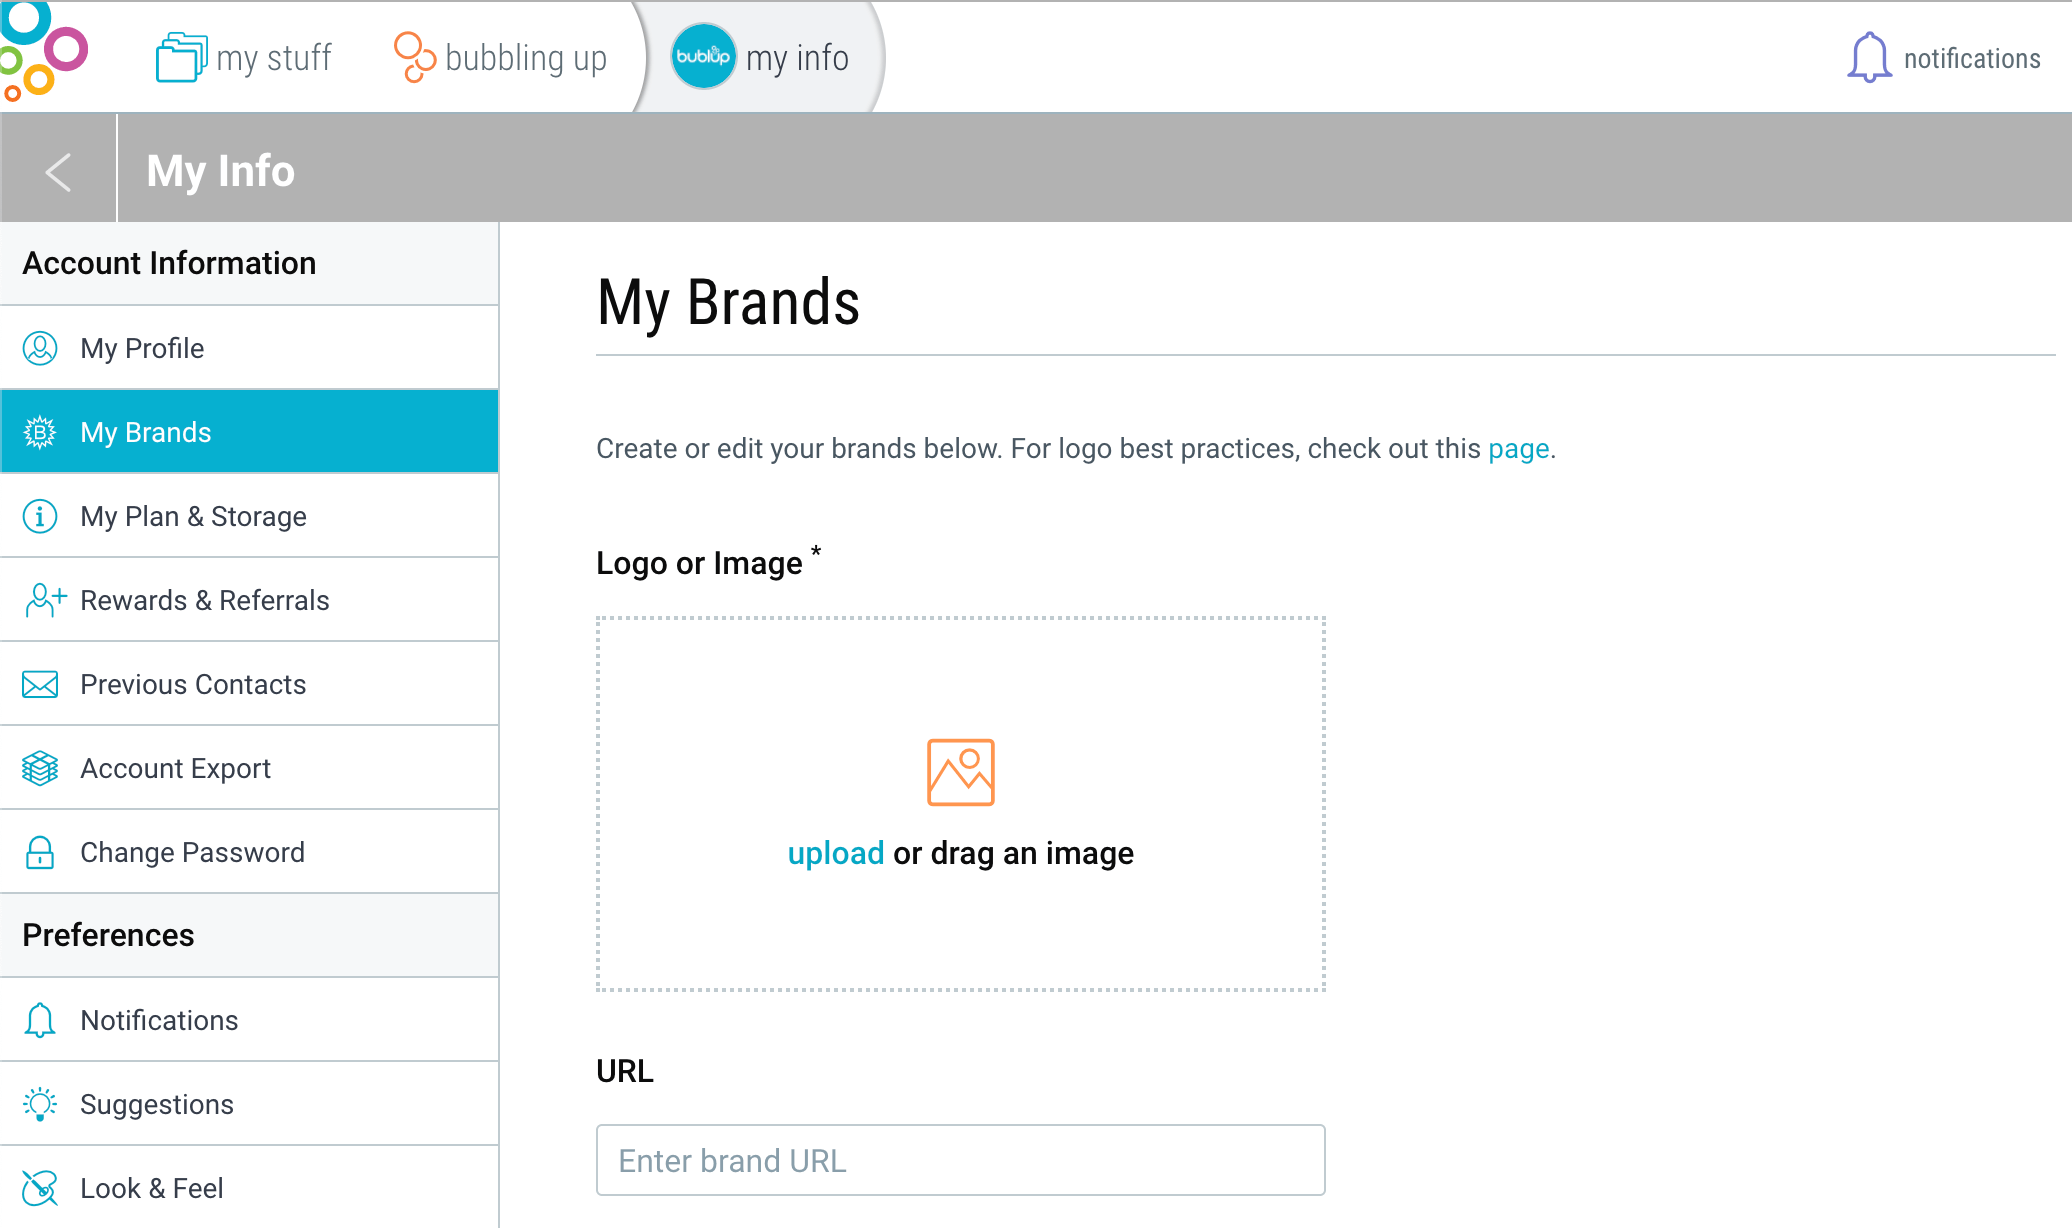
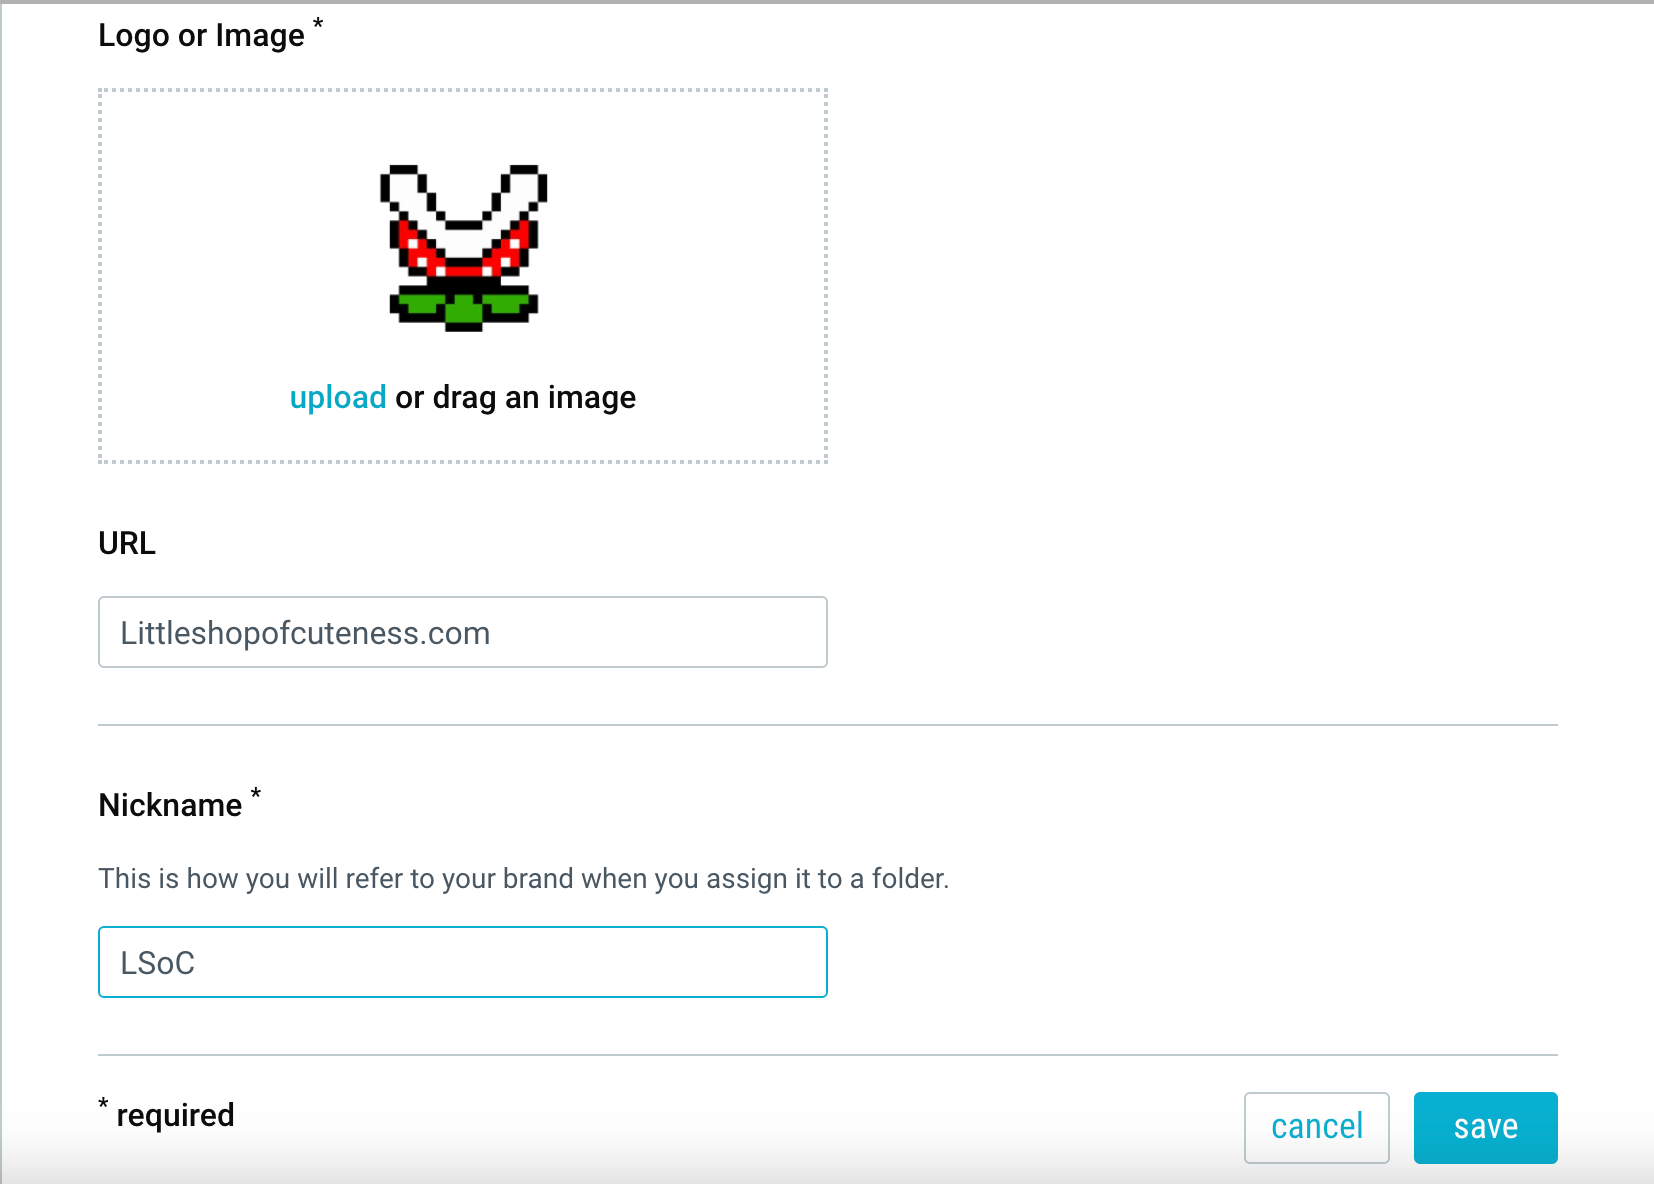
2. Upload an image, enter your brand URL, and add a brand name. Note that entering a URL will make your brand image a hyperlink. Then click “save”.
Note: The branding for a space will apply to rolls you create, emails, shared space invitations, and shareable links that you send from that folder. Custom branding allows you to create visually impactful, branded experiences whenever you share content from a Bublup space.
3. Add more information by using the 3-dot (…) menu on your brand and selecting “edit”.

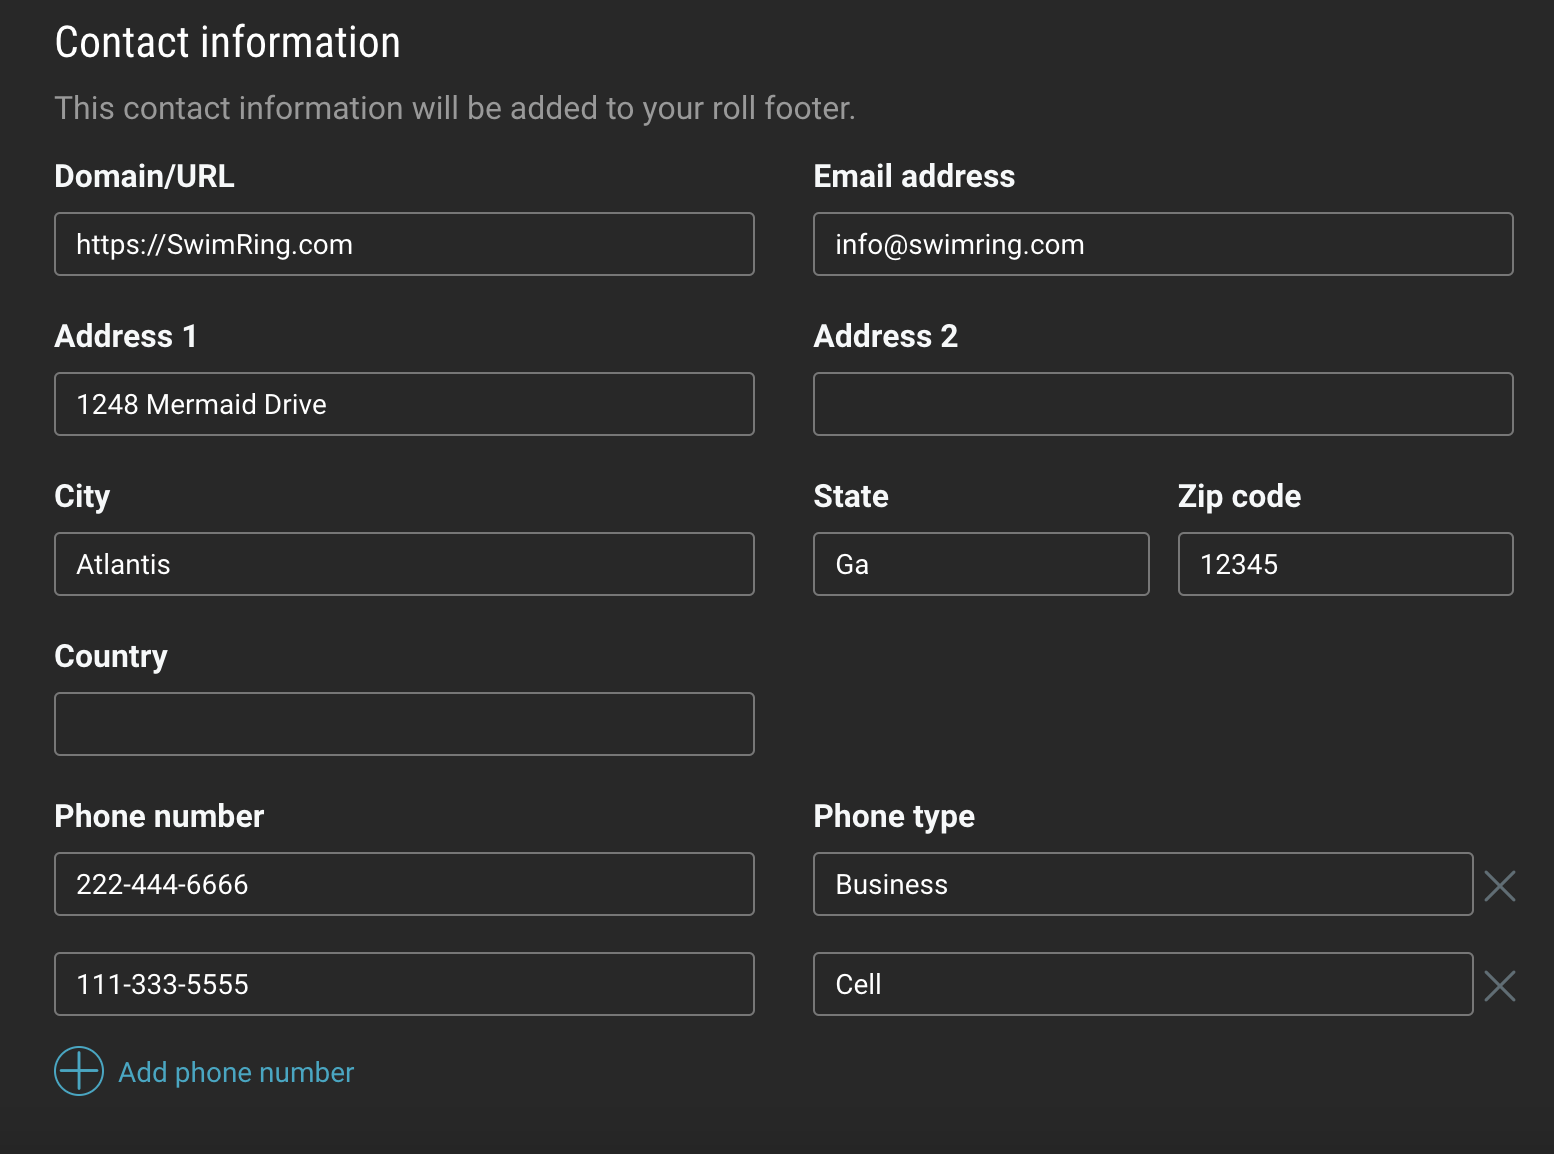
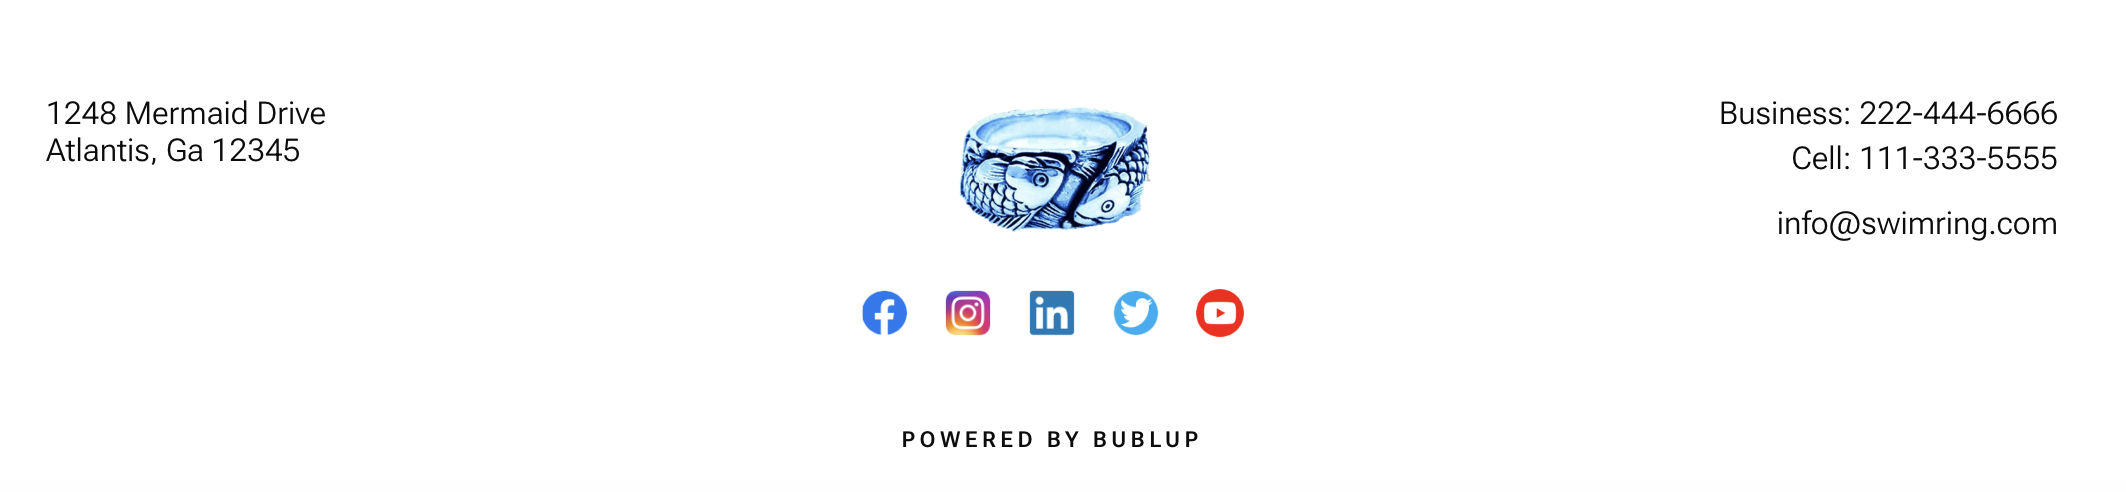
This information will be displayed in any branded roll footers:
Now that you have created a brand you can easily apply it to a space:
1. Enter the space which you want to have branded.
2. Click the “settings” icon in the upper-right corner and select “Space Brand”.
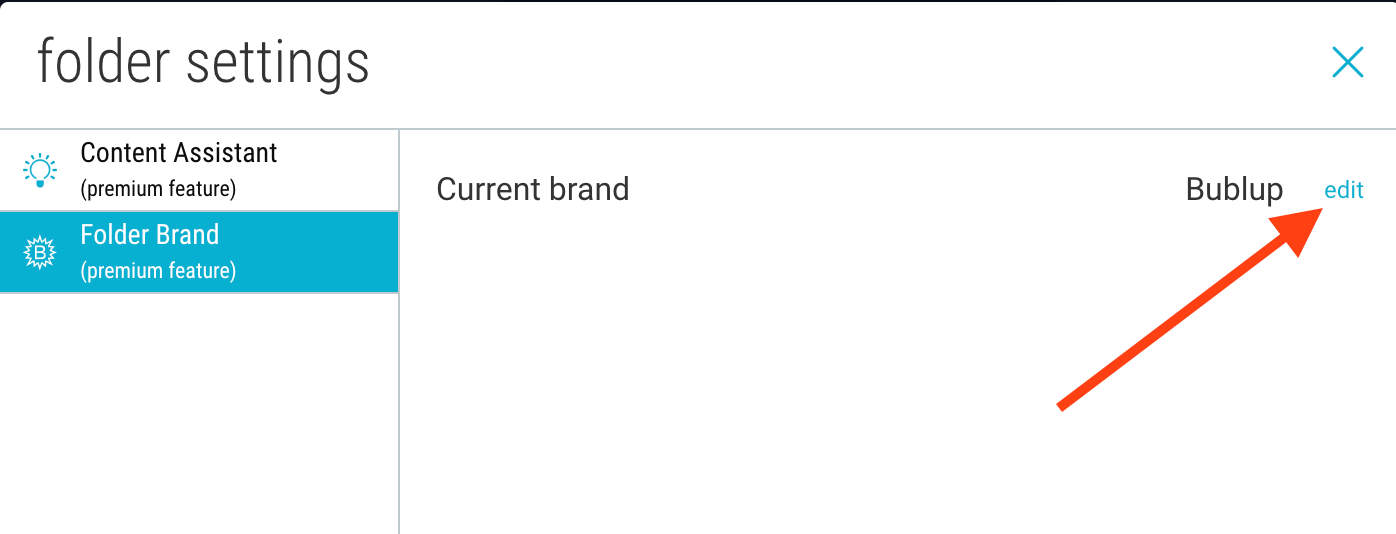
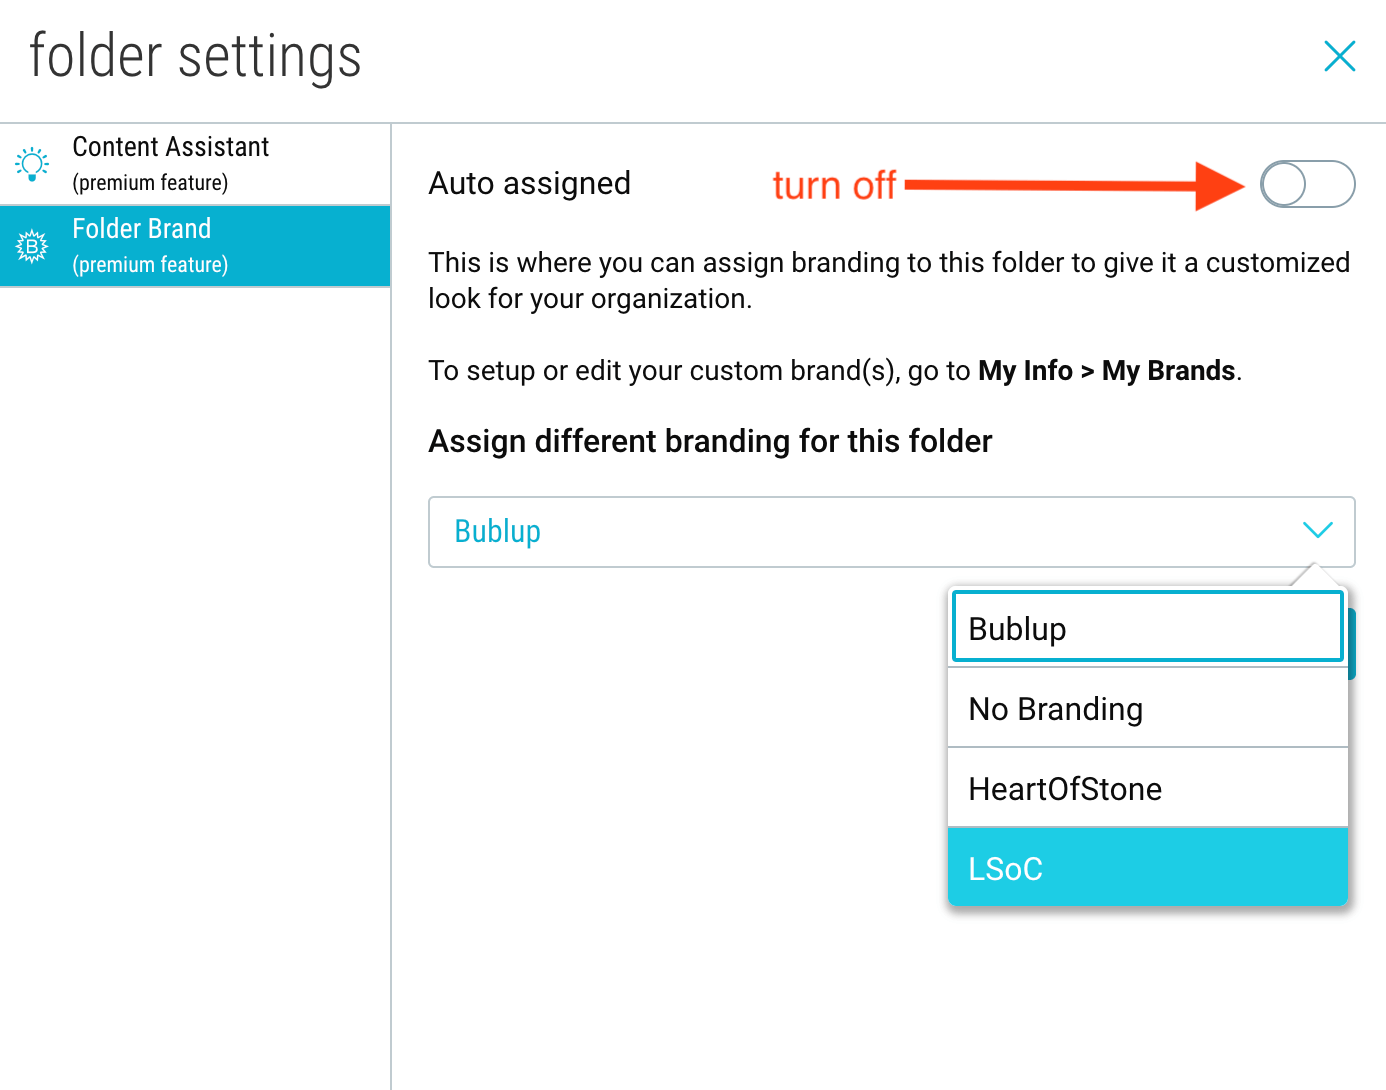
3. Click “edit”, then toggle off the “auto-assigned” option, then click the dropdown menu to open your list of brands. This will always include the “Bublup” and “No Brand” options. When you have selected your brand, click “save”.
4. Notice the space now has a header that includes your brand image.

Pro Tip: You can create up to 3 brands in your account. This may be useful to you if you are associated with multiple organizations, or if you want to have different versions of your favorite logo.
Add Organization Members
Click the “invite” button at the top of the Organization.

Then select between:
- “Invite by email or username”: enter the email(s) or username(s) of the invitees and click “send”.
- “Get an invitation link”: copy the link and share with your invitees.
To manage your Org members, click the member avatars at the top of the folder to bring up the member management window.
Note: Org Members have access to these features.
The Admin Role
Owners can choose to make members an admin of the Organization. Admins can:
- create subsubspaces which are managed separately
- add and remove members
- adjust the permissions of existing members
- manage advanced folder settings
Manage Organization Teams
Managing Teams & Members
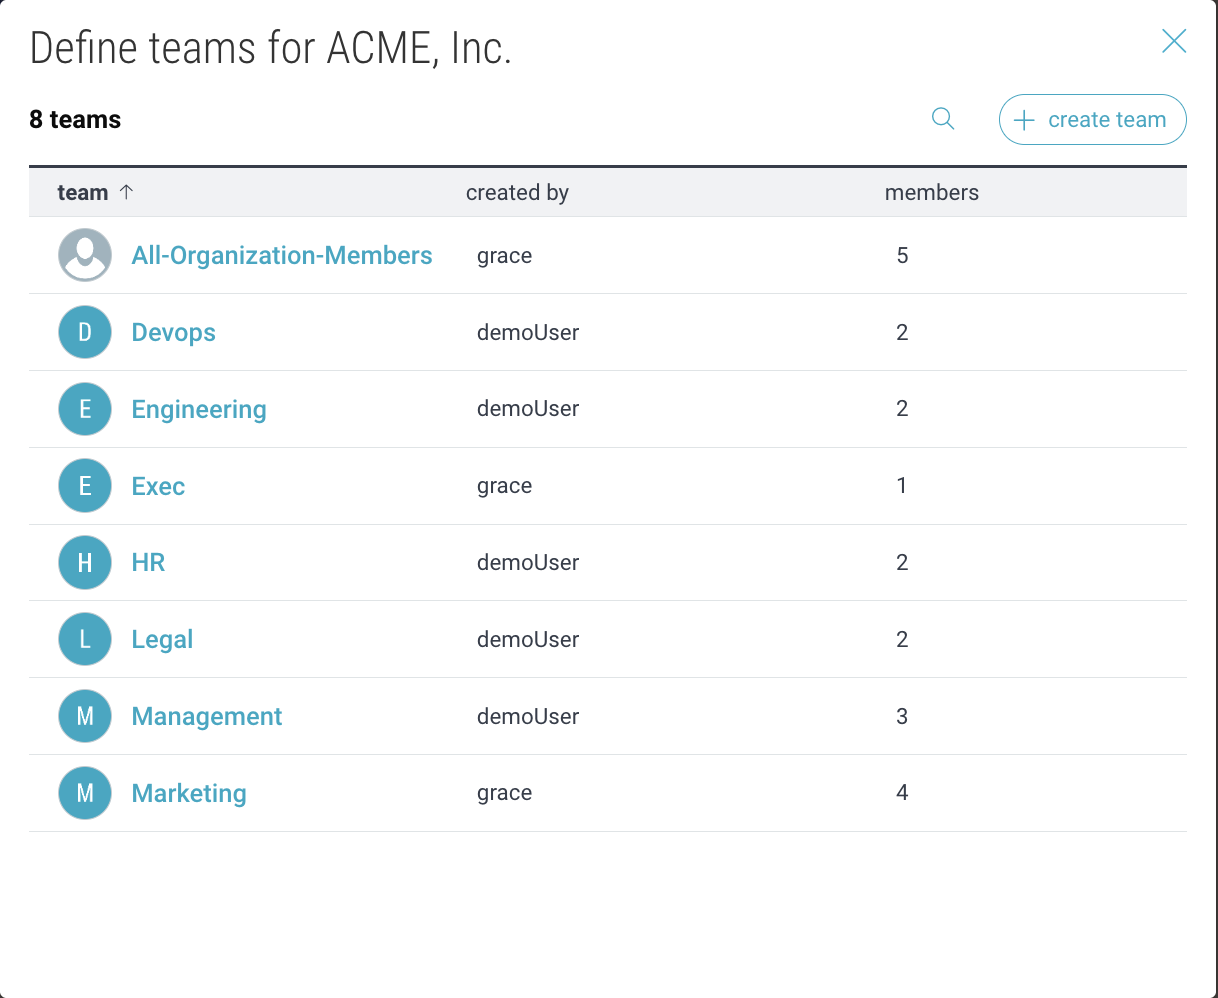
- Click “Teams” at the top of the Organization to view & manage your teams.
- Click “+ create team” to create a new team.
- Click on a team to view its members and the “edit” icon to modify the team name, description, or avatar.
- Hover over a team or a member and click “X” to delete them.
Note: The “All-Organization-Members” team will automatically include all members.
Add members to teams
- To add someone to a Team, they must be a member of your Organization.
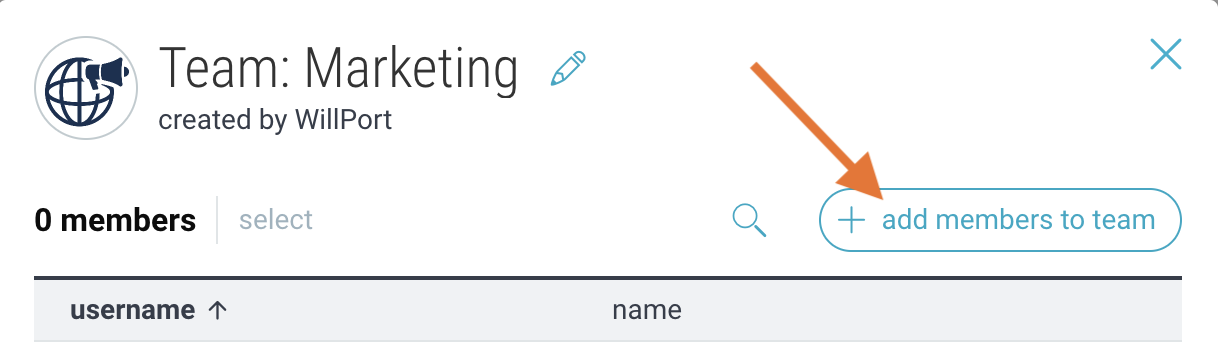
- Click on a Team name and then select “+ add members to team”.
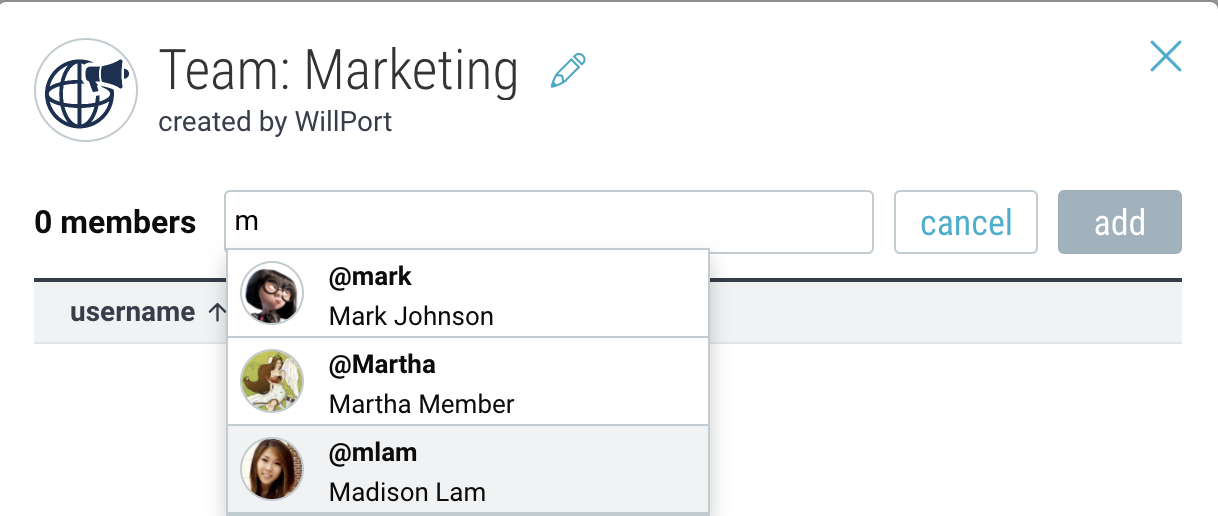
- Start typing a name, and members of your Organization that match will automatically show in a drop-down. You can type “@” to see the full list of Organization members.
- Click on members and then select “add”.
Note: A member cannot leave a Team. Only someone with admin permissions can remove Team members.
Add Spaces & Subspaces
Spaces are how you organize your content within Bublup. There are general spaces, as well as spaces catered towards specific use cases. Within spaces, you can create subspaces and save content.
The different space types include:
- General Content
- Albums
- Feeds
- Chats
- Forums
- FAQs
- Webpage Builder
- Community (1 per Organization)
To learn more about the different space types, click here.
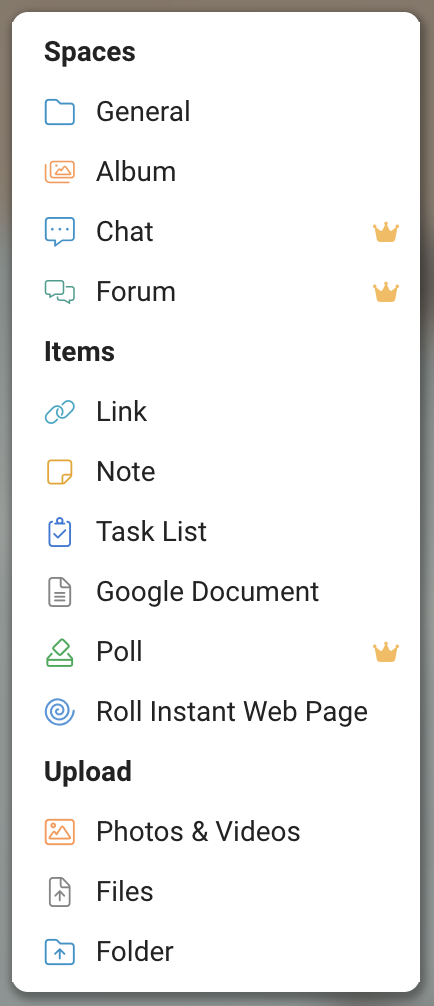
Add Items to Spaces
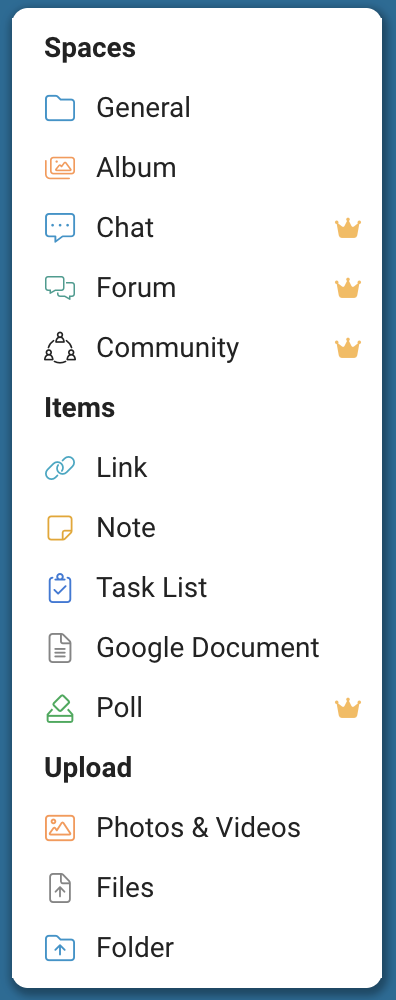
Use the “+” menu to add different items to your spaces.

In Bublup, you can upload:
- Links
- Notes
- PDFs
- Documents
- Photos
- Videos
- Audio files
- Task lists
- Polls
- Imported folders or files
- Google Docs, Sheets, Slides and Forms
Create Membership Boundaries Within Subspaces
Subspaces within an Organization can have different members (and permission levels) than the parent Organization.
To manage a subspace’s membership independently:
1. Navigate to the space and click on the avatars area for that space![]()
2. Select “Customize membership”.
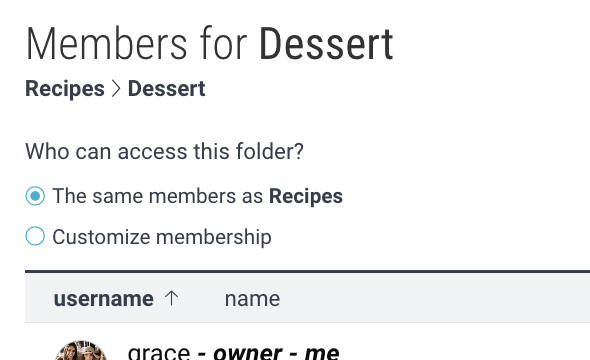
3. Choose the starting list of members in this space and click “Proceed”.
4. You can now invite members to this space without giving them access to the main Organization or other subspaces within it.
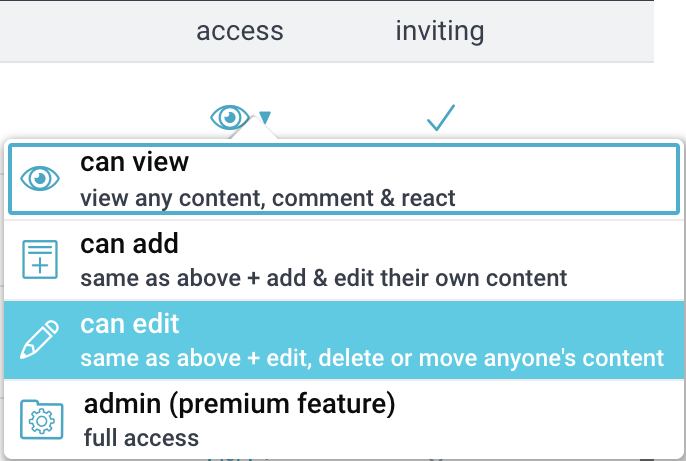
Membership permissions:
- “View”: member(s) can view, comment and react to content only.
- “Can add”: member(s) can add and edit their own content, as well as comment and react to others’ content.
- “Can edit”: member(s) can add and edit all content in the space.
- “Admin”: member(s) have full access to view, add, and edit all content within the space, manage member permissions, add branding, and move the space.
- “Can invite others”: gives new members permission to invite others into the shared space.
Edit membership permissions
- Click on the permissions icon next to someone’s name to see the permission options and select one.
- Click on the invite column to add or remove invite permissions.
Note: Users with invite permissions can invite new users with member permissions up to their level.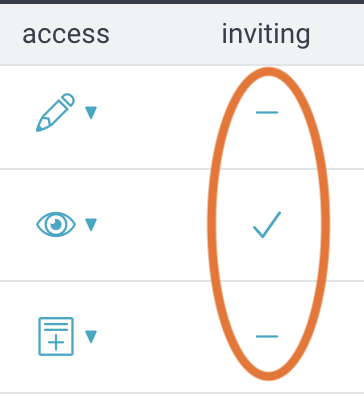
Remove members
Hover over the name of the person you wish to remove. An “x” will appear on hover. Click to remove the member.

Note: Only owners and admins can remove members.
Save Emails in Bublup
Quickly and easily save important emails and their attachments to Bublup, right from your inbox.
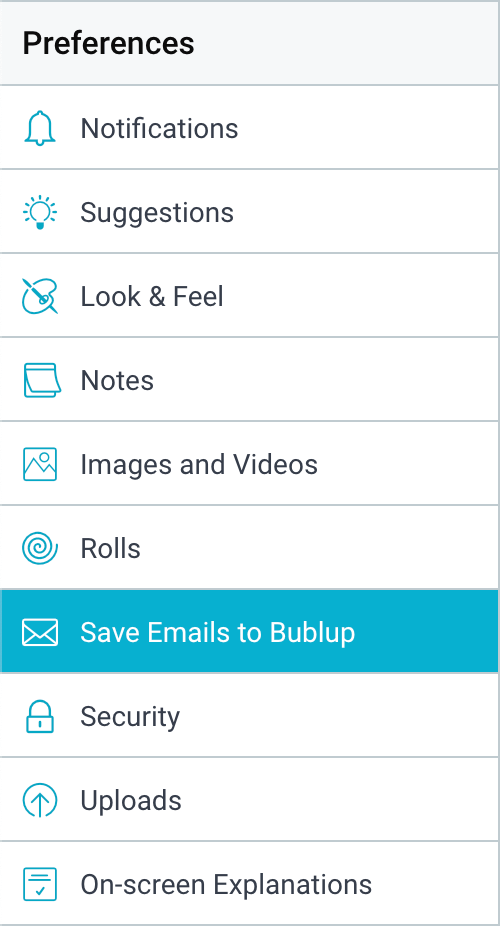
1. Click on “My Info” in the upper-left corner.
2. Select “Save Emails to Bublup” from the “Preferences” menu.
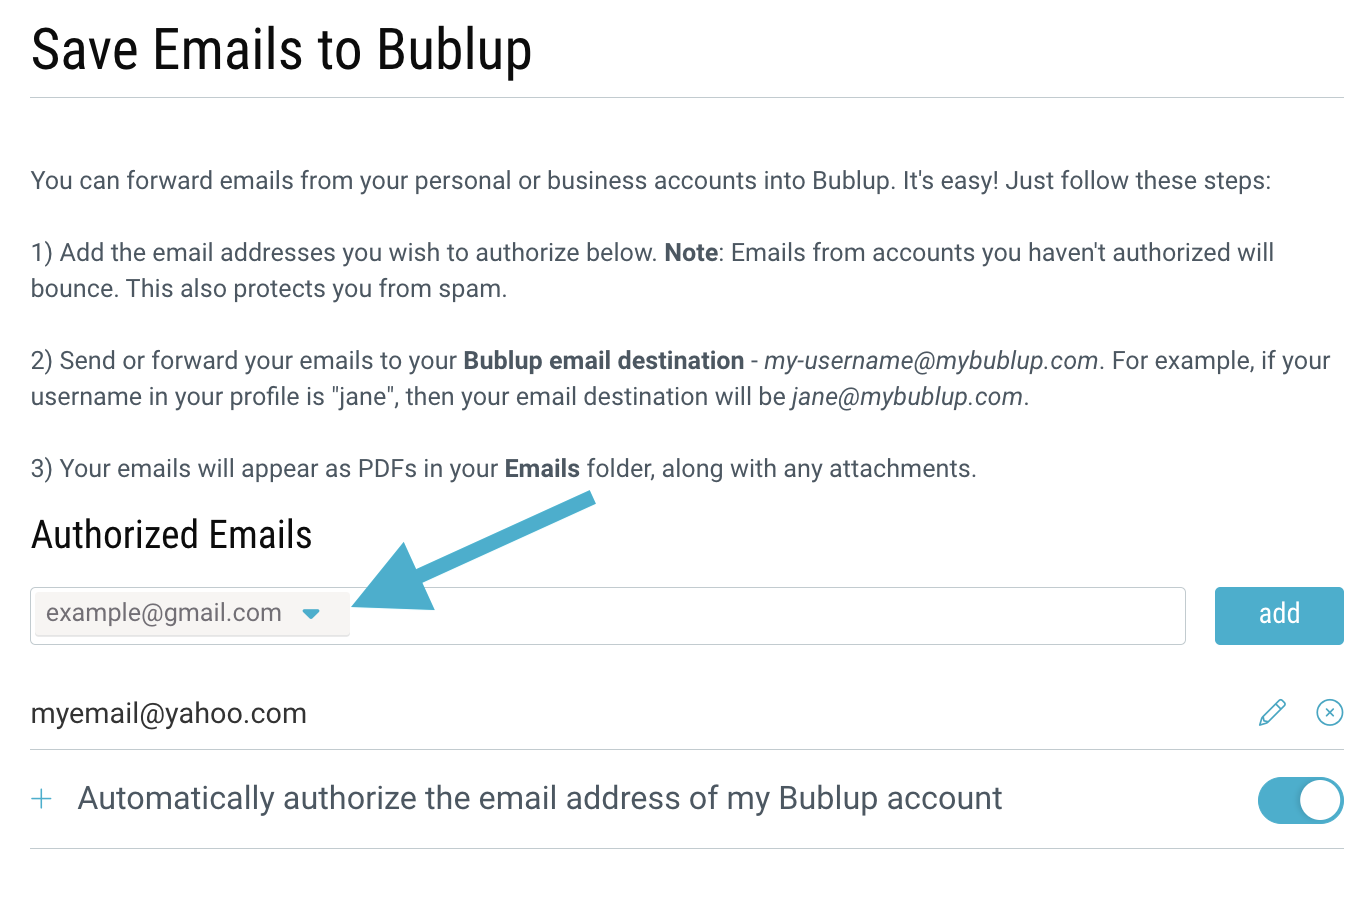
3. Enter one or more email addresses that you want to authorize for forwarding emails into your Bublup account.
(Emails from other senders will bounce. This is to prevent spam or unwanted emails from coming to your Bublup account.)
4. Now, from your regular email, forward any message you’d like to [your-username]@mybublup.com. For example, if your Bublup username is “JSmith”, forward emails to JSmith@mybublup.com.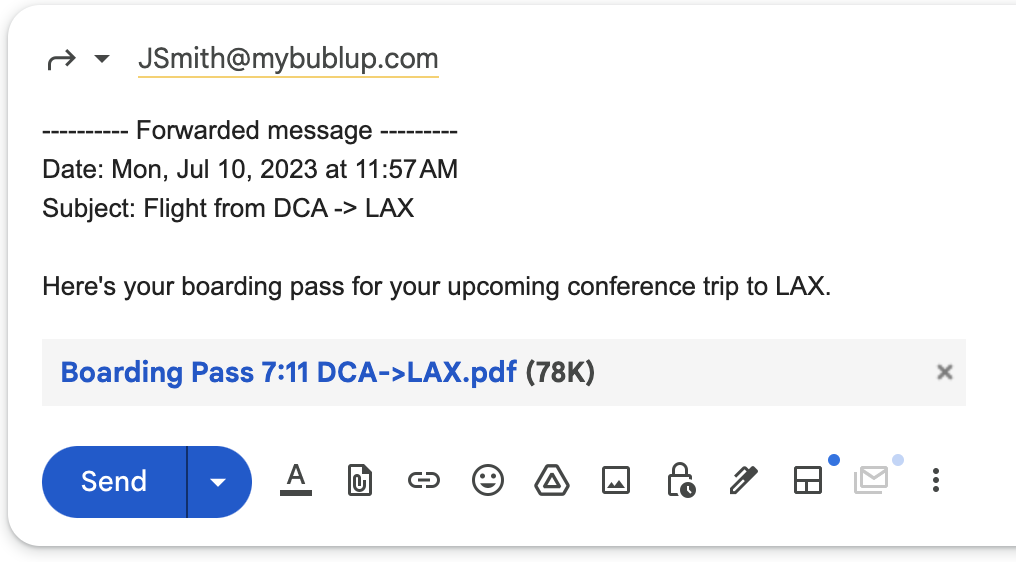
5. Go to your Bublup Home, and click on the “Emails” button.

Inside this space, you’ll see the forwarded message is now saved in your Bublup account as a PDF. Emails with attachments will be created as a sub-folder within the “Emails” space, which includes all attachments as well as a PDF version of the email message.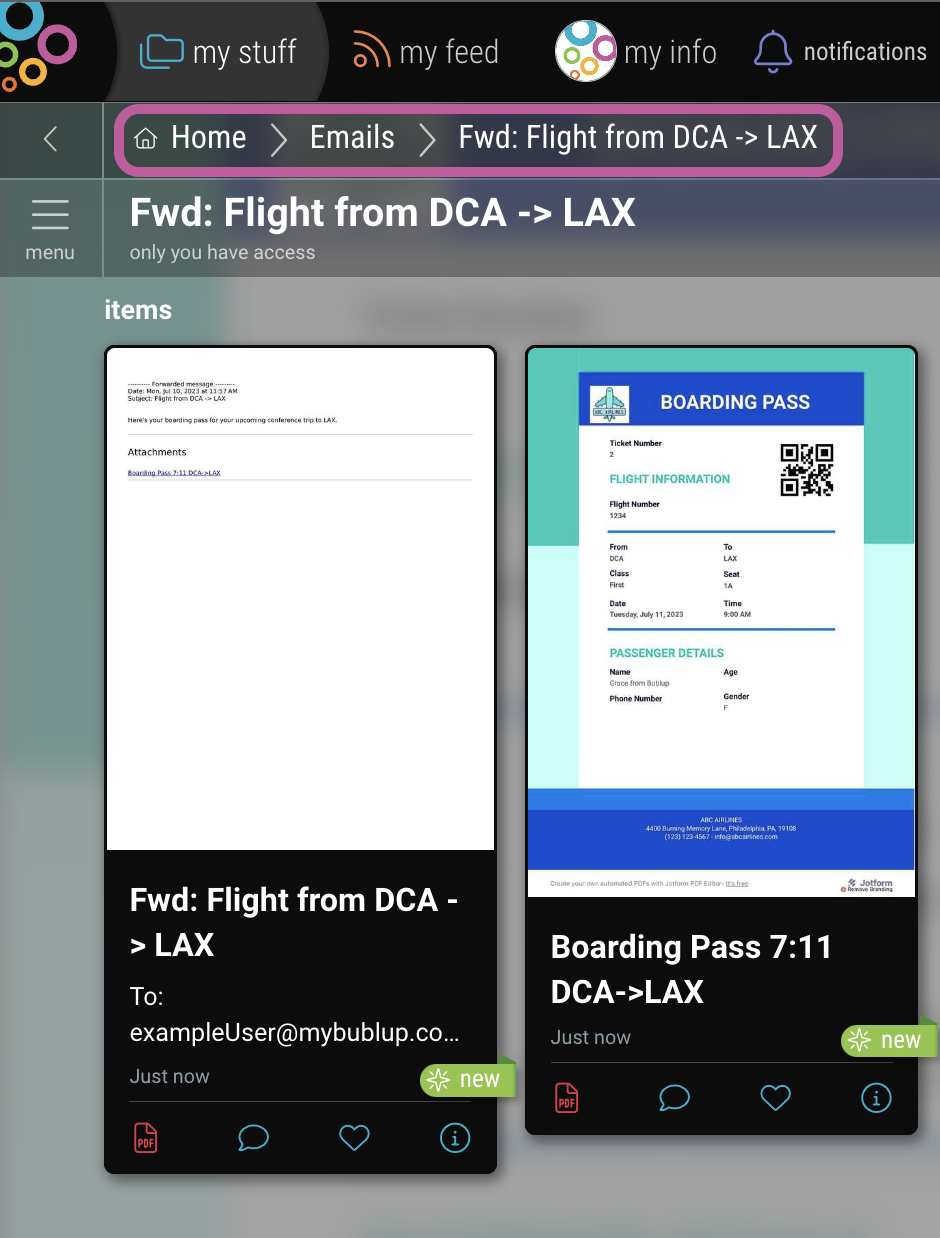
You can easily move forwarded emails from the “Emails” folder to other spaces, so you can keep things organized the way you want.
PRO TIP: Send an email directly to a specific space in Bublup.
To do this:
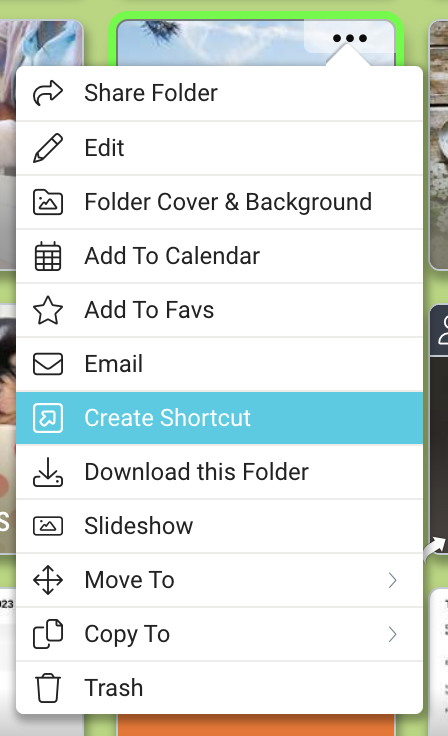
- Create a shortcut of the space inside the Emails space.
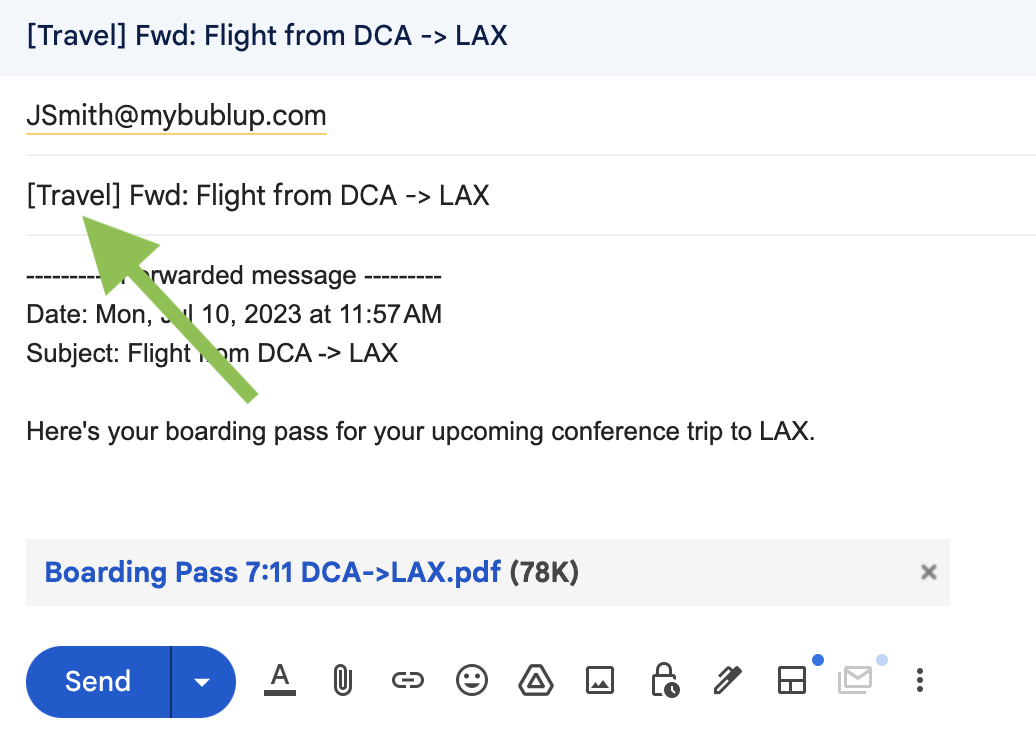
- When you send an email to Bublup, begin the subject line with the space name in brackets: “[space-name] the subject line here”. Example: “[Travel] Fwd: Flights from DCA -> LAX”
Now the forwarded email will appear in your desired space instead of directly in Emails.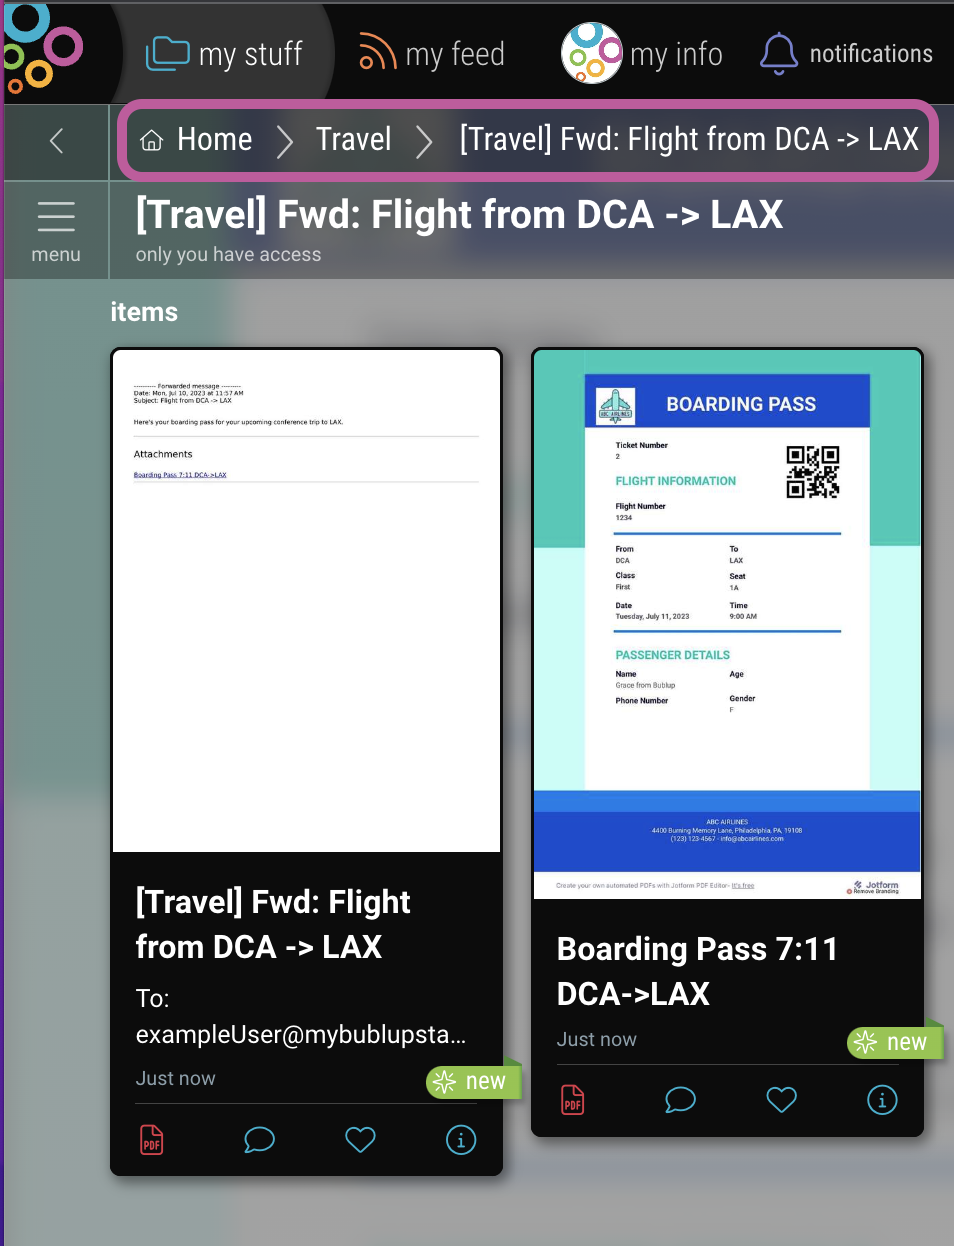
View & Manage Tasks
Keep track of all your tasks in one place! Set due dates and assign them to members of your shared spaces to stay organized.
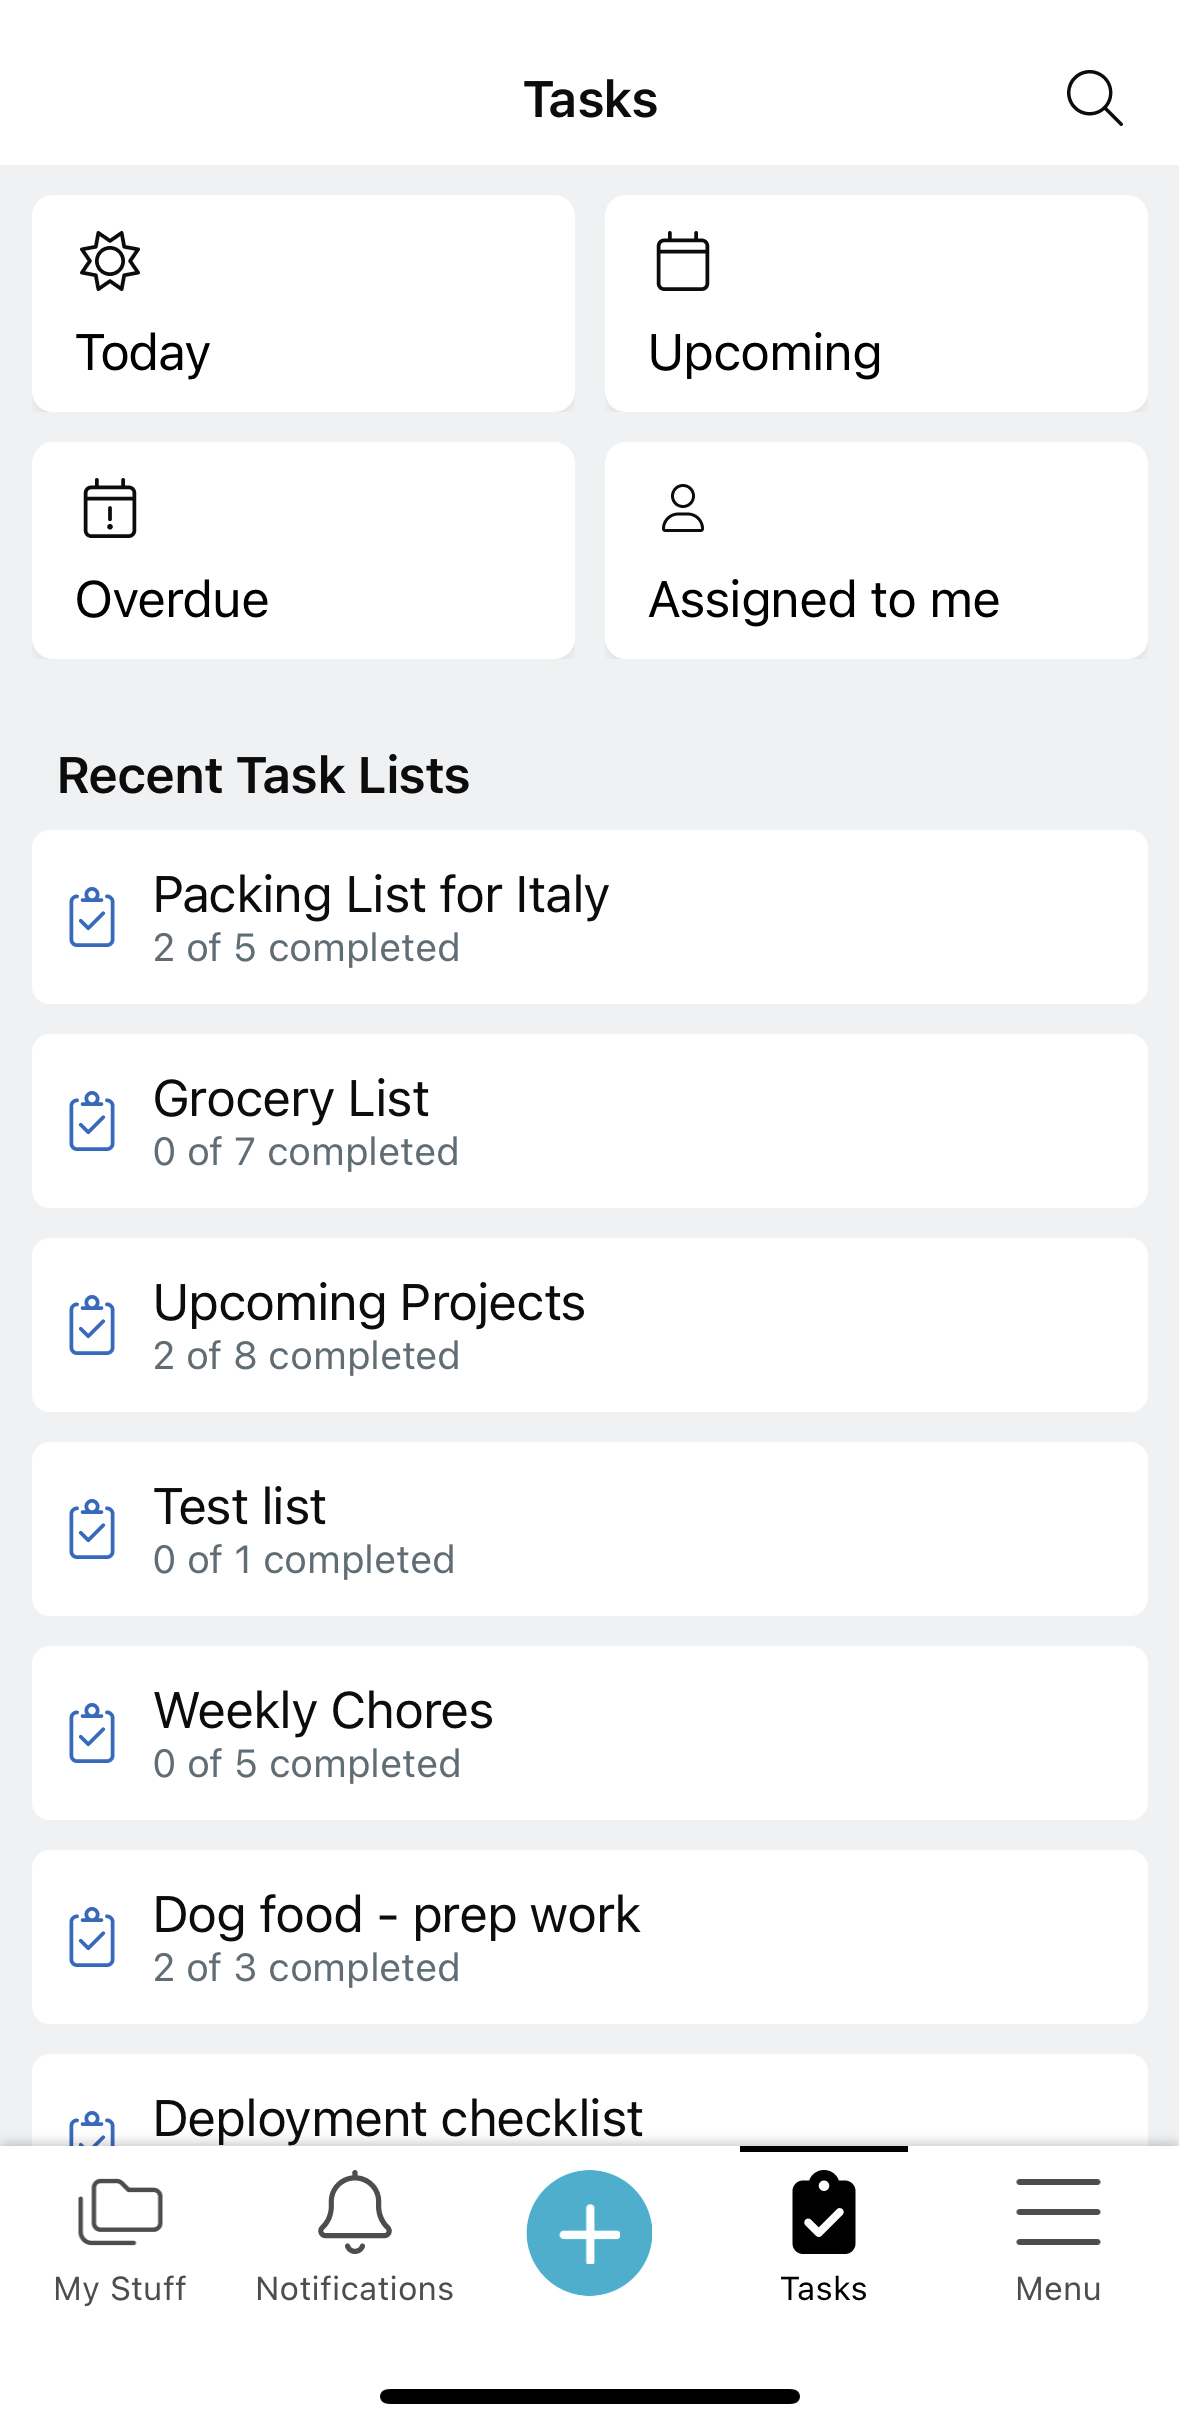
Viewing tasks in the task center
Tap on the “Tasks” icon in the navigation bar.

Easily access your recent task lists, or view tasks based on characteristics such as due today, upcoming, overdue, or assigned to me.
Creating a task list
To create a task list, go to one of your spaces and use the “+” button. (Note: task lists created from the task center will reside in your “Home” folder). For more detailed instructions on how to create and edit task lists, visit this page.

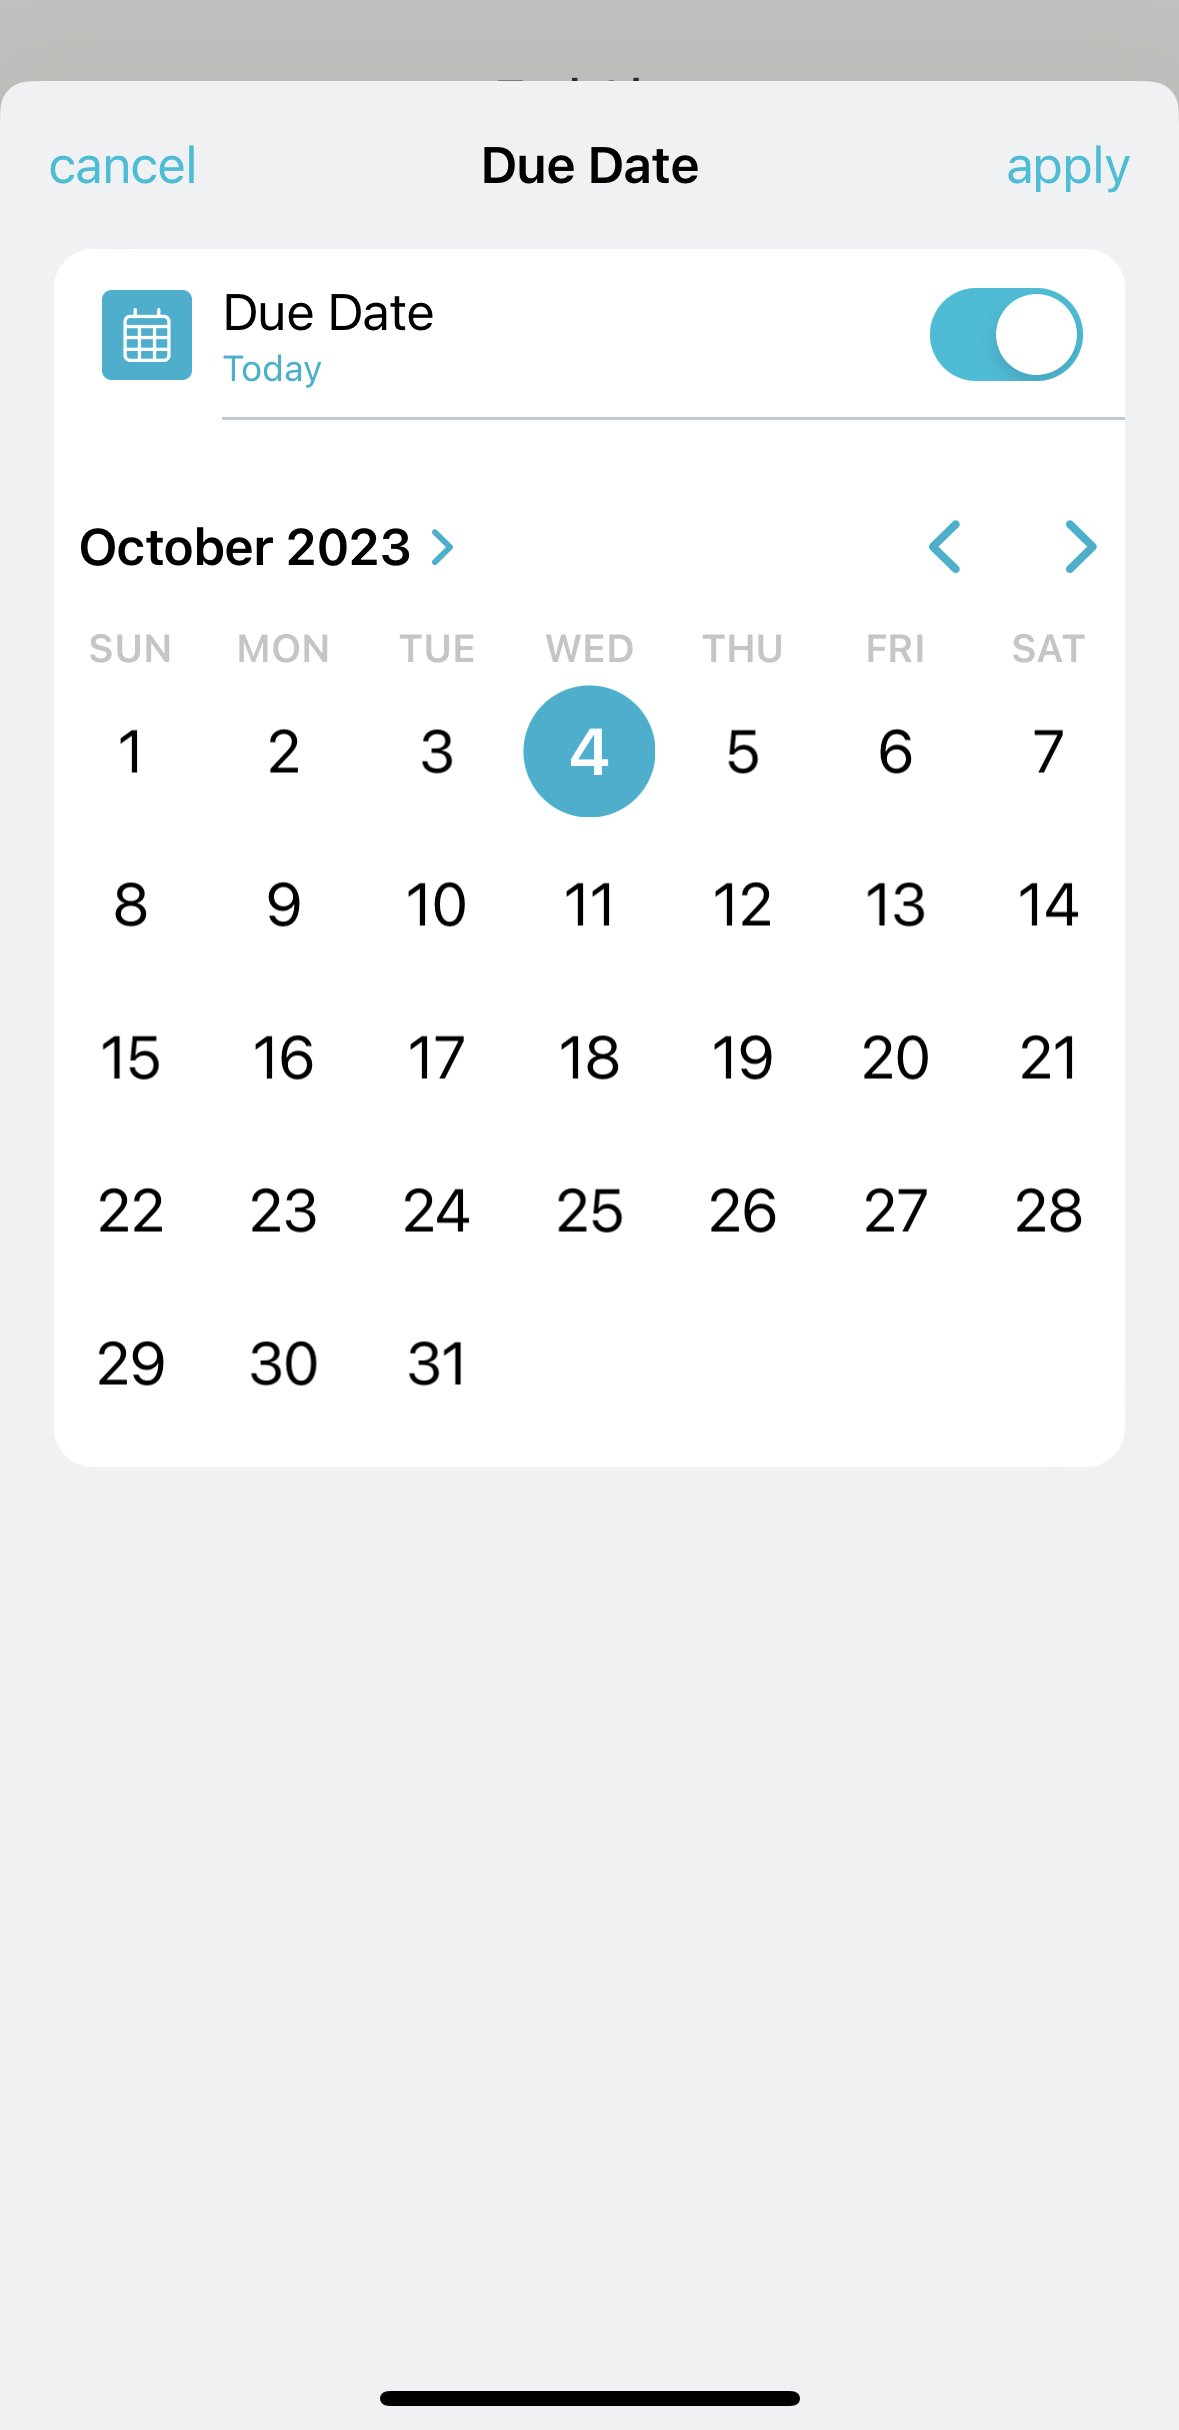
Setting due dates and assigning tasks
Tap on the task to bring up the details view.
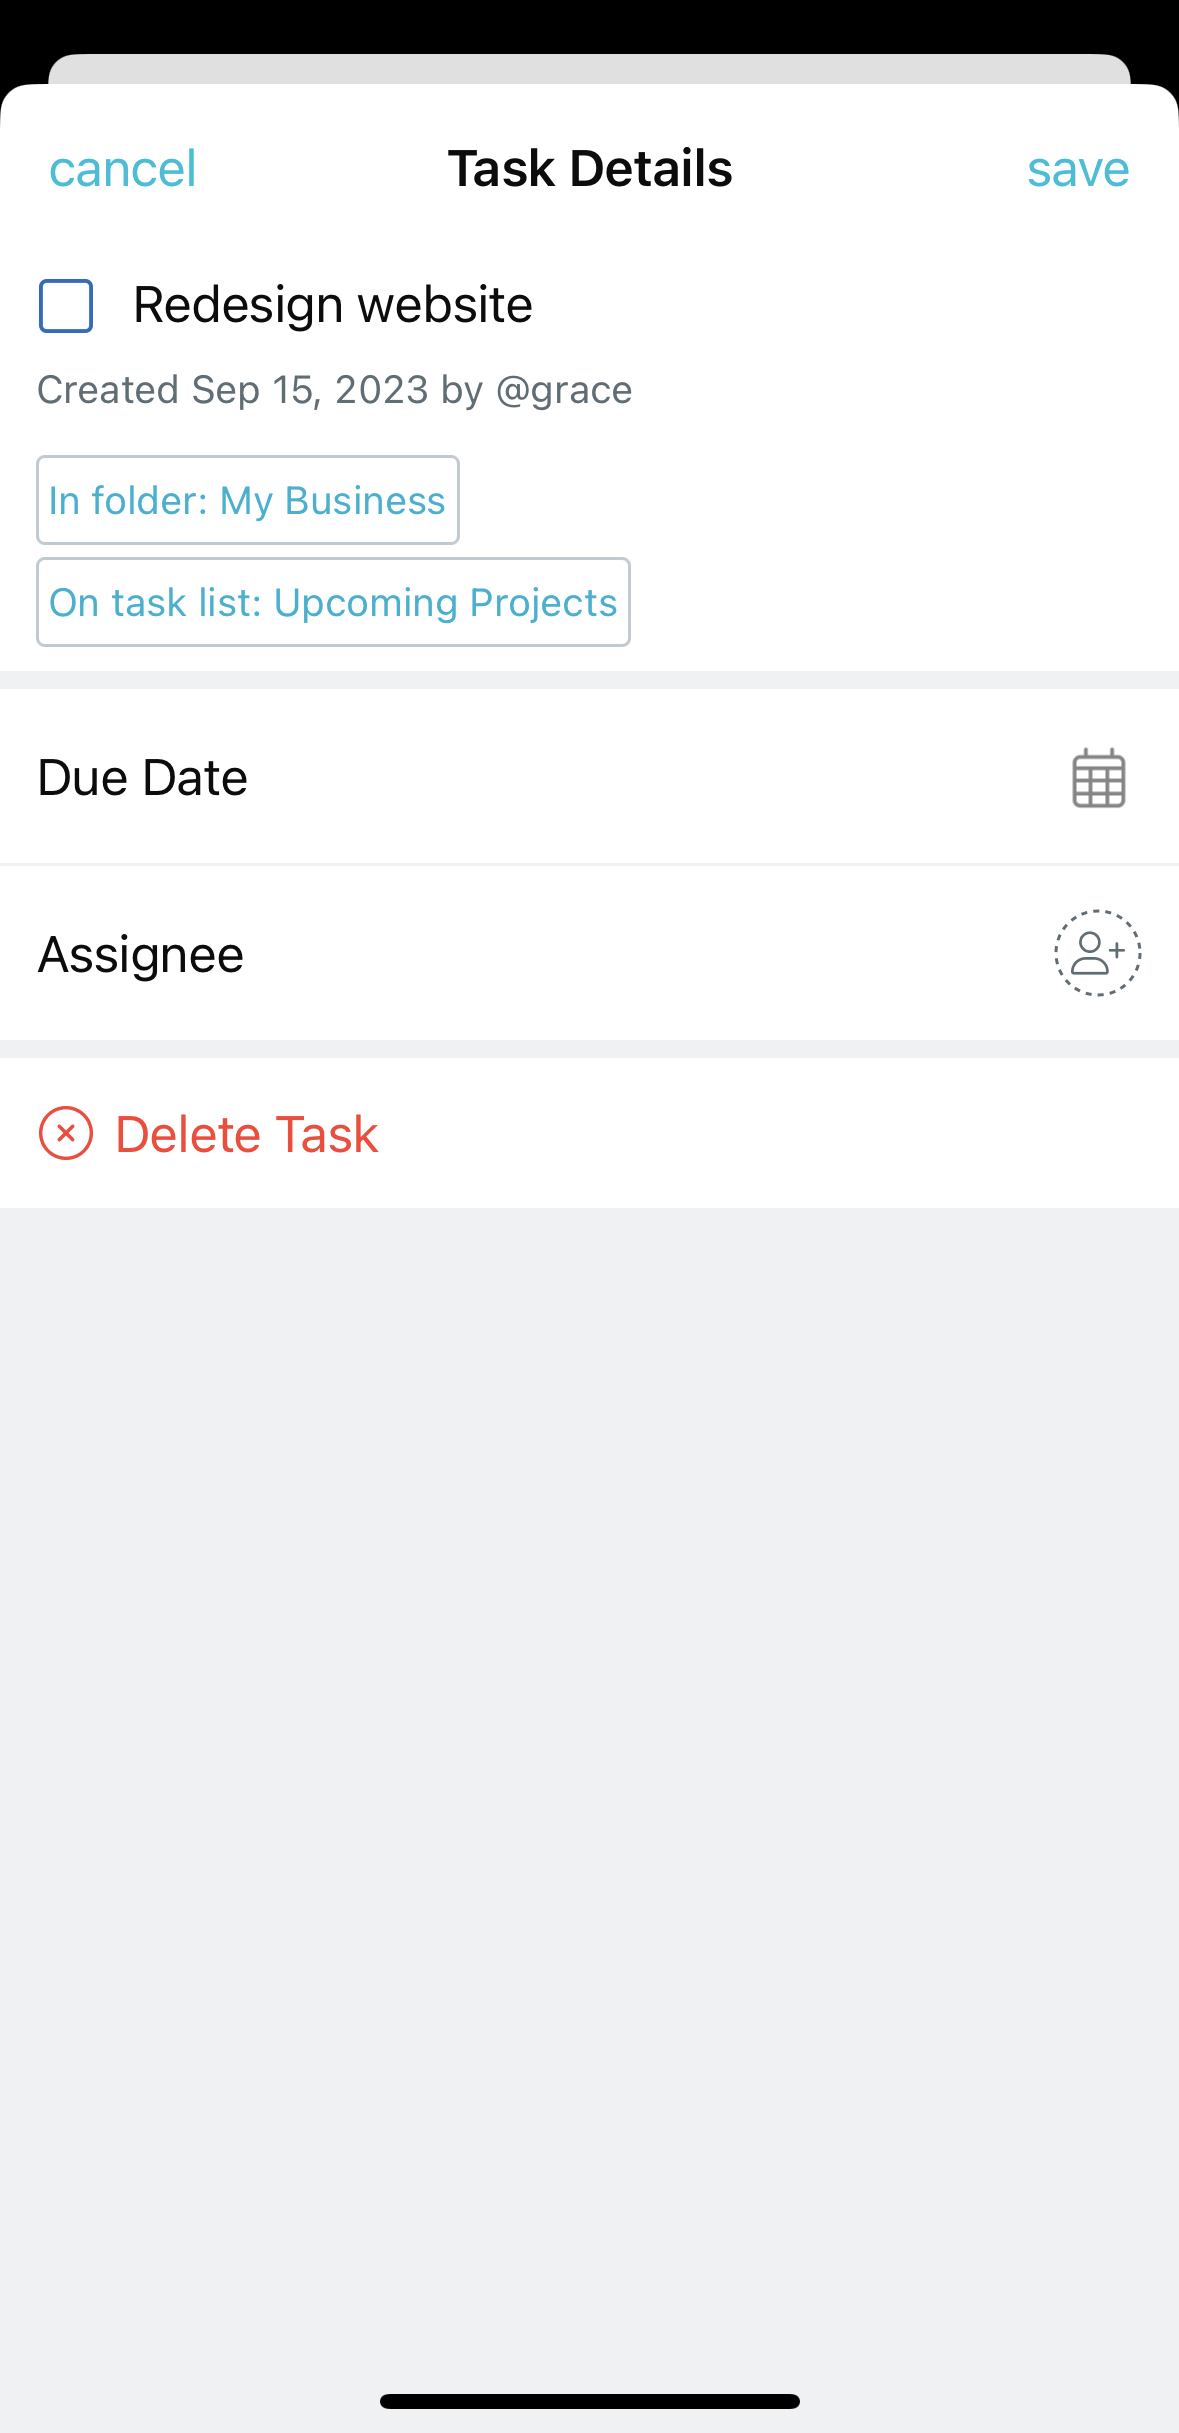
To set a due date, tap on the calendar icon. Tasks that are overdue will appear in red.
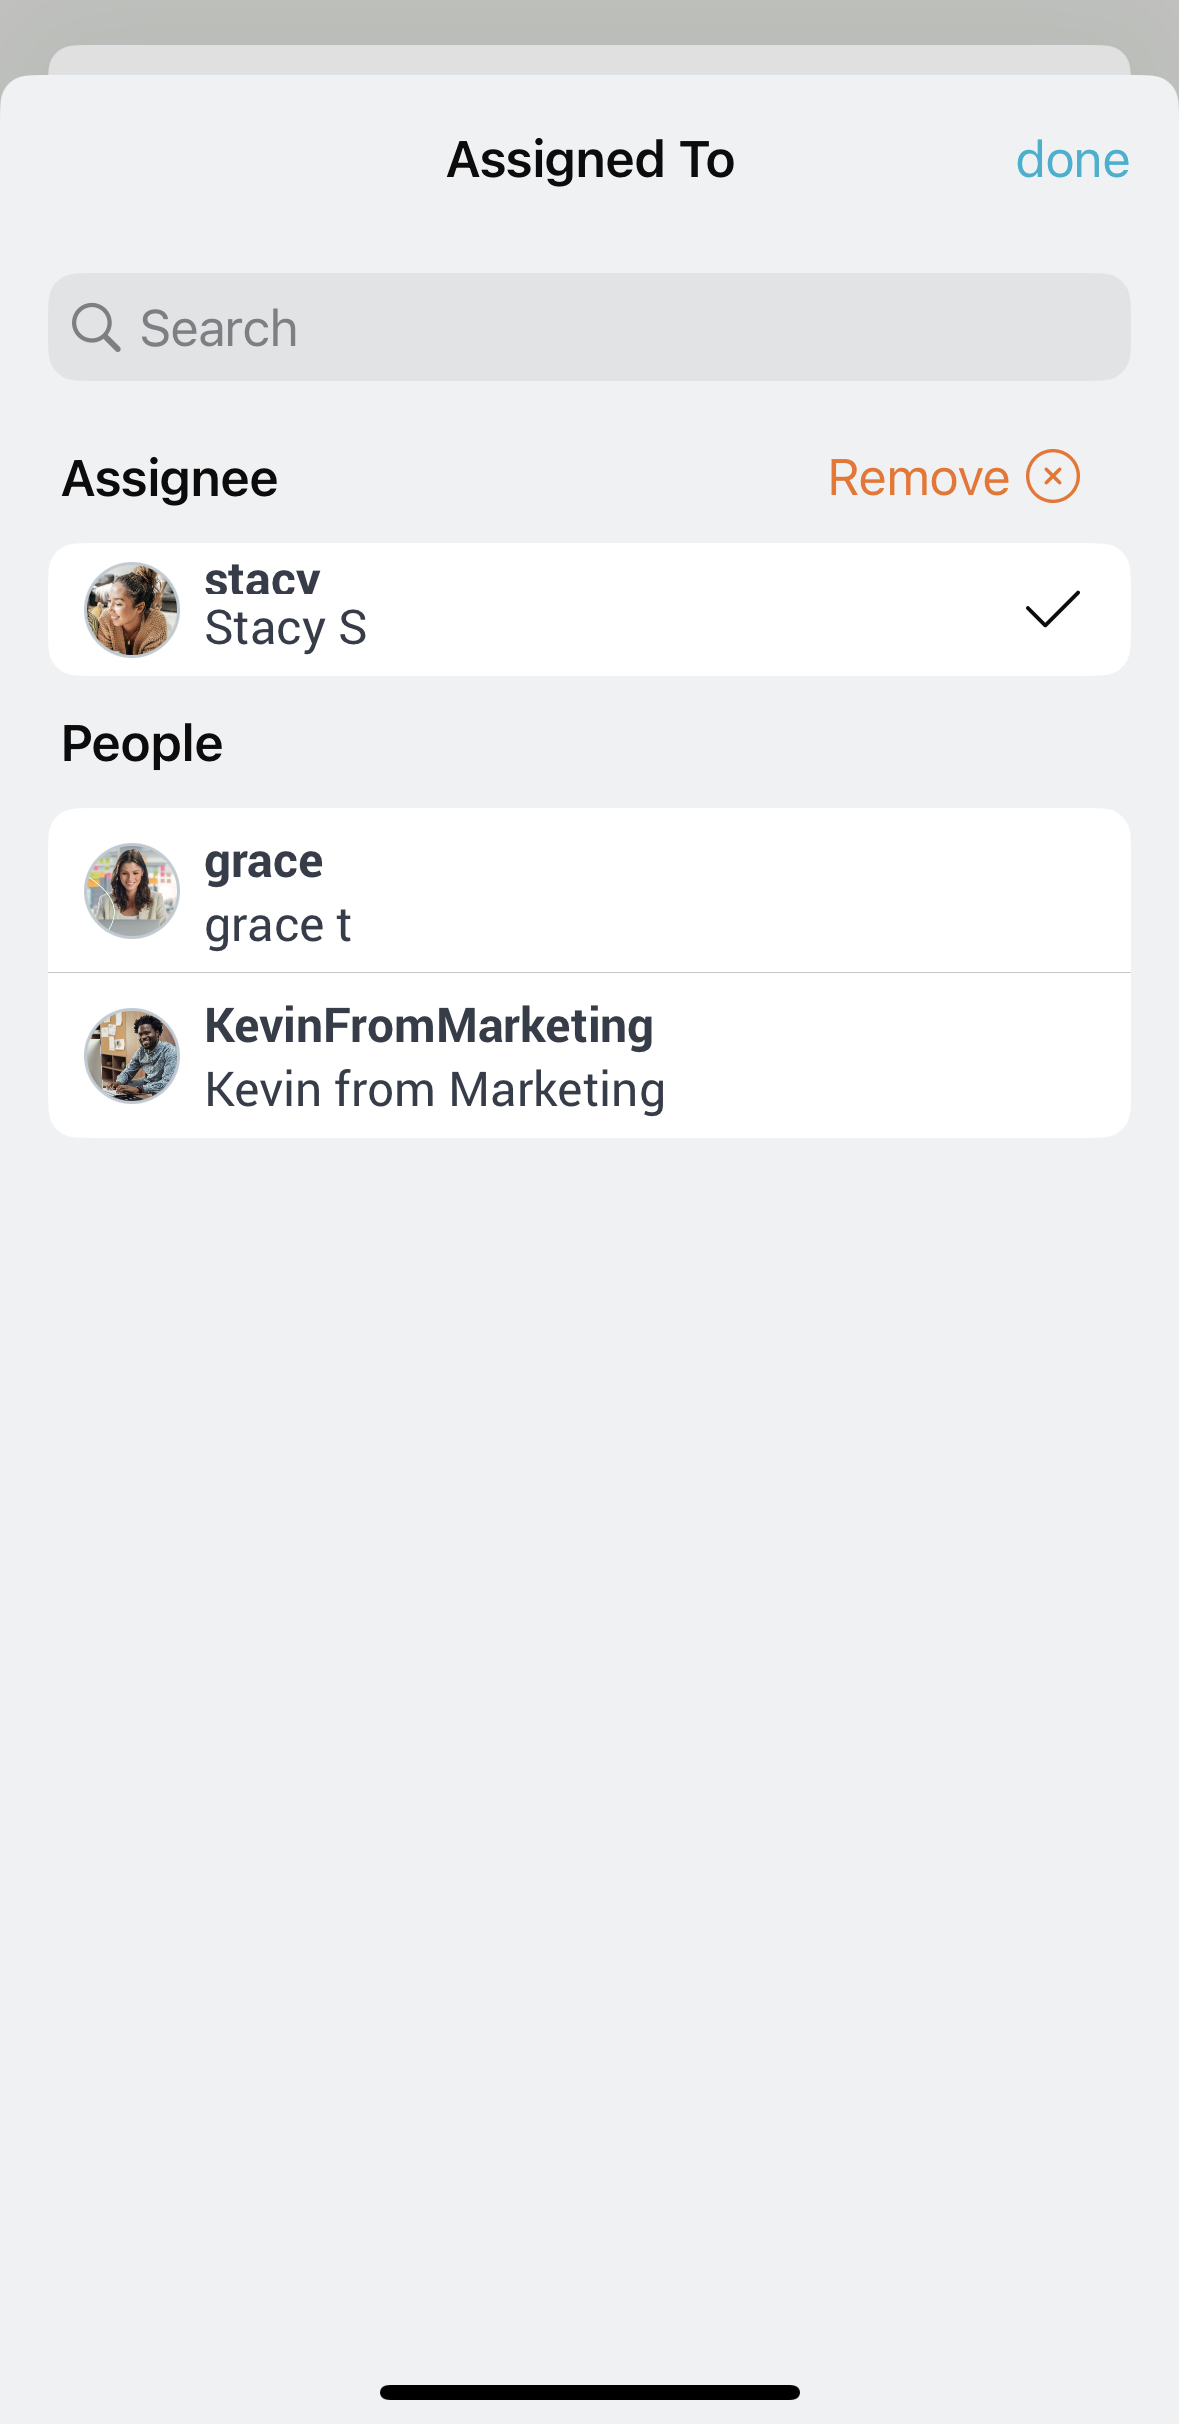
Tap on the person icon to bring up a list of possible assignees. To assign a task to someone, they have to be part of your shared space. If they’re not in your shared space, invite them and then assign the task upon their joining.
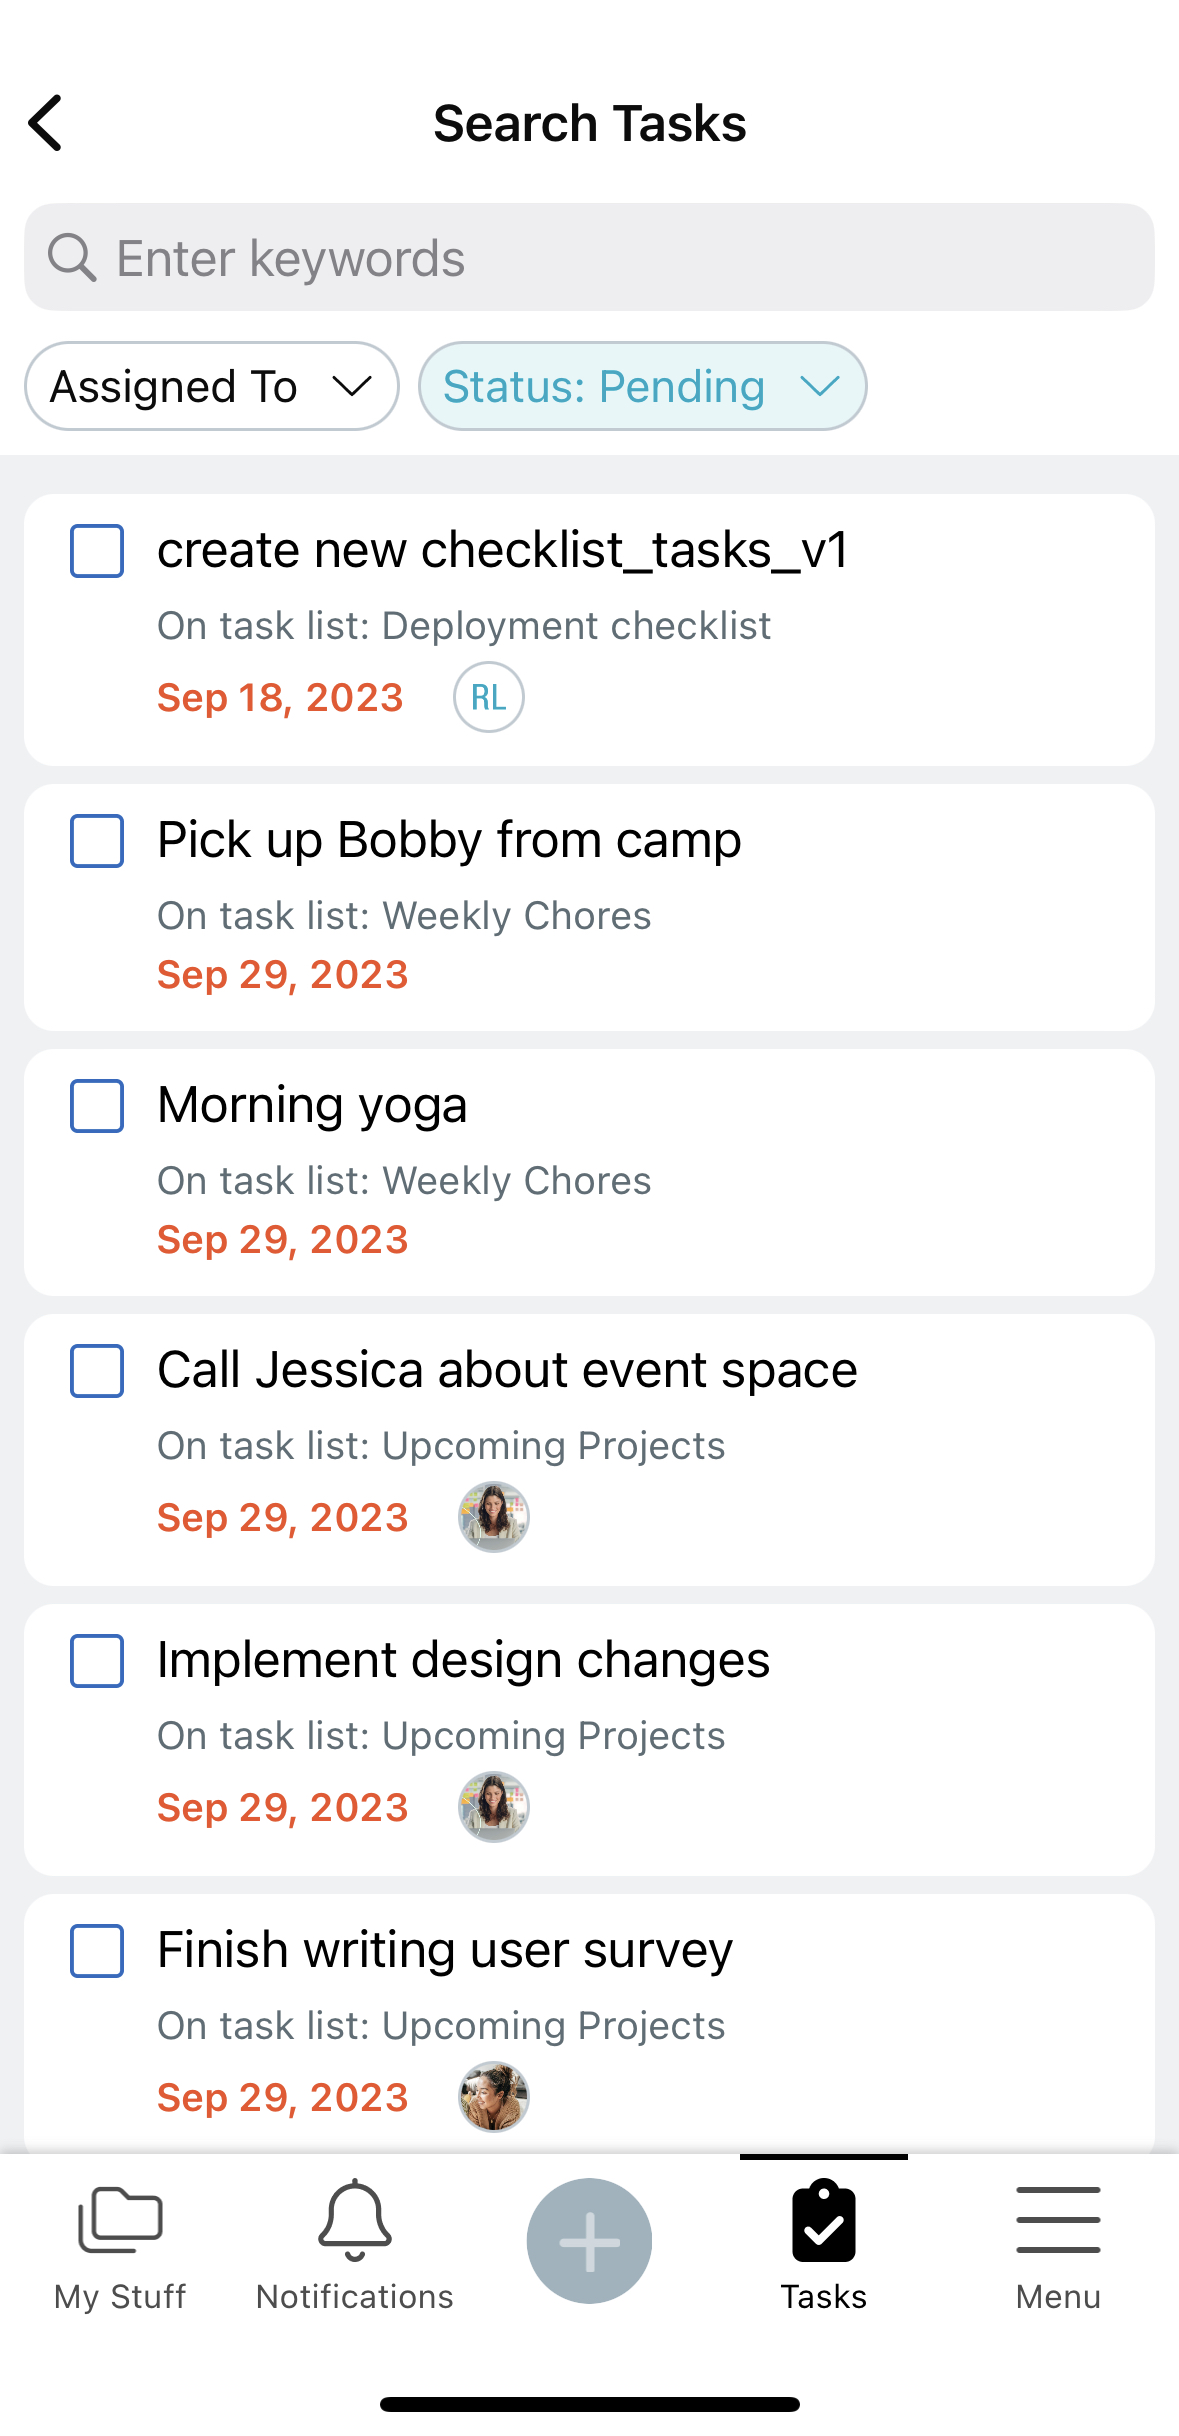
Searching for Tasks
Tap on the magnifying glass inside the Task center to search for tasks by keyword, assignee, or completion status.
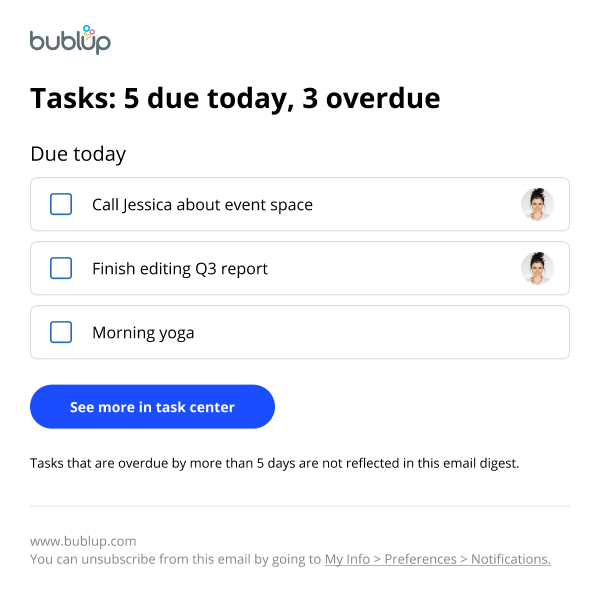
Daily Tasks Email
Receive an email each morning with your upcoming and overdue tasks. Adjust this preference by going to “My Info & Settings” > “Preferences” > “Notifications” > “Tasks”.
Note: Task lists will not be included in rolls you create, since they are intended to be frequently updated.
Install Bublup's Browser Extension
The Bublup browser add-on, also known as the “Nanobar”, lets you save links to Bublup directly from any web page with the click of a button.
Instructions for installing the browser extension
Bublup’s extension is available exclusively on Chrome, Chromium, and Edge. The Bublup desktop app is officially supported on the Chrome, Safari, Firefox, Chromium and Edge browsers.
For Chrome/Chromium:
1. Click on this link for the Chrome Web Store.
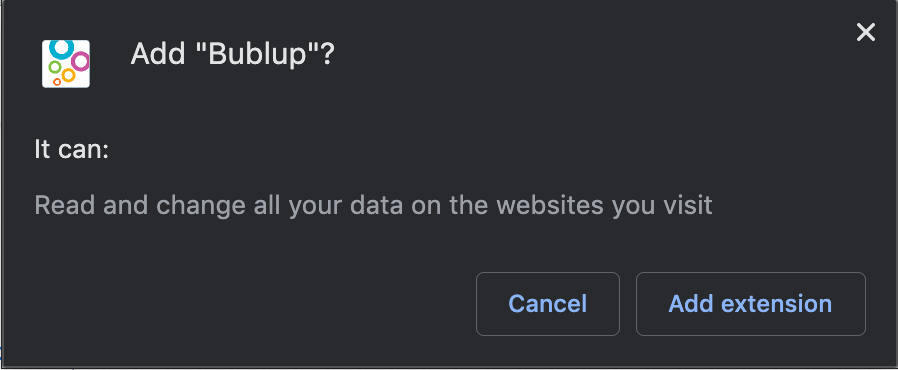
2. Select “Add to Chrome”.
3. Select “Add Extension”.
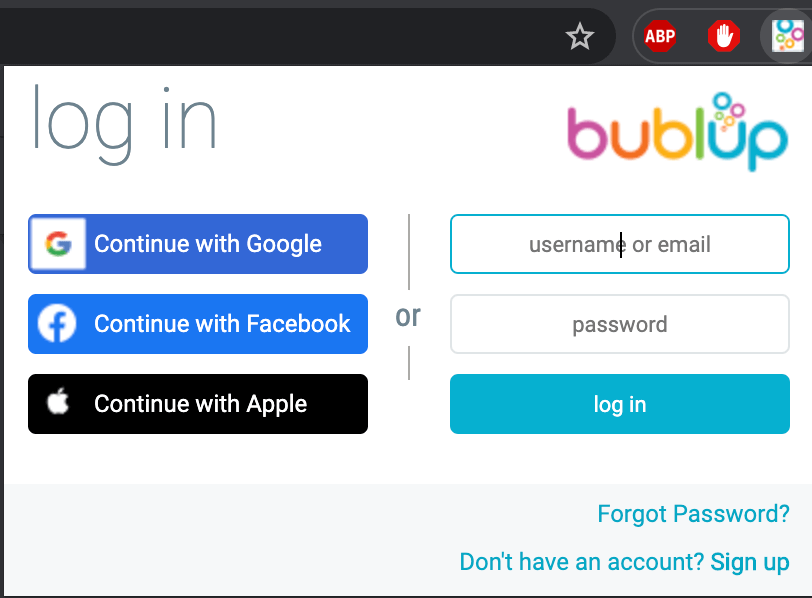
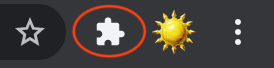
4. Log into Bublup by clicking on the bubbles icon next to the URL bar.
For Microsoft Edge:
1. Click on this link for the Edge Add-ons Store.
2. Select “Get”.
3. Select “Add Extension”.
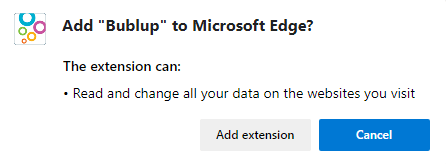
4. Log into Bublup by clicking on the bubbles icon next to the URL bar.
Using the browser extension
Using our extension for Chrome and Microsoft Edge enables you to save to Bublup without disrupting your browsing experience. The Bublup extension includes a handy nanobar, along with some mouse and extension menu options.
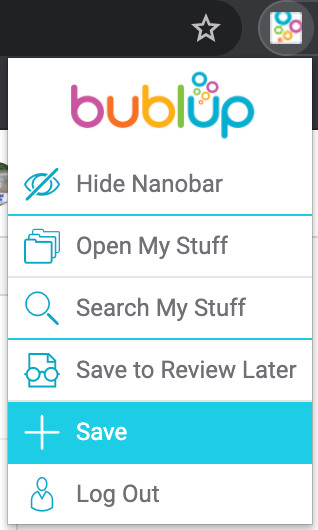
Nanobar
![]()
The nanobar has 2 functions:
- Clicking on the bubbles will open Bublup in a new tab or navigate to Bublup in an existing tab.
- Selecting the “+” button will save the webpage you’re viewing into Bublup.
Quick Menus
Once the browser extension is installed, you can right-click on a web page and choose to save the page from there.
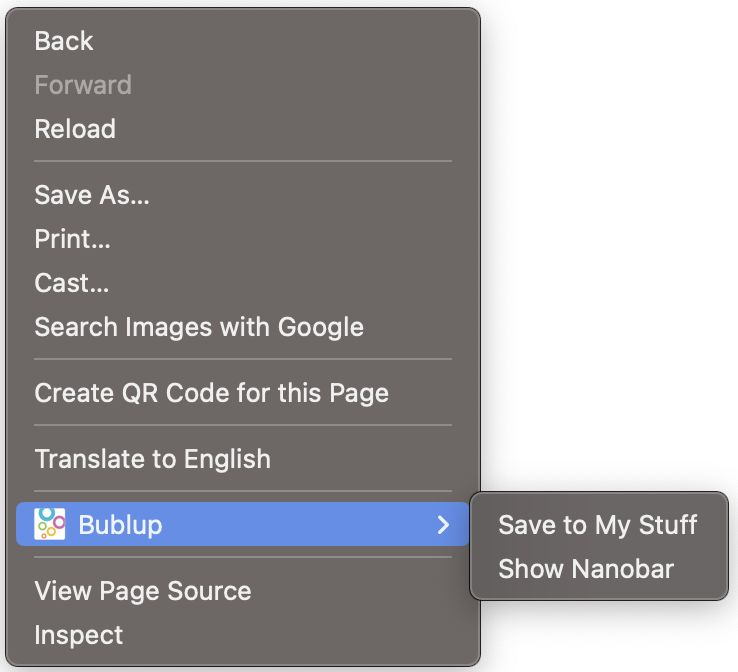
You also will have a menu in the extensions bar at the top:
Import Your Bookmarks (desktop-only)
You can easily import those webpages into Bublup if they are bookmarked in Chrome, Chromium, Safari, Microsoft Edge, or Firefox.
1. Export saved bookmarks from your browser by following the steps below.
Chrome/Chromium:
a. Select Bookmarks → Bookmarks manager.
b. Click on the 3-dot ( ⋮ ) menu on the upper-right side of the window (on the blue background), and select “Export Bookmarks”.
c. Choose a location to save the file, and click “Save”.
Safari
a. Open a new Safari window.
b. Select “File” → “Export Bookmarks”.
c. Choose a location to save the file, and click “Save”.
Microsoft Edge
a. Open a new Edge window.
b. Select “Favorites” → 3-dot (…) menu: “Export Favorites”.
c. Choose a location to save the file, and click “Save”.
Firefox
a. Open a new Firefox window.
b. Select “Bookmarks” → “Show All Bookmarks”.
c. From the toolbar, click on the button with the two arrows, and choose “Export Bookmarks to HTML”.
d. Choose a location to save the file, and click “Save”.
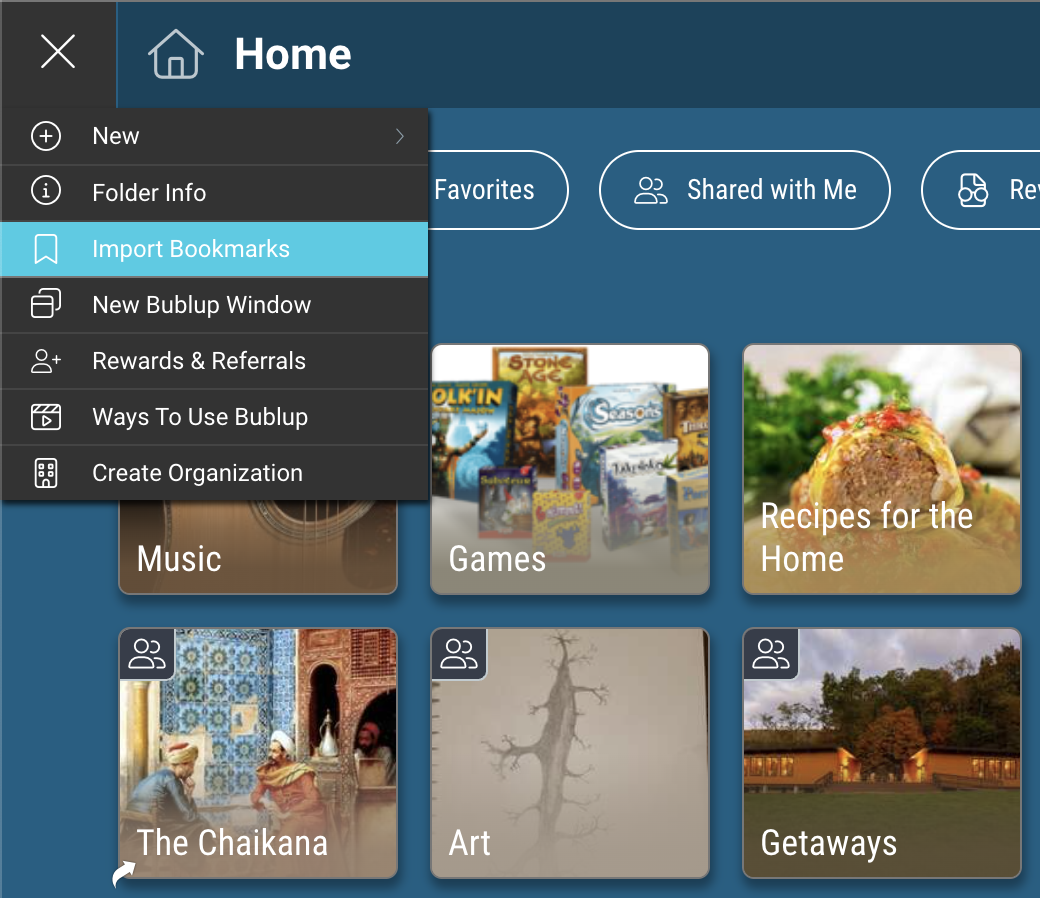
2. Go to “Home” and click on the (☰) menu on the left. Select “Import Bookmarks” among the menu options.
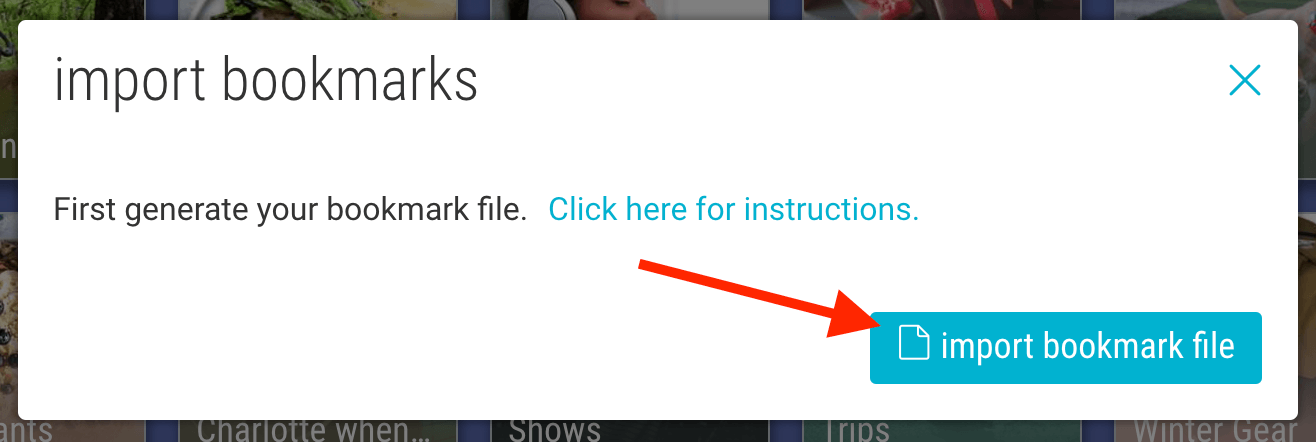
3. Click “import bookmark file” and choose the bookmarks file from your desktop. A folder will automatically be created in Bublup with all of your bookmarks. You can then reorganize these links within in Bublup if you wish.
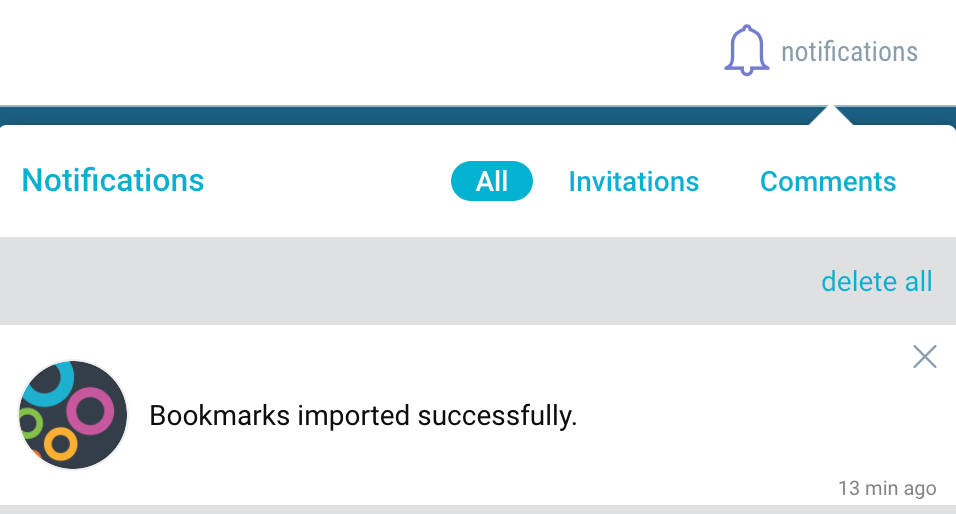
4. You will receive a notification when the import is complete. Note: If you have a large number of bookmarks, the import process may take longer.
Manage Offline Mode (mobile-only)
Set items or spaces to be viewable offline on your mobile device.
To set content as viewable offline:
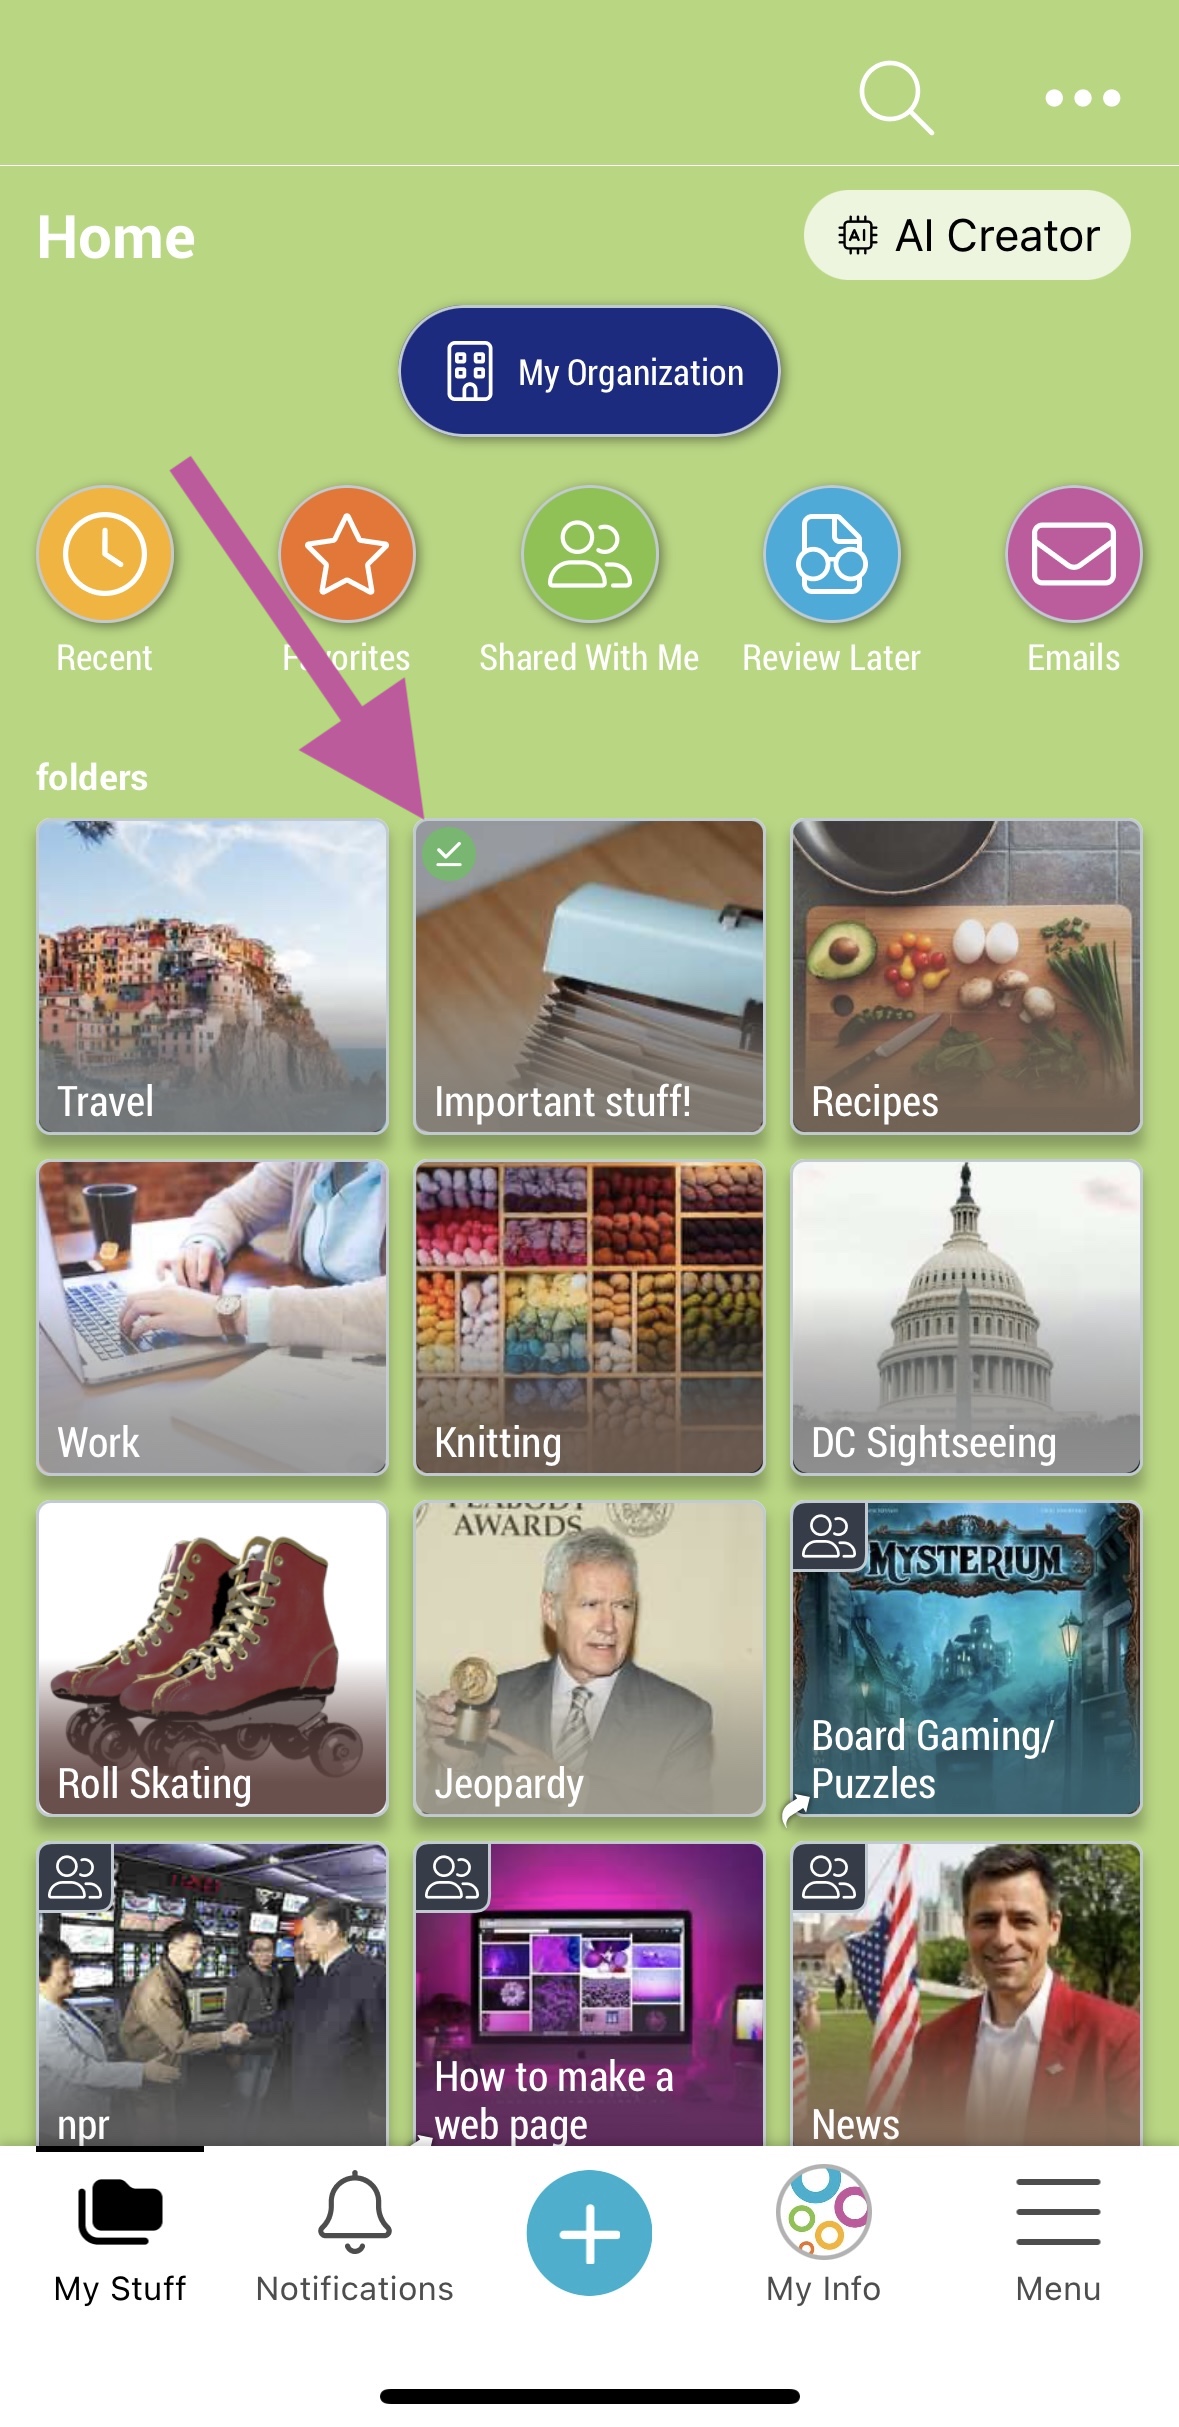
Tap on the 3-dot menu of a space or item, and select “Add to Offline Viewer”.
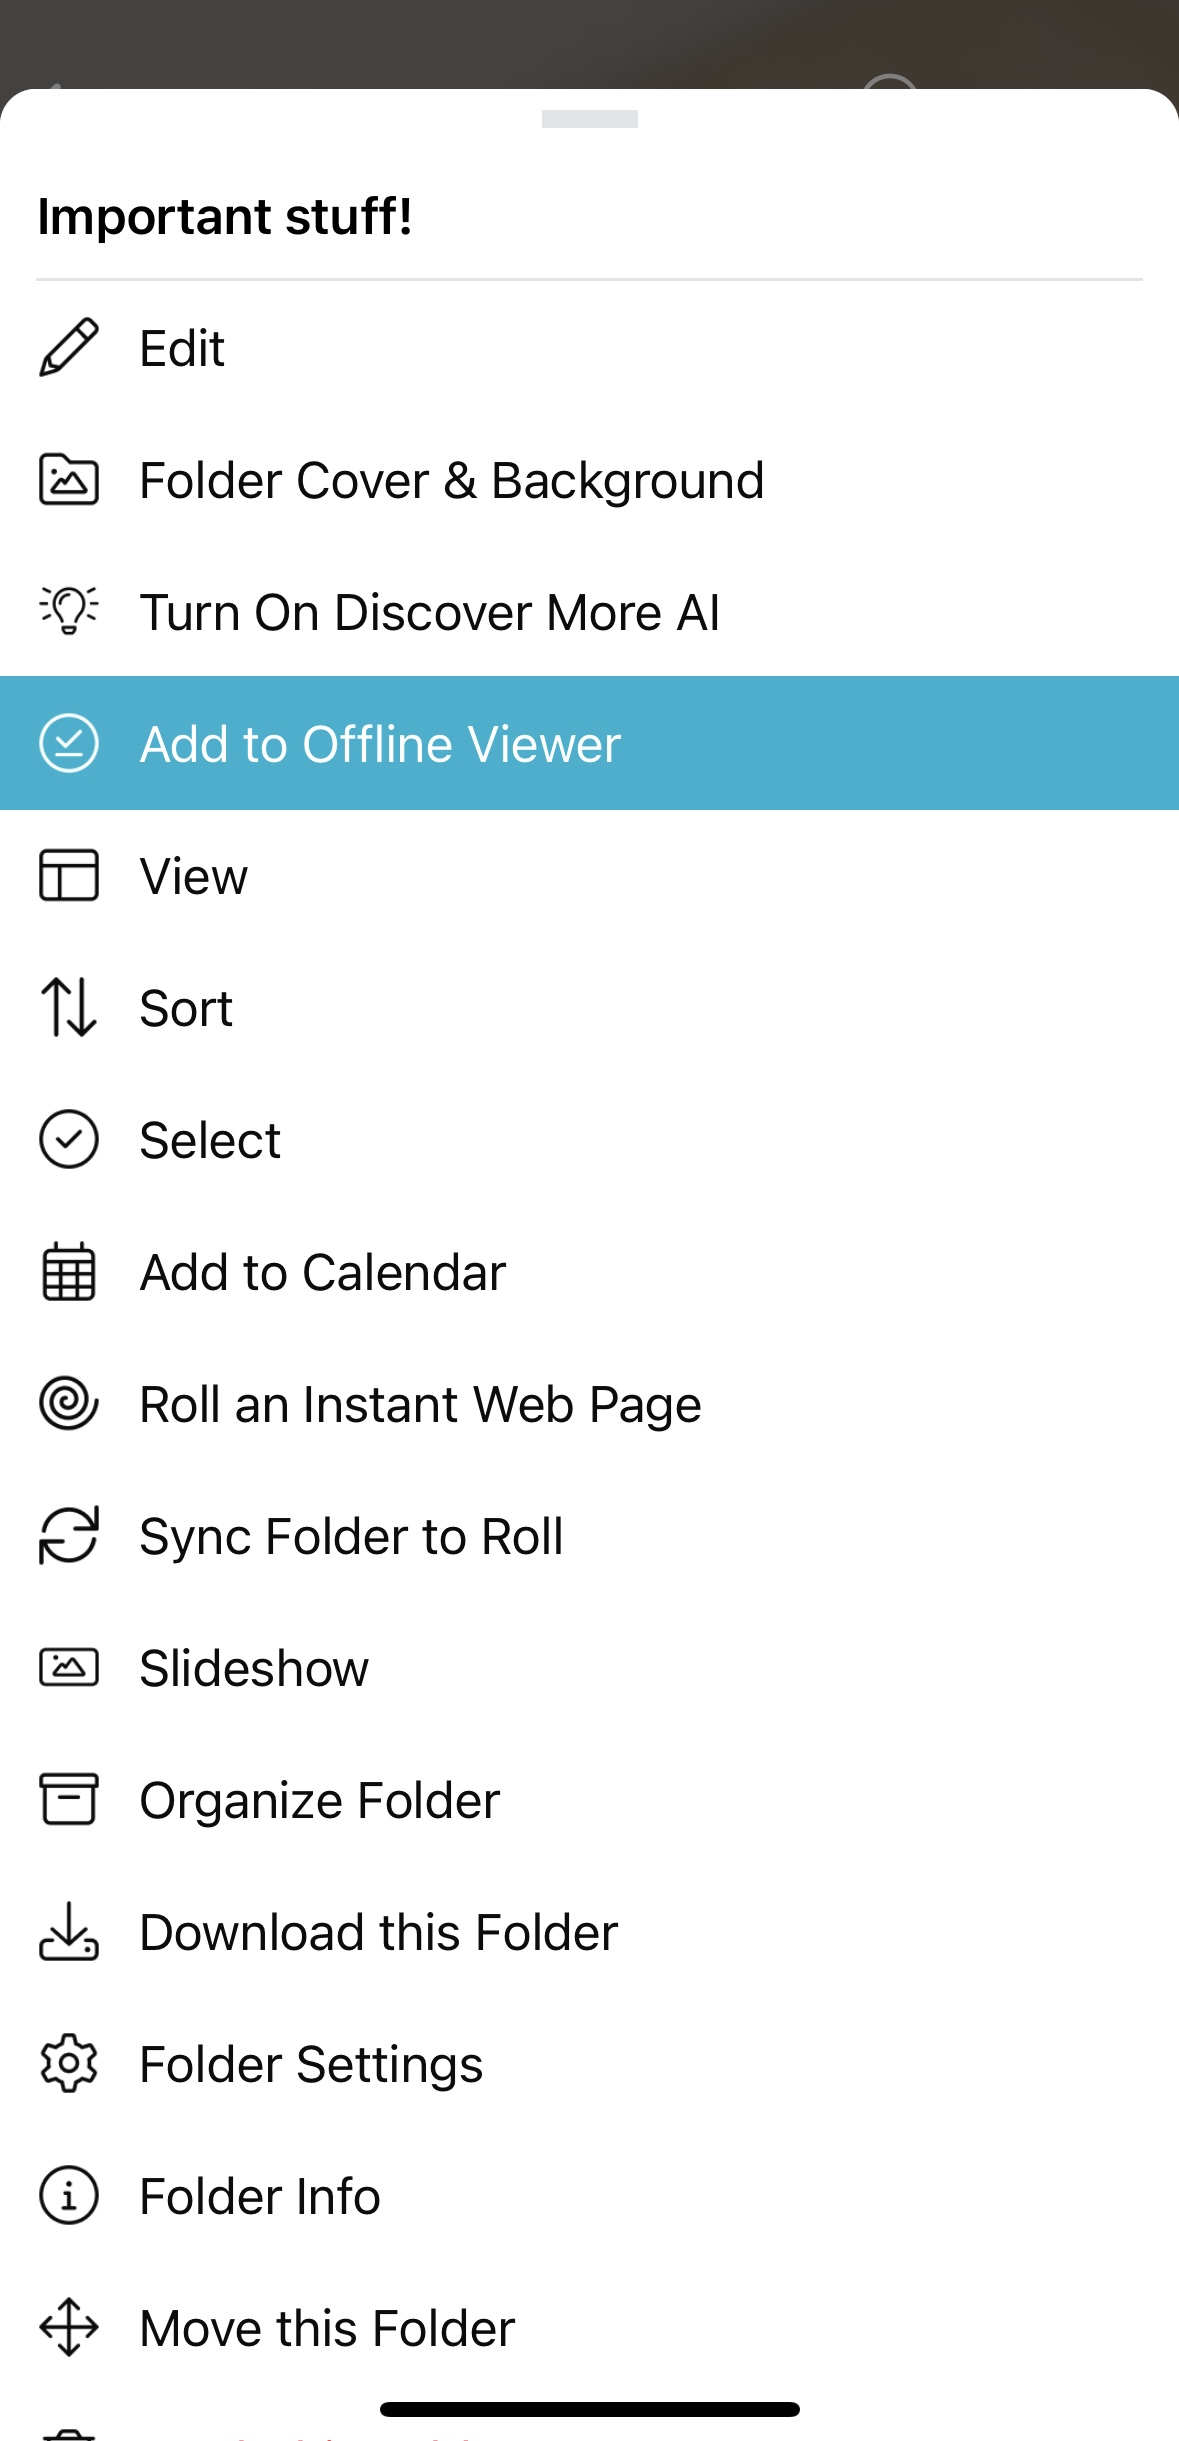
Spaces and items marked for offline view will show a green check mark in the upper-left corner.
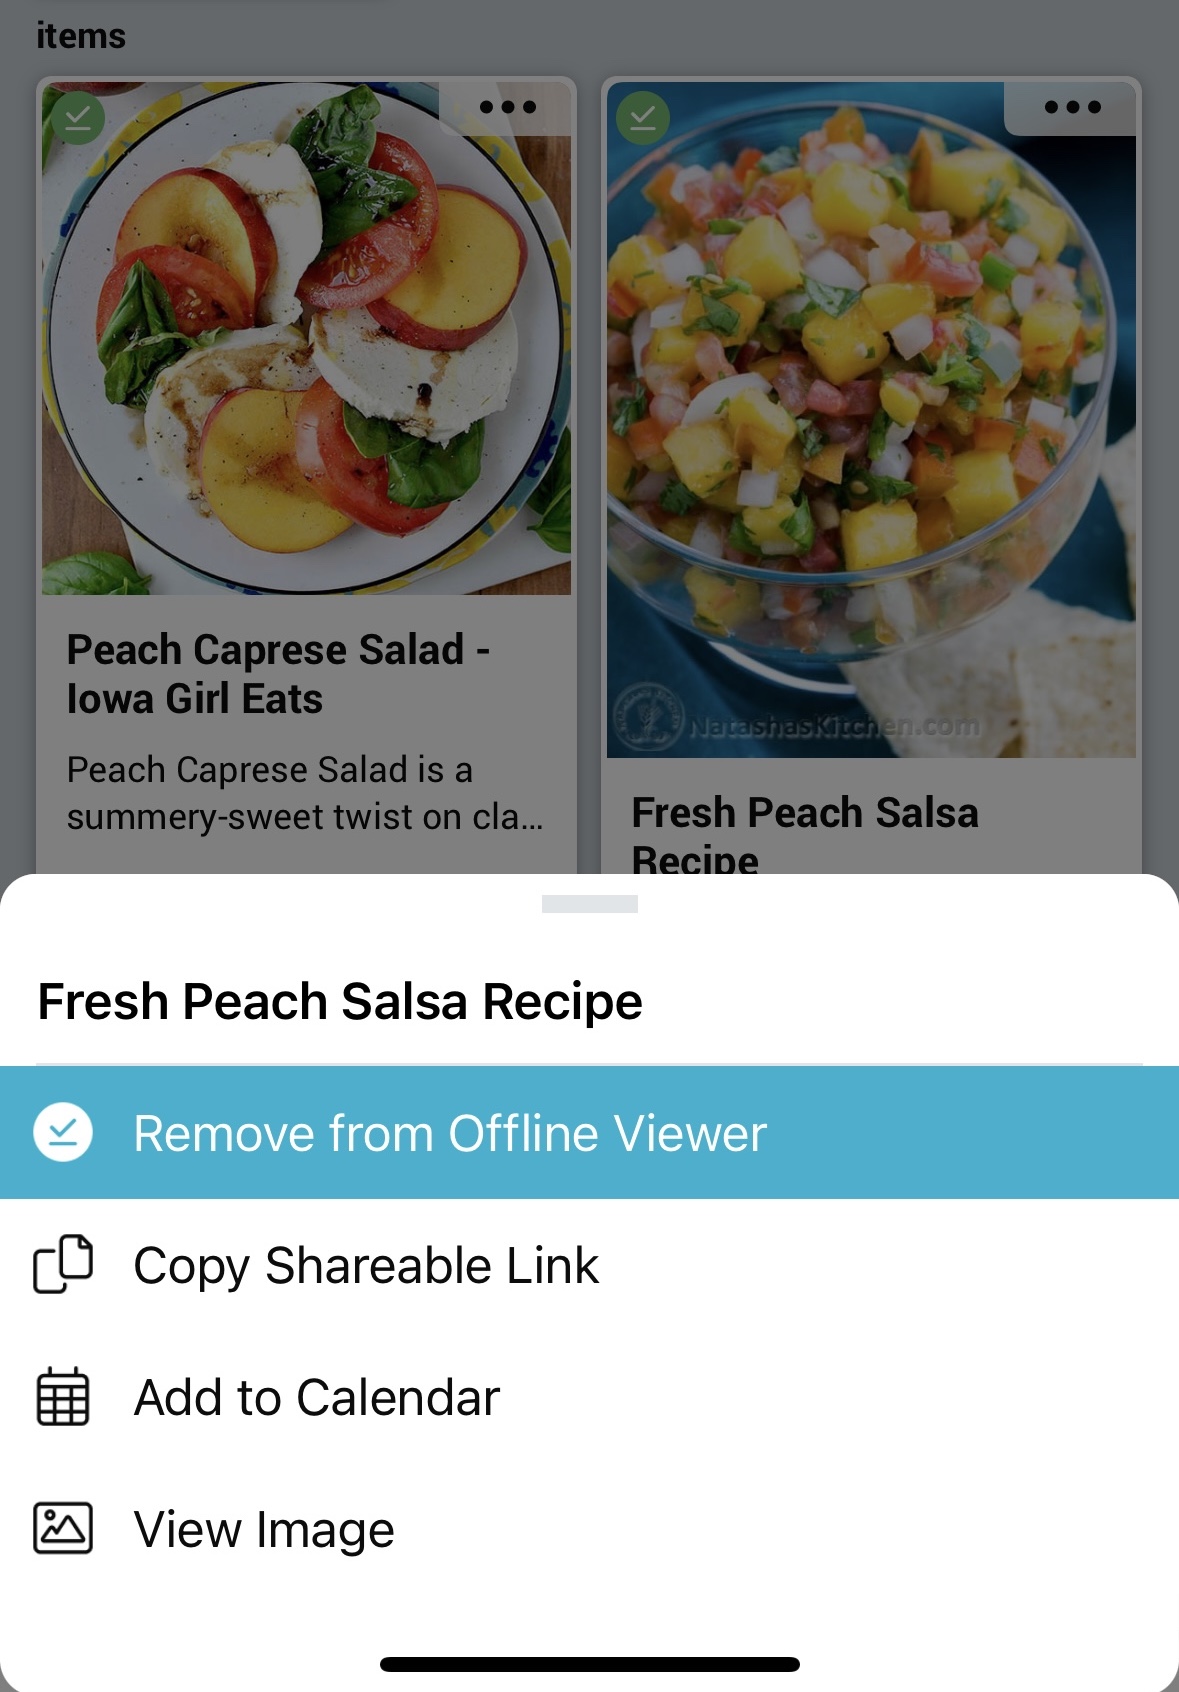
To remove a space or item from offline view, click on the three-dot menu and select “Remove from Offline Viewer”.
Note: Offline mode is on a per-device basis. If you use multiple mobile devices, you will need to set content as viewable offline on each of your devices.
Viewing offline content:
Tap on the (☰) menu in bottom right of the navigation bar, then select “Offline Viewer”.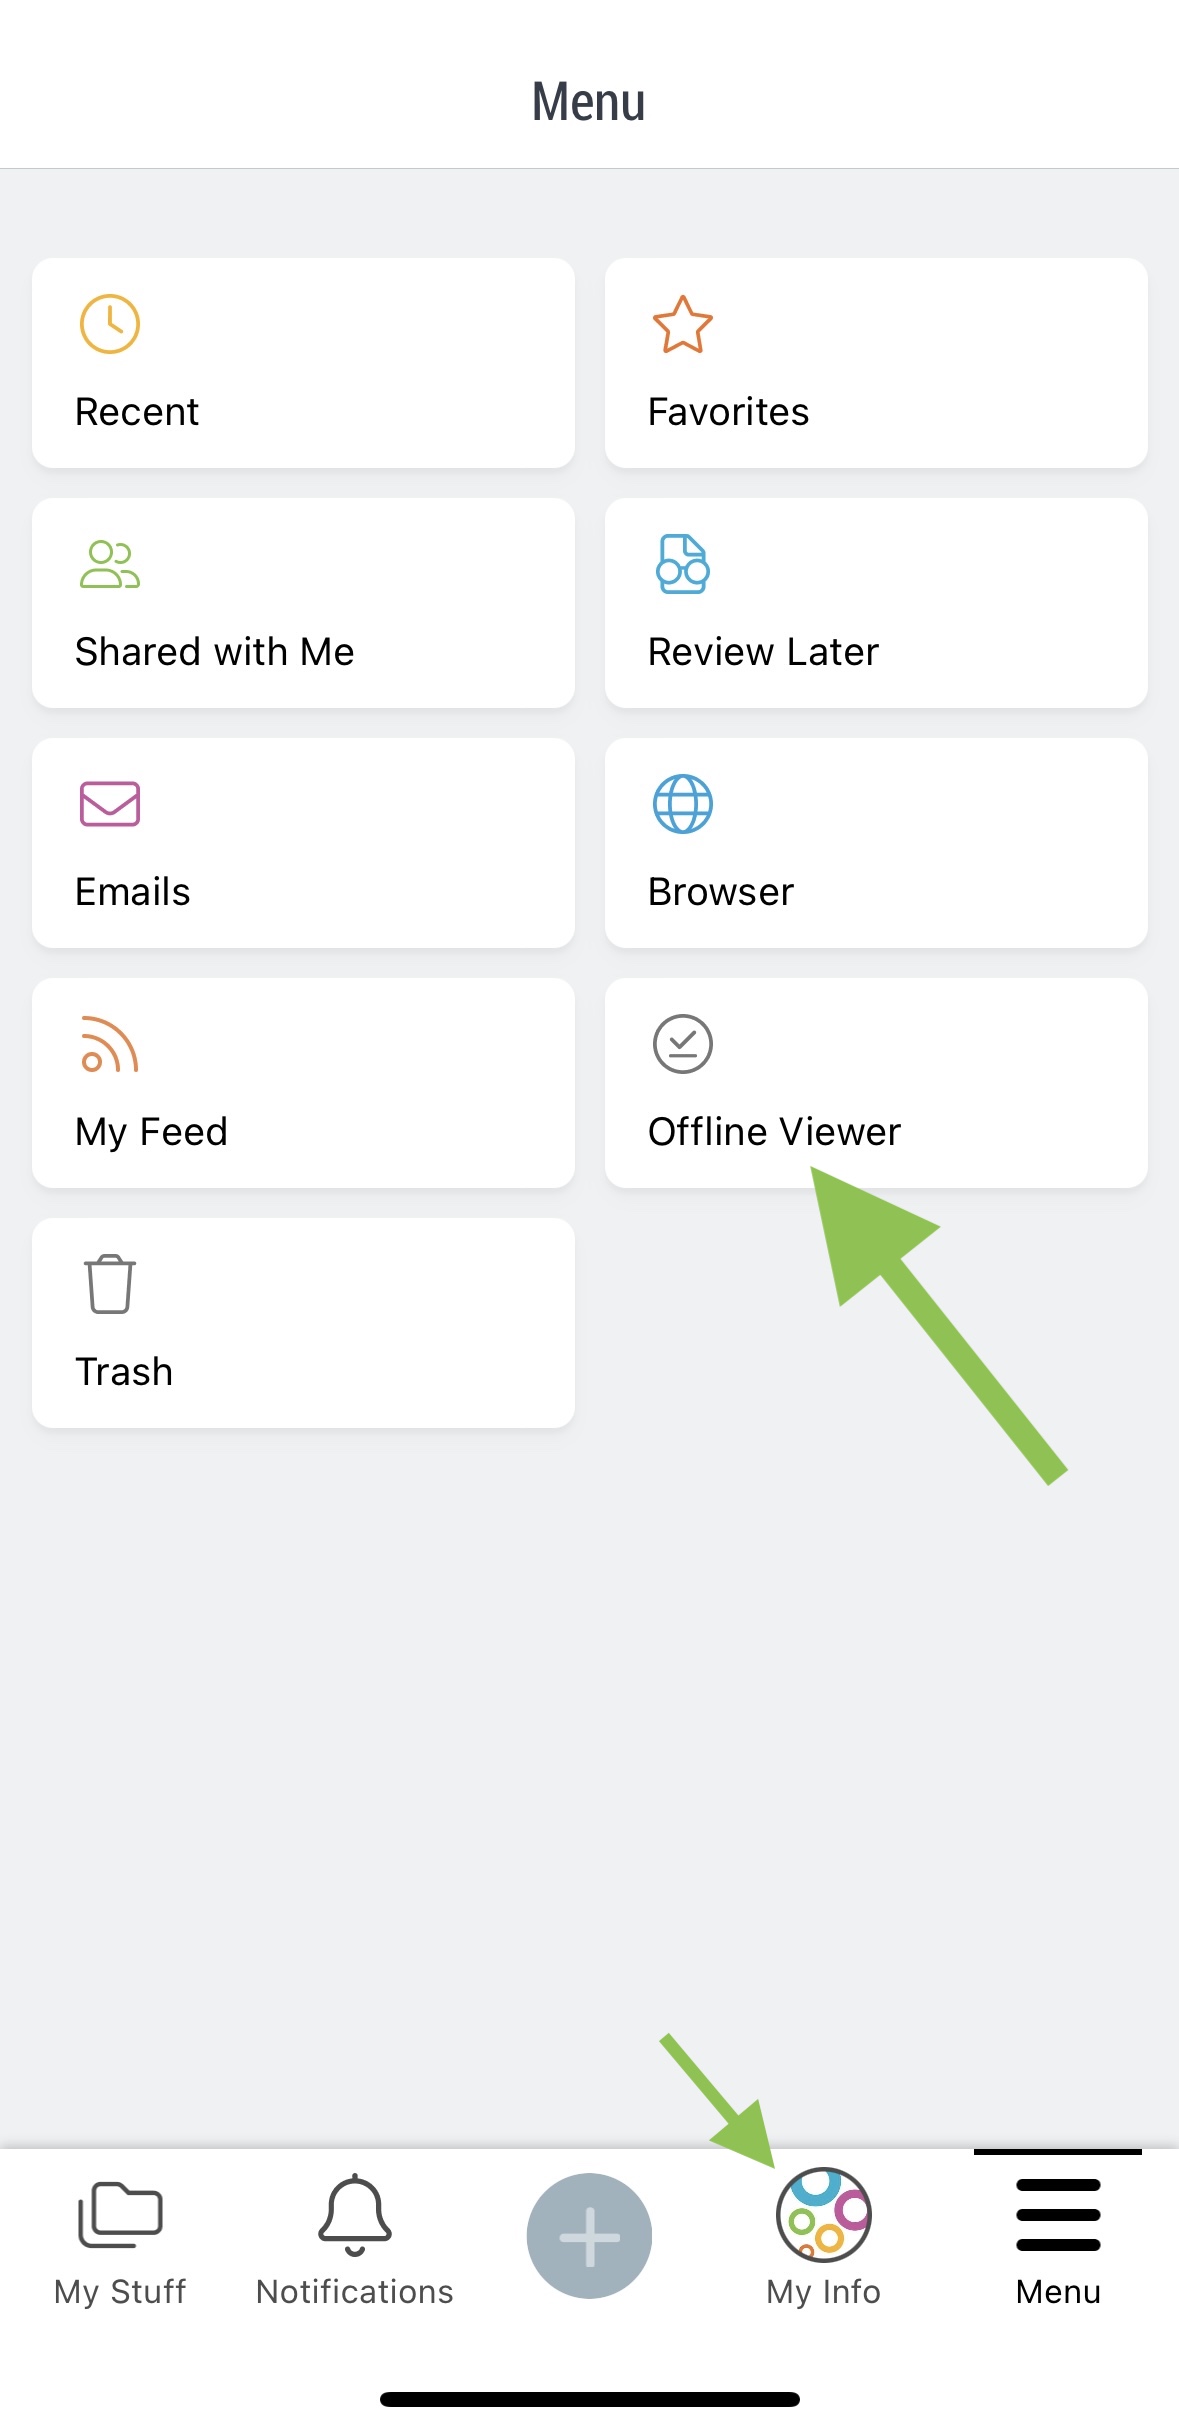
Here you will be able to view all the spaces and items set to view offline.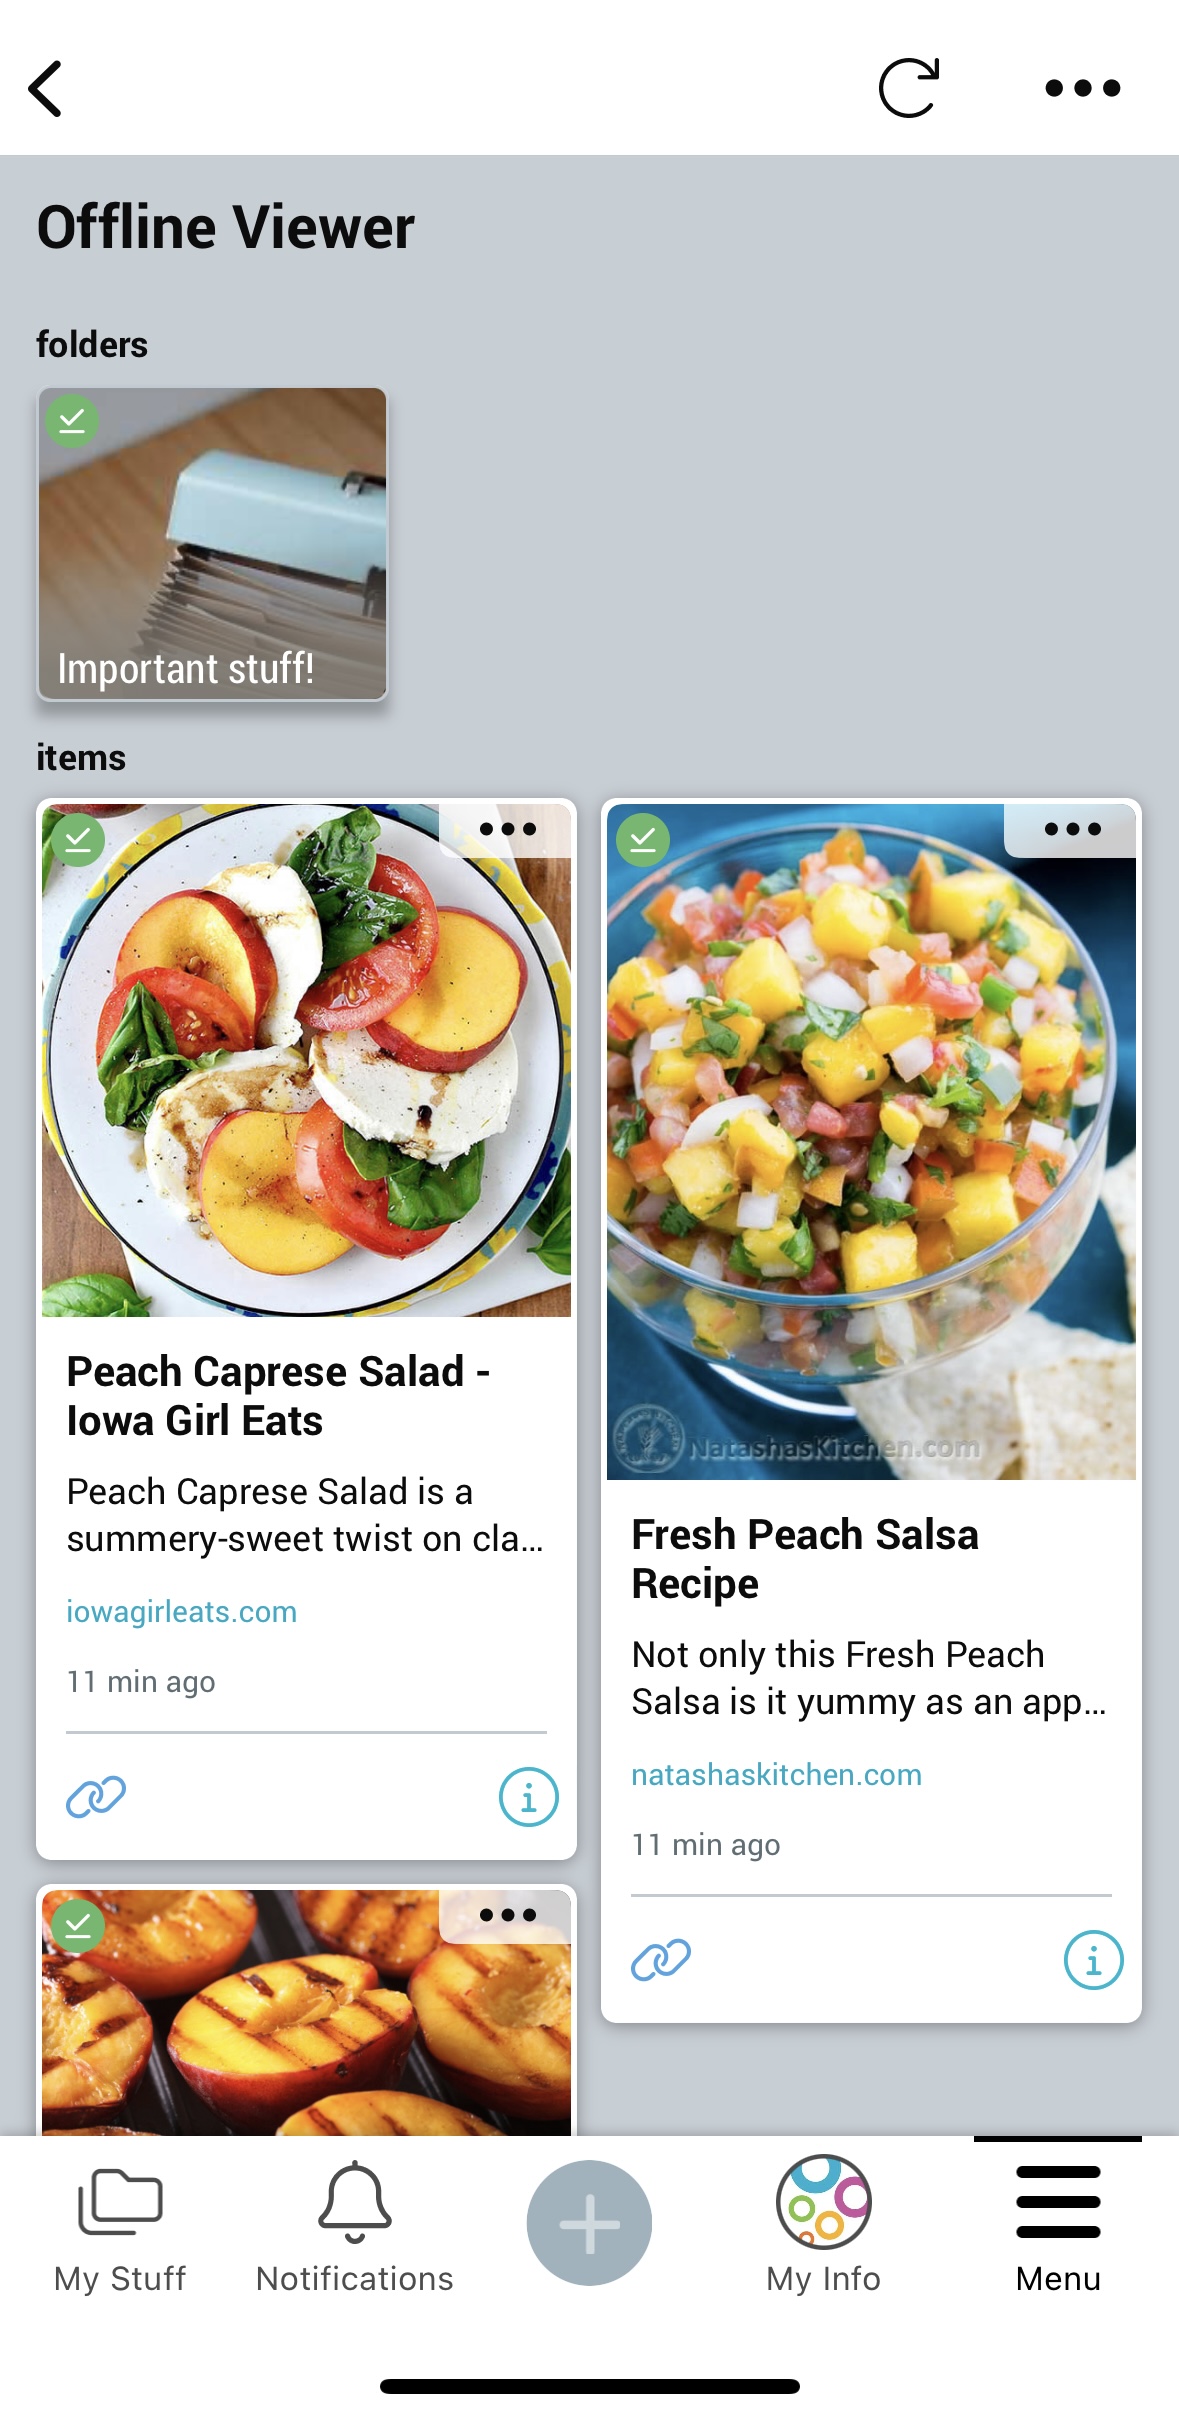
You will be able to access these in the app even when your device has no Wi-Fi or cellular signal.
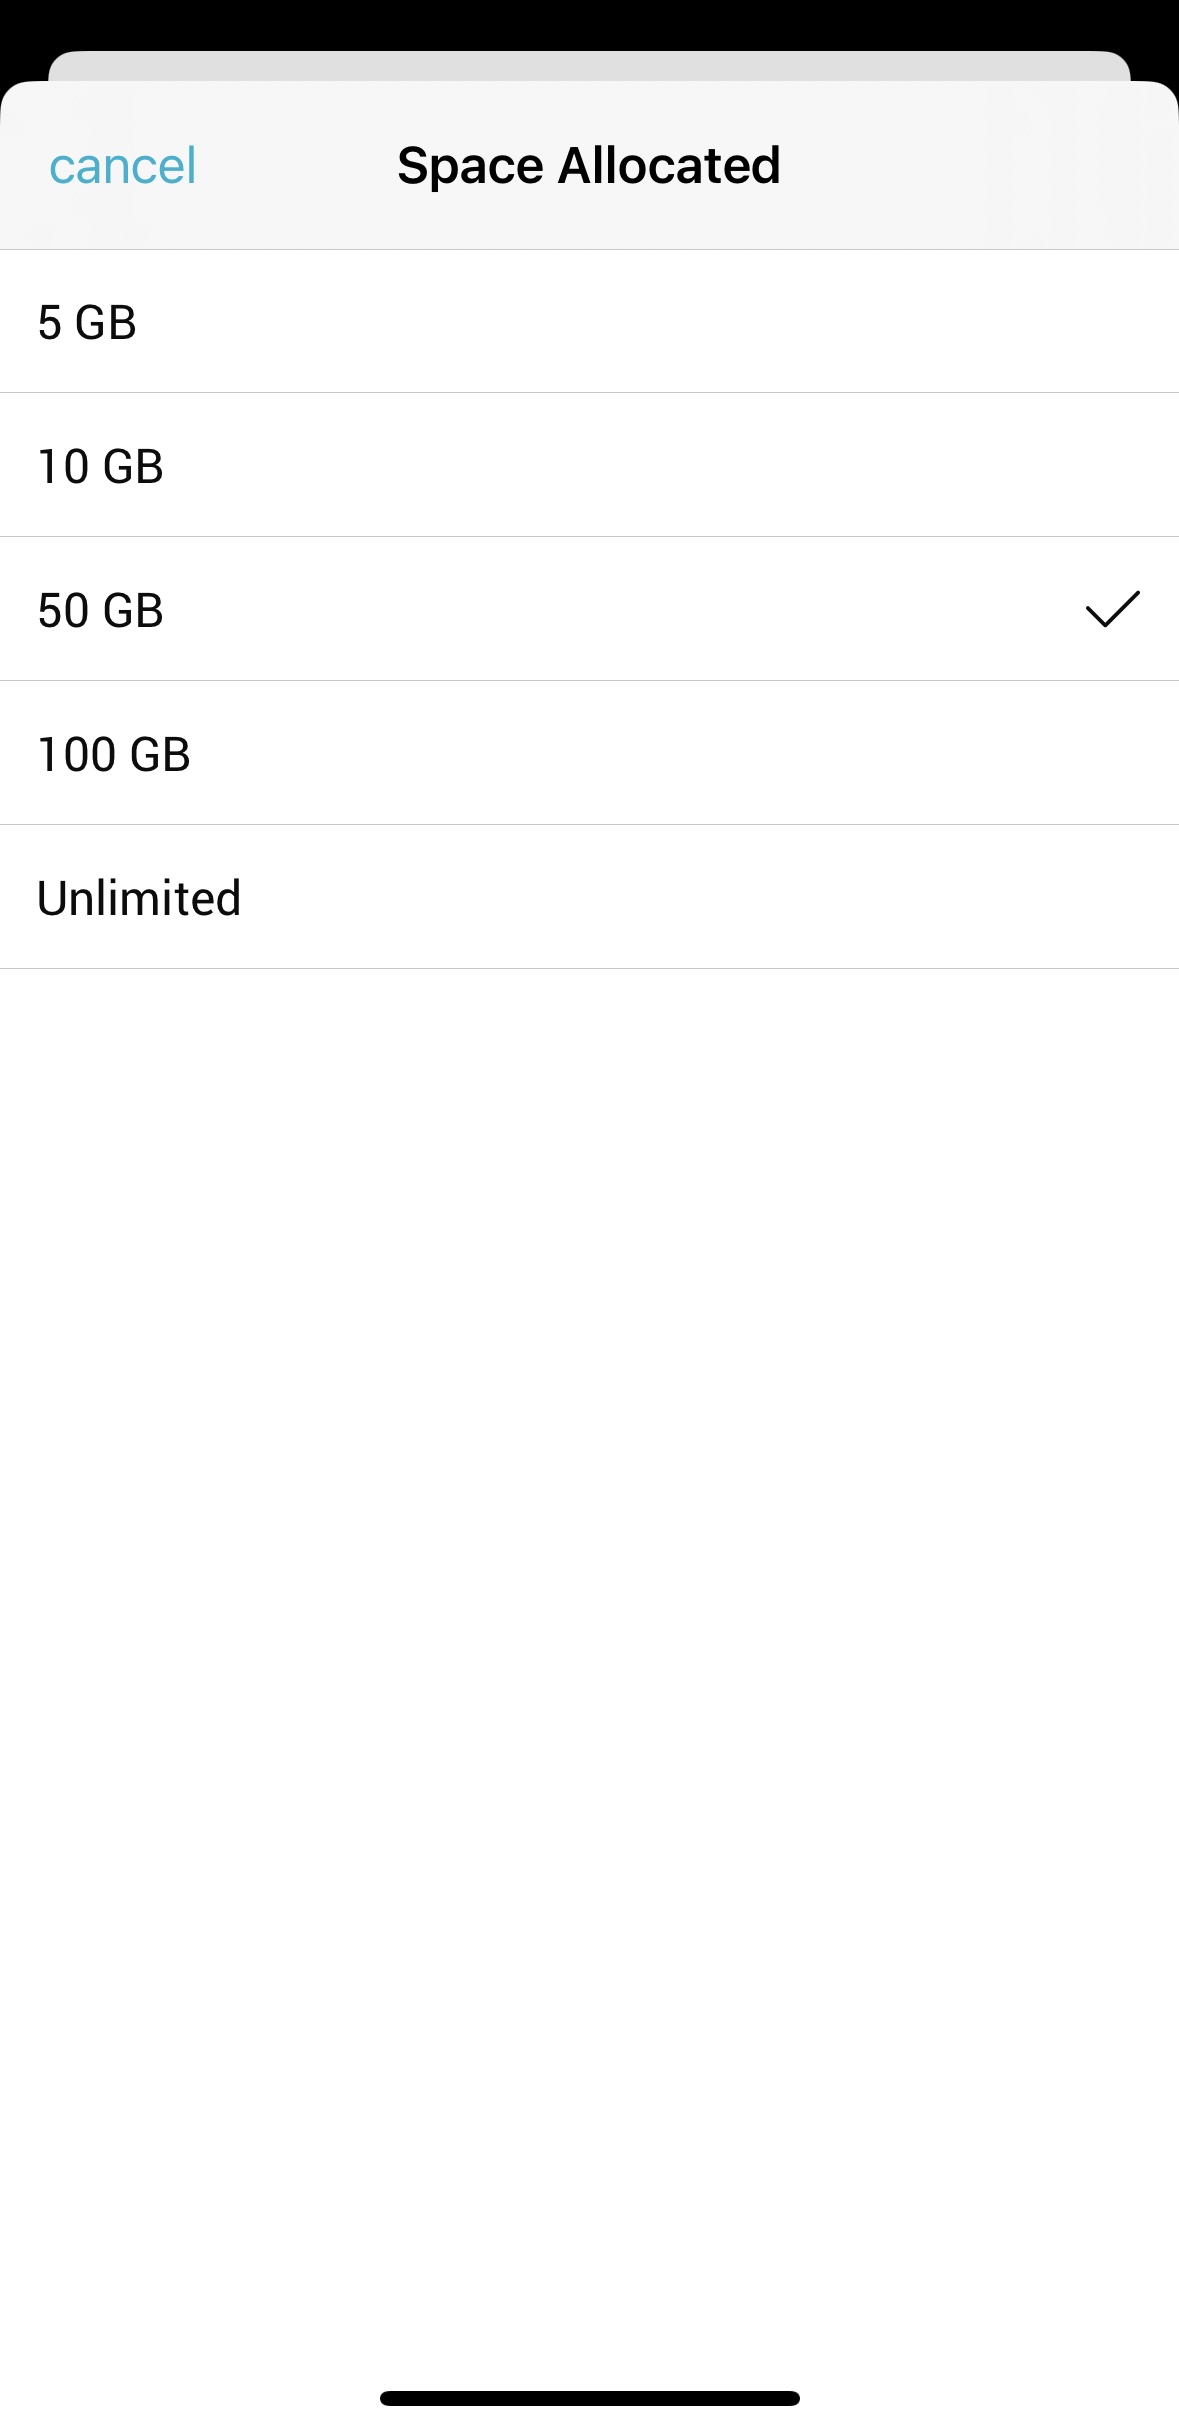
Click on the three-dot menu and select “Offline Viewer Settings” to adjust settings such as cellular data use and local storage limits.
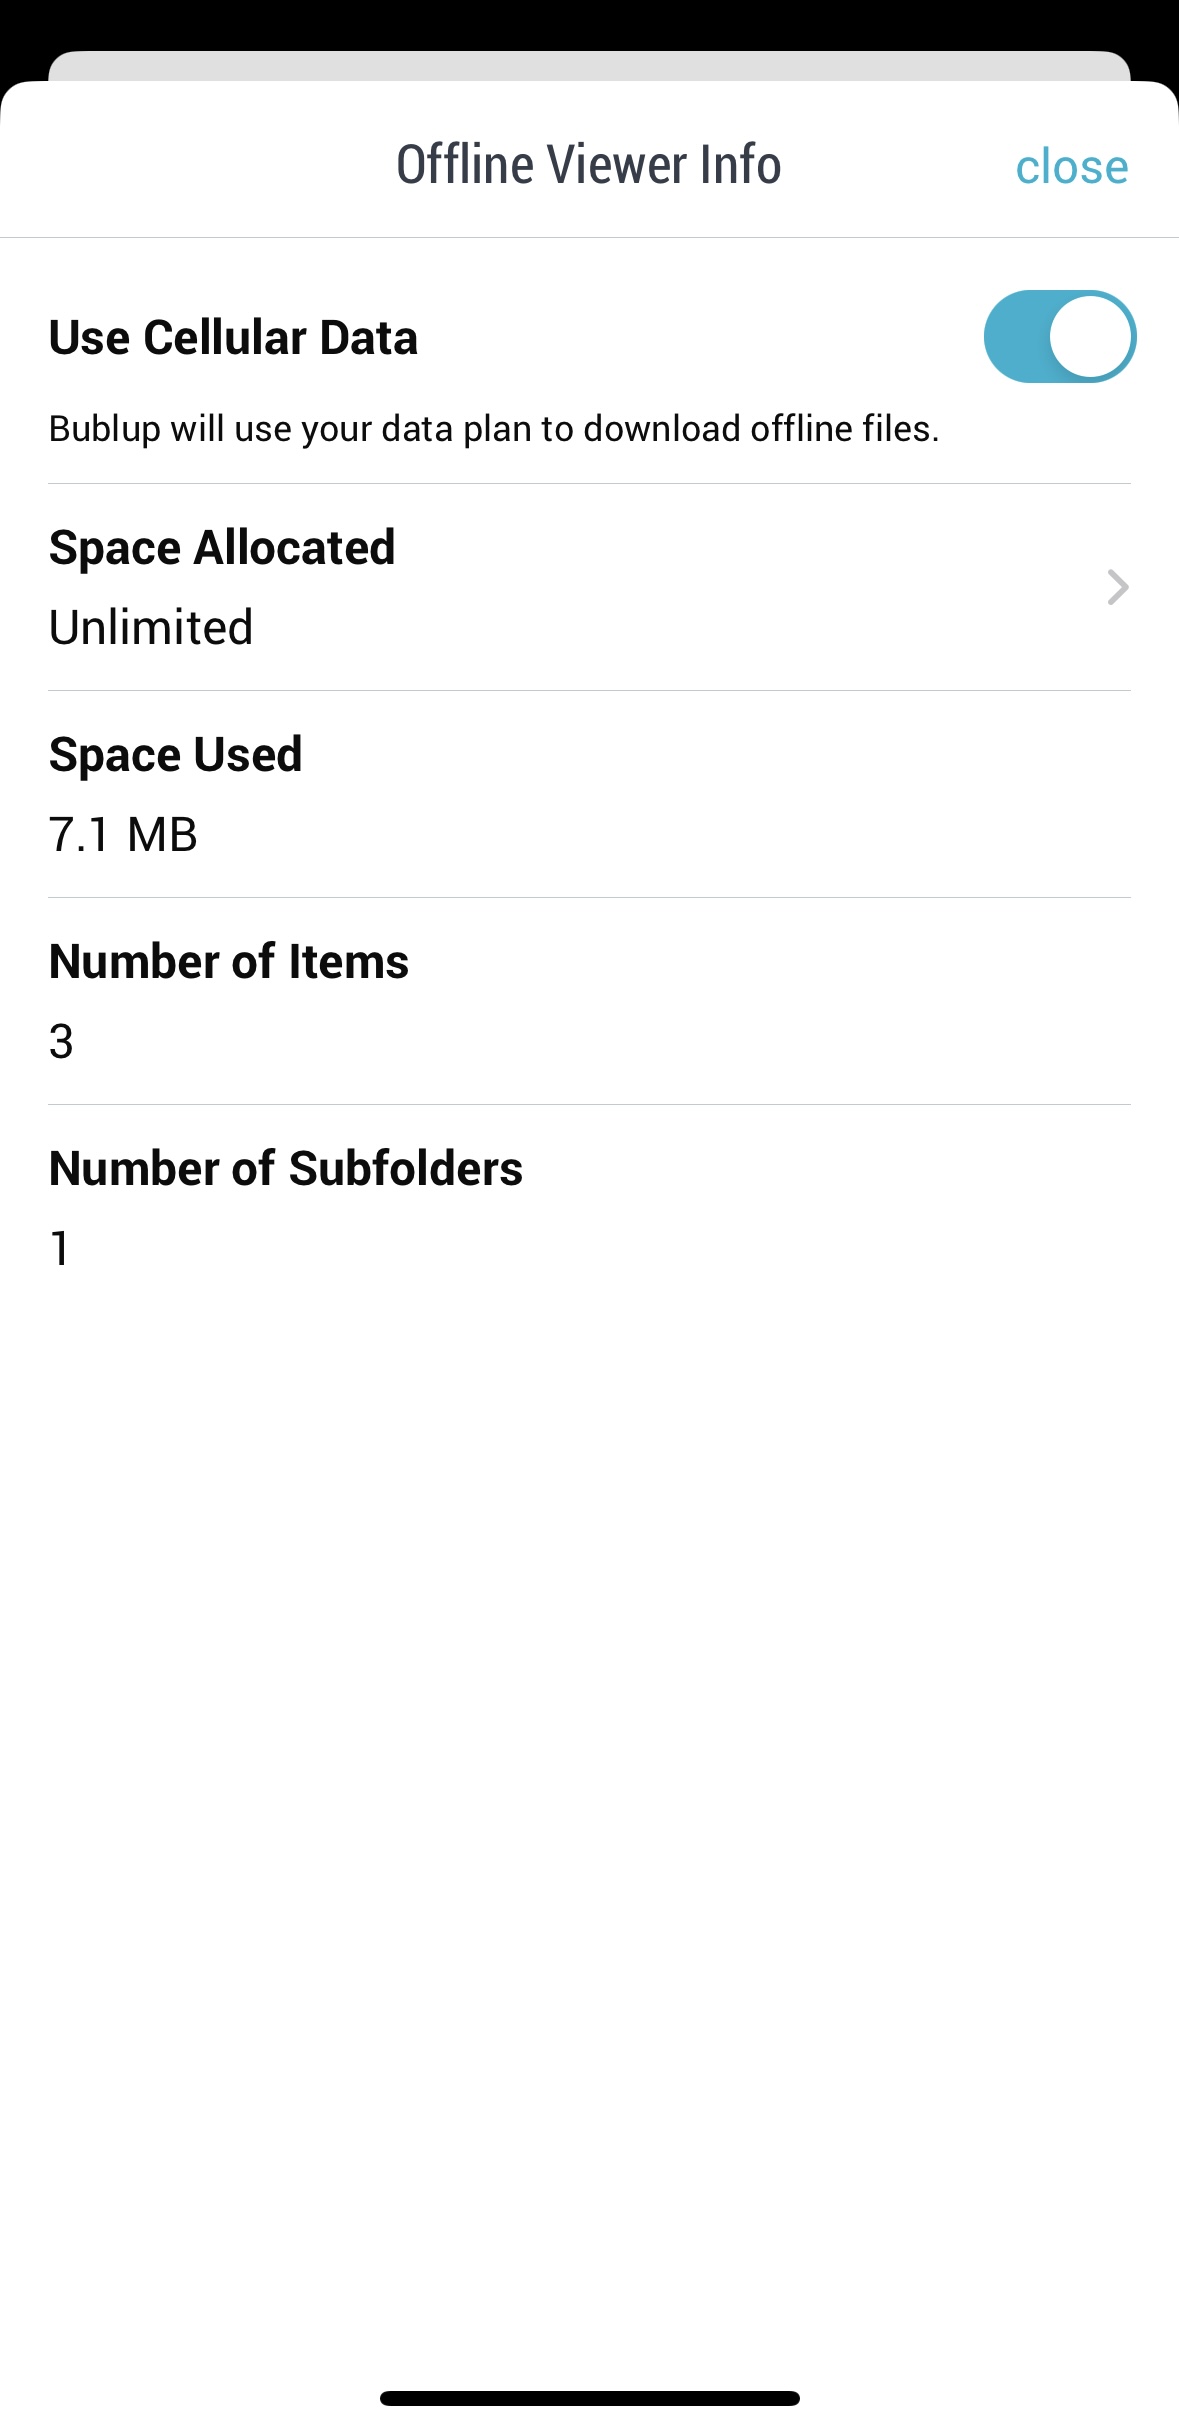
Note: Offline mode is for viewing only. You will not be able to edit your content in offline mode.
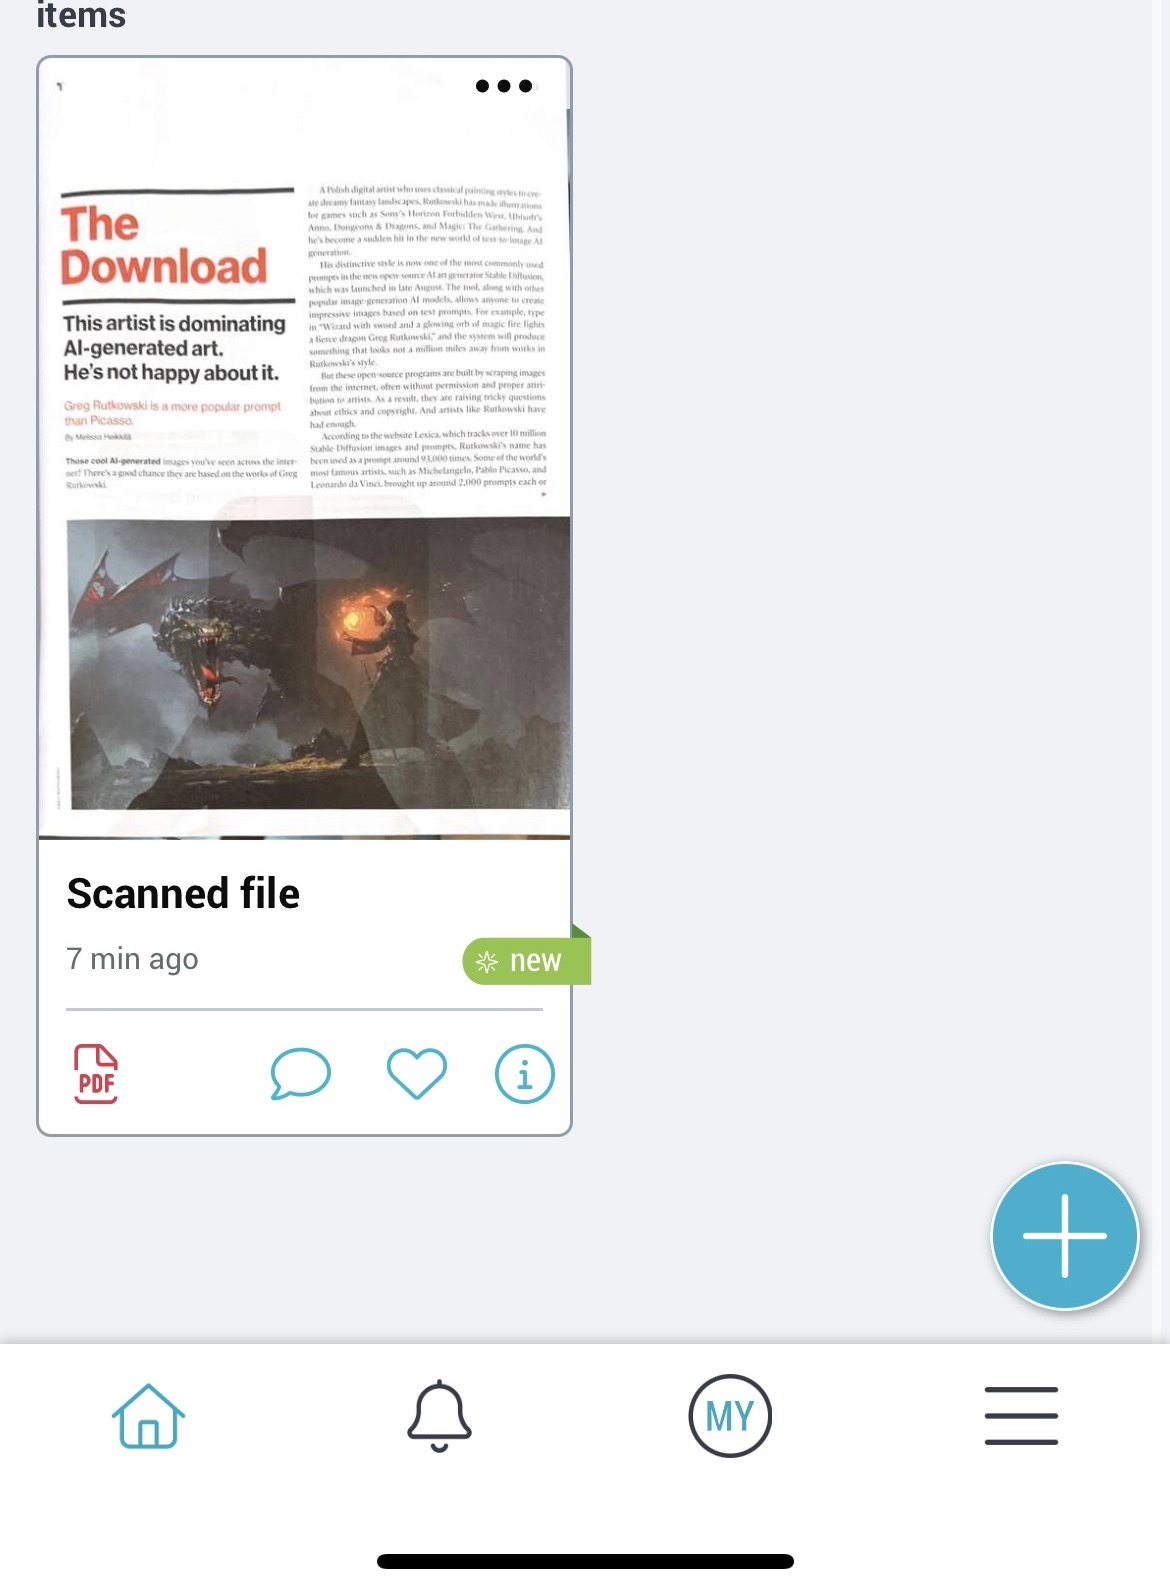
Scan Documents (iOS-only)
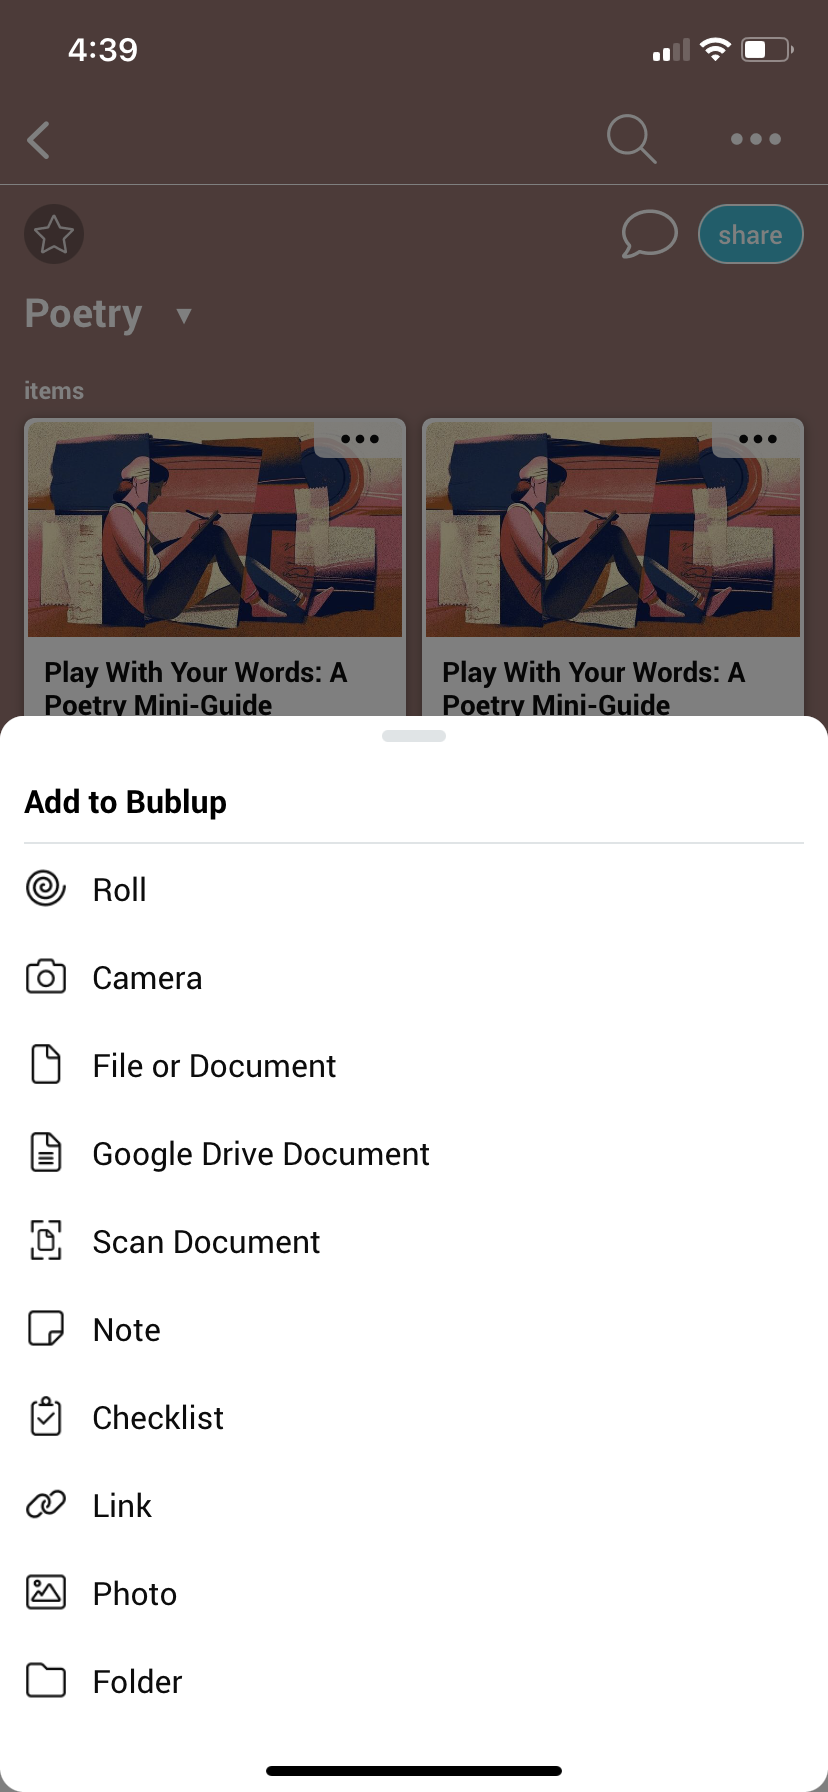
1. Use the “+” button and select “Scan Document”.

2. Take one or more scans of documents, allowing the scanner to automatically select the document dimensions. When complete, tap “save”.
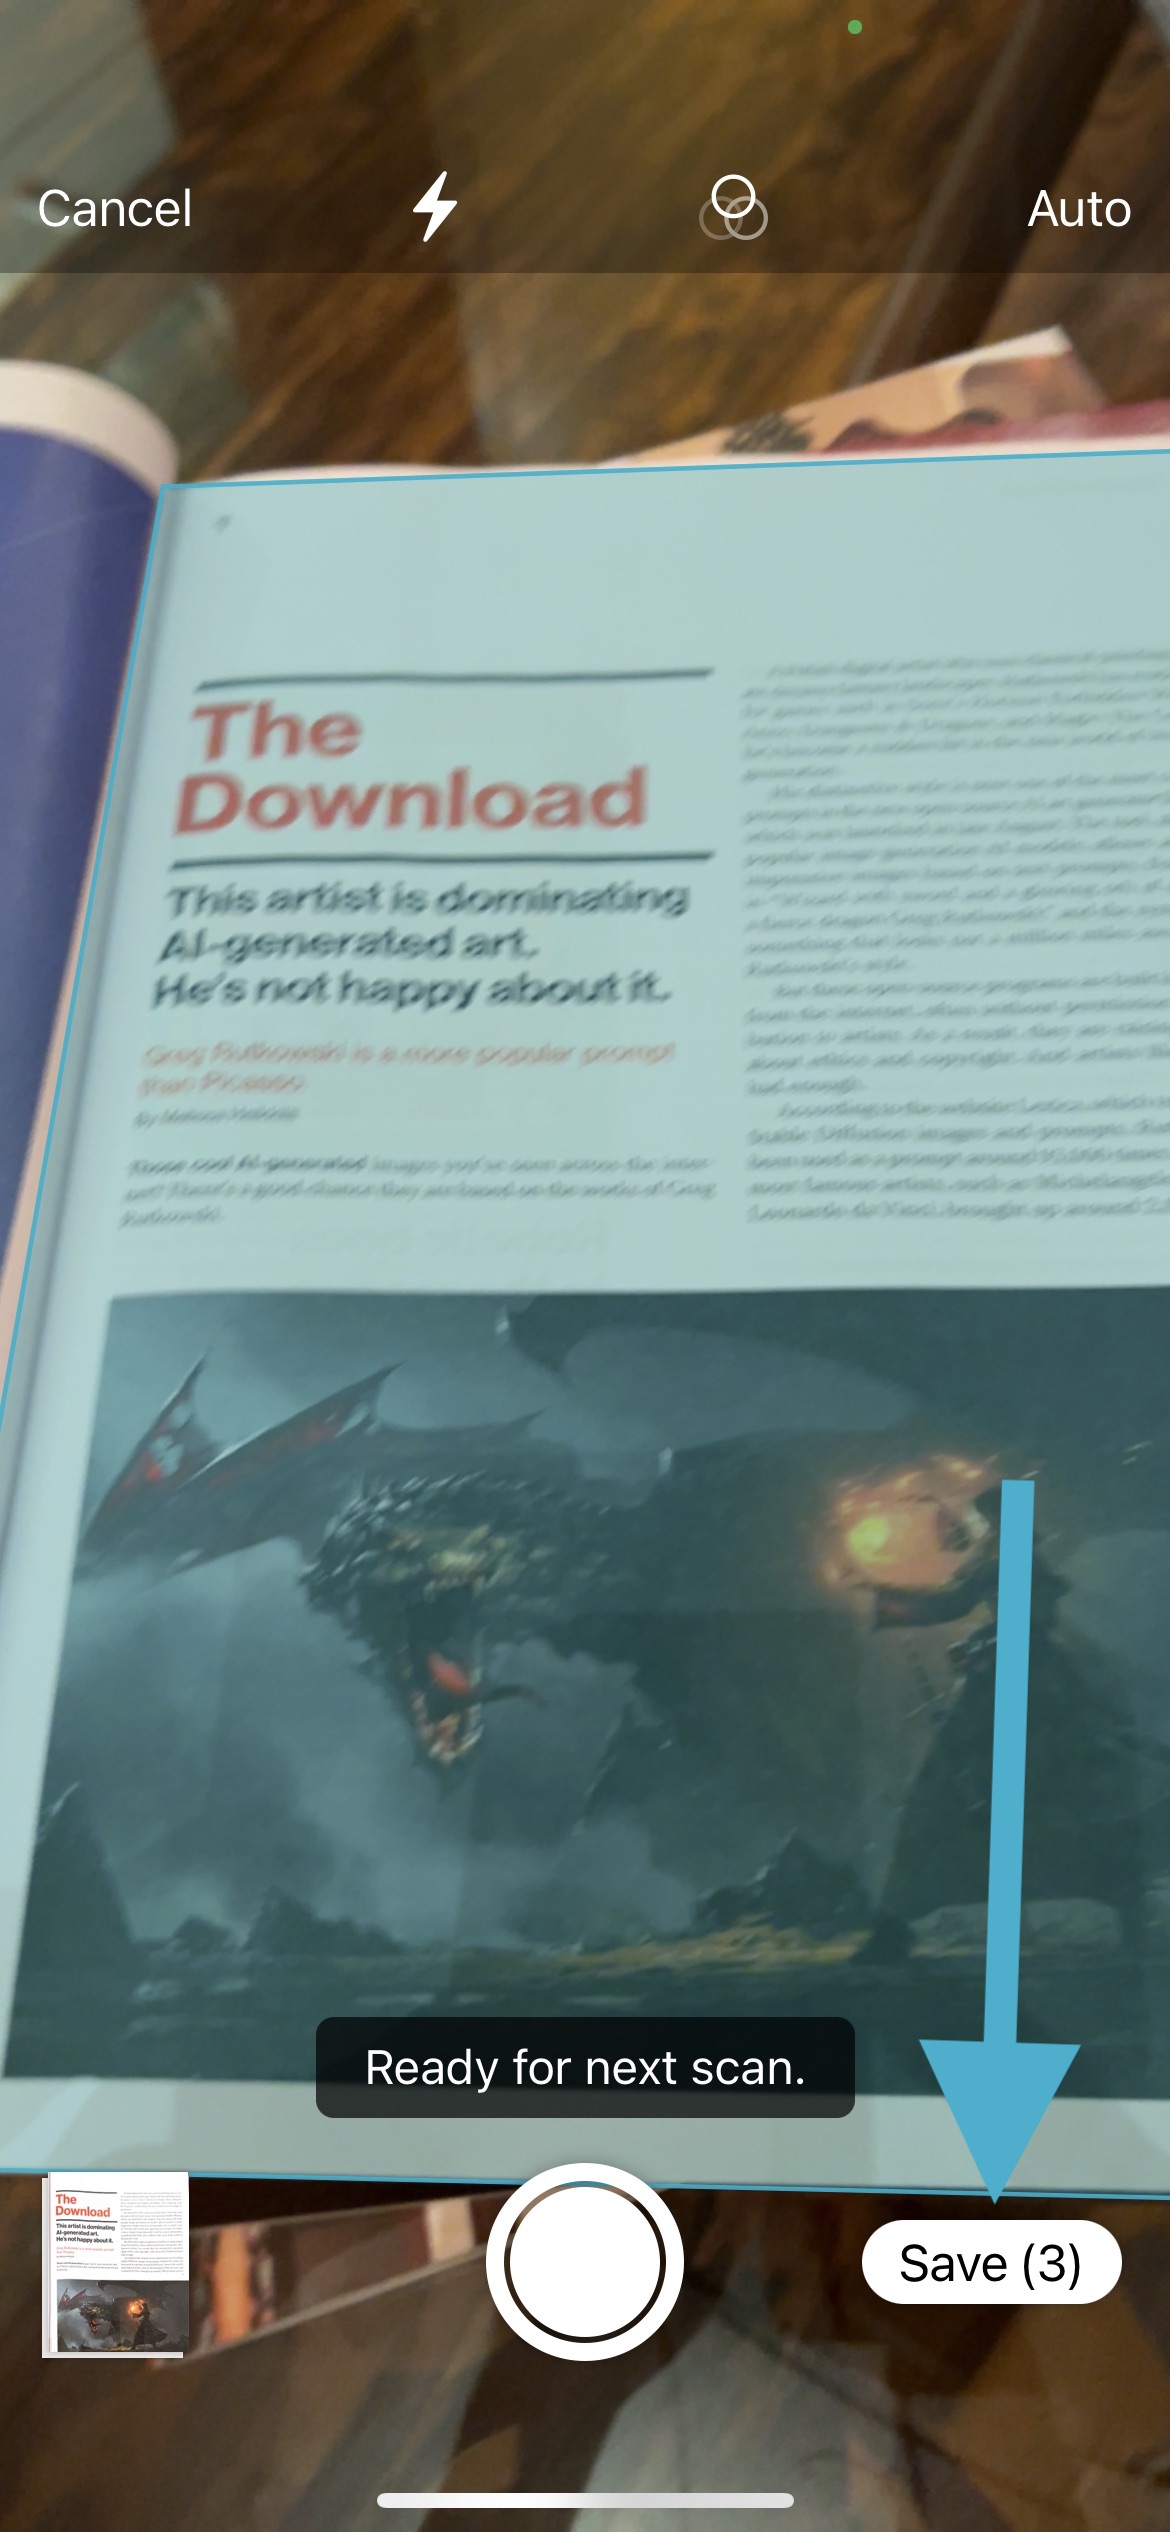
3. Optionally title your document collection, then hit “save” to save it as a PDF.

Set Up Your Feeds
Automatically populate your Feed spaces with new links from RSS and YouTube sources of your choice.
Setting up your Feeds:
1. Use the + button and select the “Feed” option under “Spaces”. Then name your space.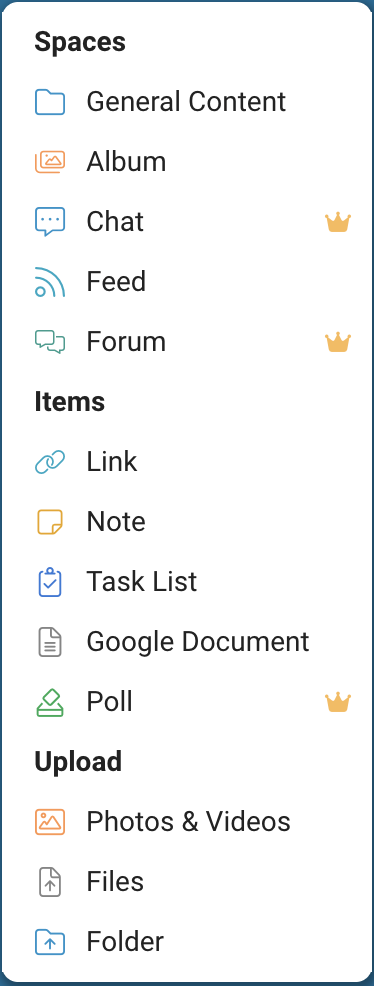
2. This space can combine feeds from multiple sources. To set up the first feed, give it a name and select the source type: RSS or YouTube.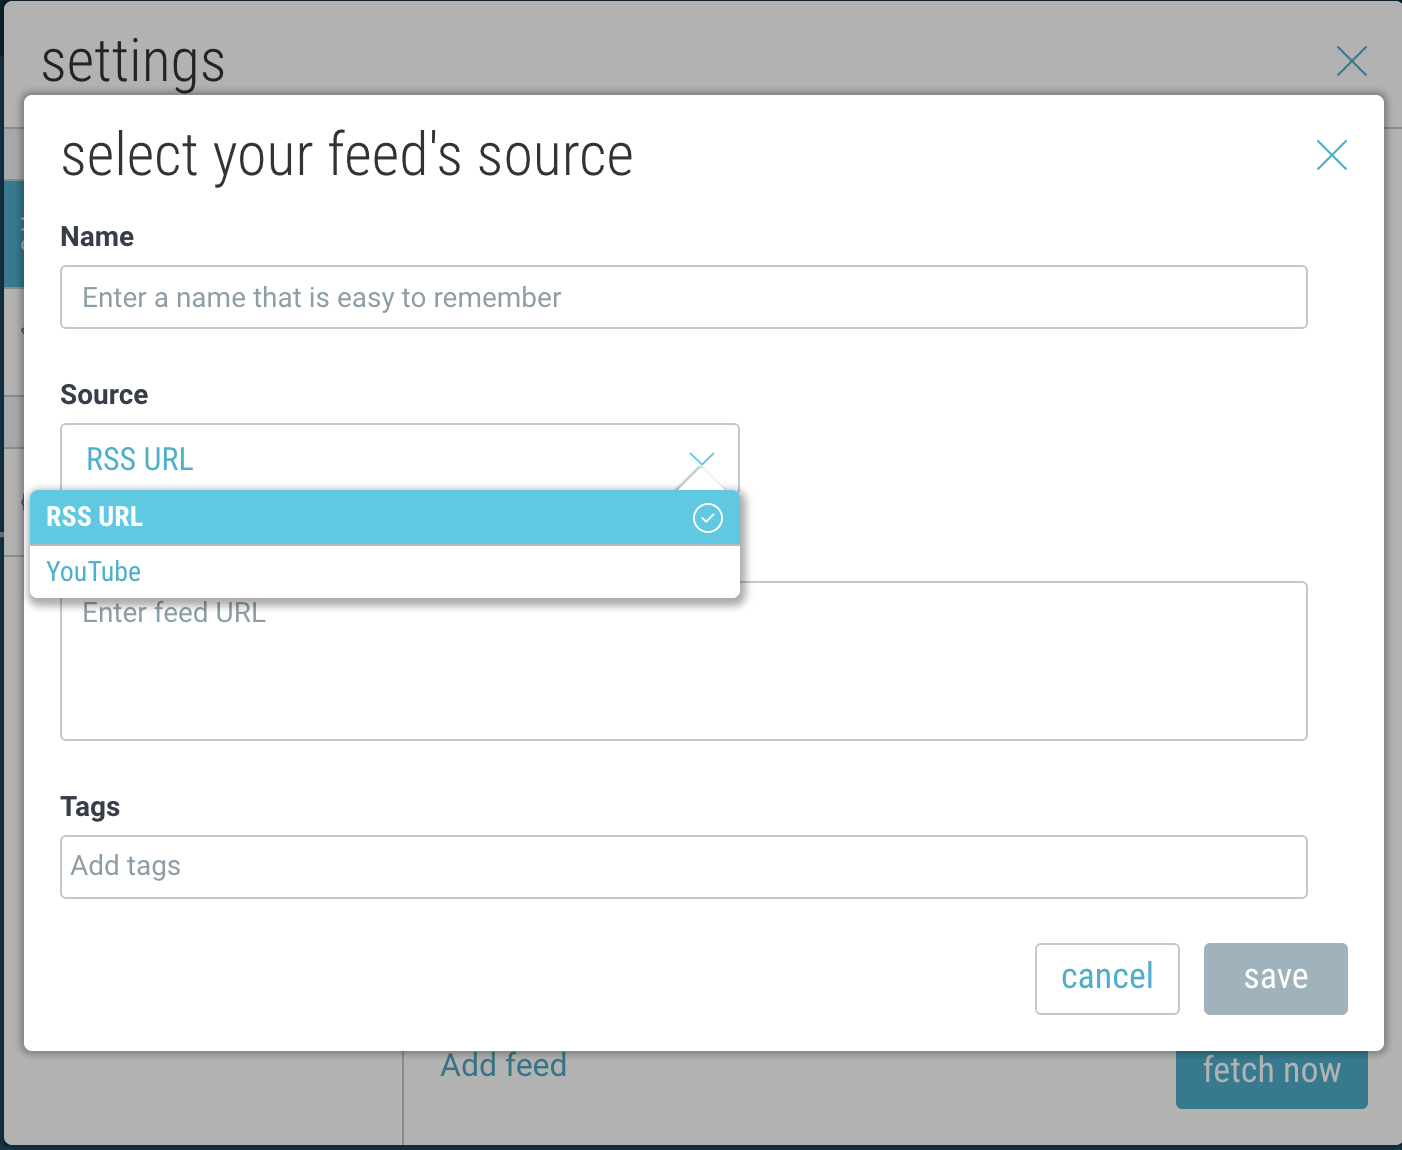
3. If you selected “RSS“, copy and paste a link to the RSS feed source of your choice.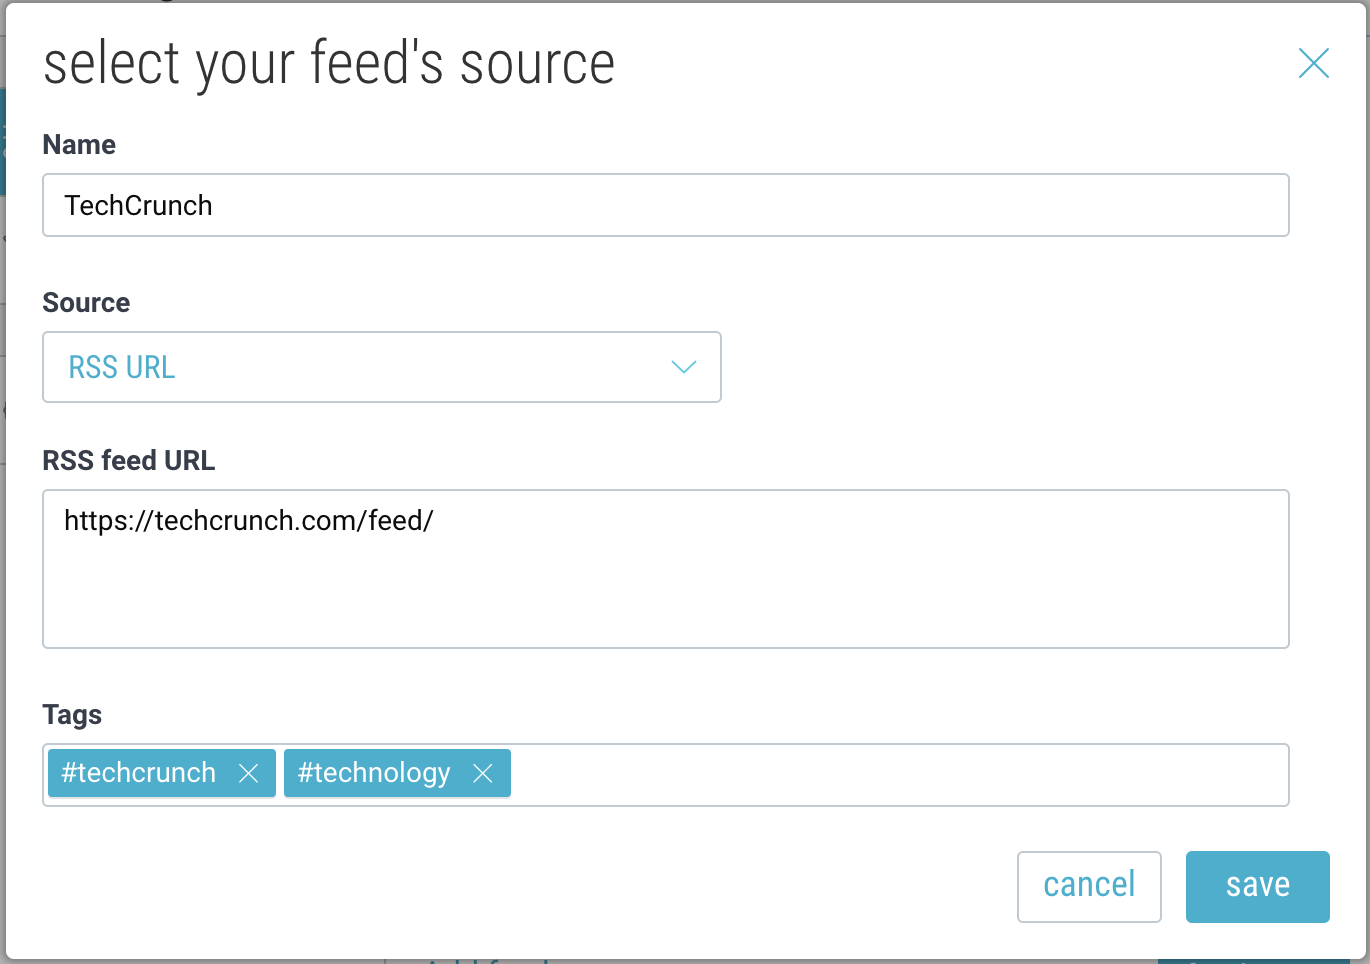
Check out this link for some examples of popular RSS feeds, or set up Google Alerts as RSS feeds.
4. If you select “YouTube“, choose between Username, Channel, Playlist, or Community Posts, and enter the corresponding ID or handle. You can also optionally filter out YouTube “shorts”.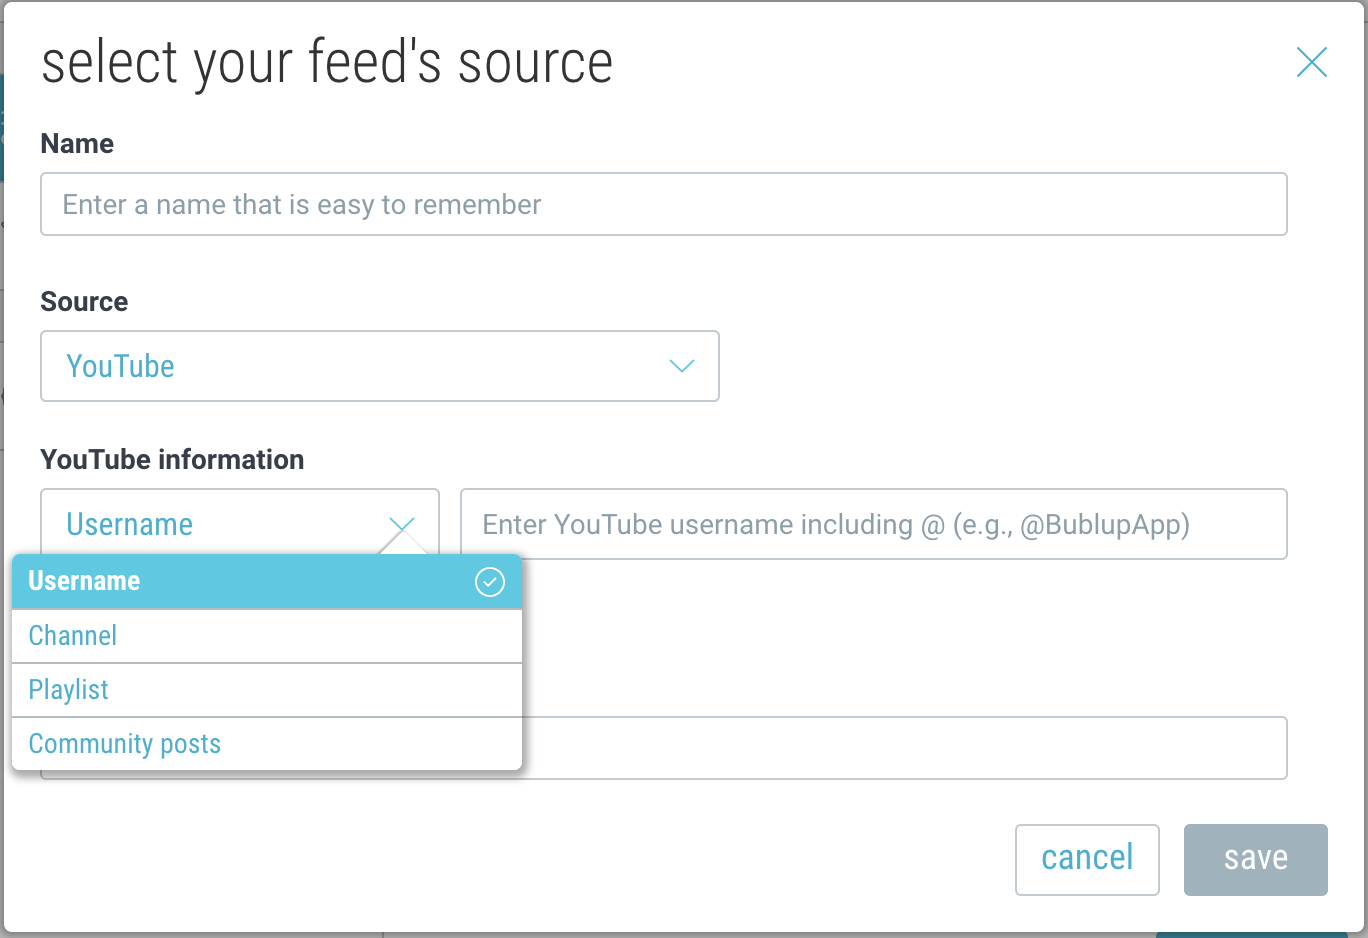
5. Add (optional) tags and click “save”.
6. Click “fetch now” when you’re ready to start populating your space.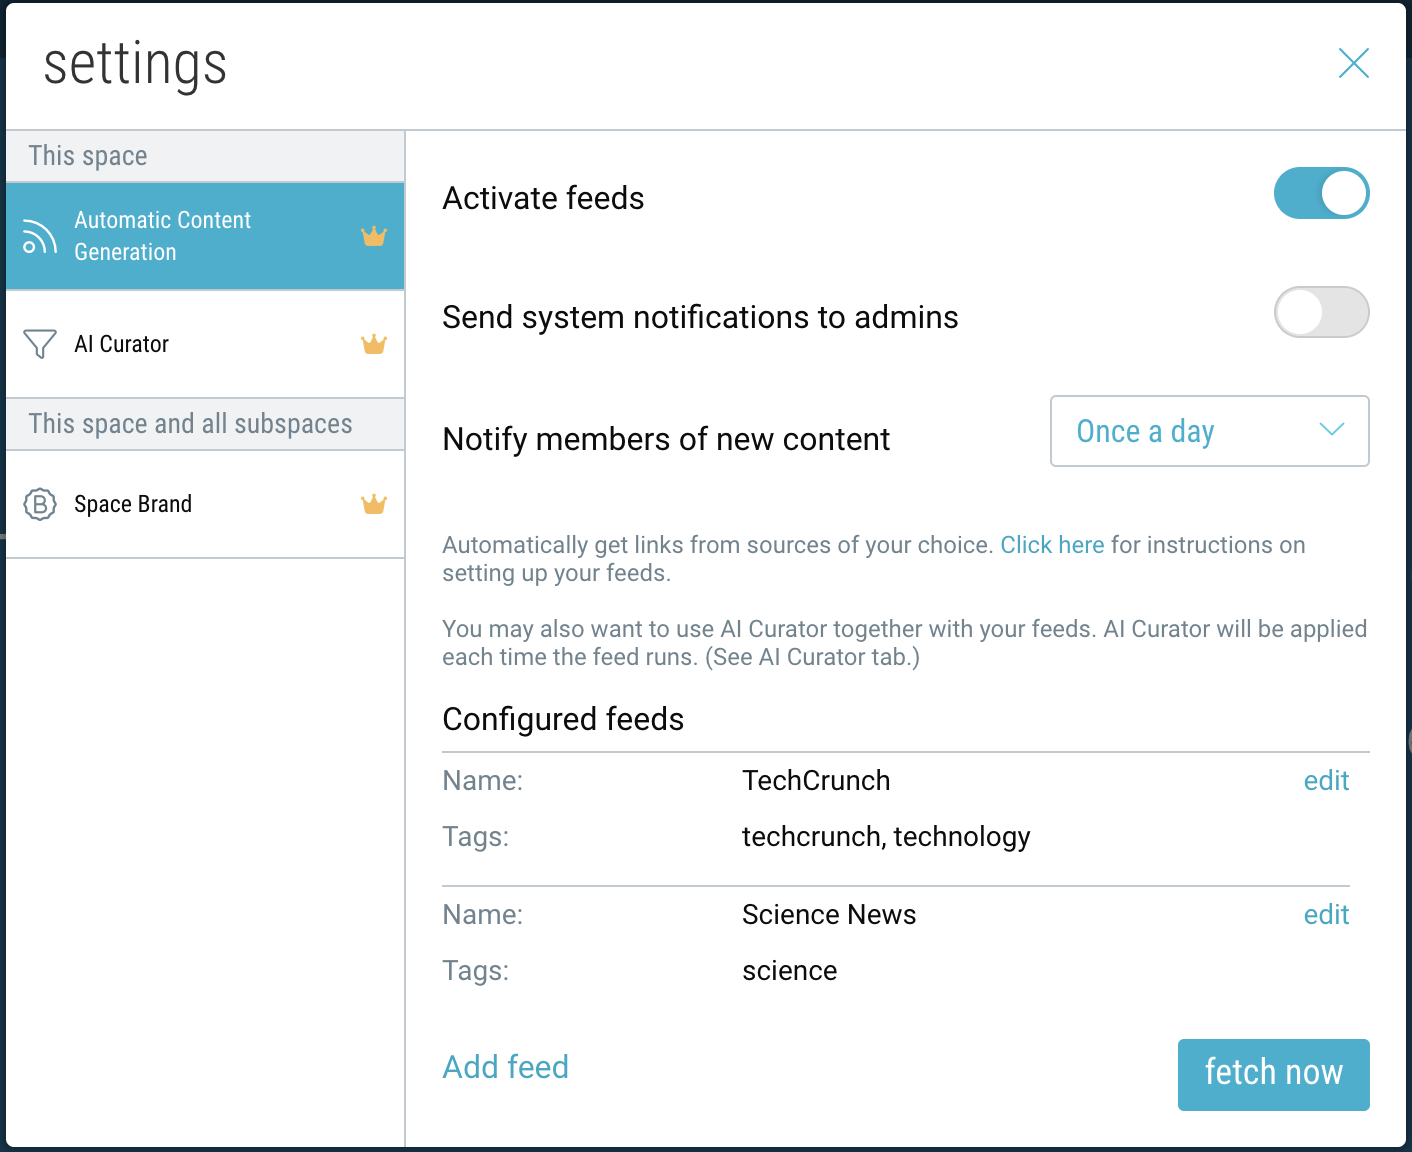
7. Your space will begin to automatically populate with links from your feeds, and will update throughout the day as new content is detected.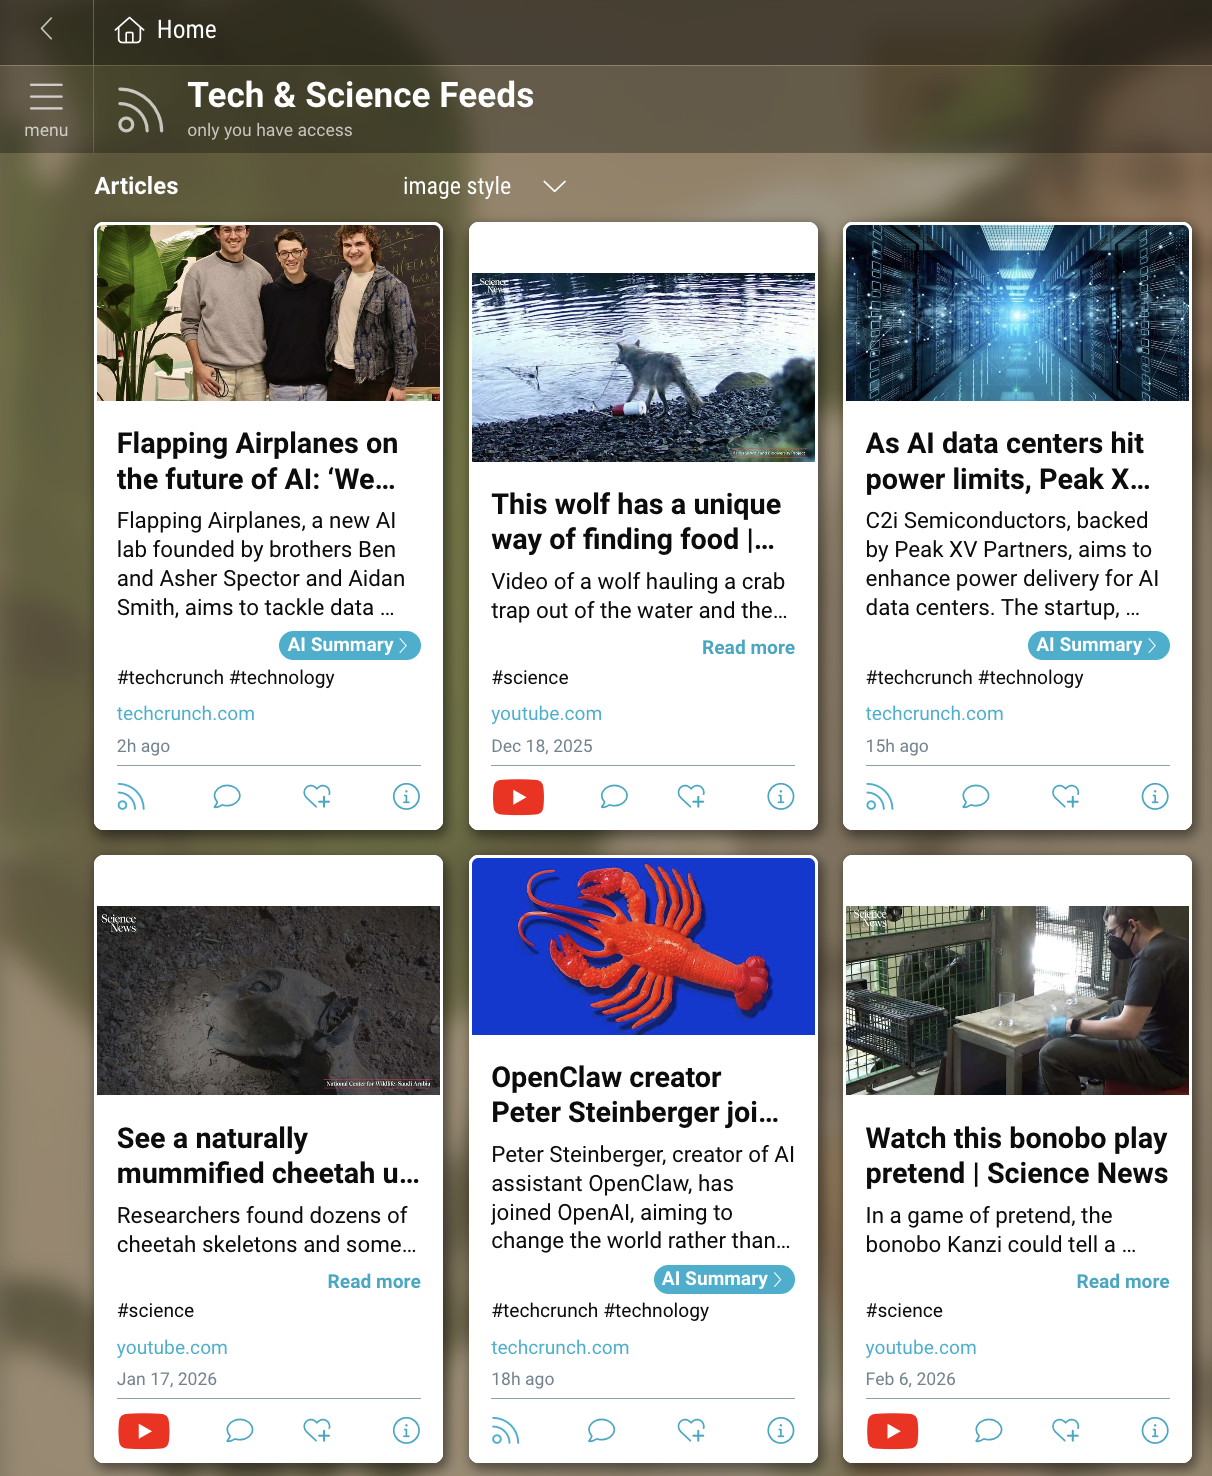
Managing Your Settings:
Navigate to the “settings” icon in the upper-right corner of your space.
- To enable or disable your feed space, click the toggle next to “Activate feeds”.
- To alert the admins of this space of any system notifications, enable that toggle preference.
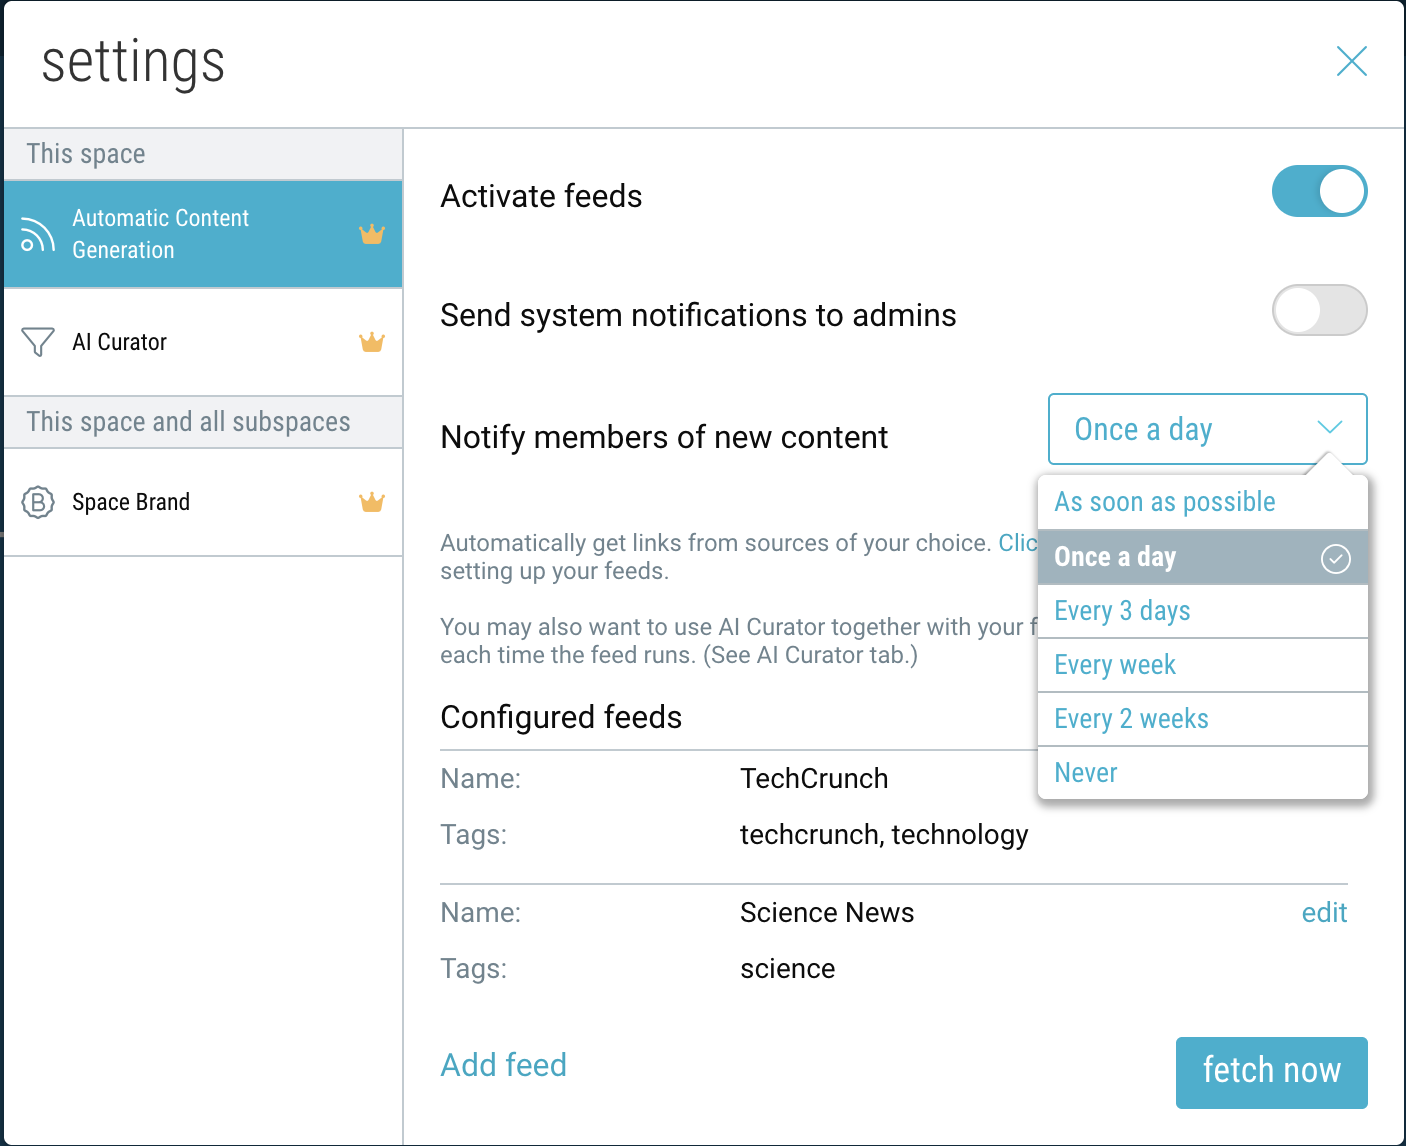
- To change how often members are notified of new content, select your preferred time interval.
- To add multiple RSS feeds to the same folder, click “Add RSS feed”. To edit or remove an existing feed, click “edit”.
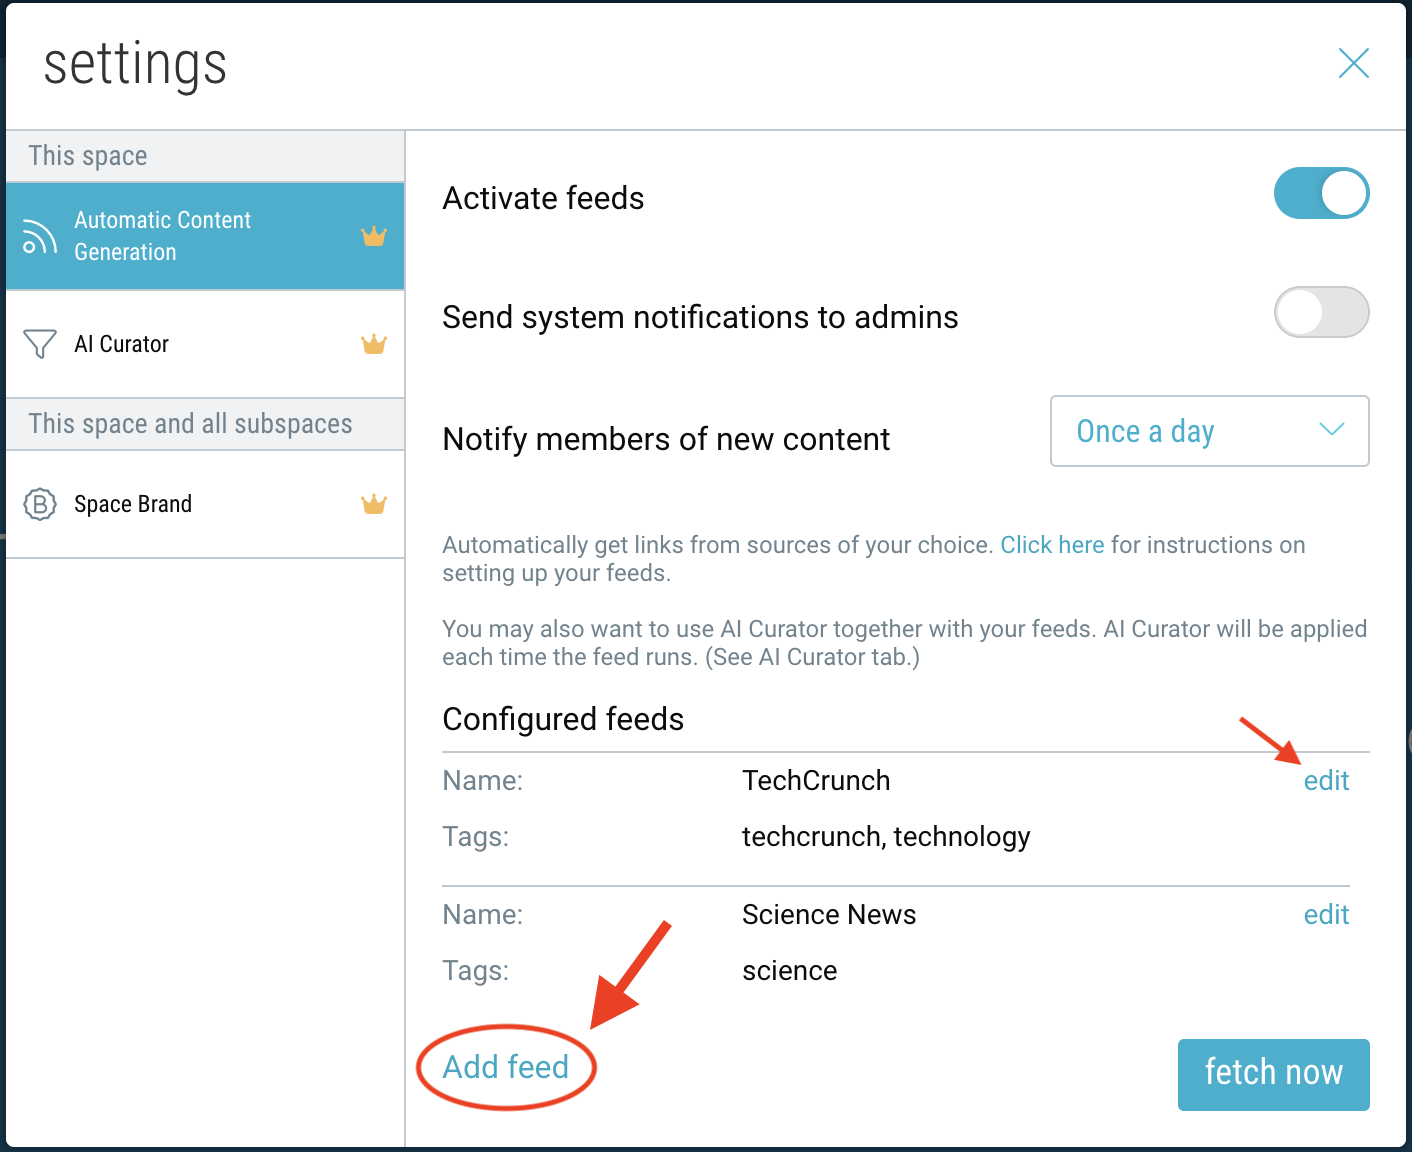
- To automatically filter content from your feeds, enable the AI Curator by navigating to that settings tab.
Managing Your Feeds:
The total number of feeds allowed (across all spaces) depends on your plan:
-
- Basic: 1 feed
- Premium: 3 feeds
- Pro: 5 feeds
- Business: 10 feeds
- Enterprise: 100 feeds
The number of most recent items stored in your space also depends on your plan:
-
- Basic: 25 items
- Premium: 50 items
- Pro: 100 items
- Business: 200 items
- Enterprise: unlimited (older items will be moved to an “Archive” space)
Setting up RSS Feeds via Google Alerts:

1. Go to www.google.com/alerts.
2. Create an alert for your phrase of interest (e.g. “cricket world cup”).
3. Click “show options”. Under “Deliver to”, select ‘RSS Feed’.
4. Click “Create Alert” to generate a custom RSS feed link.
5. Copy the RSS feed link and add it to your Bublup space using the steps above.
Use AI to Filter & Curate Content
Use Bublup’s AI Curator, in combination with Feeds, to automatically curate content whenever new content is added to your feed—no need to do it manually. This helps keep your feed spaces relevant and eliminates unwanted content. This feature is available to Business and Enterprise plans.
Setting up your space’s AI Curator:
(Note: This feature must be set up initially on desktop.)
1. Click the “settings” icon in the upper-right corner of your space.
2. In the “AI Curator” tab, click the toggle next to “Enable AI curator” to toggle it on.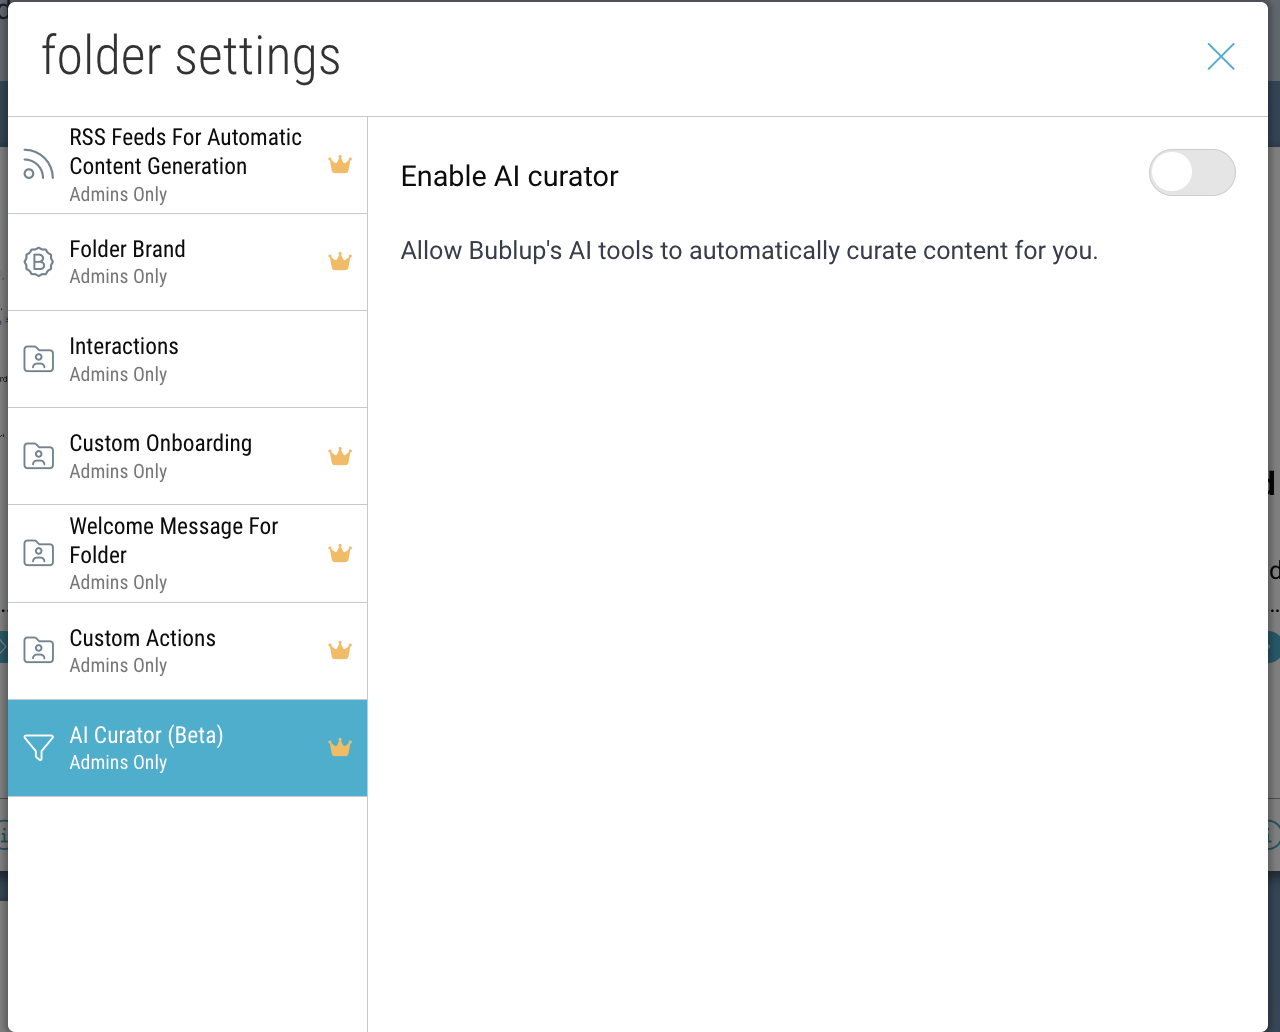
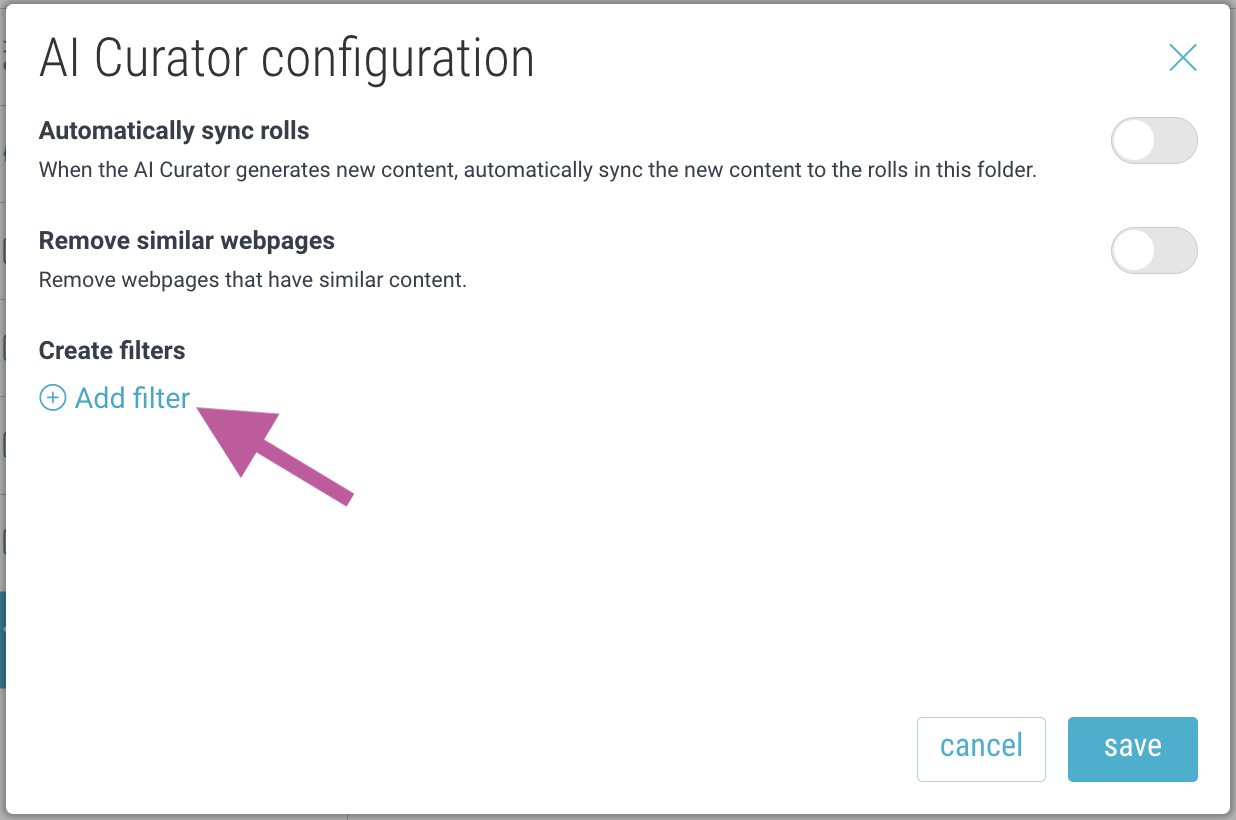
3. From here, you can:
- Automatically sync rolls to pull in new content
- Remove similar webpages from your feed
- Add custom filters to remove webpages
Creating an AI keyword filter:
1. To create a new smart keyword filter, click “Add filter”.
2. Select your preferred filtering method and enter your keywords.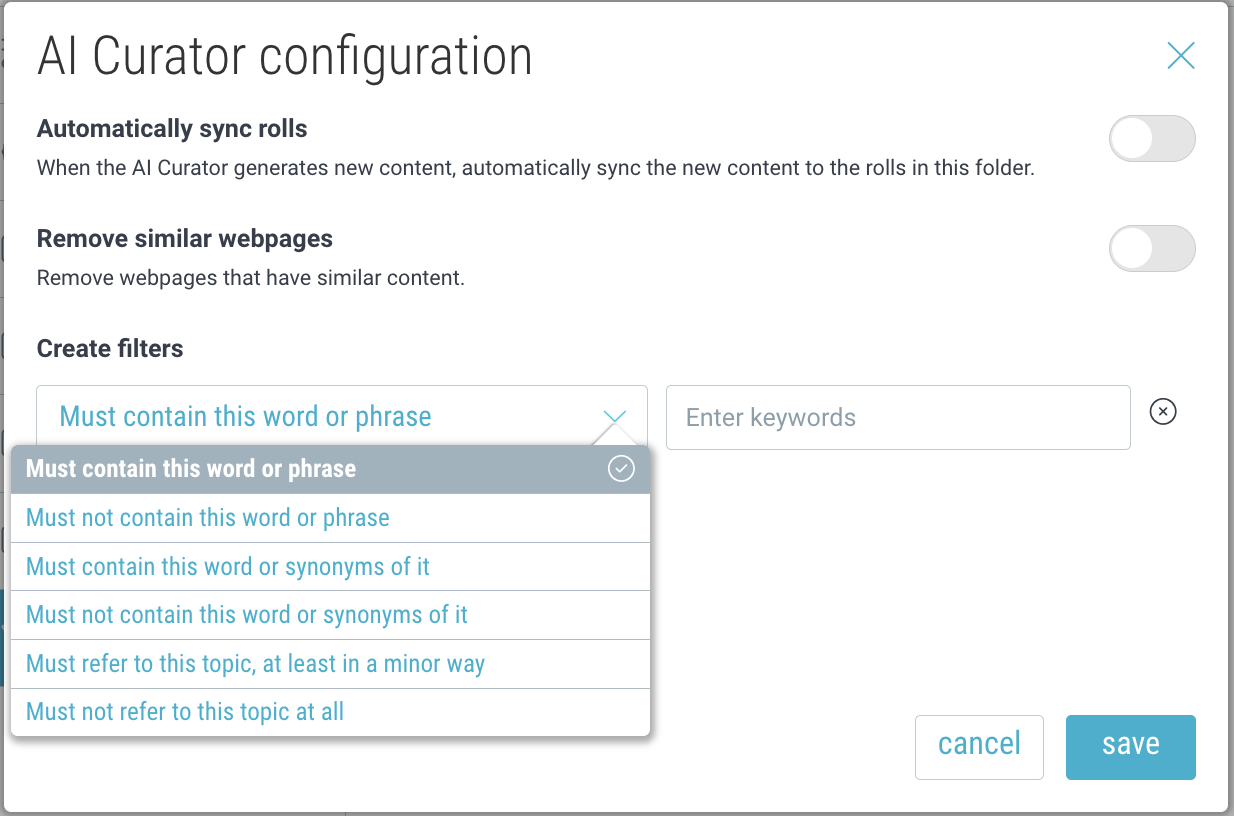
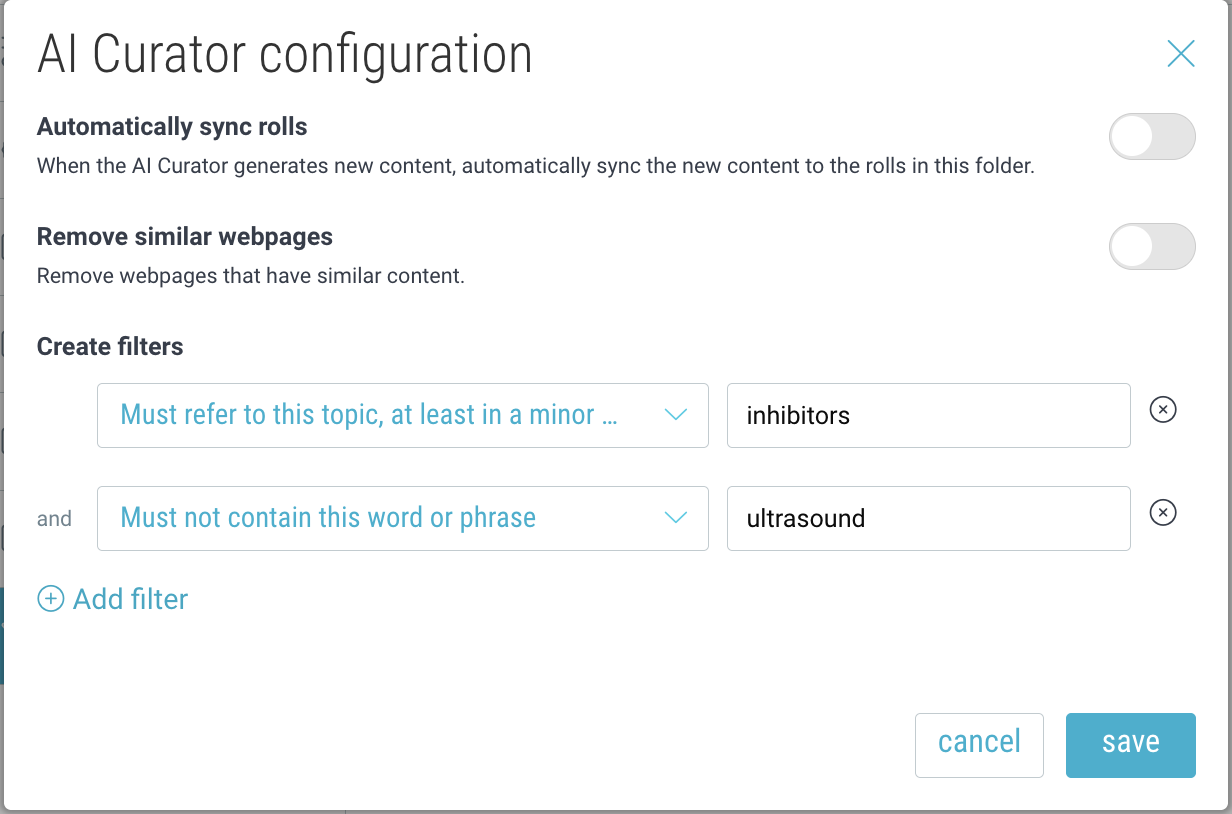
3. Any content matching your filter criteria will be removed.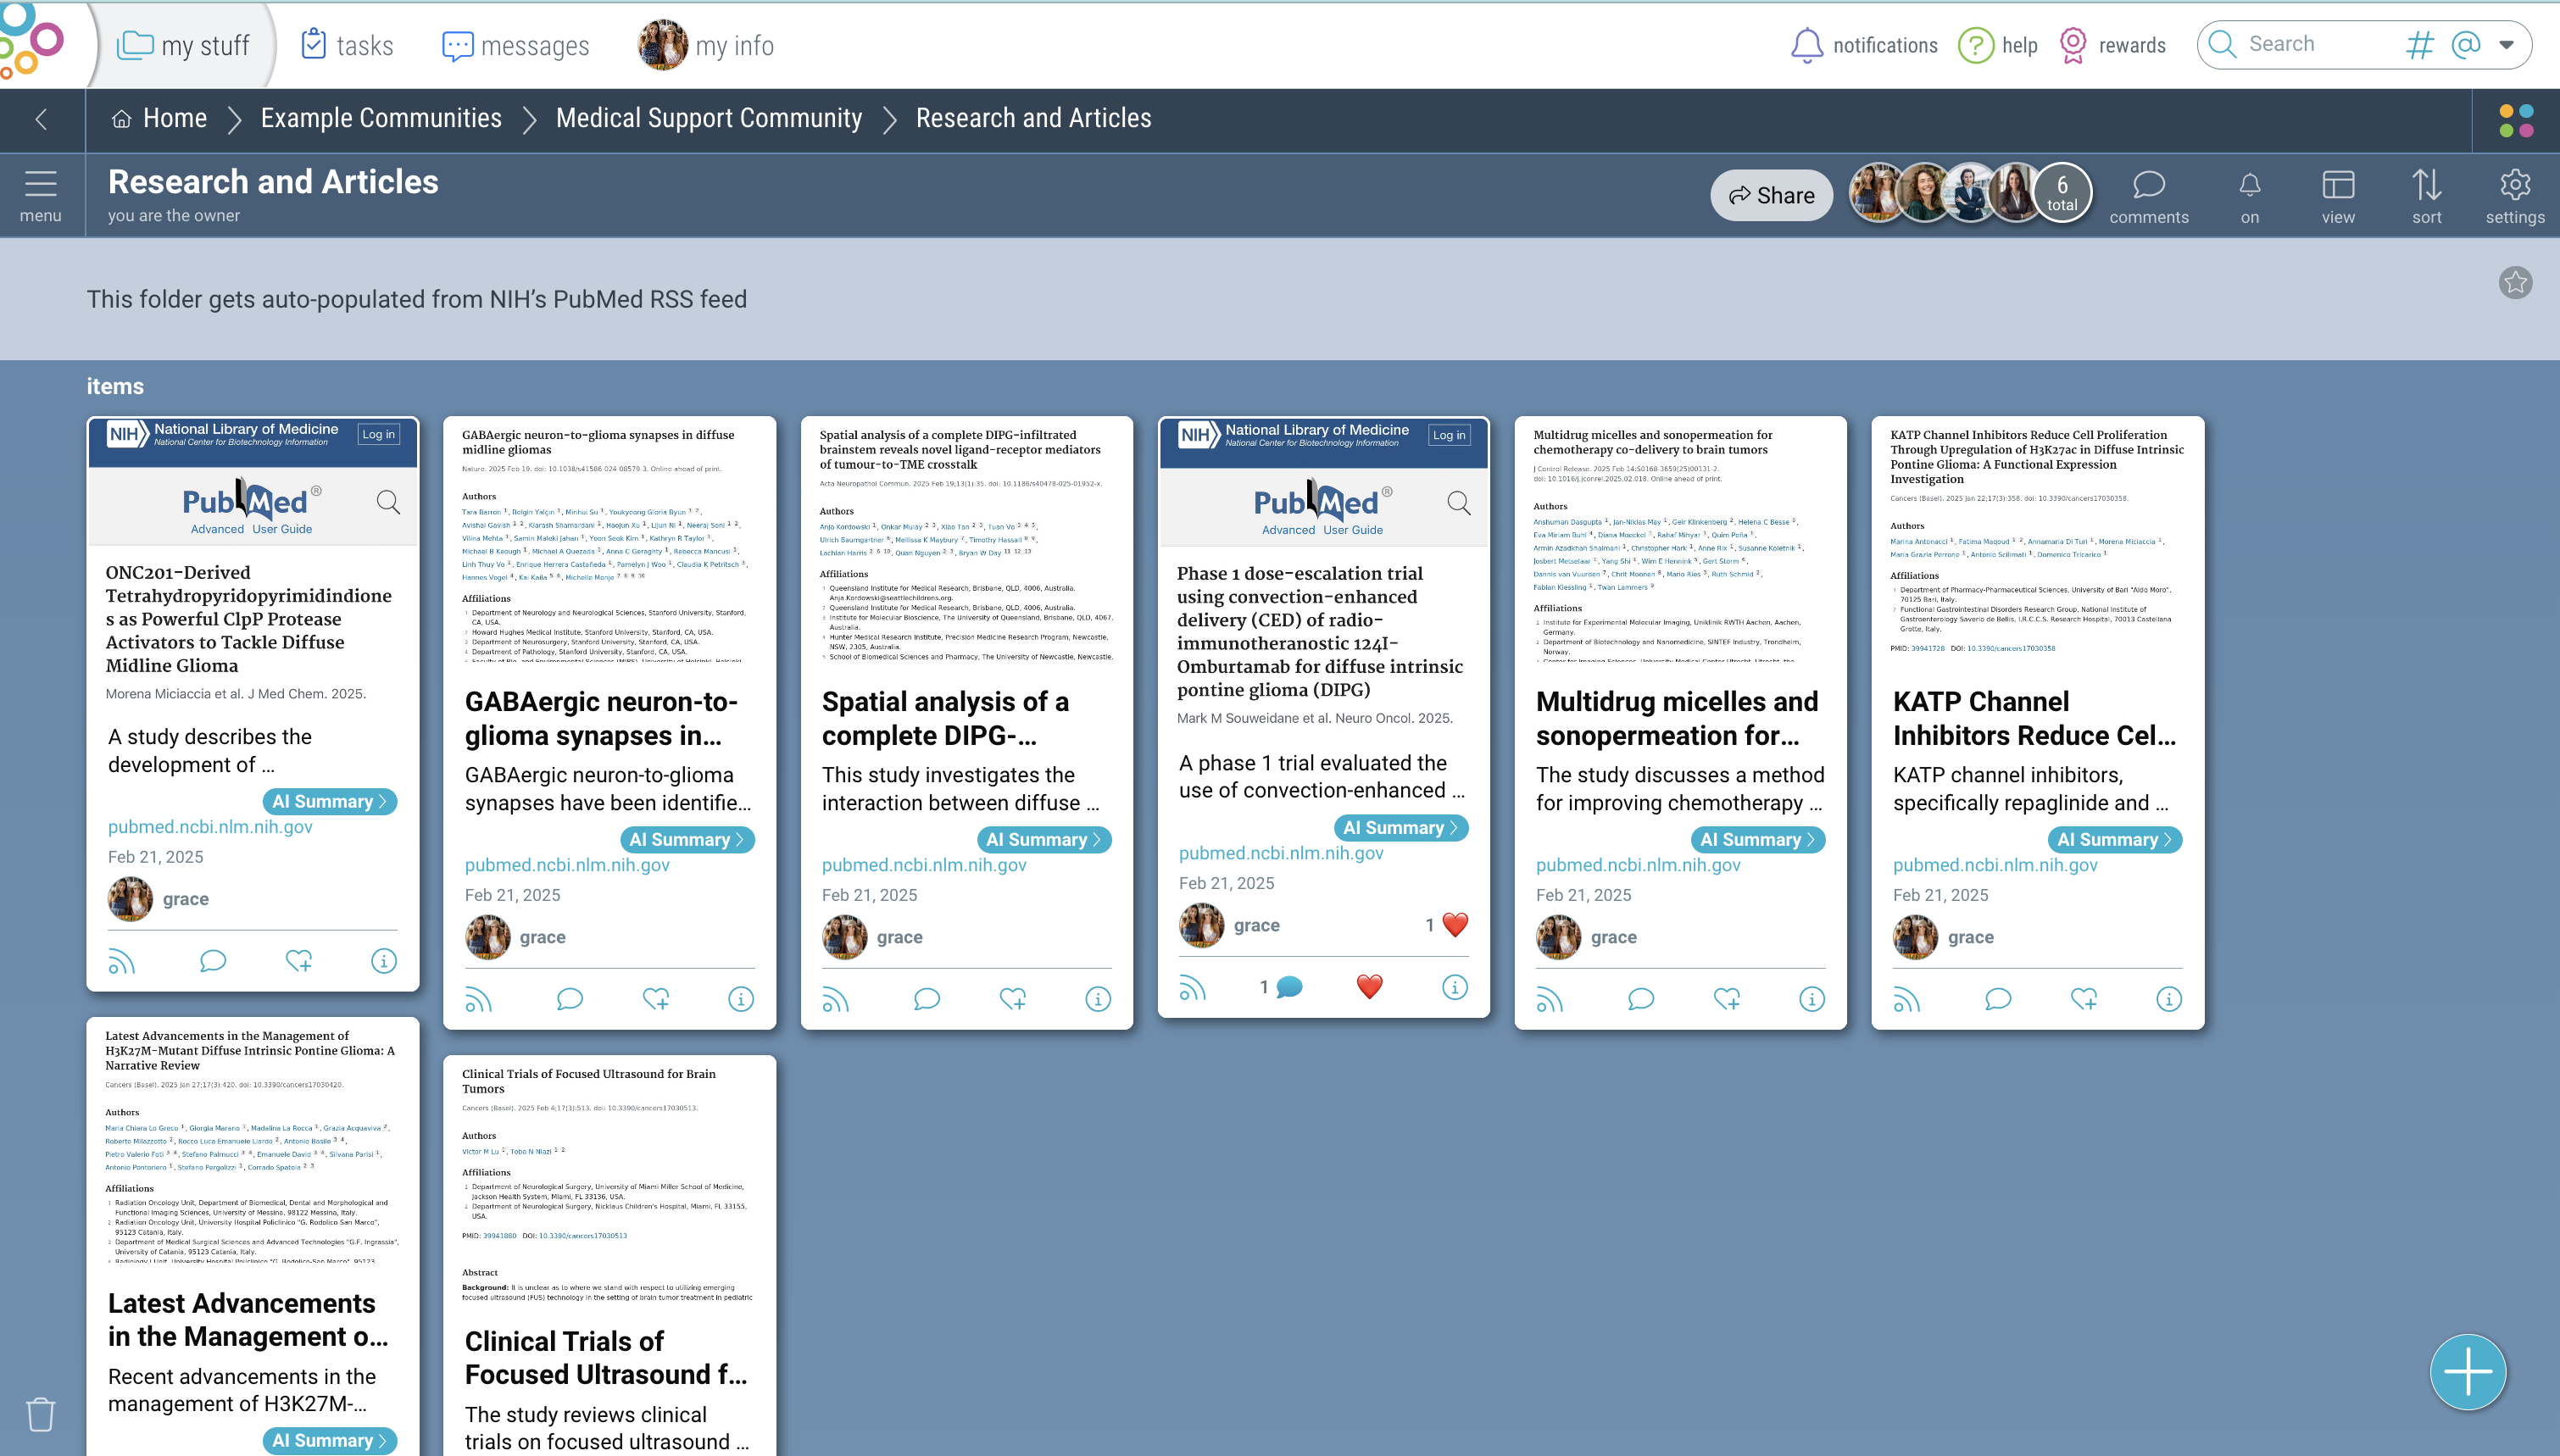
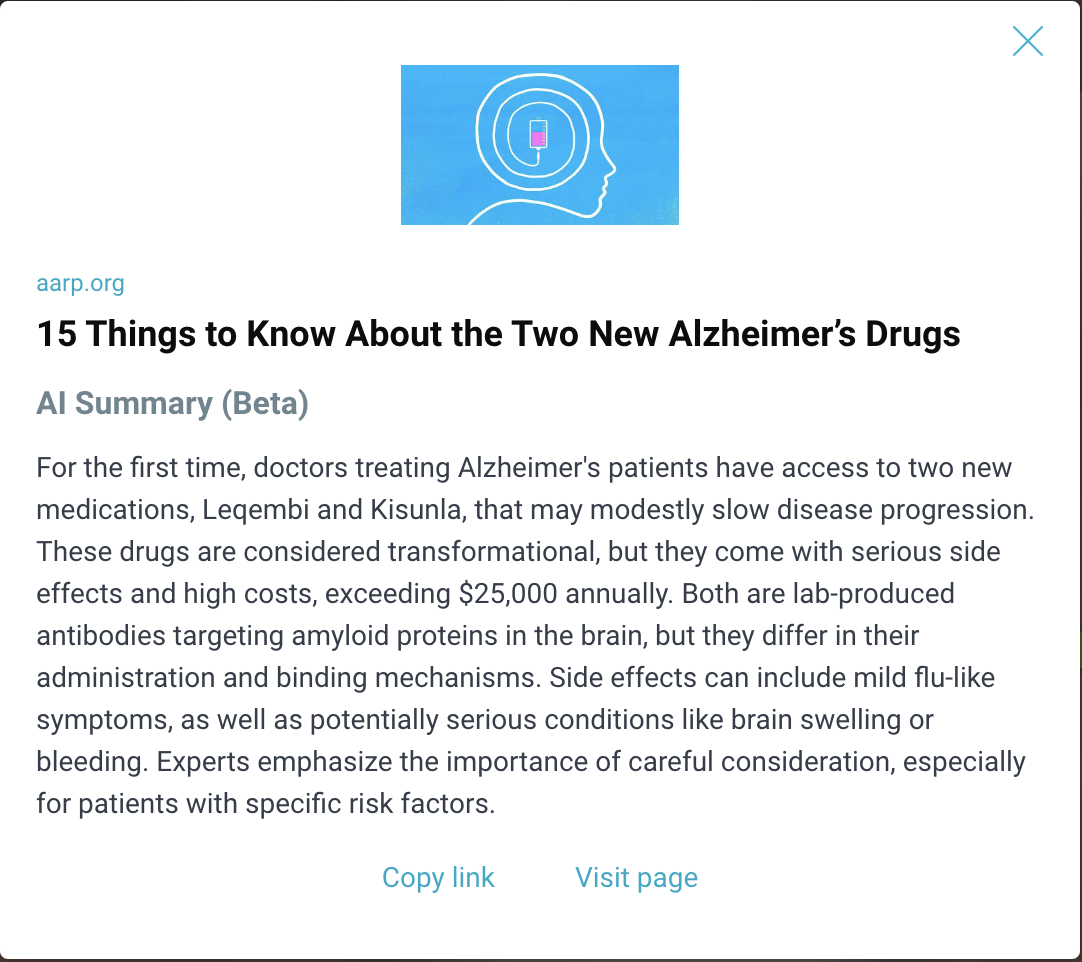
Generate AI Summaries
Bublup uses AI to automatically generate summaries for links saved in your Bublup account.
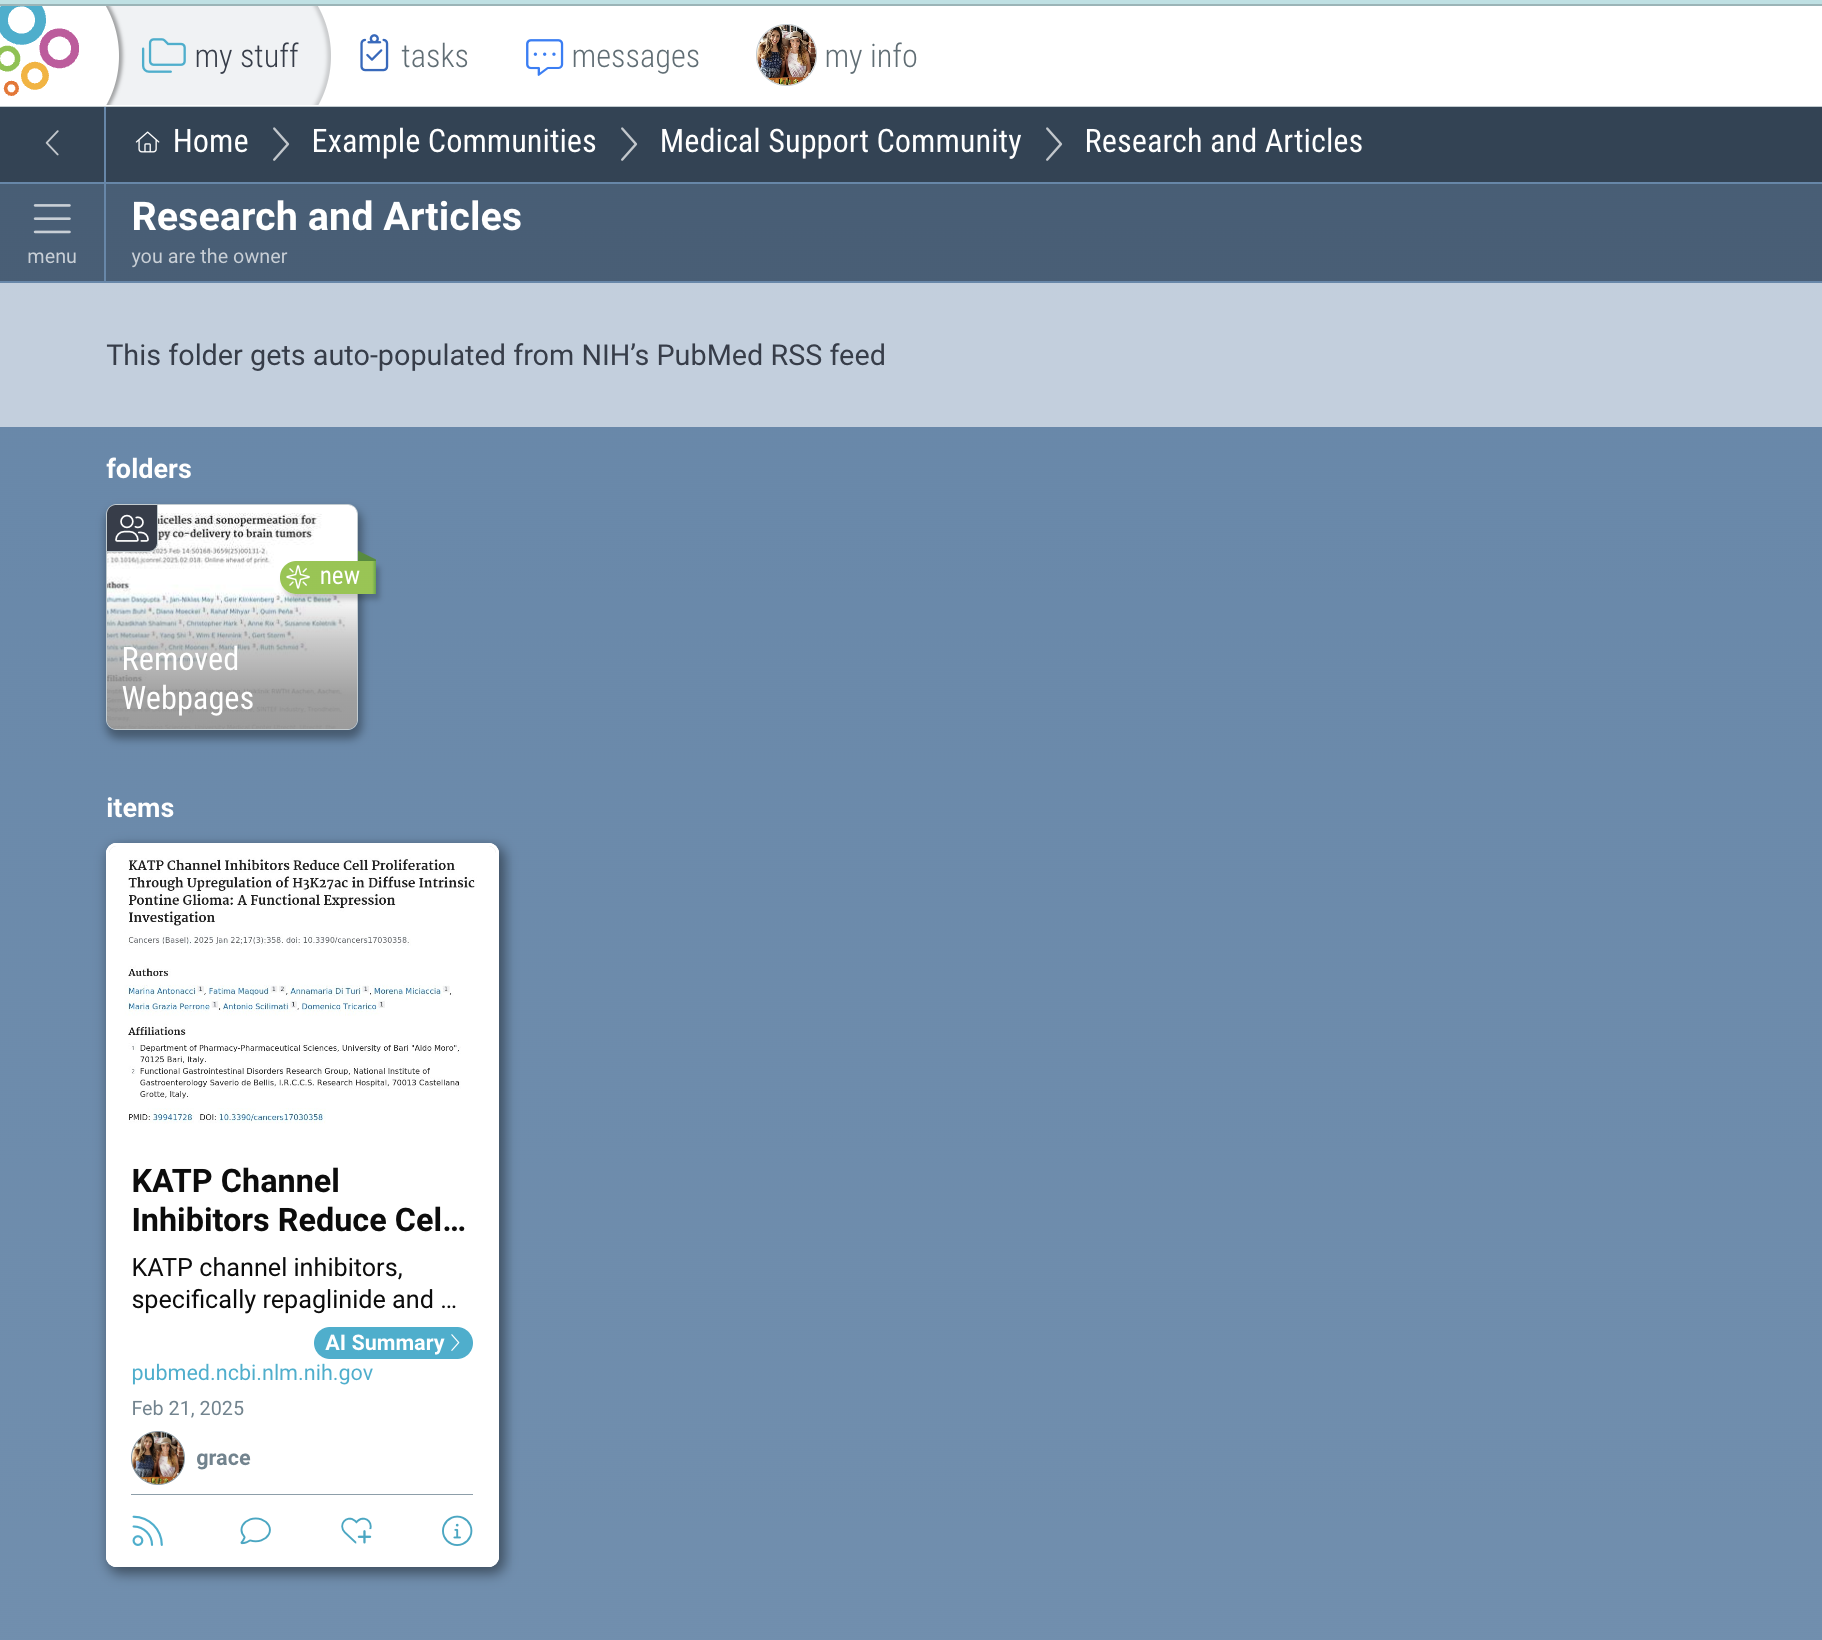
Viewing AI Summaries
When a summary has been generated, you will see an “AI Summary” button on the item card.
Click on the “AI Summary” button to view the full summary. From here, you can also visit the original page or copy its url.
Note: To edit the new AI Summary description, click the 3-dot menu on the item and select “Edit”.
Managing AI Settings
Click on “my info” at the top. Then click “AI” under “Preferences”.
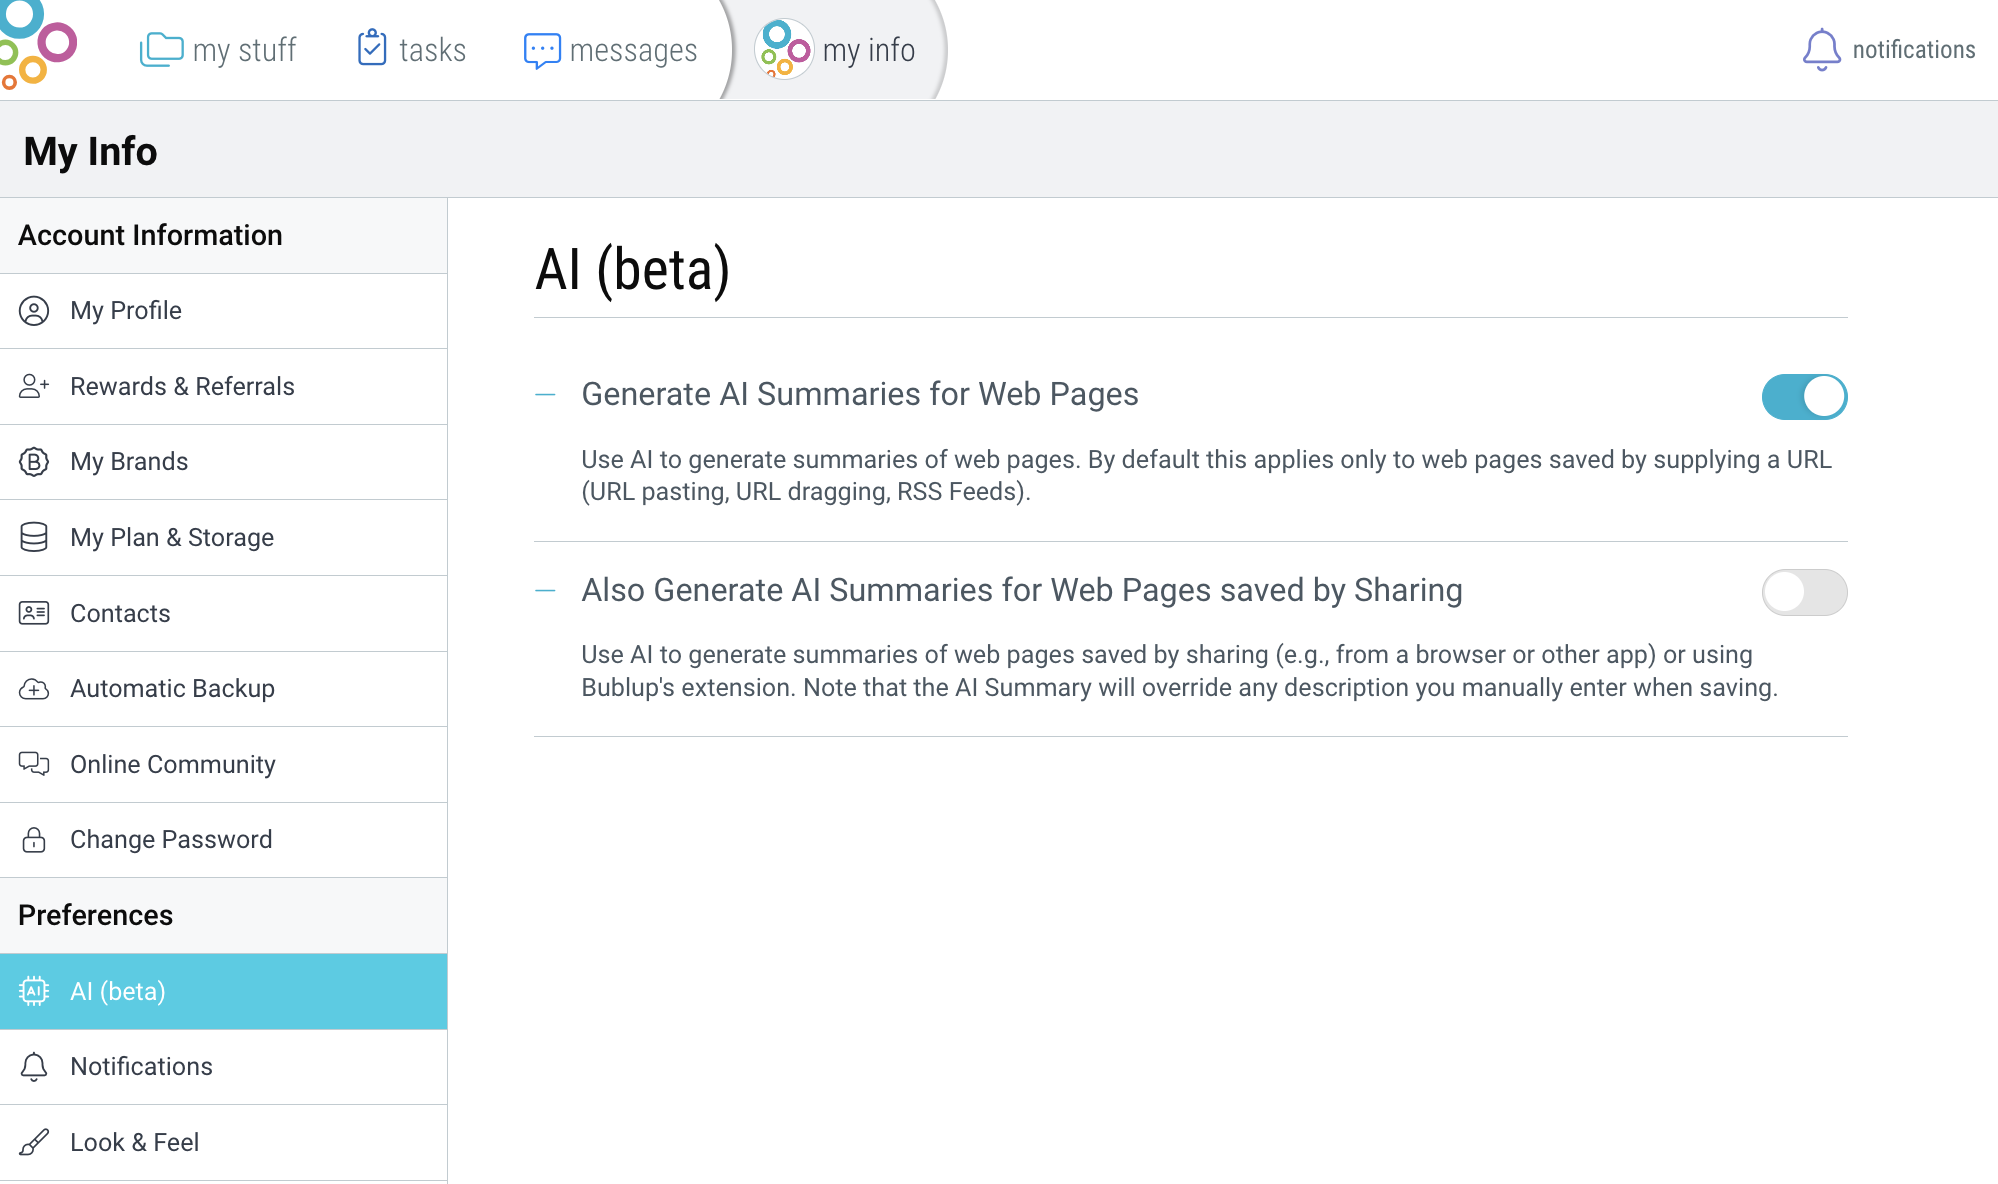
Generate AI Summaries for Web Pages
Use AI to generate summaries of web pages. By default this applies only to web pages saved by supplying a URL (URL pasting, URL dragging, RSS Feeds).
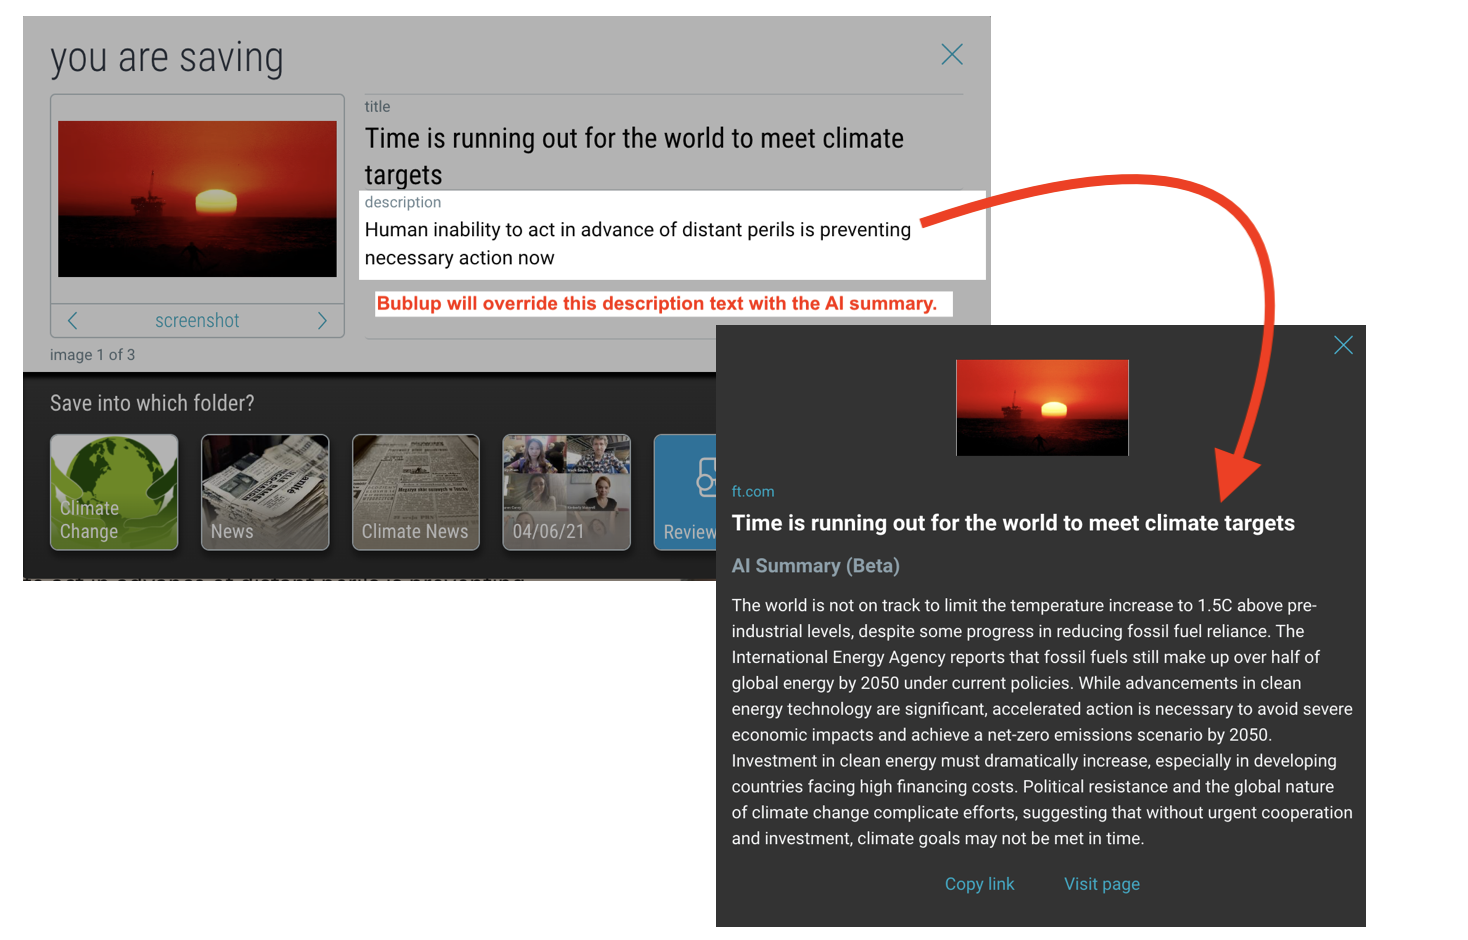
Also Generate AI Summaries for Web Pages saved by Sharing
Use AI to generate summaries of web pages saved by sharing (e.g., from a browser or other app) or by using Bublup’s extension. Note that the AI Summary will override any description you manually enter when saving.
Create Forums & Topics
Creating Forums
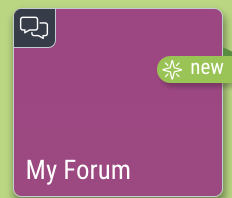
Within a space or Community, click the + Menu and select “Forum”. Forum spaces will have this icon in the upper-left hand corner.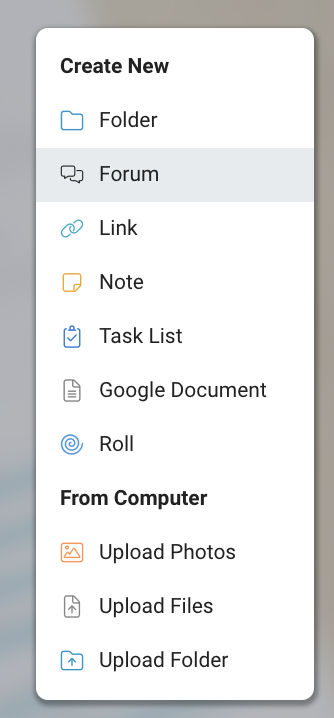
Member Permissions:
- Only Owners or Admins can create forum spaces.
- All members can create new posts, as well as comment and react to existing posts.
- A post can only be edited by its original author.
- An admin can “lock” a post to disable new comments and reactions.
- If a post has no comments, the author can delete it. Once there are comments, only the space owner or admin can delete it.
Creating Posts within a Forum
Inside a Forum, tap on “Start a post…” or use the + button to create a new post. Give your post a title and write your thoughts. You can also optionally include an attachment or add a cover image. Tap “post” in the upper-right corner to publish.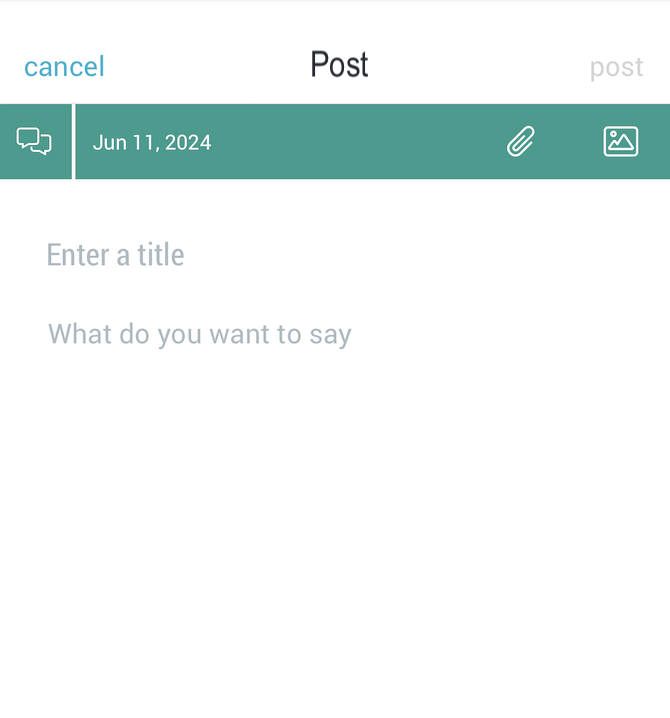
Track how many views, comments and reactions your post receives. Use the 3-dot menu to edit your post.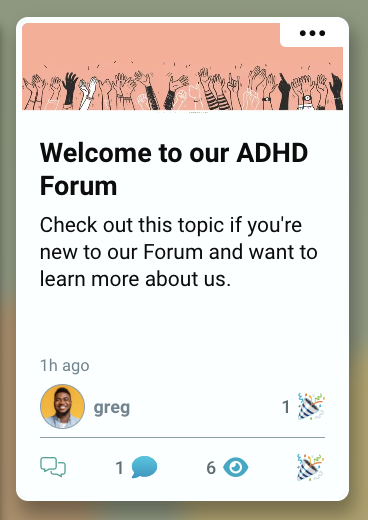
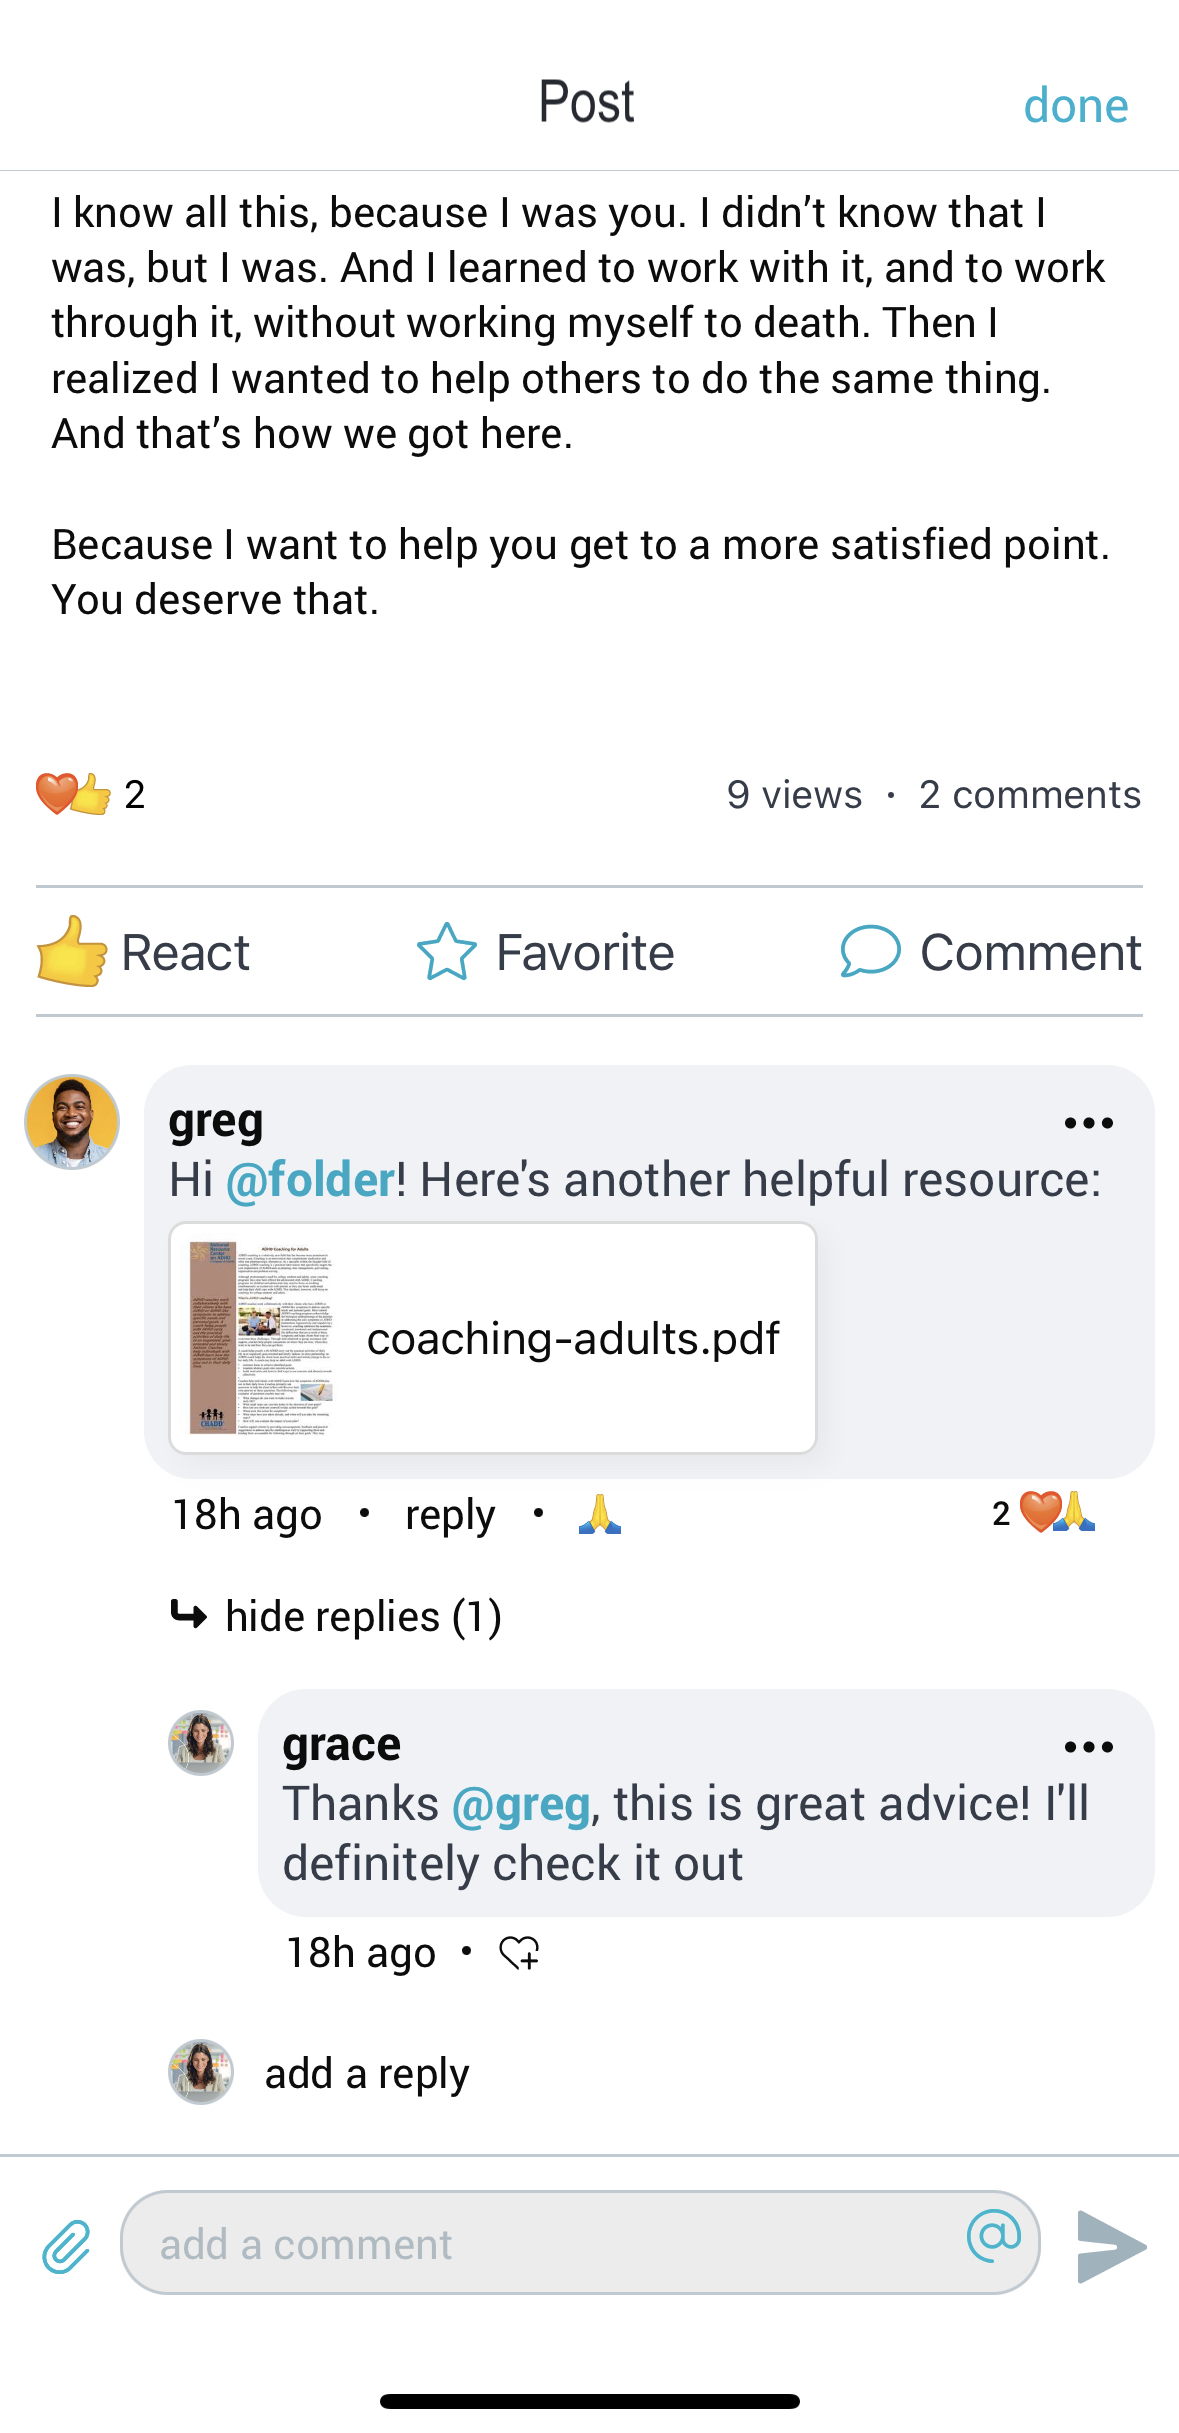
Interacting in Forums
Tap on a post to open it. View and react to existing comments and attachments, or add your own. Use the @ symbol to tag users in your comments. Use the paperclip symbol to include attachements of your own.
Locking a Post:
An admin can “lock” a post to disable new comments and reactions. To do so, open the post and go to the lock icon in the upper right-hand corner. Then tap “proceed”.
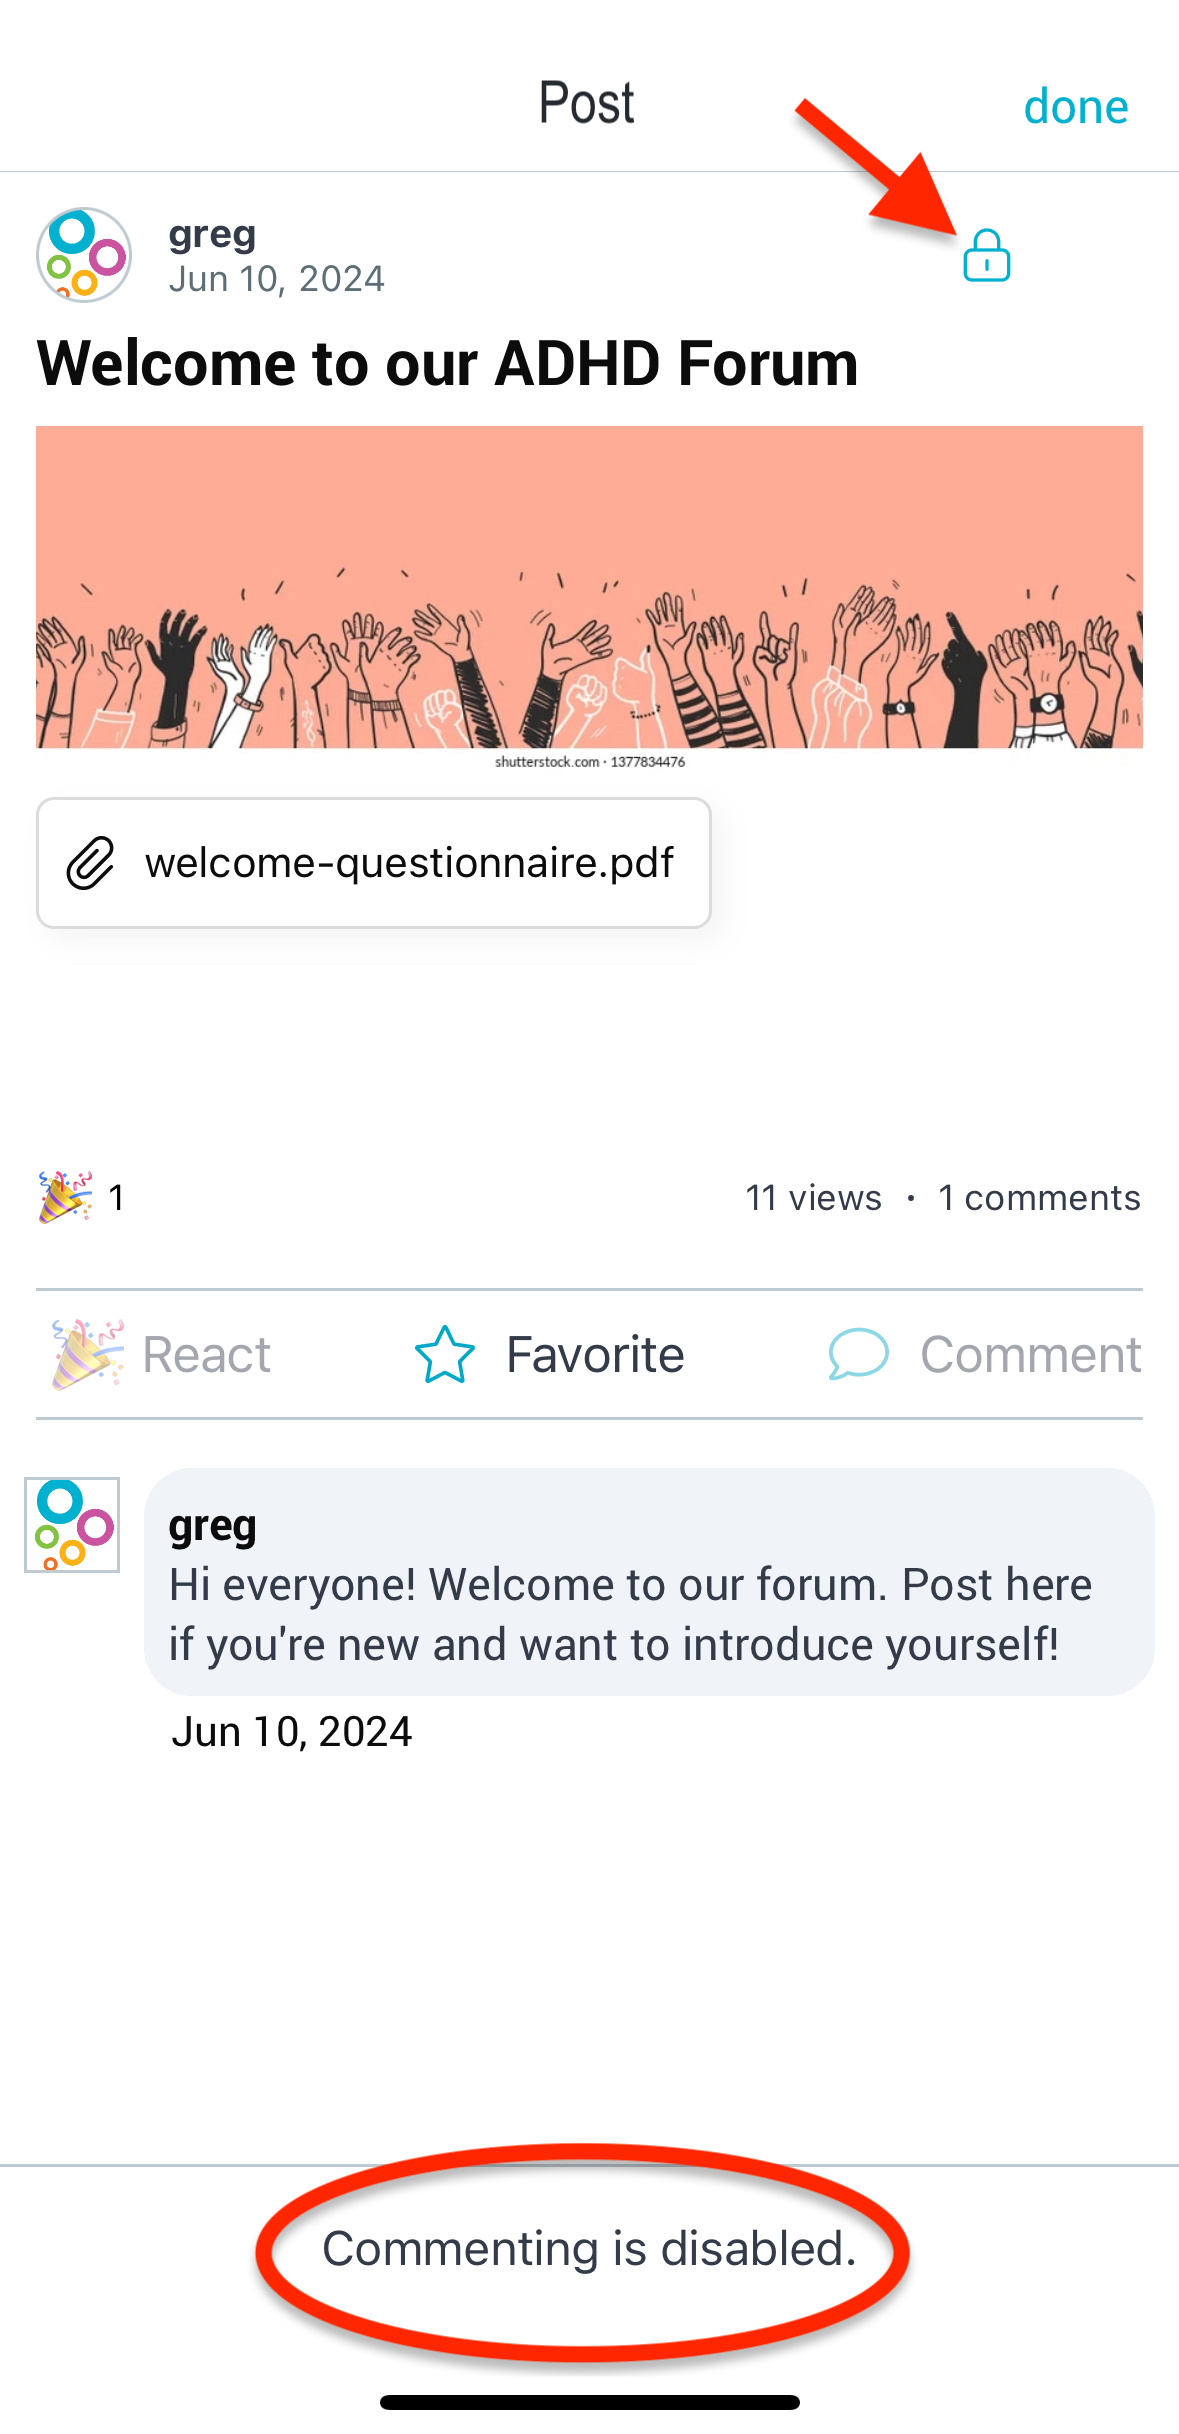
Once a post is locked, members will not be able to add new comments or reactions. Existing comments and reactions will still be visible. To unlock the post, simply tap on the lock again to re-enable commenting and reacting.
Create a Community
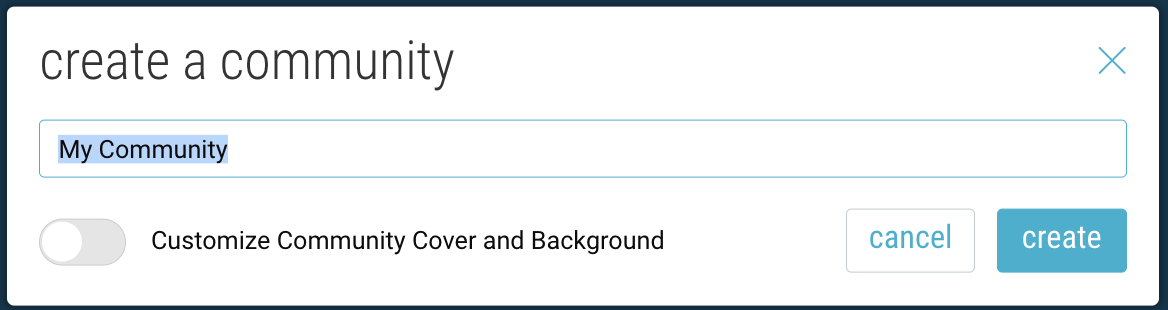
- Within your Organization, click the + button and select “Community”.
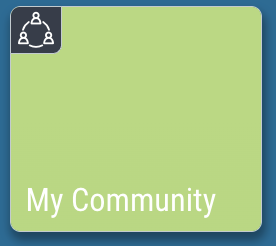
- Name your community and click “Create”. You can also customize the cover & background.
- Community spaces are indicated by the icon in the upper-left corner.
For more about community management and customization, visit this page.
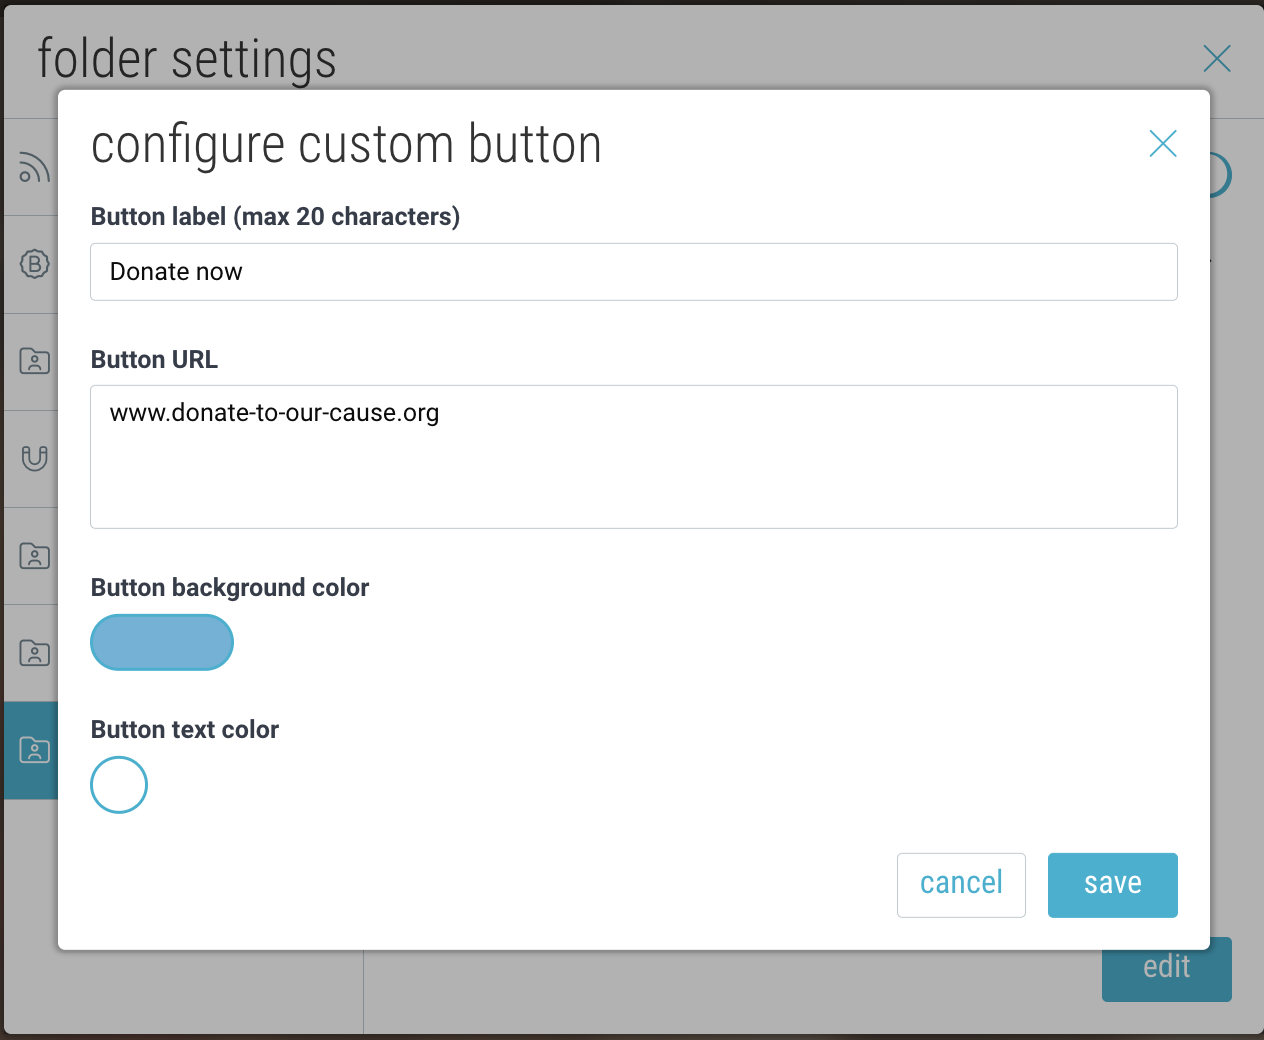
Add a Custom Action Button
On desktop, click the “settings” icon in the upper-right corner and select “Action Button”.
- Display a custom “call to action” button
- Add a custom button at the top of your space. Customize the text and colors, as well as the URL that it will link to.

- Add a custom button at the top of your space. Customize the text and colors, as well as the URL that it will link to.
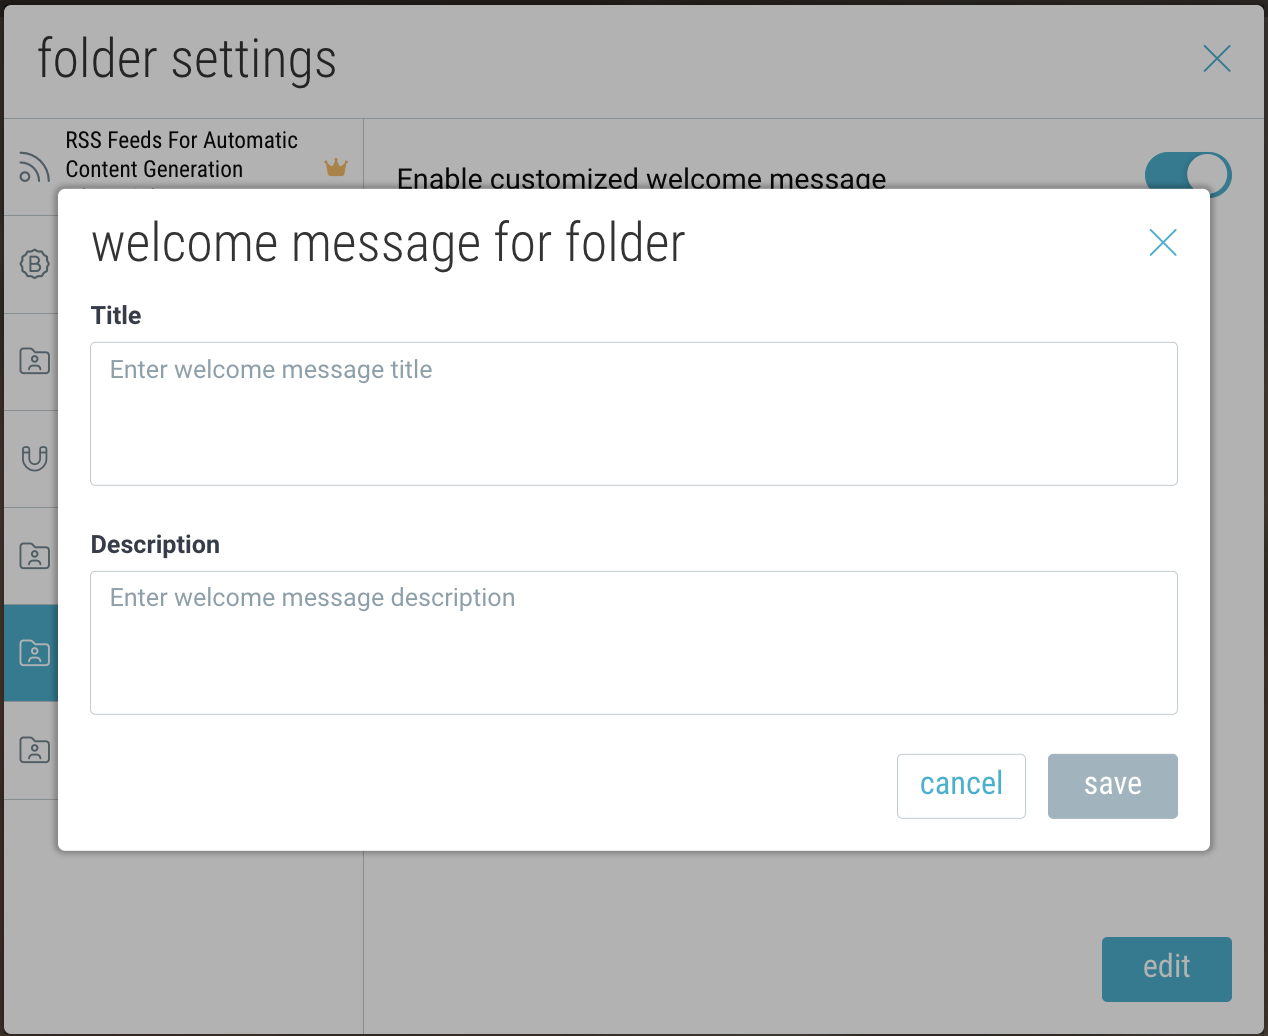
Create a Custom Welcome Message Inside Bublup
Provide a customized welcome message the first time a new member enters your organization.
On desktop, open your Organization. Then click the “settings” icon in the upper-right corner and select “Welcome Message For Space”.
Customize Your Onboarding With Branded Invitations
On desktop, open your Community space. Then click the “settings” icon in the upper-right corner and select “Branded Invitation”.
Set a custom message which will display on the sign-up screen for new users joining your Community.

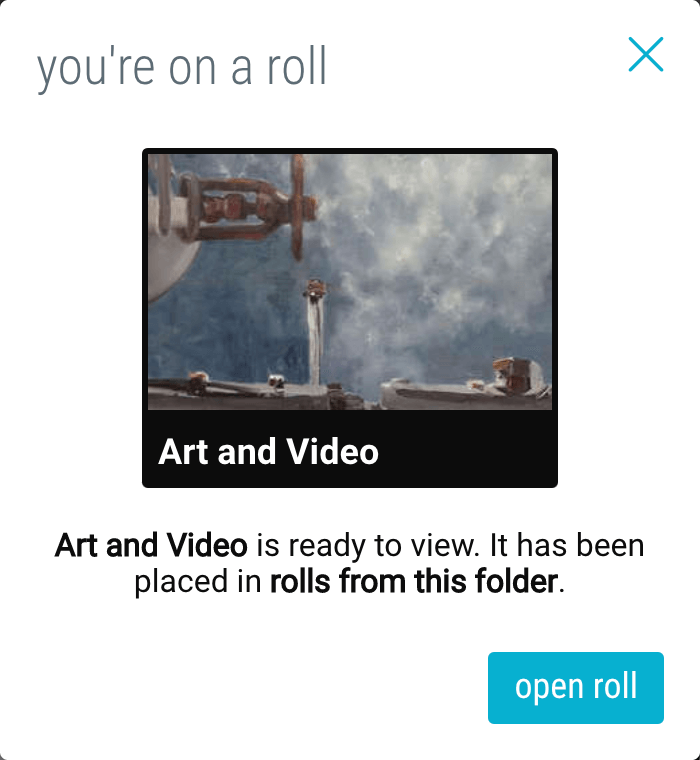
Create Rolls (instant web pages)
A roll is a web page made from a Bublup space in just a few clicks. No matter the type of content in your space, Bublup lays it out in an easy-to-share format. For enhanced roll customization, use the Webpage Builder space to create your roll.
1. Click the ‘+’ button in the bottom-right corner of your space.

2. Click on the ‘Roll’ option in the menu.
3. Click the “open roll” button in the confirmation box.
Roll Customization
Choose from different themes, layouts, and colors. Add jump-to links, widgets, password protection, and more. Apply custom branding and domain urls.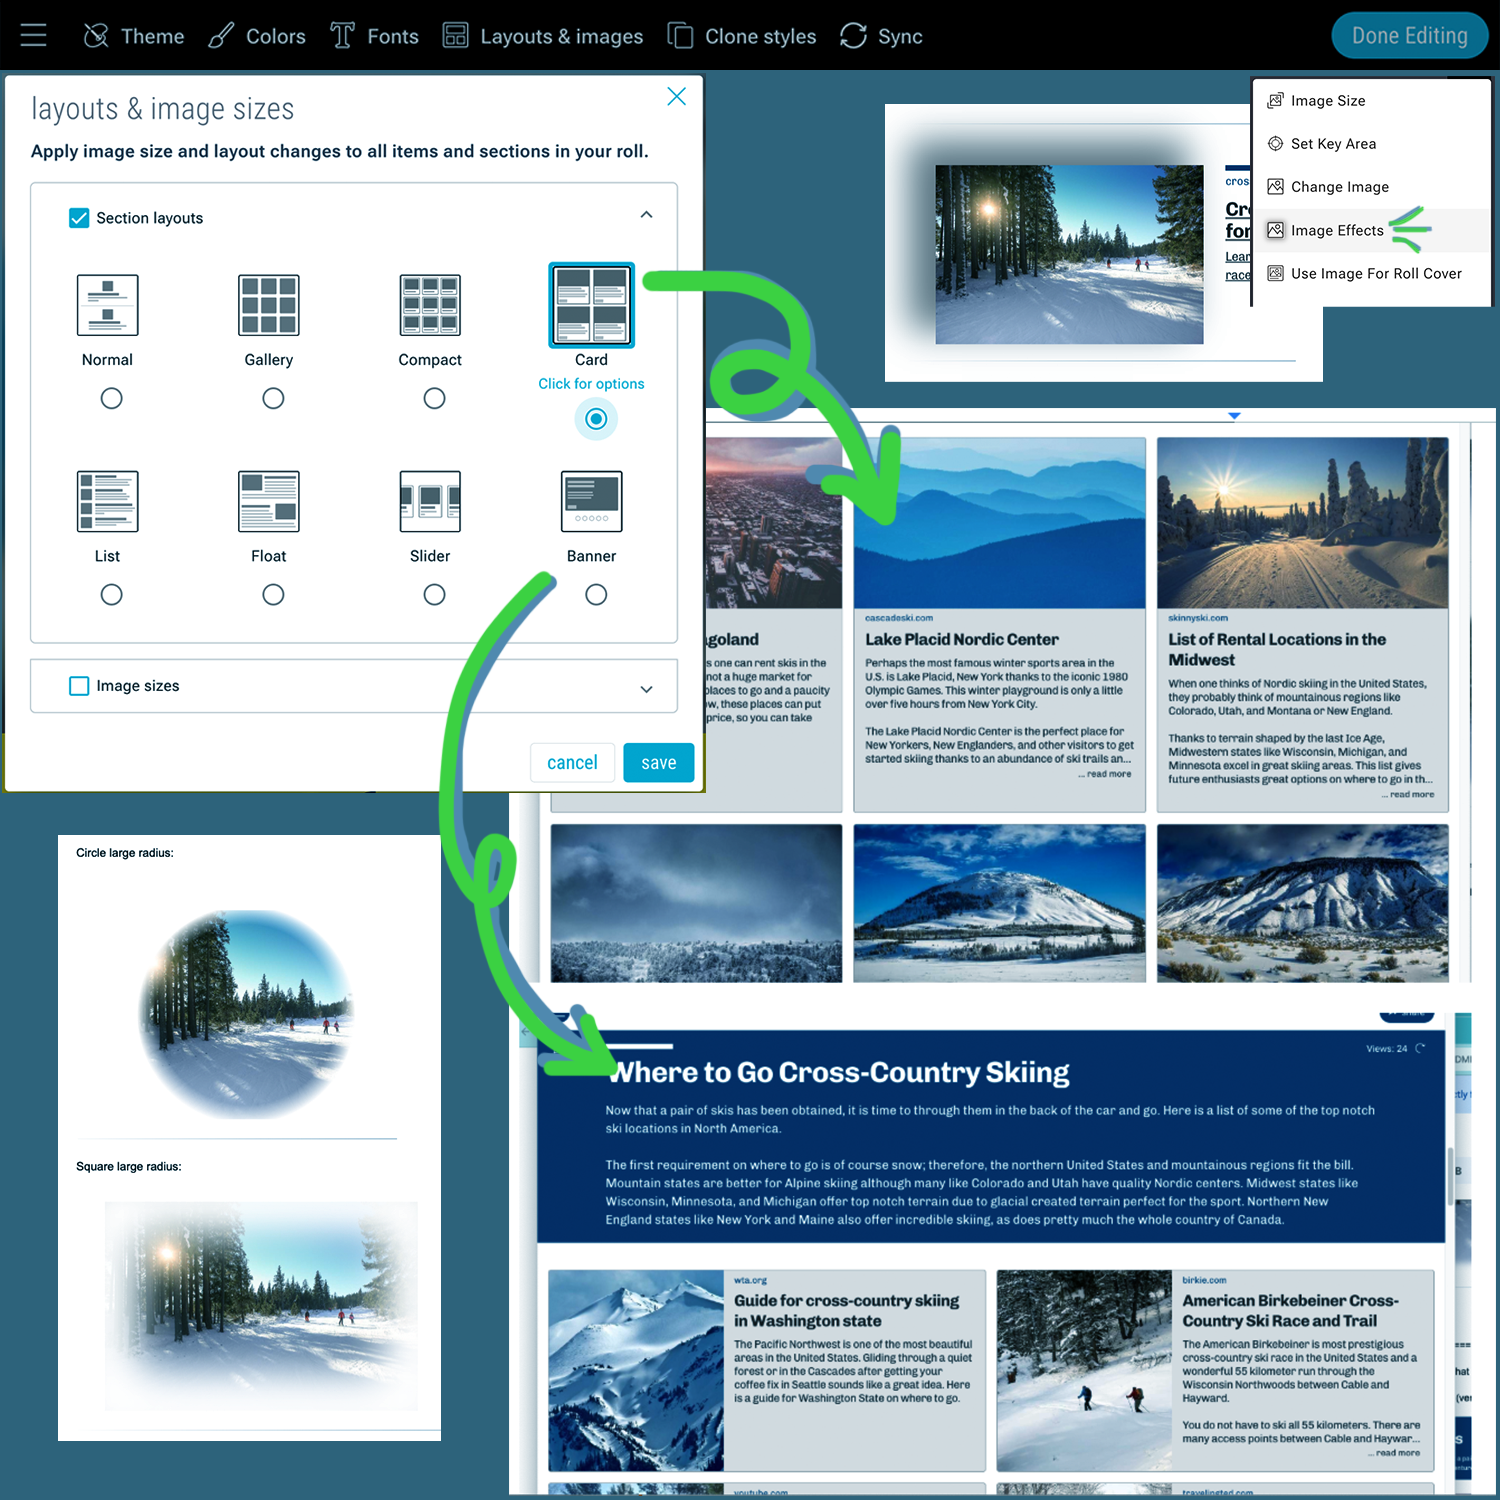
For enhanced roll customization, use the Webpage Builder space to create your roll.