2020 might as well be called the Year of the Tutor. With learning ending up online more than ever, tutors have gotten their time to shine. However, with the influx of digital work coming in, organization and student management has become more challenging than ever. Boy, do we have the app for you. Bublup is an amazing app for visually organizing and consolidating information in one place.
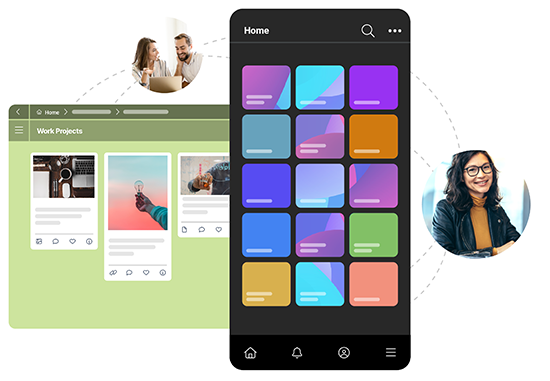
Bublup is easy to use and improves your productivity. It allows you to collaborate with your students in a central hub for all your links, photos, videos, notes, files, and more, and it complements the tools you’re already using! If you’re using Blackboard, for example, you can go ahead and save your Blackboard links into a folder with other materials you need for your students.
We’ll walk you through the nitty-gritty details throughout this blog post, but here are five tips to get you started!
Lesson One – Get Organized with a Simple Folder System
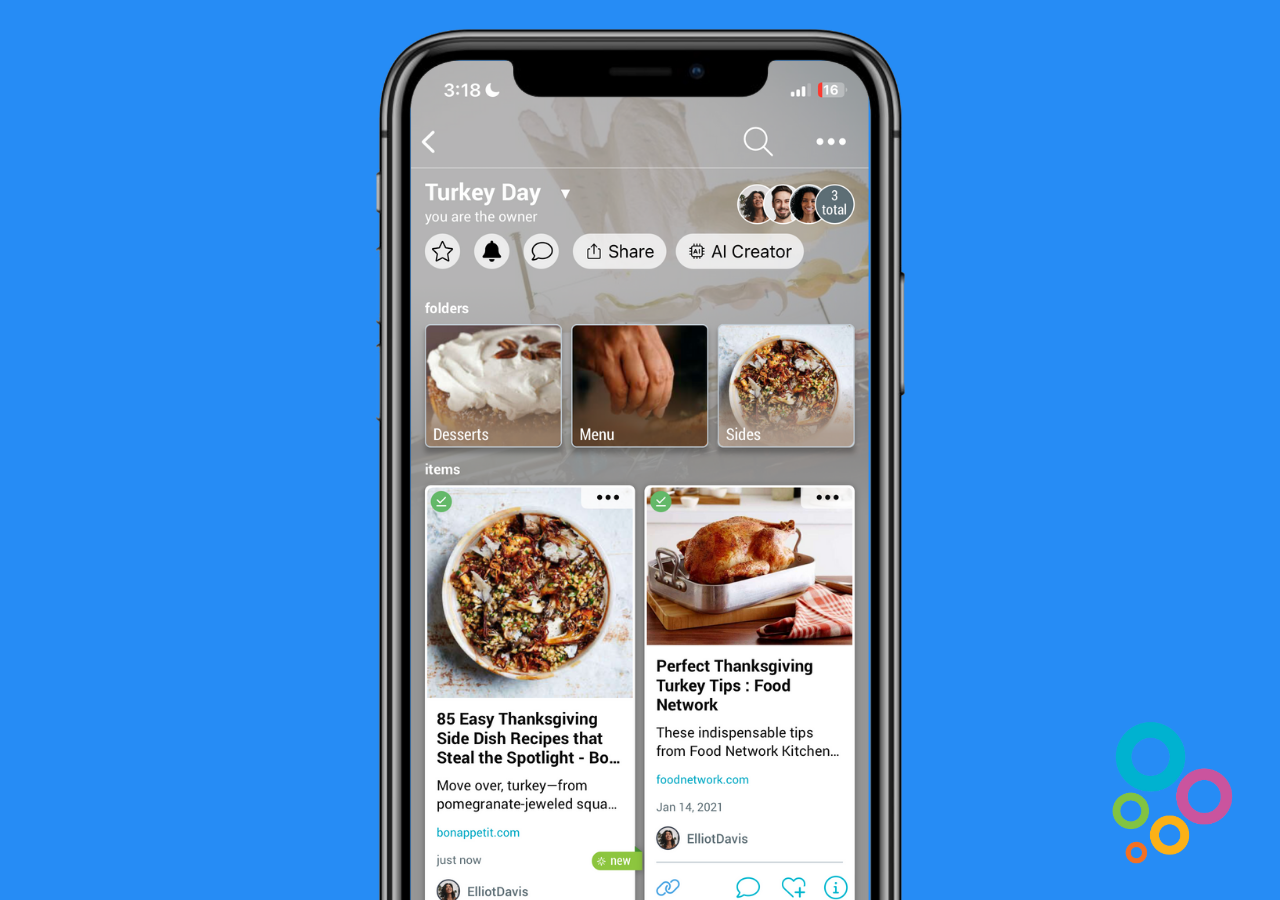
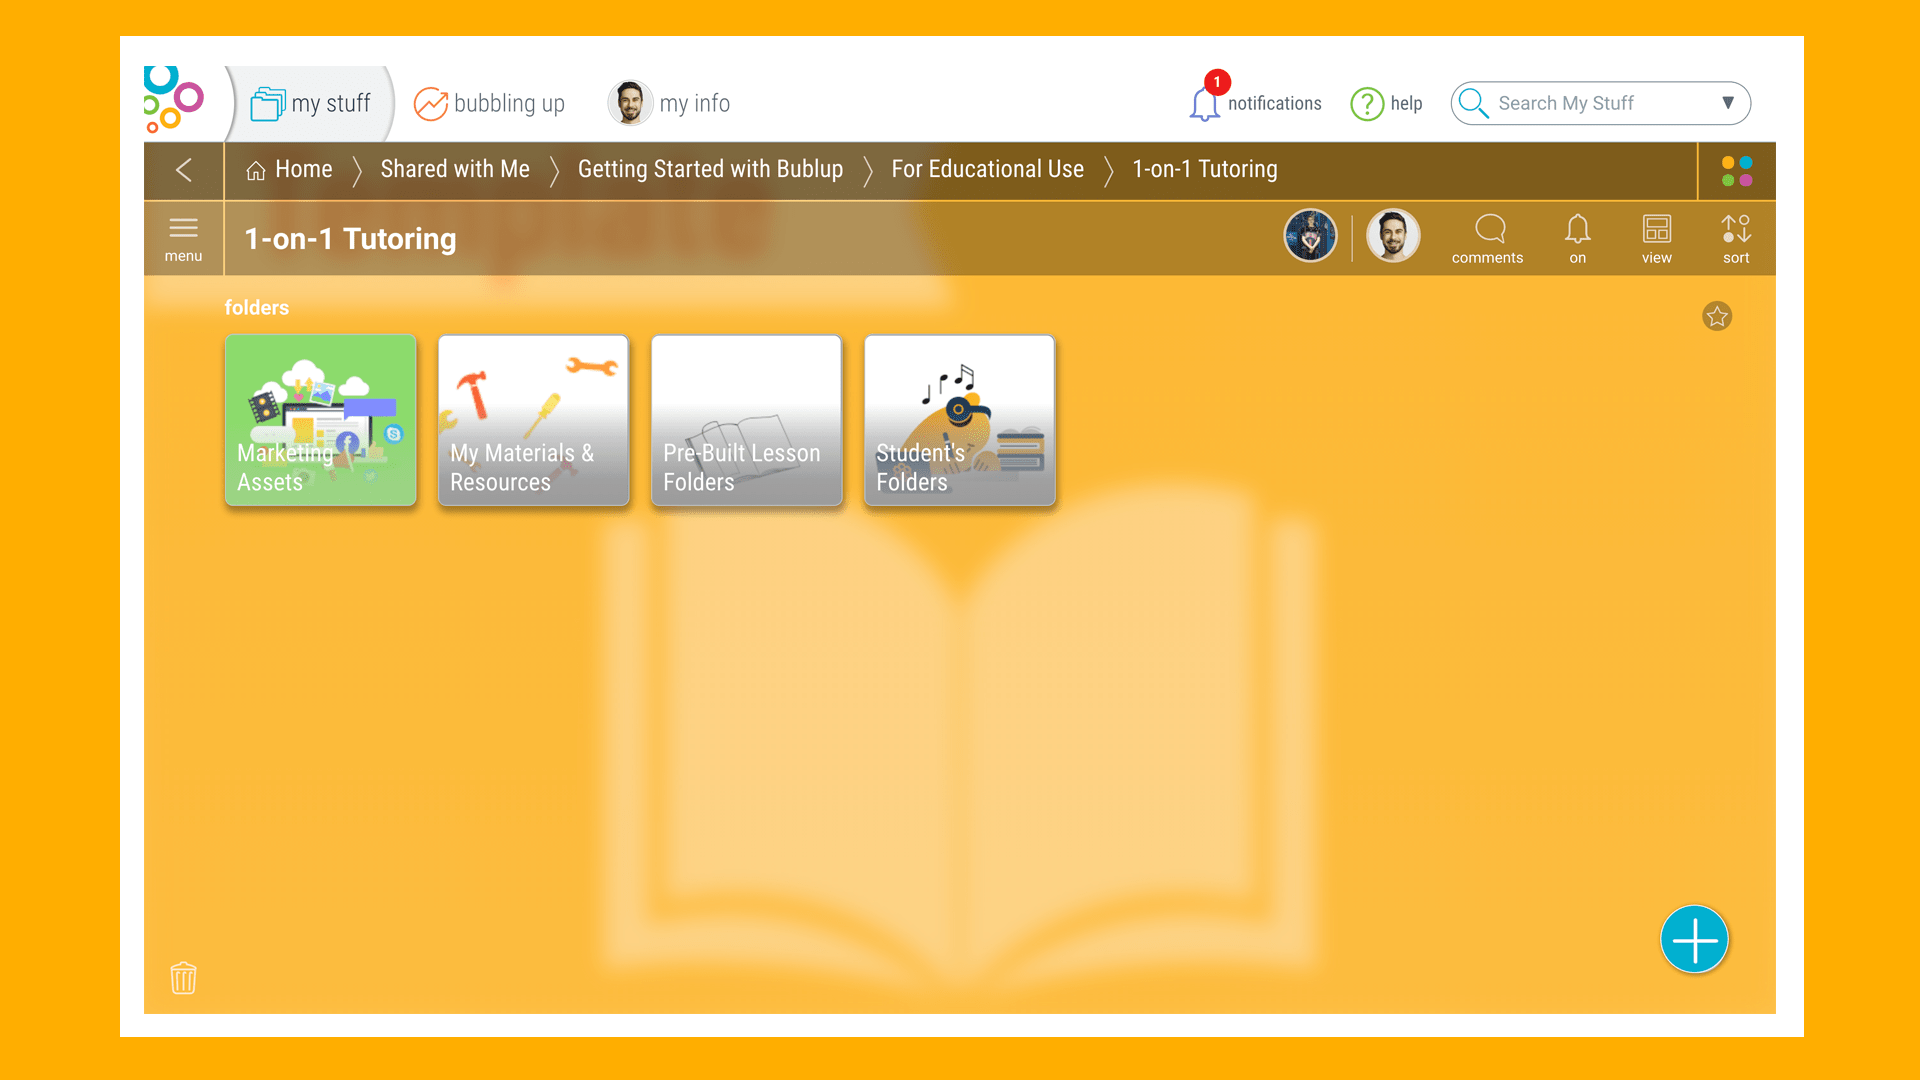
Bublup is all about folders that help you help your students. You should spend time considering what folder arrangement is best for your tutoring practice. Here are some examples to consider below.
Create Top-Level Folders
- My Materials & Resources
- Student’s Folders
- Pre-Built Lesson Plans
- Marketing Assets
Within each top-level folder, you can also create sub-folders. For example, inside “My Materials & Resources,” you can create sub-folders for each online learning platform your students use. Within “Student’s Folders,” you could create sub-folders for each subject, then have your students work out of each sub-folder for each respective class. Within your “Pre-Built Lesson Plans” folder, you can organize based on the subject as well! And finally, for “Marketing Assets,” you can create sub-folders based on the different areas you plan on marketing.
These are just examples, but the opportunities are endless!
Lesson Two- Collect EVERYTHING In Bublup
Did you know that you can easily save web links, photos, videos, documents, and any other item type in your Bublup folders? That means all the different types of media your students are working with can go in your Bublup folders. Some items you might want to include are:
- Links to your students’ online learning platforms.
- Notes on where each client has last left off in their tutoring sessions.
- Email correspondences with parents and teachers.
- YouTube videos to help complement the learning materials.
- Photos of your students’ assignments.
There are multiple ways to add items from both desktop and your mobile device.
- The “+” Button
Anything can be saved by clicking the blue “+” button in the bottom right corner of your folder and selecting the item type you want to add. - The Built-In Camera
The mobile app offers a built-in camera that automatically saves photos in your folder. However, if you prefer to use your phone’s camera app, you can also save your photos to a Bublup folder with the plus button. - Email to Bublup
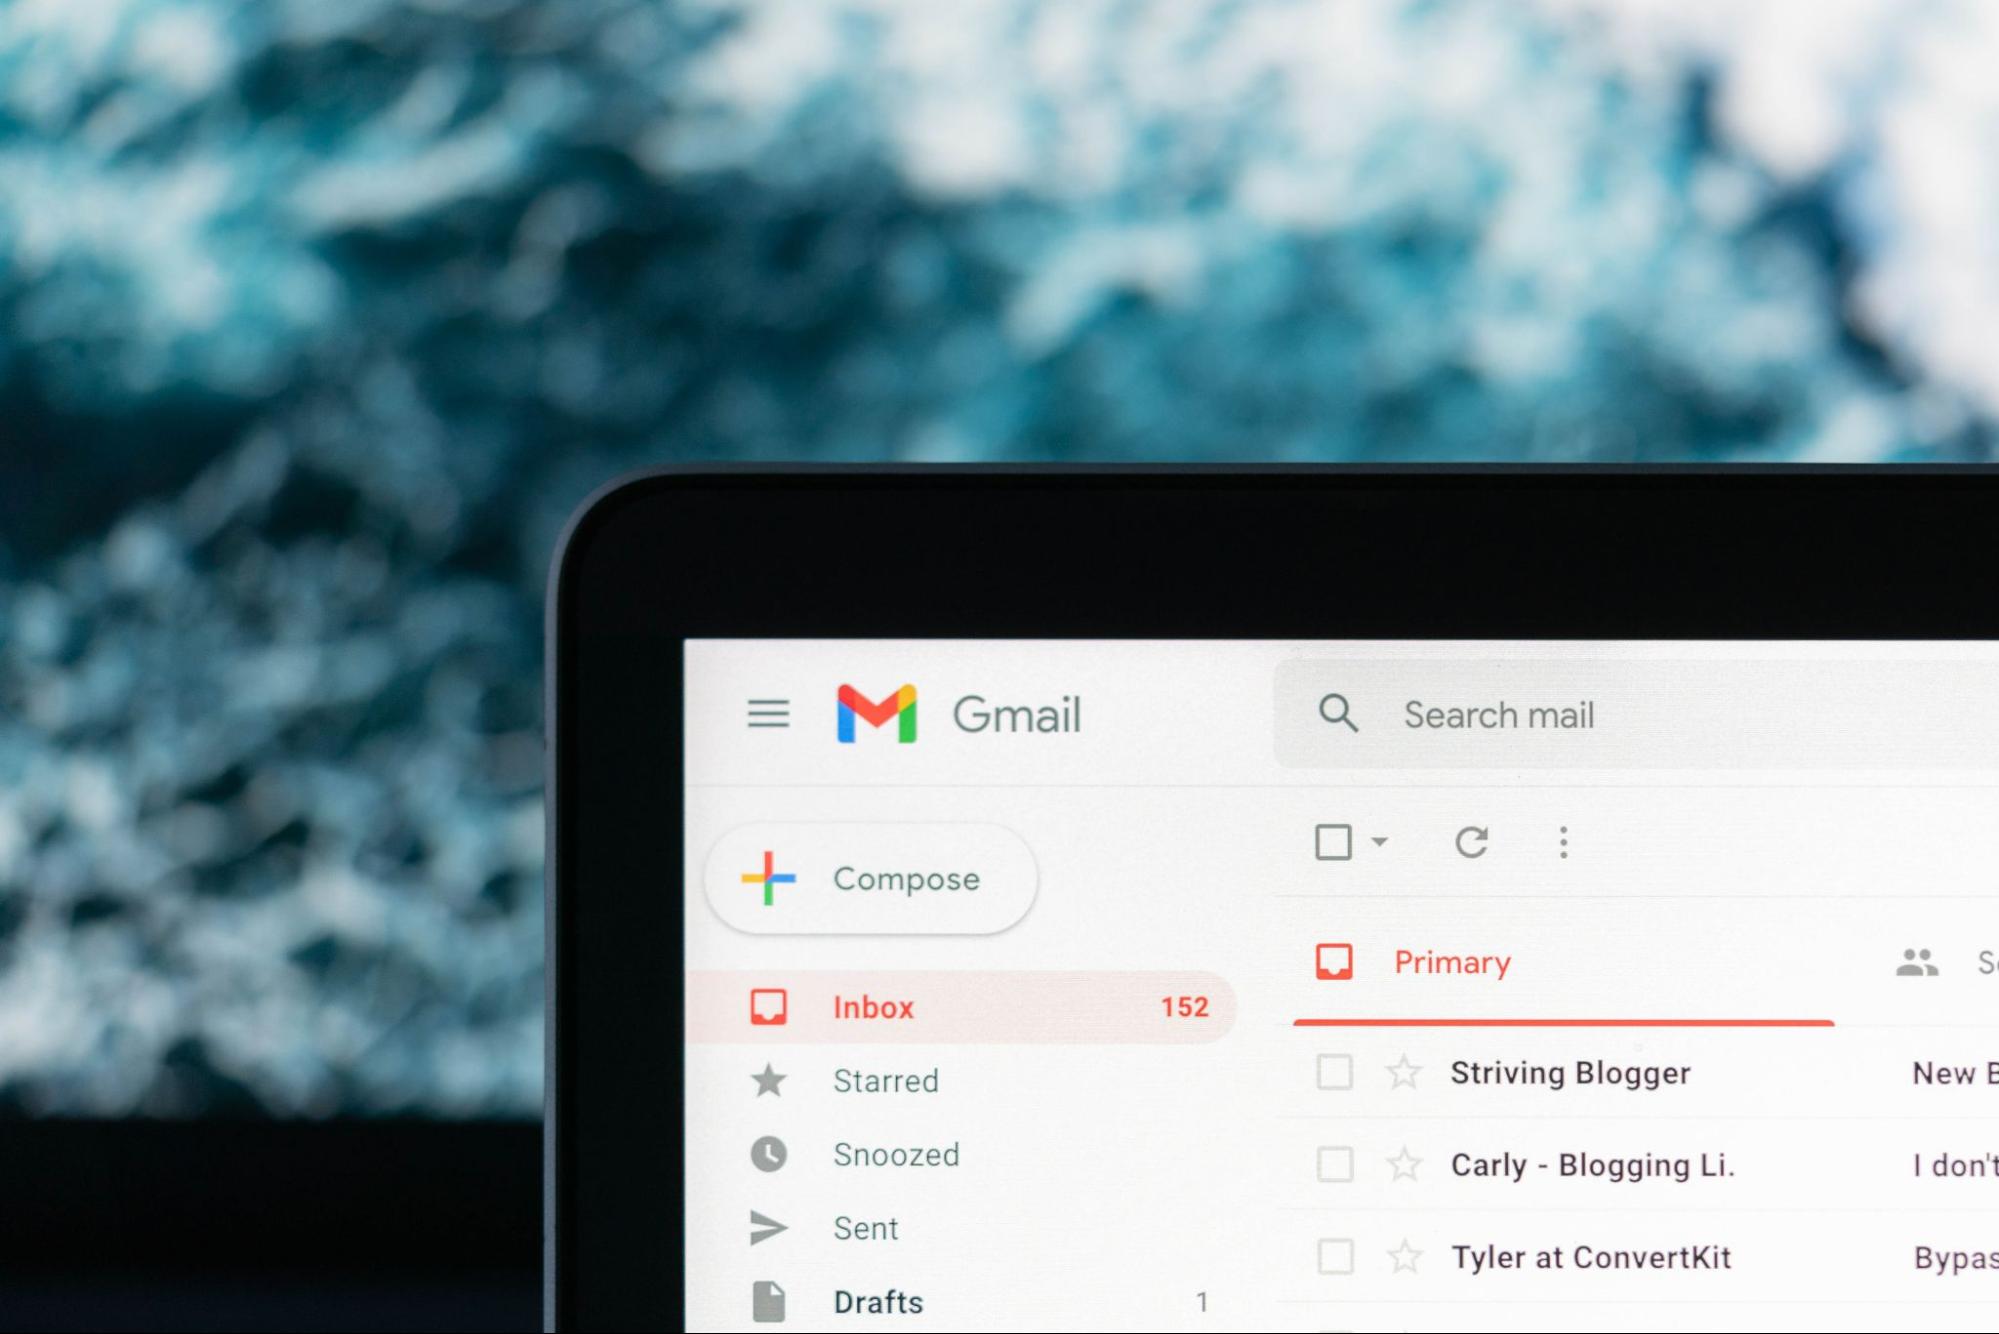
Bublup’s email forwarding feature is another great way to organize the influx of parent and teacher emails hitting your inbox. When forwarding emails to Bublup, emails, and their attachments, save as PDFs in the “Email” folder located at the top of My Stuff. From there, you can move them into their designated folder alongside other pertinent information about that student’s work.
To set up email forwarding, go to:
- My Info → Preferences
- “Save Emails to Bublup”
- Add the email(s) addresses that you wish to forward emails from. Once complete, simply forward emails to your username @mybublup.com (i.e.,: forexample@mybublup.com).
Lesson Three – Establish a Communication Plan with Parents and Teachers
A major part of tutoring is keeping everyone informed, from your students to their parents and even with other teachers. Luckily, content saved in Bublup is super shareable, and you can do so without ever leaving the app!
Here are several ways to share:
-
- Copy Shareable Link
You can find the “copy shareable link” option in the “…” menu on any item. To find it on desktop, hover over the saved item, and you will see the “…” menu in the top right corner pop up. On mobile, the “…” button is always visible on any item.Shareable links are landing pages that allow you to share information quickly and send large or small files easily via a simple link by email, social media, or text. When you use a shareable link, important details you include in the title, description, image, or notes will travel with your item. If you’re a Premium member, your custom branding will also travel with the item, adding a polished and professional touch to your communications.
- Copy Shareable Link
- Make Any Folder A Group Folder
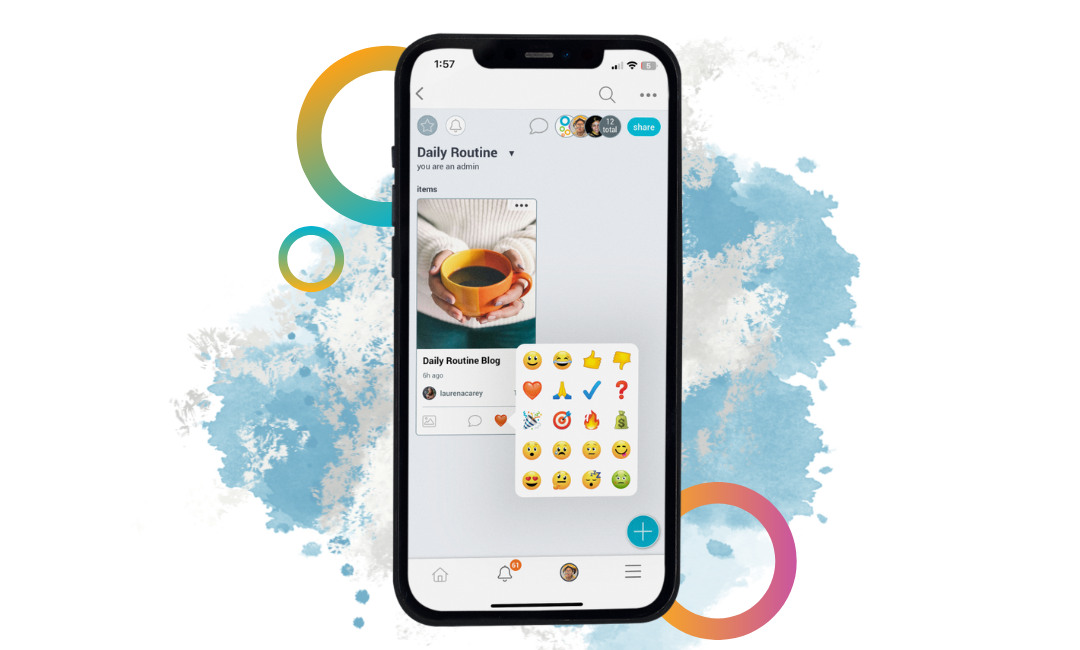
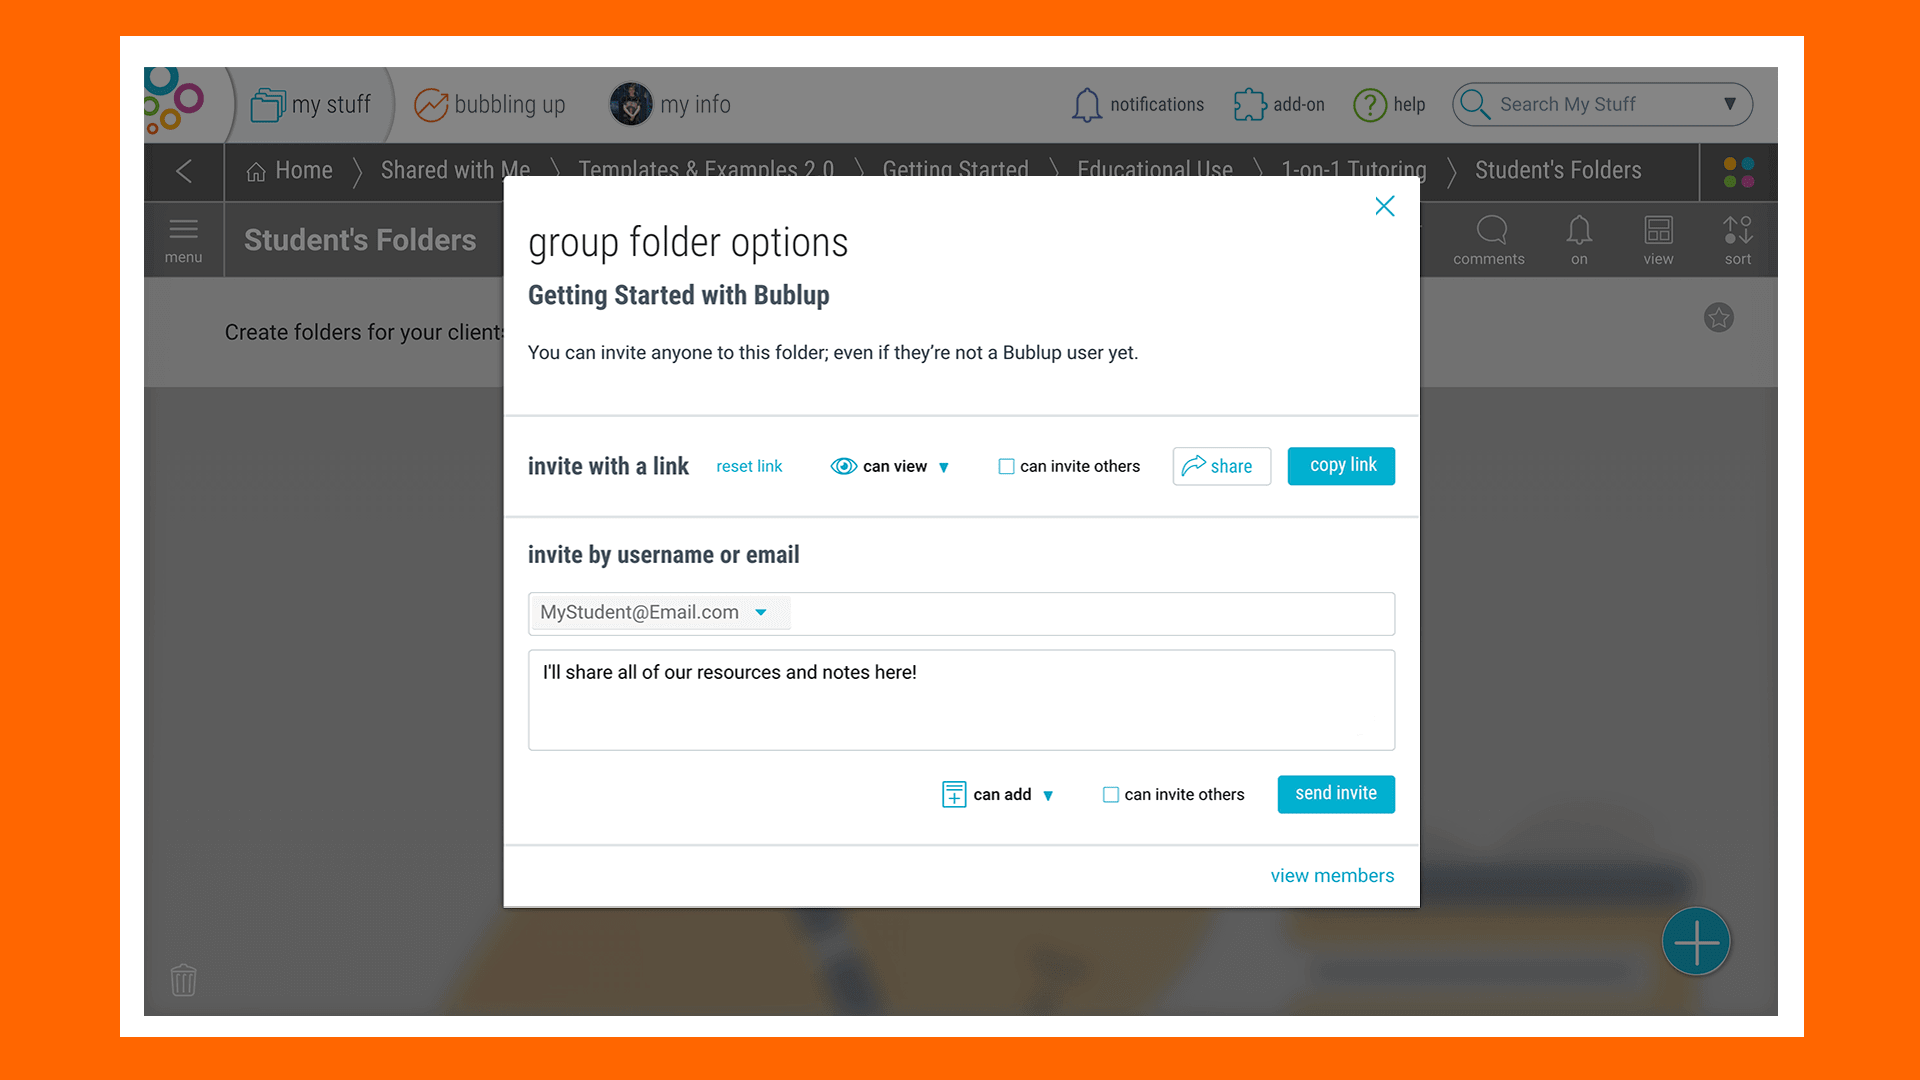
With group folders, you can streamline communications into one consolidated location versus a mess of emails and texts, saving yourself and others time.By selecting the “invite” icon inside any folder, you can add others to your folder by email address, username, or convenient link. There are also different permission levels available such as view, add, edit, and invite privileges.Additionally, you can see who saved what thanks to our avatars for each user. You can @ mention users you would like to see something, and you can use reactions to show how you feel about what’s been added.
Lesson Four – Your One-Click Solution to Sharing Resources
You might be wondering what you’re supposed to do if a parent or teacher wants a quick summary of your work’s successes. Or maybe there’s a new potential client who wants a quick view of what services you provide. Once again, Bublup is the place for you. With our “Roll” feature, you can roll up any folder’s content into a beautiful, single link that anyone can use.
Rolls allow for plenty of customization, so if it’s about a single student, you can edit the text and descriptions to be all about them. If it’s to share all your services with a broader audience, you can cater your content for that. Check out the different possibilities:
- Text edits for titles and descriptions to tailor your message.
- Choosing a focal point or “Set Key Area” for certain photos so that they display exactly how you want.
- Choosing a theme that represents your content in a visually appealing way.
Once your roll is complete, you’ll have a super shareable piece of content that will be easy to consume for those already working with you or those interested in your services.
Lesson Five – It’s All About The Brand
You want your students and their parents to be happy. The more professional everything you share with them looks, the more comfortable they will feel with you and the work you’re doing. Personal touches will take your tutoring service to the next level. Here are some options for you if you grab a Premium account:
-
- Brand your roll
- Add your custom avatar and your company’s logo to the footer for a professional feel.
- Password protect your roll
- Add a layer of protection to your roll by assigning it a password that only you know.
- Change your roll URL to an easy link (personalized to you!)
- Rolls have customizable URLs that can be personalized to clients. For example, your roll URL could be: https://rolls.bublup.com/johnsmithmathclass.
- You can have three distinct and personalized domains. You may want to create a domain using your own name and one with your tutoring service’s name, depending on the content you’re sharing and with whom.
- Brand your roll
To learn more about Bublup rolls, including how to customize your roll theme and roll URL, password protect your roll, and add your logo, watch this Roll Tutorial Video.
We hope this guide helps make your job as a tutor more efficient! If you have any questions or feedback about Bublup, feel free to reach out to us at info@bublup.com.