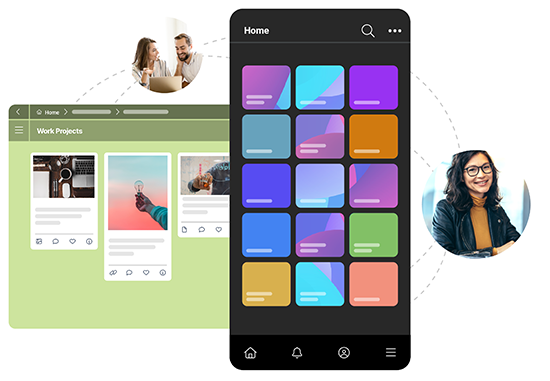
Use Bublup’s ambitious sharing and collaboration tools to transform the way you administer online courses.
Have you created an online masterclass and want to distribute it to students easily? Go beyond eBooks and PDFs with Bublup’s group folders! Make it easy for students to access everything they need to complete their goals with a pre-built online course that’s both well-organized and easy to share.
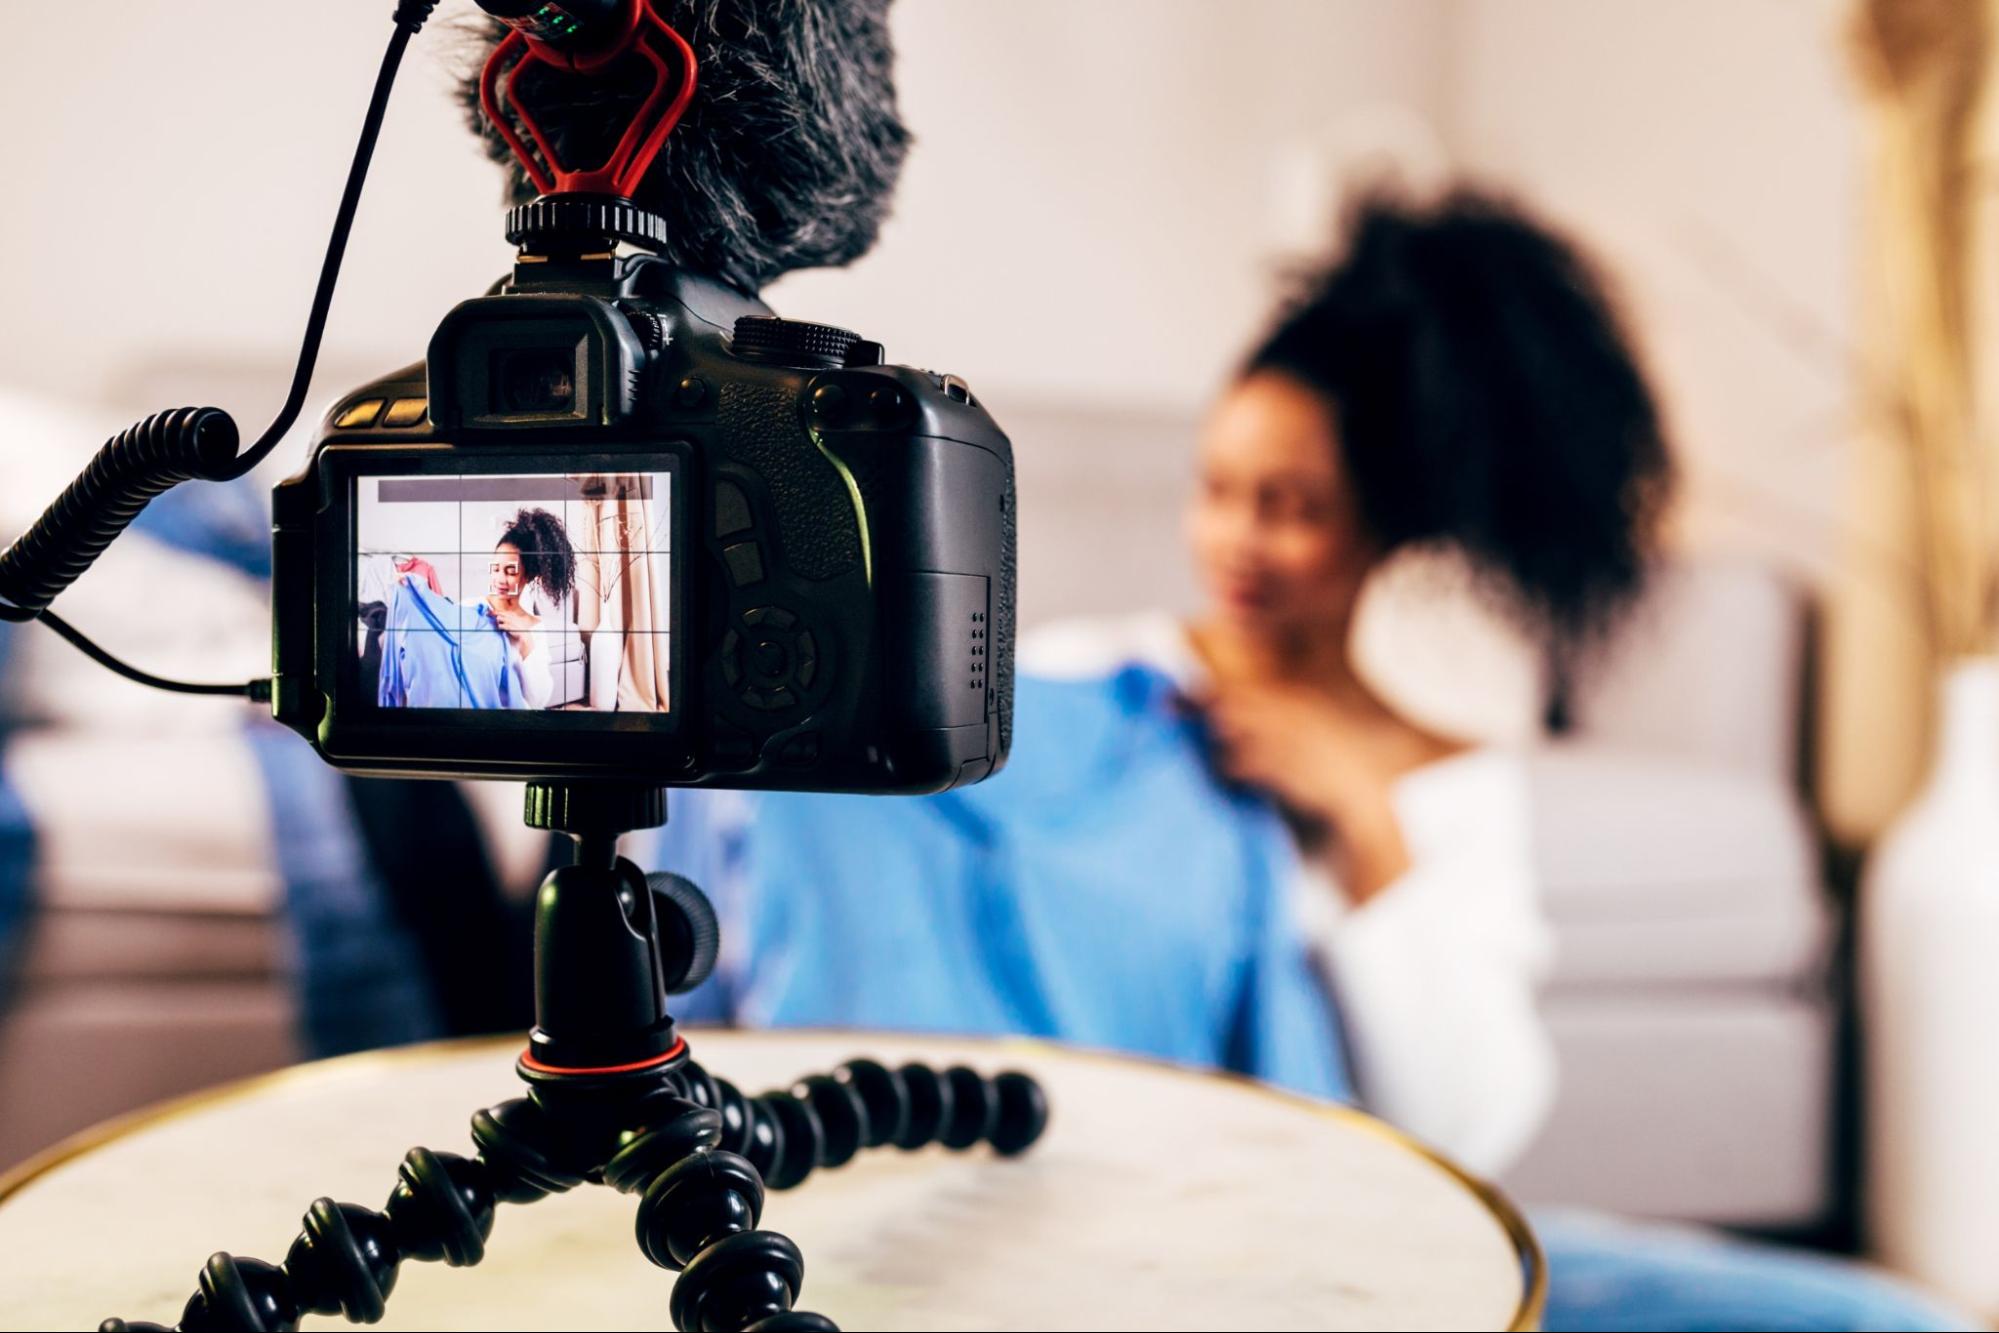
Below we’ve written out the first steps for getting your course on Bublup. When you feel like you’ve got the gist, check out Tina Lee’s (creator of the Instagram account @ofleatherandlace) interview with Bublup, where she explains how she builds her multi-week courses using Bublup.
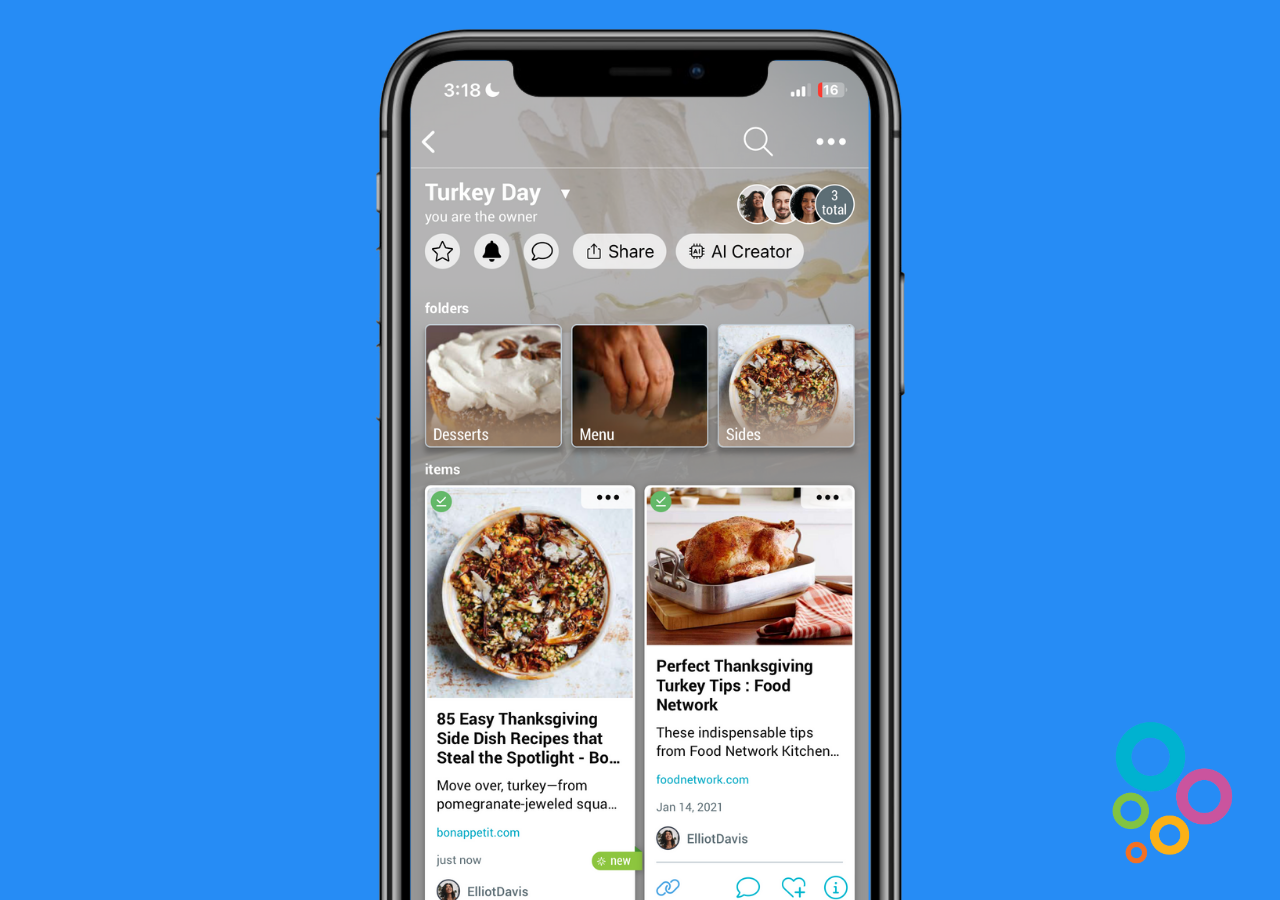
1. Setting Up Your Course – Create Top-Level Folders
You most likely will want to have folders like “lectures” or “lessons” for the content you’ve created that students will be primarily referencing for their study in the course.
A solid online course has many different working components and varied resources. You most likely will want to have folders like “lectures” or “lessons” for the content you’ve created that students will be primarily referencing for their study in the course. Additionally, you might want a homework folder for students to get the materials needed for their assignments and to submit their work (keep in mind that whatever students submit in this folder will be visible to all members of the course, so you may not want to have students submit their work via a group folder if it needs to be private).
Depending on what you’re teaching, students may need certain materials in order to practice or participate. You can use a “materials needed” folder to save links for students to purchase the things they need for your online course (books, software, etc.). And an “external resources” folder is great for linking to helpful materials outside of your course, like an unaffiliated website or PDF guides.
Finally, there’s a “notes” folder. What you can put in here varies depending on what you’re teaching, but for now, think of it as a “miscellaneous” folder for you to put notes that don’t fit into other areas of the curriculum or get feedback from students.
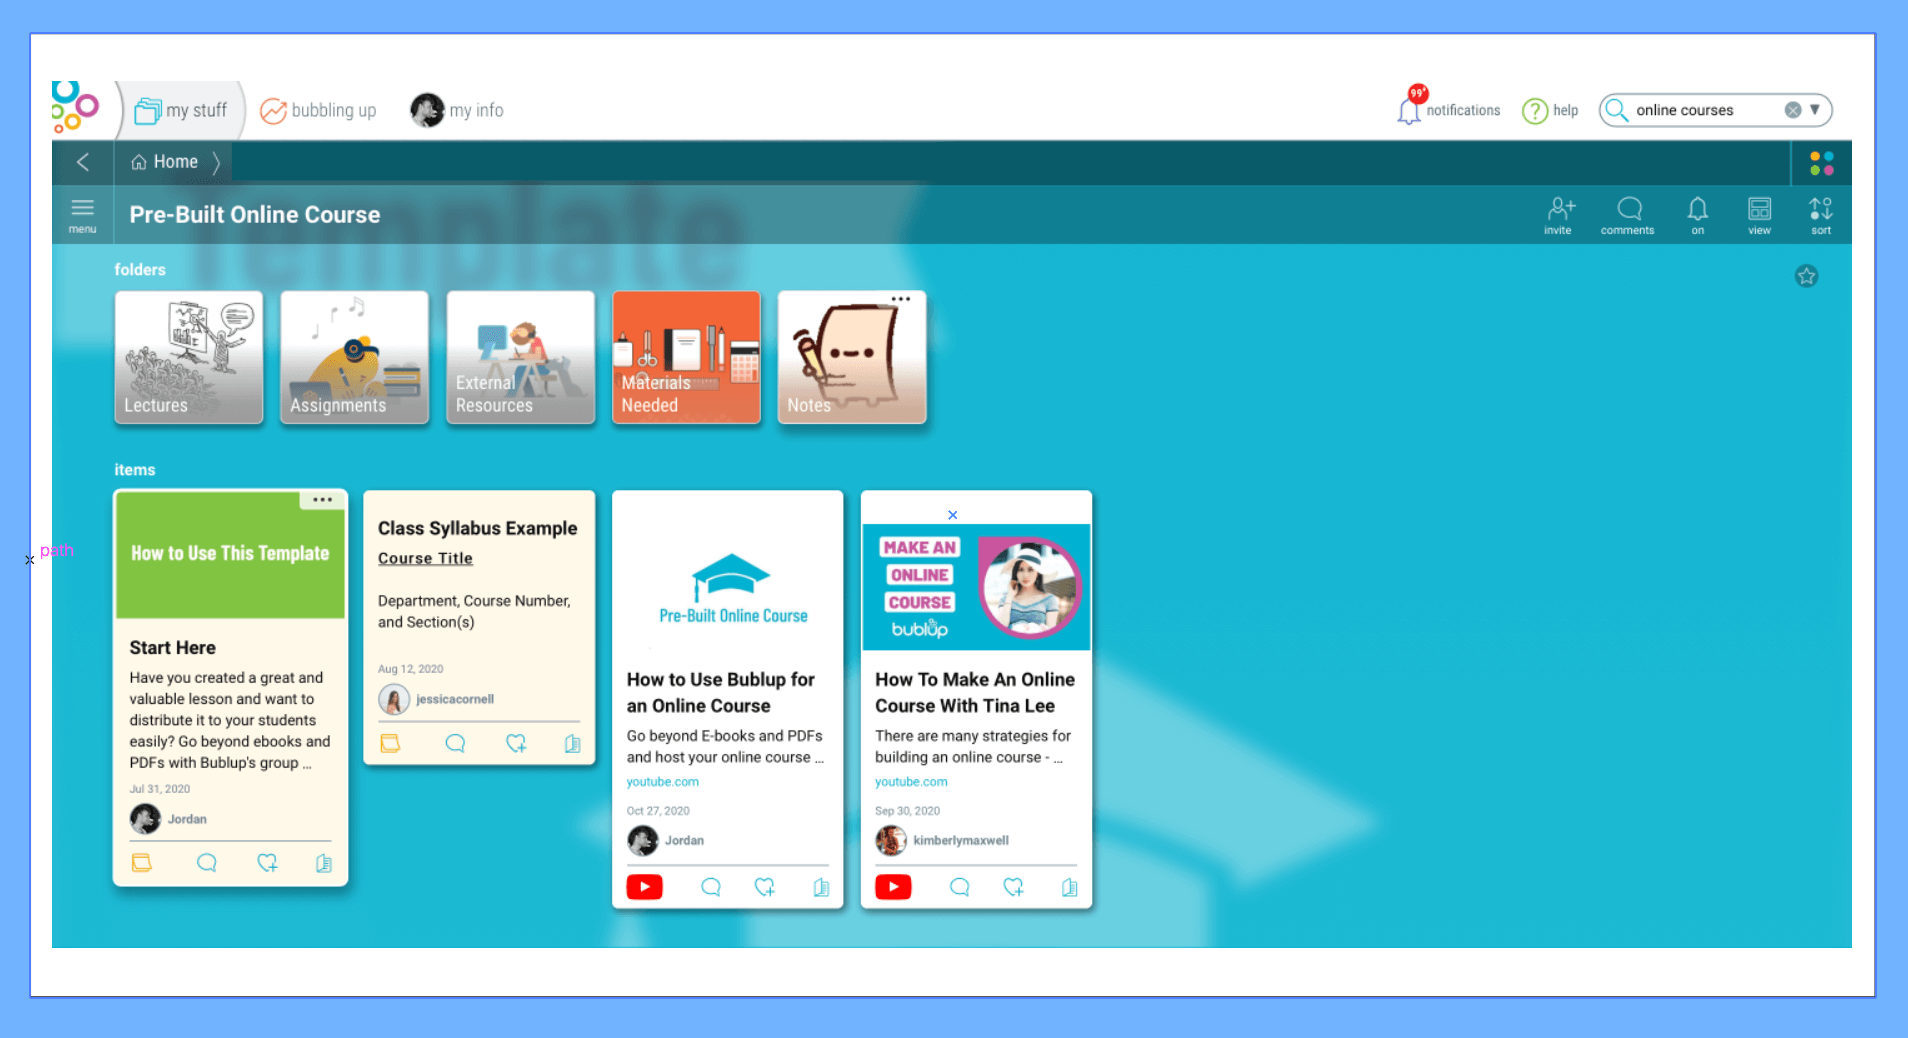
Create Top-Level Folders
- Lectures/Lessons
- Assignments
- External Resources
- Materials Needed
- Notes
Create Subfolders
The top-level folders we just created can contain as many subfolders as you want. How you’ll sub-organize your online course really depends on your teaching’s specifics, but we recommend grouping individual lessons together in separate folders. Generally, there’s a balance of accessibility and organization you’ll be aiming for – you don’t want items so sub-categorized that they take a long time to access.
2. Build Your Folder – Populate With Links and Documents
You can easily save web links, photos, videos, documents, and any other file types in your Bublup folders. Here are some examples of files you might save for an online course on how to code in Javascript:
- PDFs, documents, and media with code syntax and tips
- Snippets of code you might frequently use across projects
- Images of assets to use for the front-end of your project
- Links to articles on best practices and common mistakes when writing code
There are also multiple ways to add items from both desktop and your mobile device.
-
- The “+” Button
Anything can be saved by clicking the blue “+” button in the bottom right corner of your folder. Select the file type you wish to upload or paste a web link.
- The “+” Button
-
- Right-Click or Drag & Drop
Any links can be saved by simply right-clicking in an empty space within your folder and selecting “new link.” If you’re working in multiple browsers, you can simply drag and drop the URL from your address bar into a Bublup folder.
- Right-Click or Drag & Drop
-
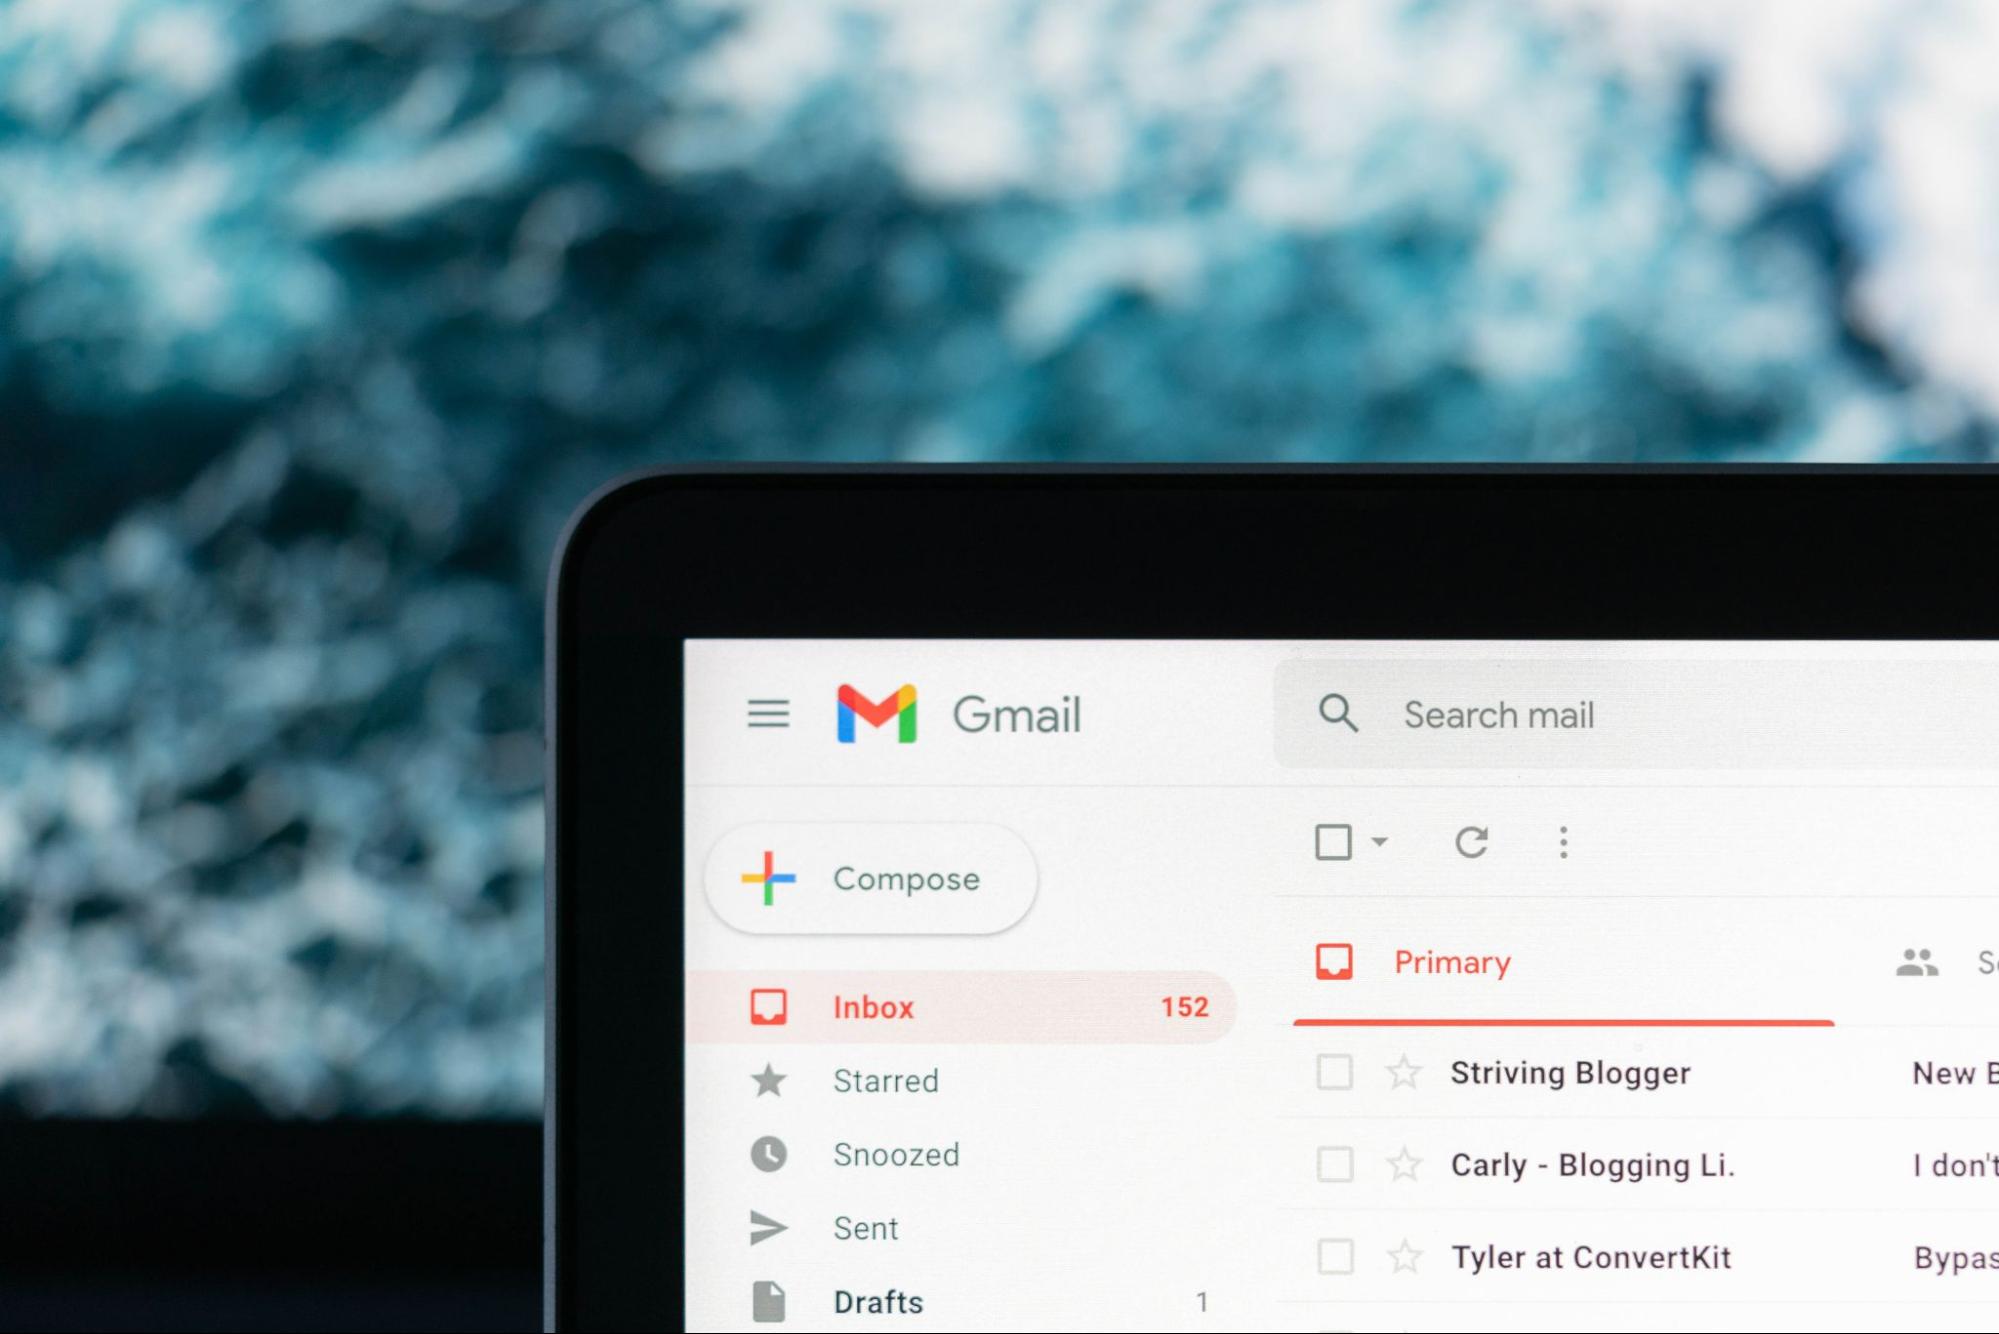
- Email to Bublup
Bublup’s email forwarding feature is another great way to quickly store any course or lesson materials that are in your email inbox directly into Bublup. When forwarding emails to Bublup, emails, and their attachments, save as PDFs in the “Email” folder located at the top of My Stuff. From there, you can move them into the right sub-folder for easy and organized access.
- Email to Bublup
To set up email forwarding, go to:
- My Info → Preferences
- “Save Emails to Bublup”
- Add the email(s) addresses that you wish to forward emails from.
Once complete, simply forward emails to your username @mybublup.com.
Many online educators provide video lectures to students, and if you’re transitioning from another platform to Bublup, you probably already have your videos hosted on YouTube. Bublup streams YouTube videos inside of the app, so all you need to do is add the YouTube link with your lesson into Bublup, and students will be able to easily access it without ever having to leave the app.
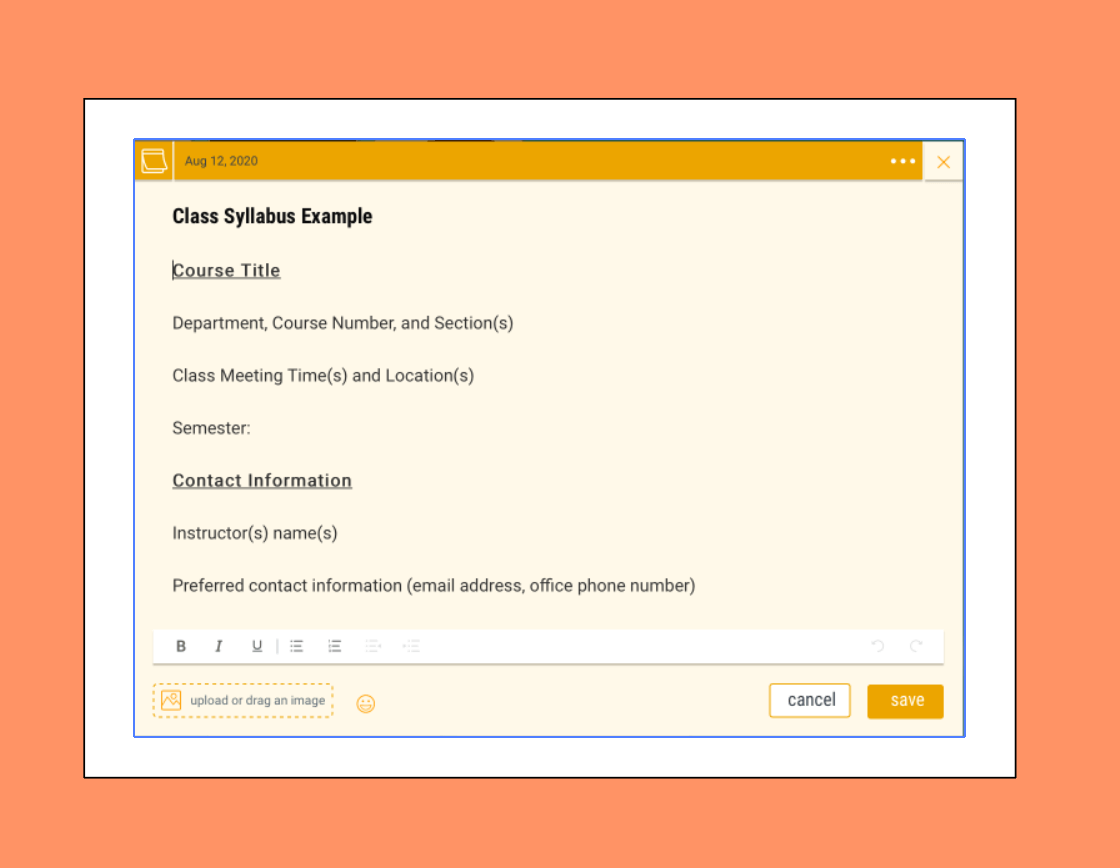
3. Writing Your Syllabus and Introductory Note
You’ll want to include two notes for students that are coming into your folder for the first time: an introduction and a syllabus.
The introduction should give the student an overview of how to use this online course and make meaningful progress. This may be where you recommend a workflow for students or discuss how they can reach out to you for help getting through the materials. Notes can contain a picture, too, so feel free to include a headshot of yourself so that students are greeted with a friendly face as soon as they enter your folder.
The syllabus will break down the time it takes to get through your course into manageable blocks. We’ve included a full syllabus template and guide inside one of the notes that come with the “Pre-Built Online Course” template, so feel free to use it as a starting point if necessary.
4. Sending Your Online Course to Students

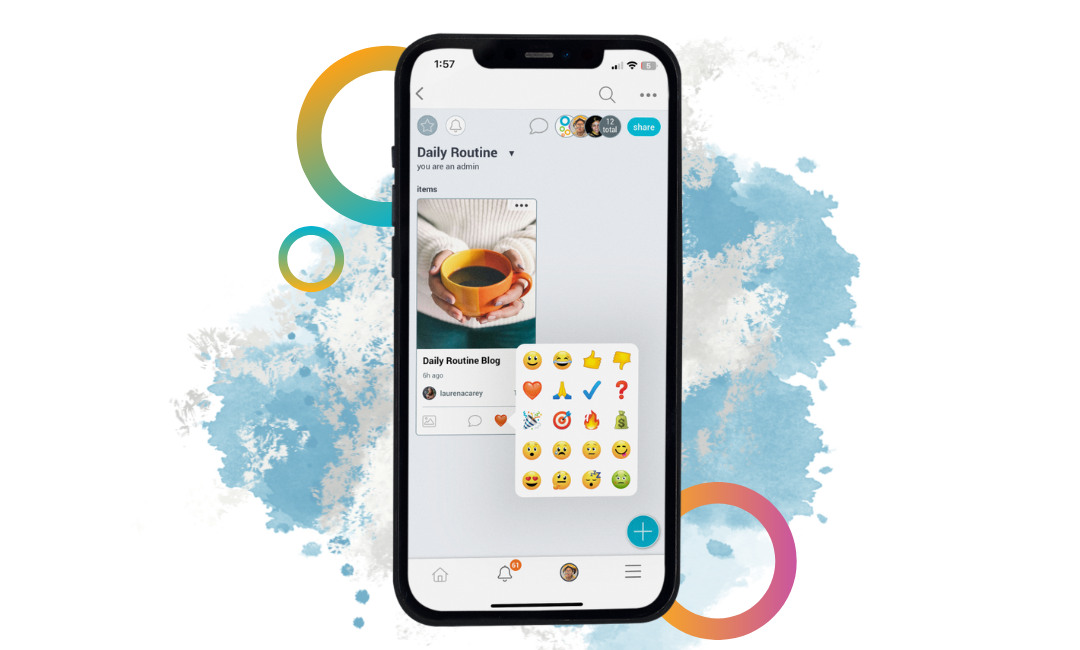
Bublup has many different ways to share things with others. These include email, shareable links, and even creating an instant webpage called a roll. For our purposes, the “group folder” is going to be the best fit so that students can easily comment on your materials and even add their own items if you’d like them to. Alternatively, when you invite users to a group folder, you have the option to restrict their access to view only.
You have two options here. You can either:
-
- Have one online group course folder and progressively invite students to give them access. This is a good option if you want to create a collaborative social environment among students since they’ll be able to comment and react to items in the folder amongst themselves.
- Have a single “master” online course folder that you duplicate for each student you have. This is a good option if you want to create a 1-on-1 setting between you and the student. It’s also a great option if you need to make small variations to the course according to a student’s needs. Since the only members of this folder will be you and the student, you don’t need to police comments or any added items, either.
An added benefit of using Bublup’s group folders to distribute your online course is that you get 5GB free, permanently, for every new Bublup user that joins your group folder (up to 100GB for free for life). It’s just a little thank you from us for helping spread the word about Bublup!
We hope this guide helps you use Bublup to make your online course even more engaging and organized. If you have any questions or feedback about Bublup, feel free to reach out to us at info@bublup.com.