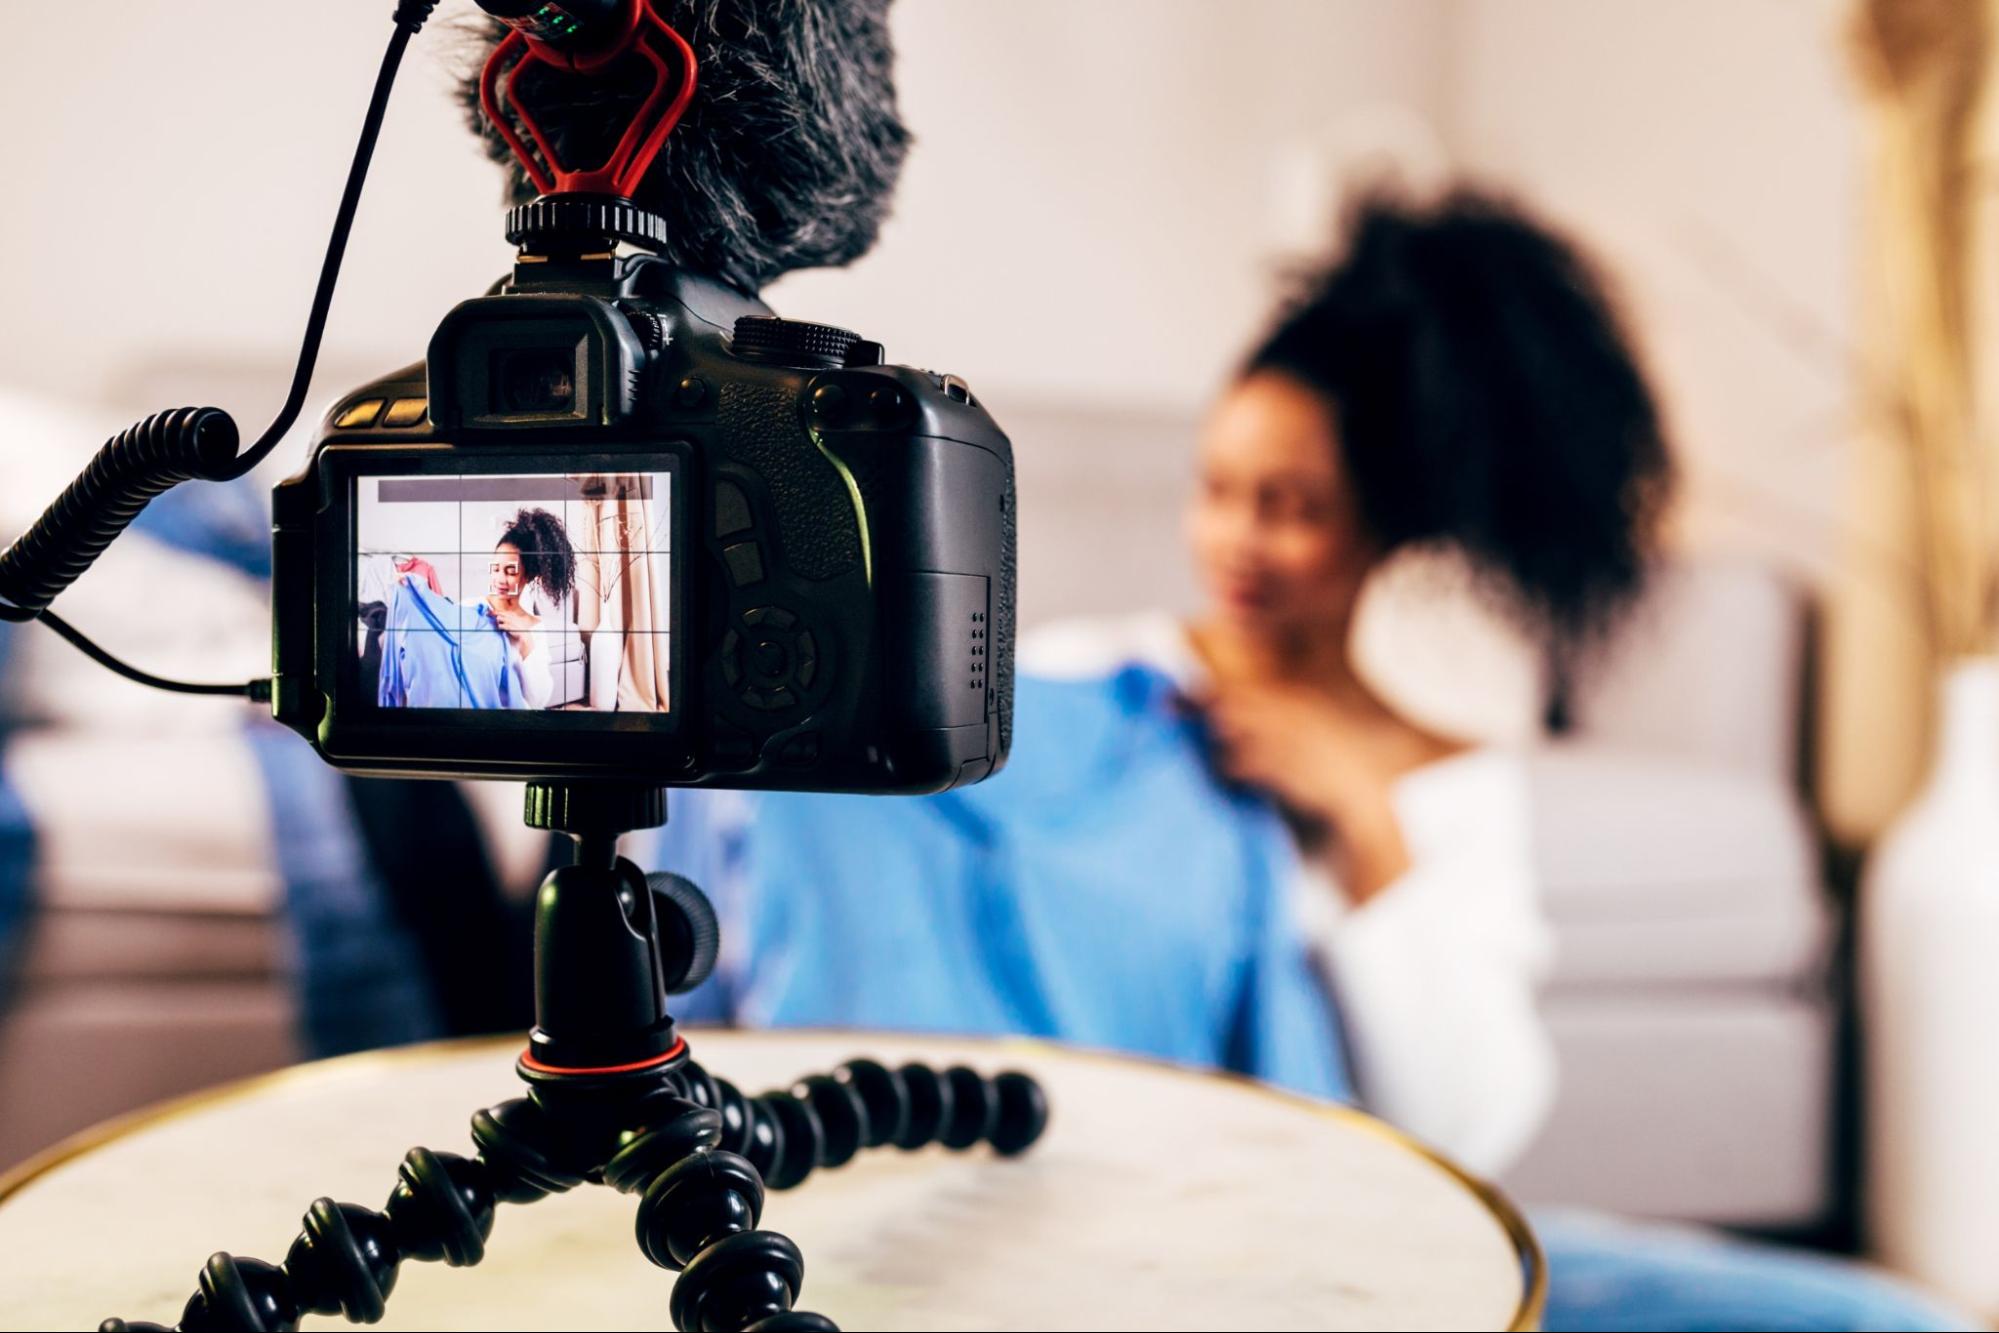
As a full-time content creator, I frequently send videos and high-resolution photos to clients at the end of a project or collaboration. This often means I’m dealing with large files, and a lot of them!
While there are many ways to send your finished work to a client, I have found a Bublup Roll to be the easiest and most impressive. It’s fast, free, easy, and, best of all, aesthetically pleasing. In this post, I’m going to show you exactly how I create Rolls that not only make my life easier but impress the heck out of the recipient in the process.
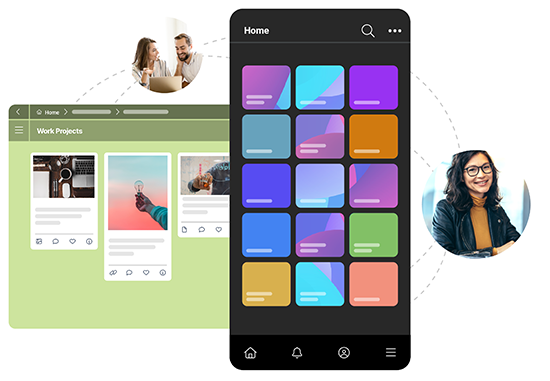
If you’re unfamiliar with Bublup Rolls, you can think of them as web pages that are super simple to create. You can transform any content saved in a Bublup folder into a Roll. No matter the media type, the things you save will be displayed beautifully under a single URL and fully customizable with various themes, colors, and layouts to choose from.
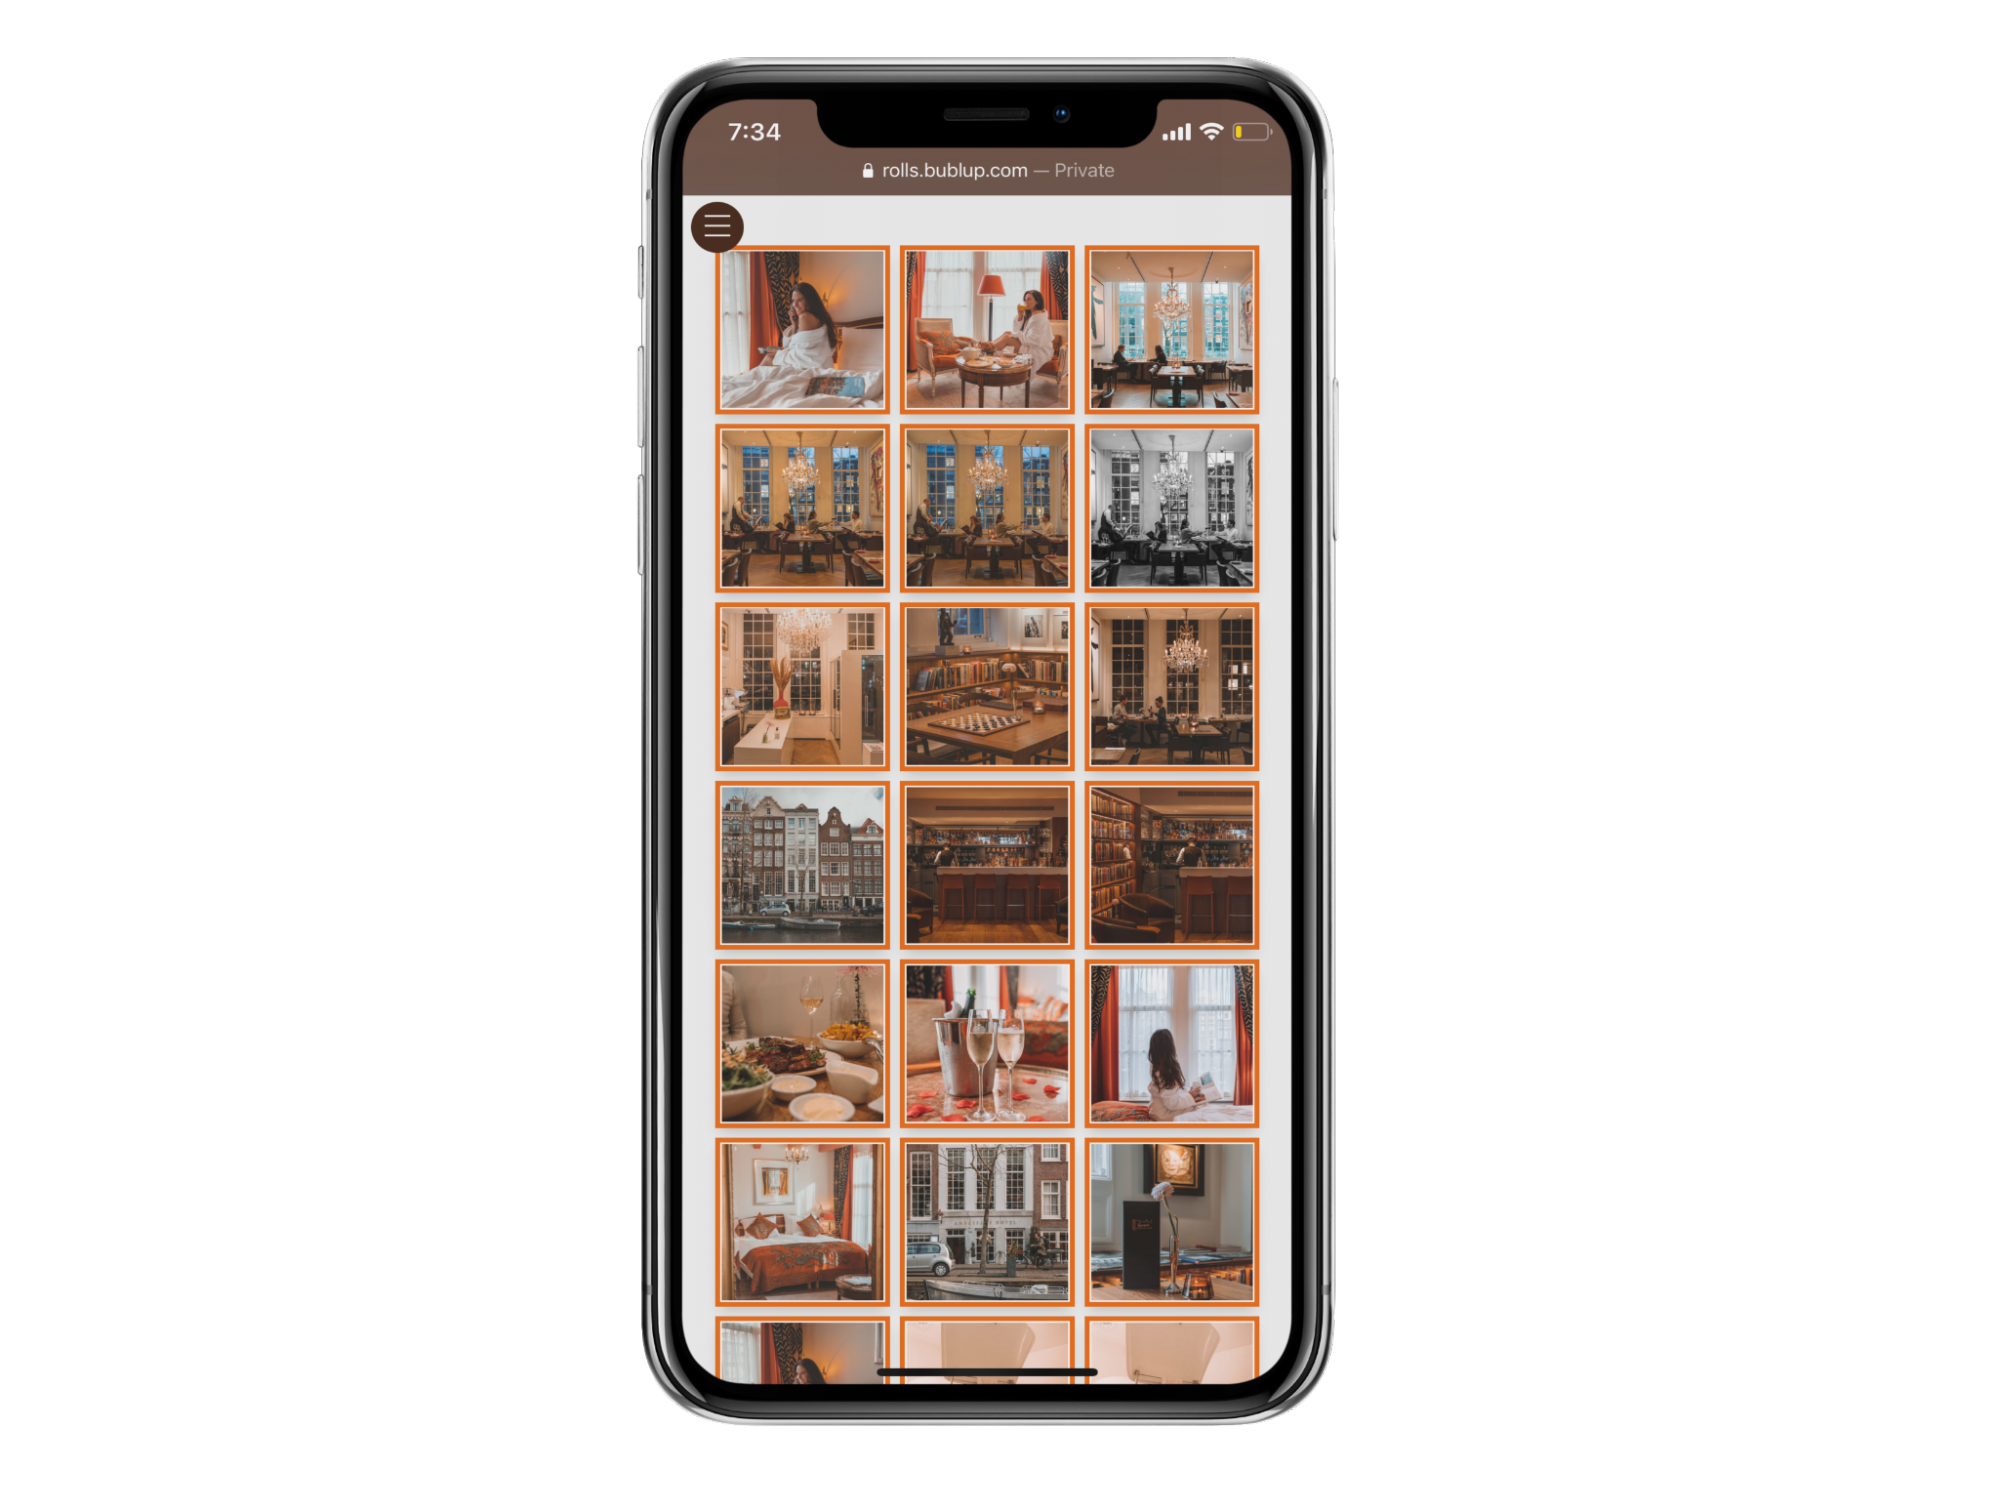
Let’s dive in using a recent collaboration of mine. I live in Amsterdam, and I created some content for a gorgeous canalside hotel in the city. My project included both photography and videography. I had 20+ edited photos and several videos to deliver by the end.
In total, I had to send well over 25 GB worth of content! Email certainly wouldn’t cut it, file sharing services often invalidate the link after a week or so, and other options…well, they lack any visual appeal. Bublup Rolls, in my opinion, make the file-sharing experience seamless for both parties. Here are the four simple steps I take:
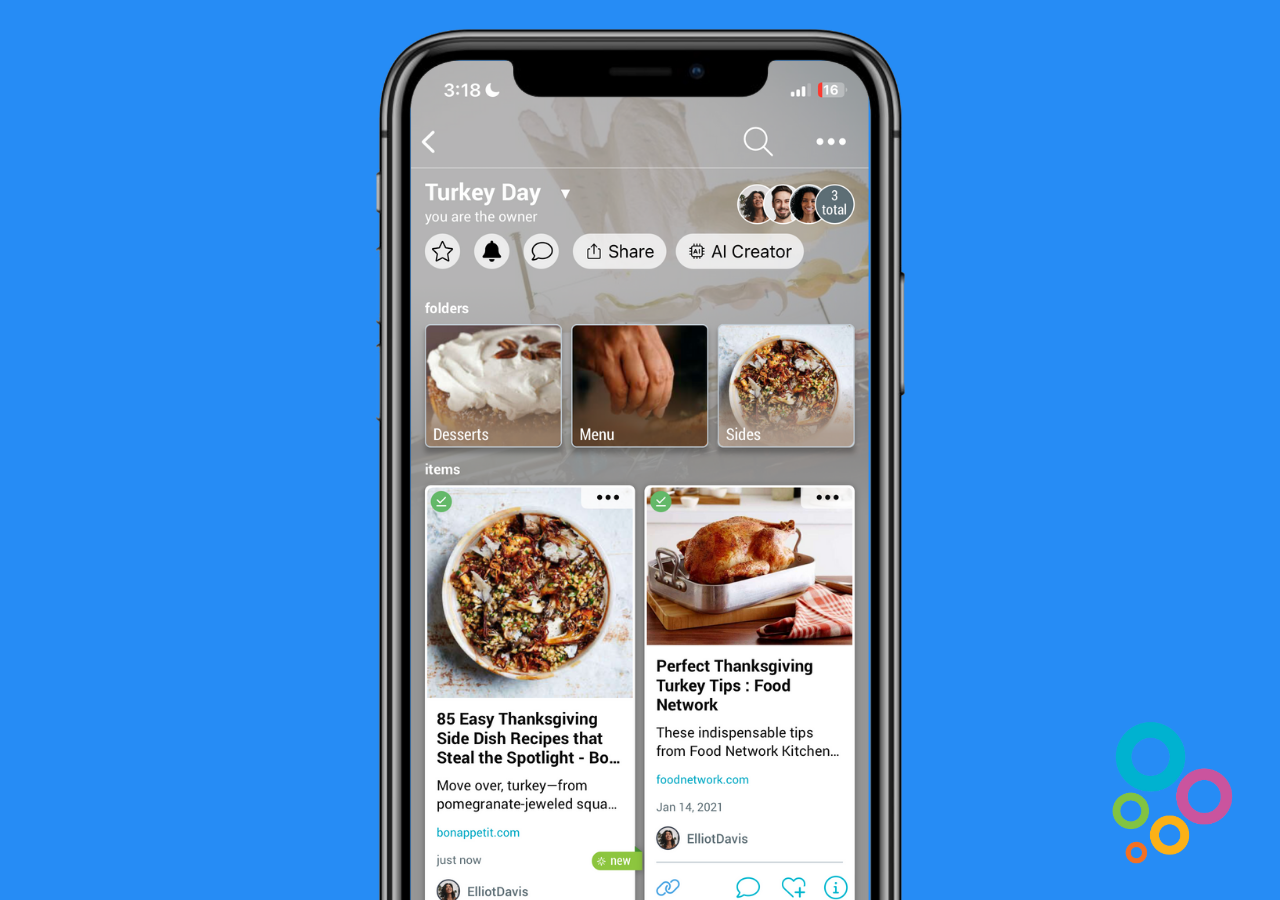
1. Create a Folder
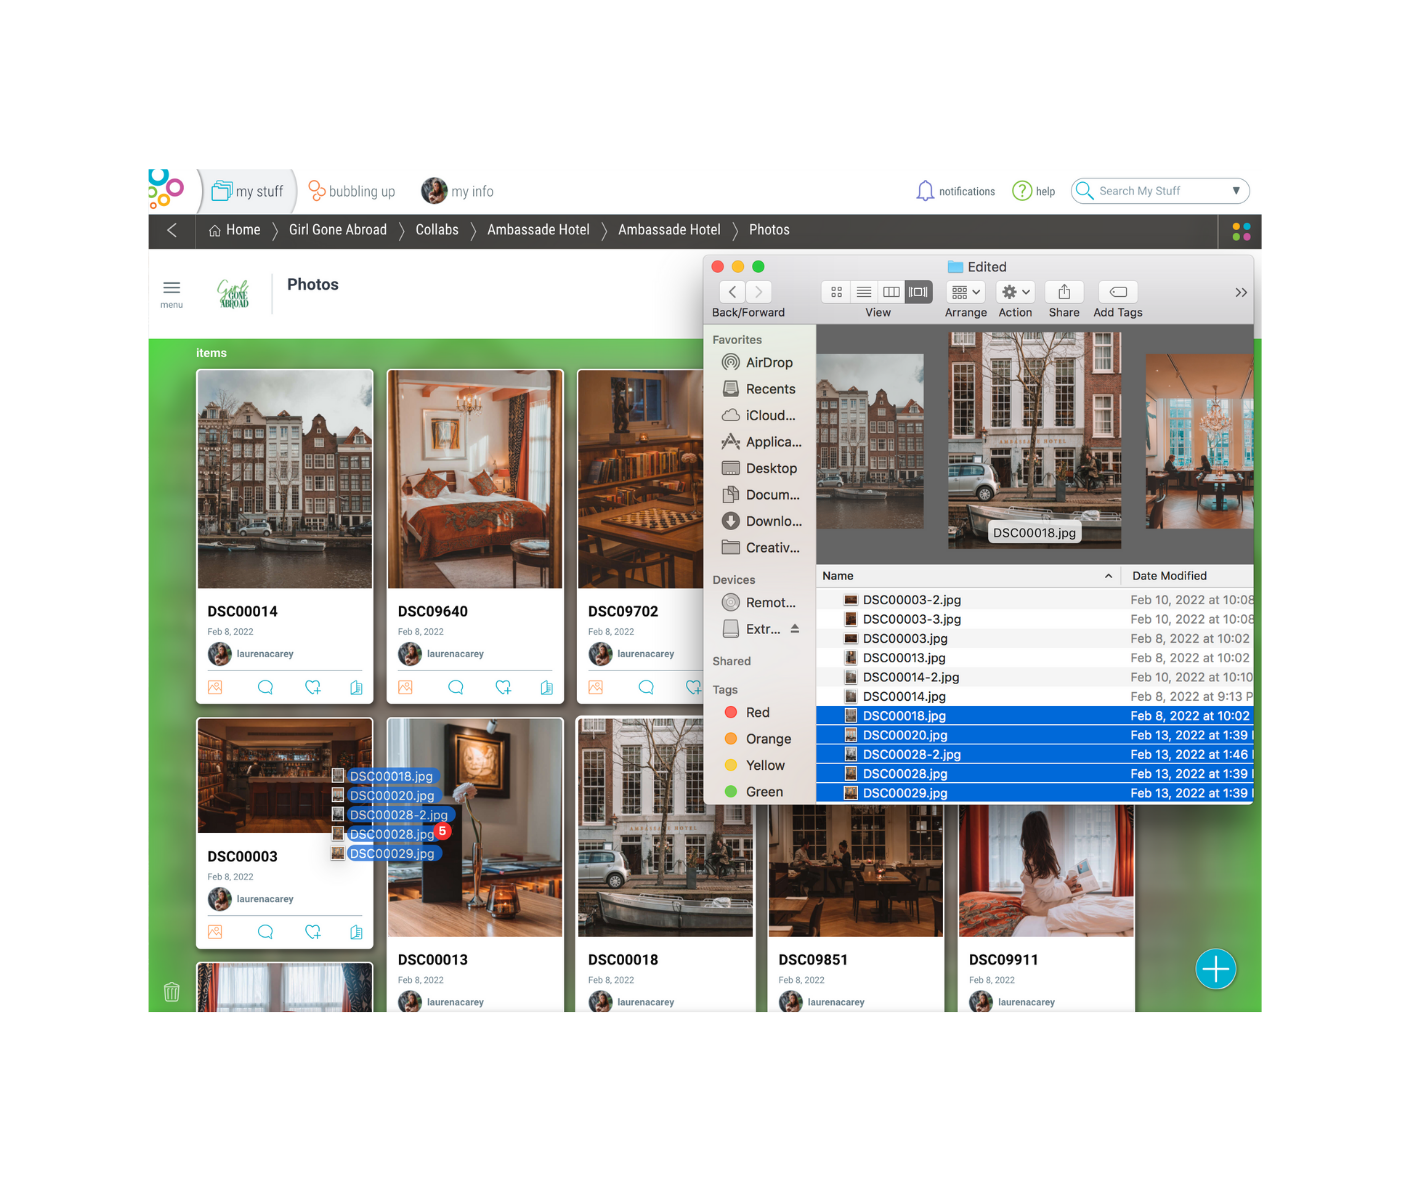
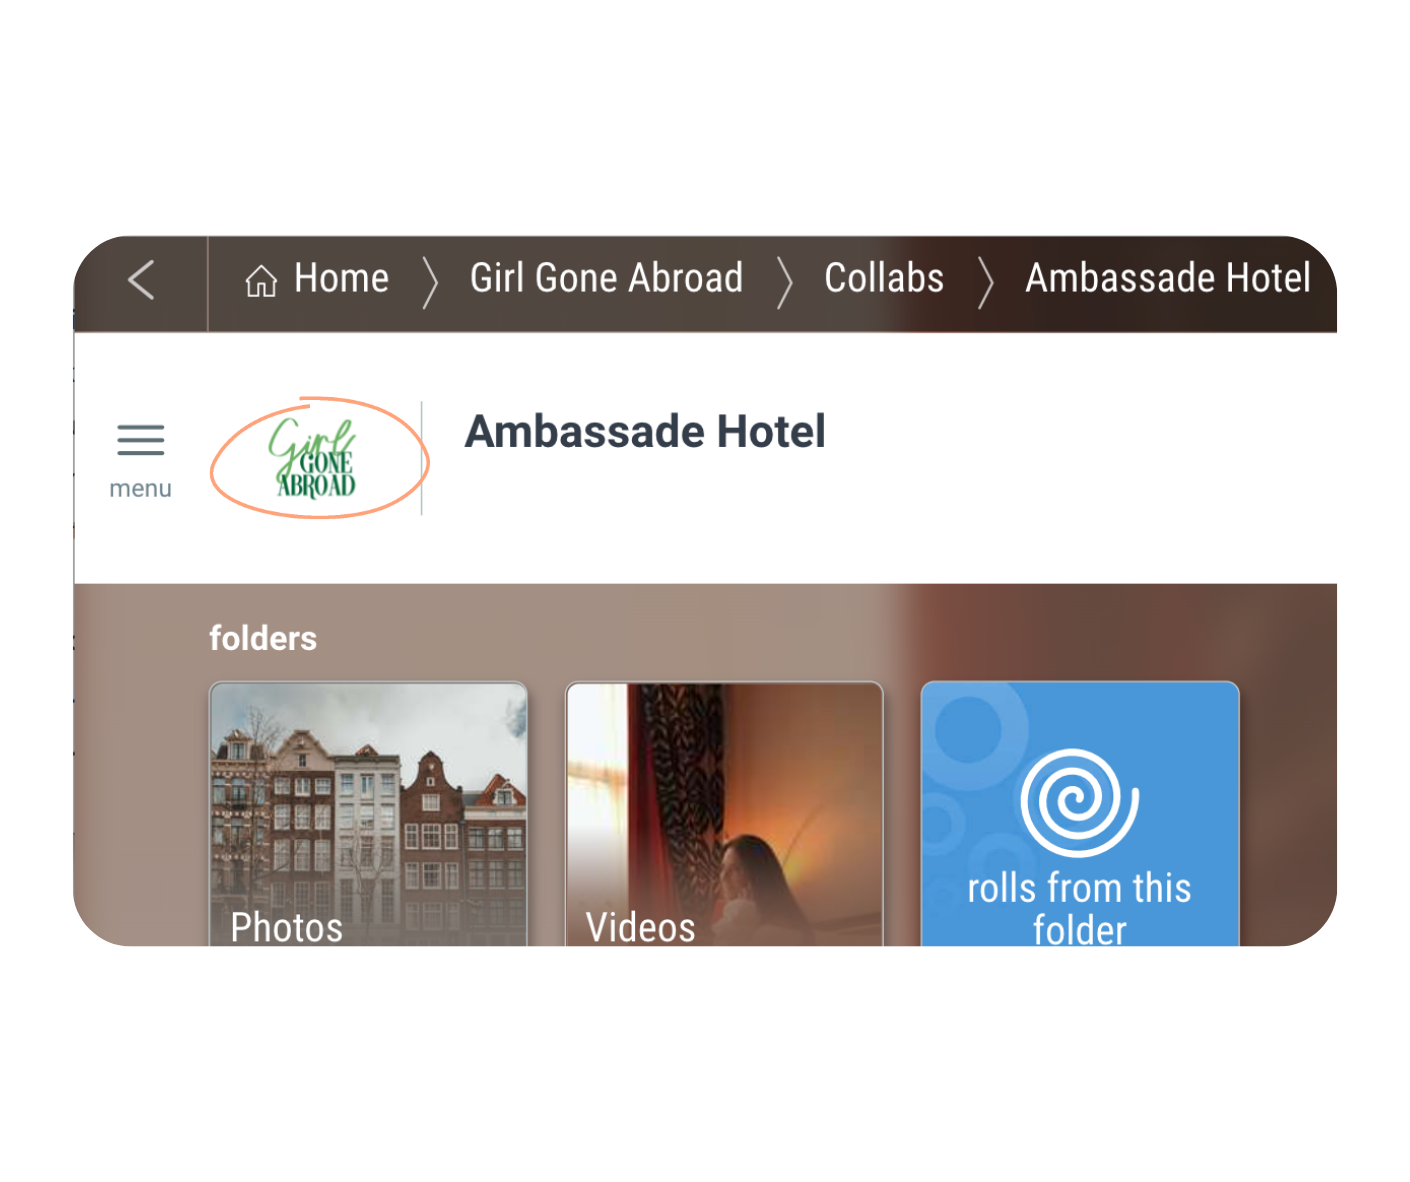
First, I head over to the blue + button and click “folder” in the Pizza Wheel to create a folder. I find that it’s best to name the folder after the client, so in this example, The Ambassade Hotel.

2. Add Content
There are a few ways to add content into a Bublup folder, but I prefer the ol’ drag and drop method! This way, I can select my photos or videos in bulk and drag them right into a folder. You can also use the + button to add images, videos, or other file types if you want.
3. Organize Content
How you organize your content is up to you. I kept it simple for this collaboration and only made two subfolders: “Photos” and “Videos”. Subfolders create sections in a Roll, which is a good way to separate or categorize your content. For example, when working with a hotel, I could get really specific and organized and create sections for interior shots, exterior shots, lifestyle images, etc.
4. Make a Roll!
Once you’ve added all of your content into your folder(s) and organized everything appropriately, it’s time to hit that “Roll an Instant Web Page” button in the menu. Alternatively, find the “Roll” option in the Pizza Wheel. You’ll be prompted to “open Roll” – click this, and a Roll customization box will appear. This is the time to customize your Roll, or if you’d prefer, come back to it later on.
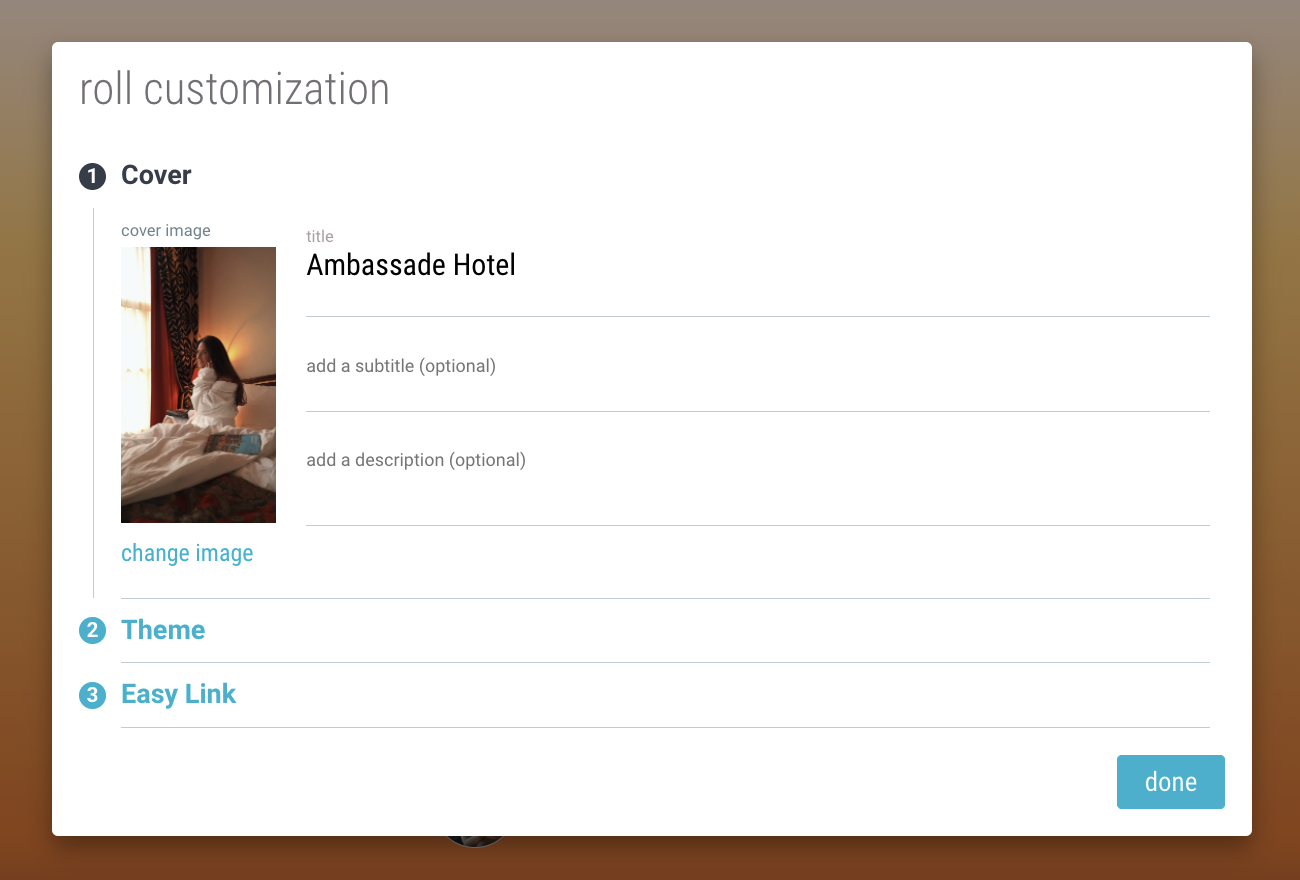
You’ll see that the customization options include giving your Roll a title, subtitle, or description, choosing a theme, and creating an easy link. But what are themes and easy links?
Themes
Bublup Rolls have 17 different themes to choose from, and some even come with multiple color palettes. My personal favorite for sending client deliverables is Seabreeze, and I particularly like the “Dawn” palette. It’s quite colorful, so if you want something more neutral and professional, try themes like Globe, Headline, or Showcase.
Easy Links
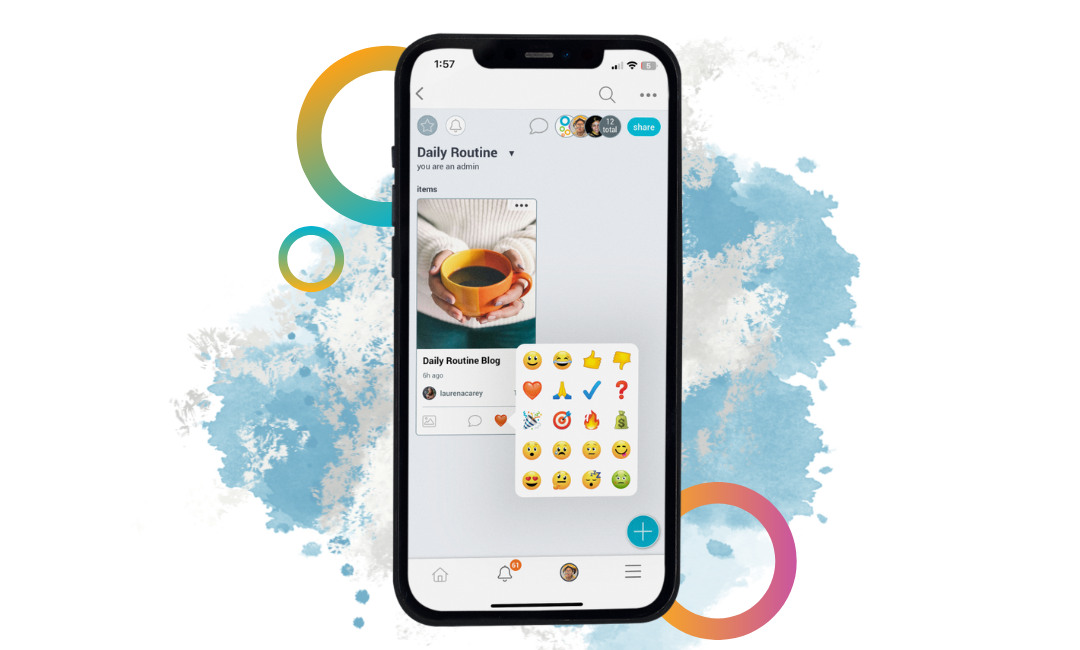
An easy link is a unique URL that you can assign to a Roll. For example, an easy link I might use for a hotel client would be https://rolls.bublup.com/girlgoneabroad/hotel-name. Easy links are a great way to personalize your Roll, and it also serves as a permanent link where the recipient can always go to download or view the assets. You’ll need to set up a Roll domain to create an easy link. You can find the instructions to do so here.
Now that you know how to make a Roll, here are a few final tips!
- – Ensure the recipient knows how to download content from a Roll. I typically explain how it works for both mobile and desktop devices. For example: “The images can be downloaded directly from the Roll (in their original high resolution) by clicking on a photo and selecting the arrow on mobile or “download” on desktop. Any questions, let me know!”
- – Make sure downloading is enabled so that the recipient can get the deliverables. You can find this in the Roll settings under “disable downloads”. The ability to download is on by default.
- Consider creating a custom brand (note this is a Premium feature). Instead of a Bublup logo, your own logo will appear at the bottom of the Roll. Custom branding adds another degree of professionalism to your Roll. For detailed instructions on how to do so, click here.
- When you send your incredible-looking Roll, take the opportunity to ask for a testimonial! Assuming the recipient is super impressed with deliverables (and why wouldn’t they be!), the feedback will be enthusiastic and positive. A solid collection of great testimonials is beneficial for getting more business later.
In Summary
Bublup rolls are your new secret weapon for sending client deliverables aesthetically and simply. In four easy steps, you can create an instant website that not only showcases your large files, but also allows the client to view or download them in just a few clicks. When sending files this easily is possible, it frees up your time to do what you really love- create!