Creating mood boards for photography clients helps the client and the photographer get on the same page about the creative direction and outcome of a photo shoot.
Mood boards are a great way to organize your ideas and find inspiration. If you’re a freelance photographer, mood boards are a crucial way to visually share creative concepts with clients.
Creating mood boards for photography clients helps the client and the photographer get on the same page about the creative direction and outcome of a photo shoot.
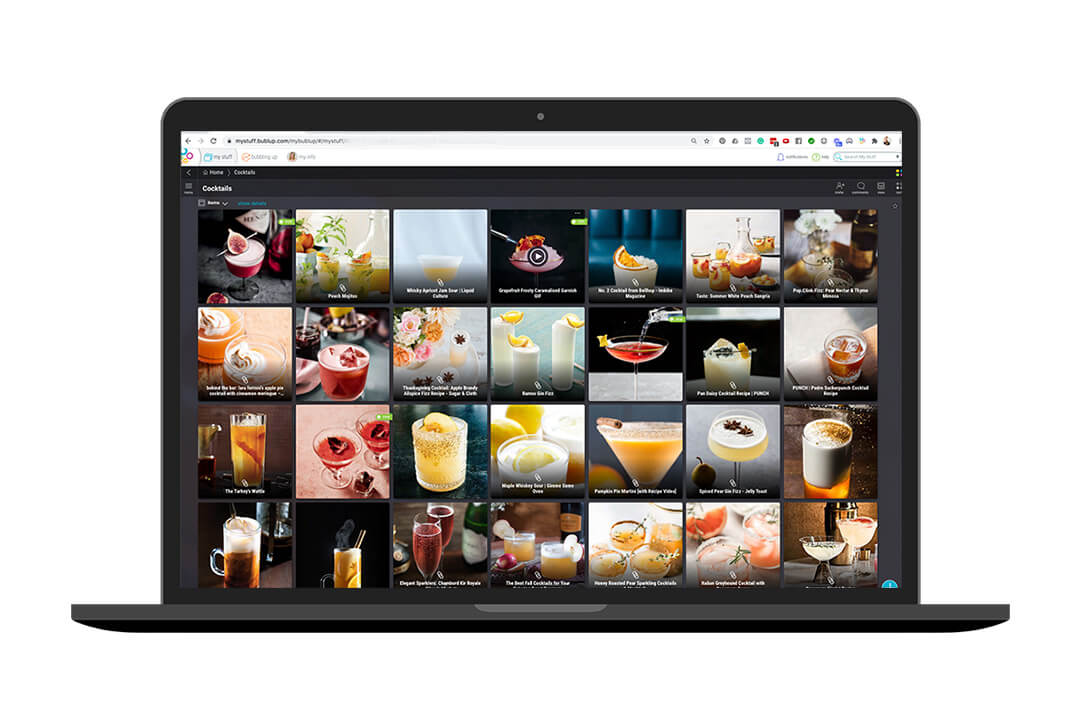
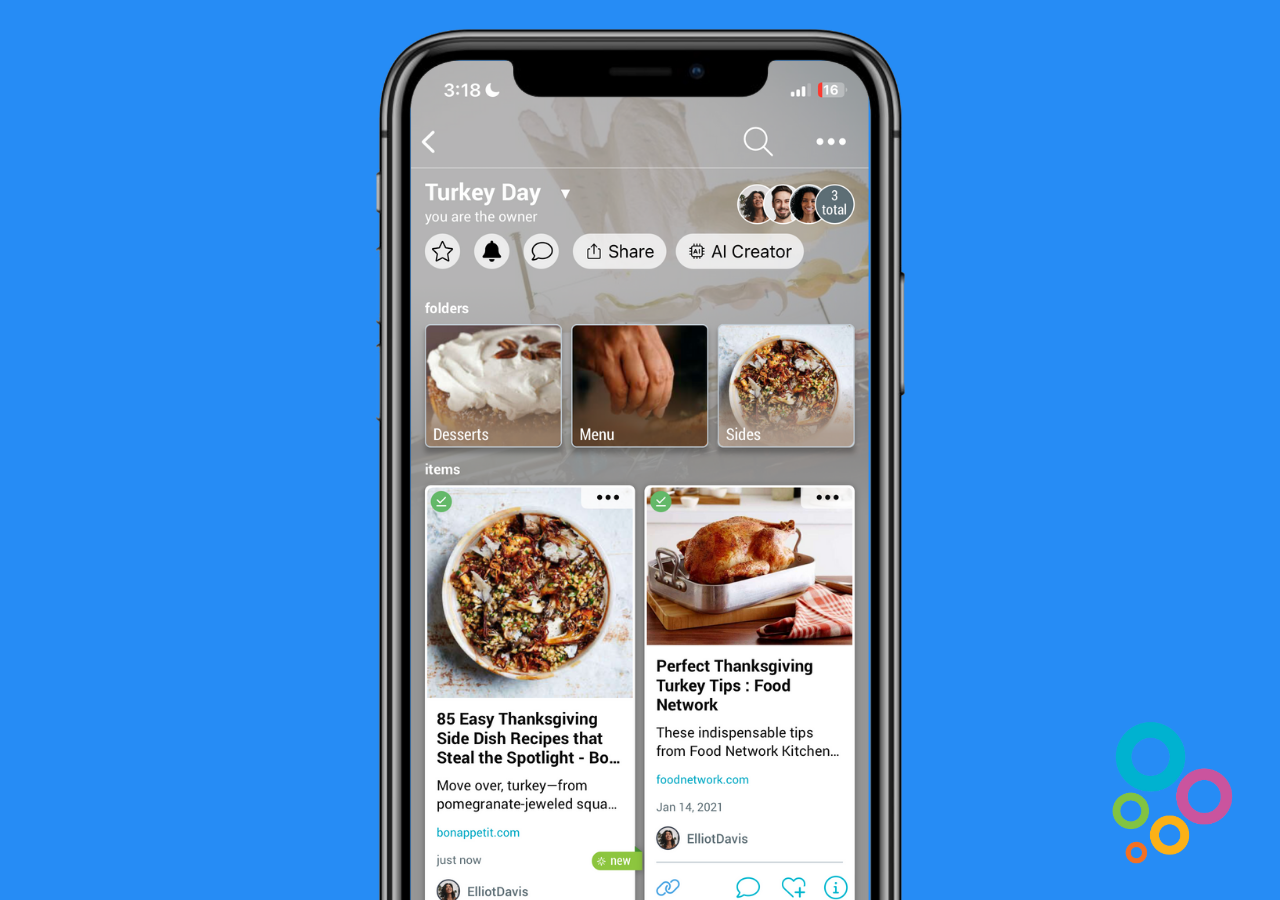
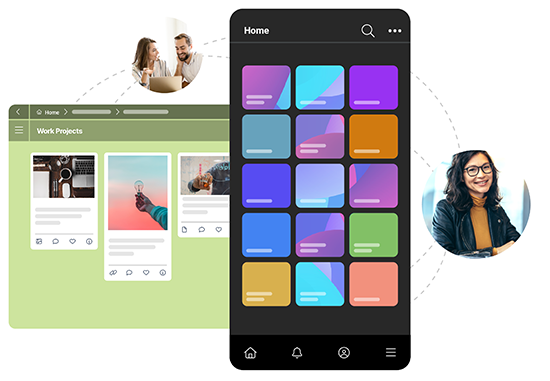
In this blog post, I am going to show you how I save ideas for a client using Bublup. Bublup is a tool to visually organize anything by making folders and saving things. I’ll cover the steps to create a professional mood board, which include:
- Creating a new folder or mood board for each new client
- Saving visual ideas like photos, GIFs, but also blog posts, recipes, PDFs and videos
- Making notes on each photo or file added to your mood board to give clients ideas
- Digitally sharing your mood board with clients for feedback and collaboration
- Keeping your clients shoot ideas confidential
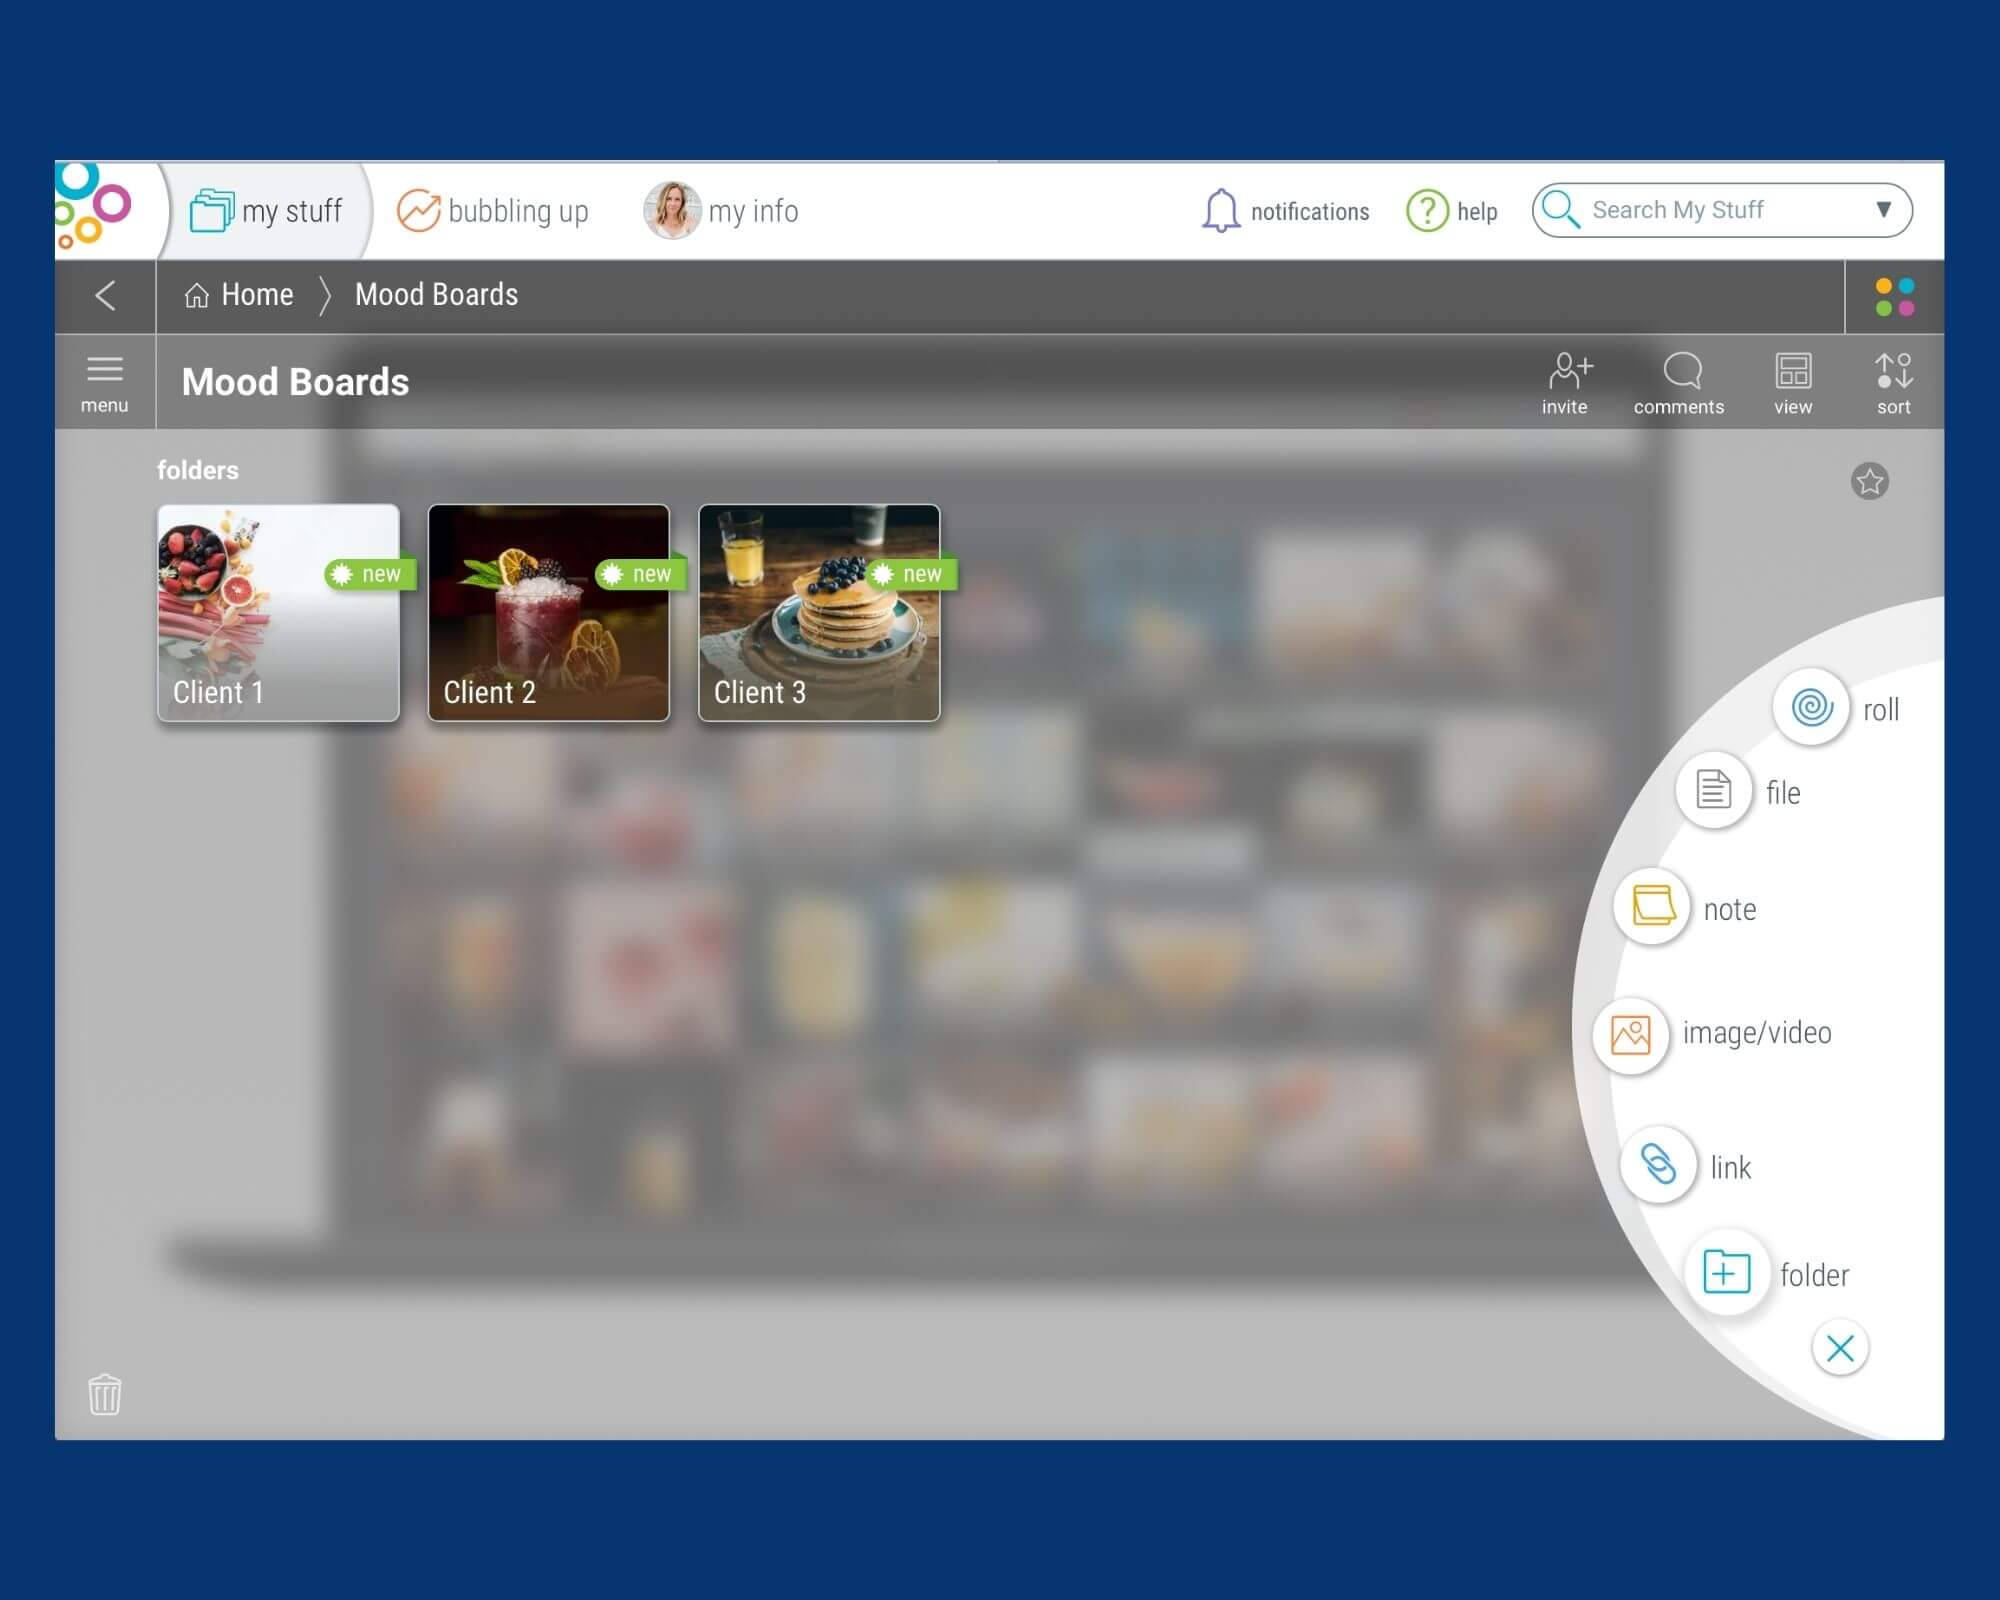
Step 1 – Create a new folder or mood board for each new client
Using separate mood boards for each project, even if it’s the same client, is helpful as it ensures only the relevant ideas for each photoshoot are focused on.
Make sure to title your mood board with the client name and the name of the project. Even the month or year will help to keep you organize
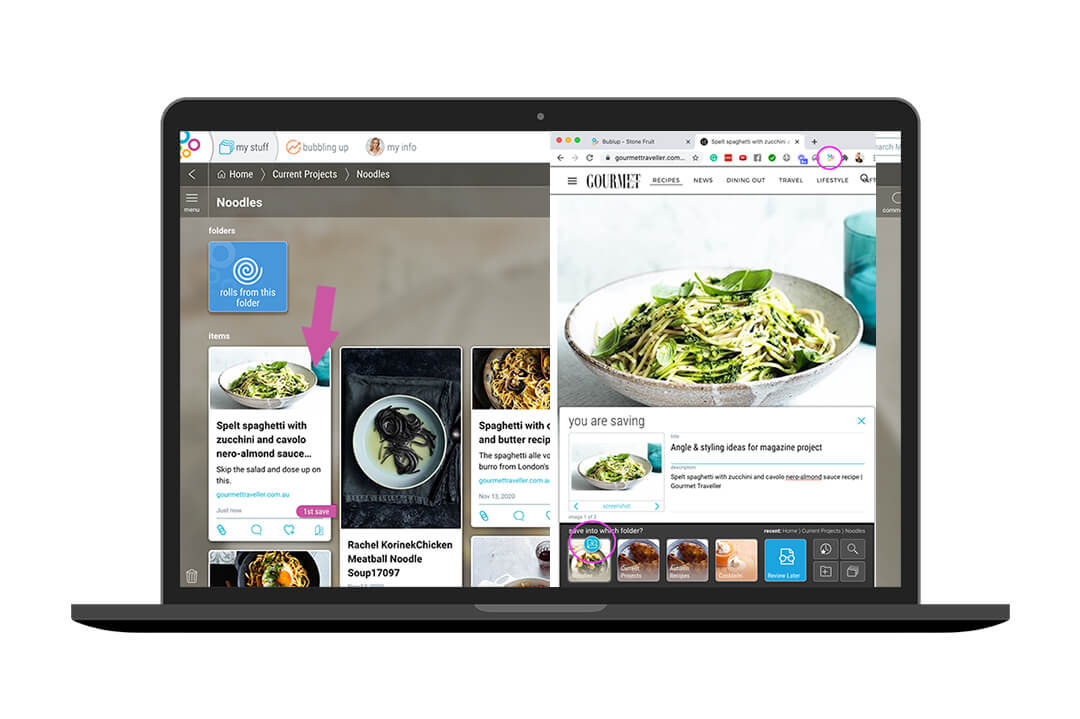
Step 2 – Saving relevant visual ideas
Bublup has a Google Chrome extension that allows me to even save ideas as I go. You can also utilize their ‘suggested content’ to help you save more relevant content.
It’s a photographer’s job to present the most relevant and concise ideas that bring a client’s vision to life. You want to save only the most relevant ideas to your mood board. Clients don’t want to be overwhelmed with too many ideas, and they will start to lose track.
One of the reasons that I like Bublup is that I can save anything from around the web or on my computer to a mood board folder. The way I work with a mood board is to save ideas as I go. Then cull and condense to only the images that are the most relevant to the concept.
Bublup has a Google Chrome extension that allows me to even save ideas as I go. You can also utilize their ‘suggested content’ to help you save more relevant content. I’ve seen some great ideas served up that I’ve gone on to create shoots from
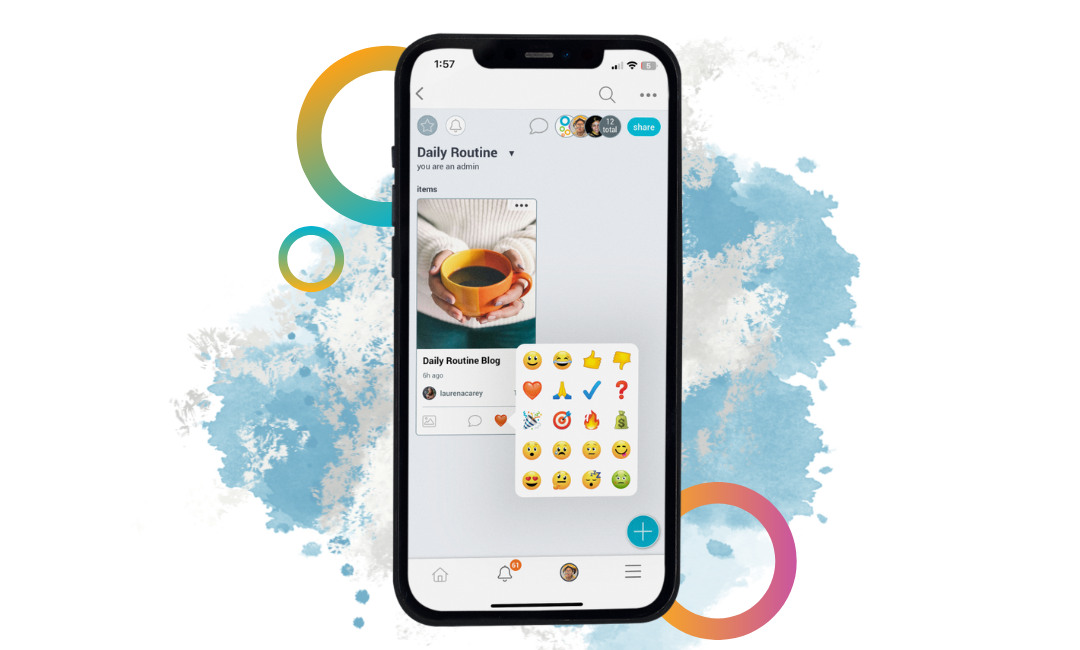
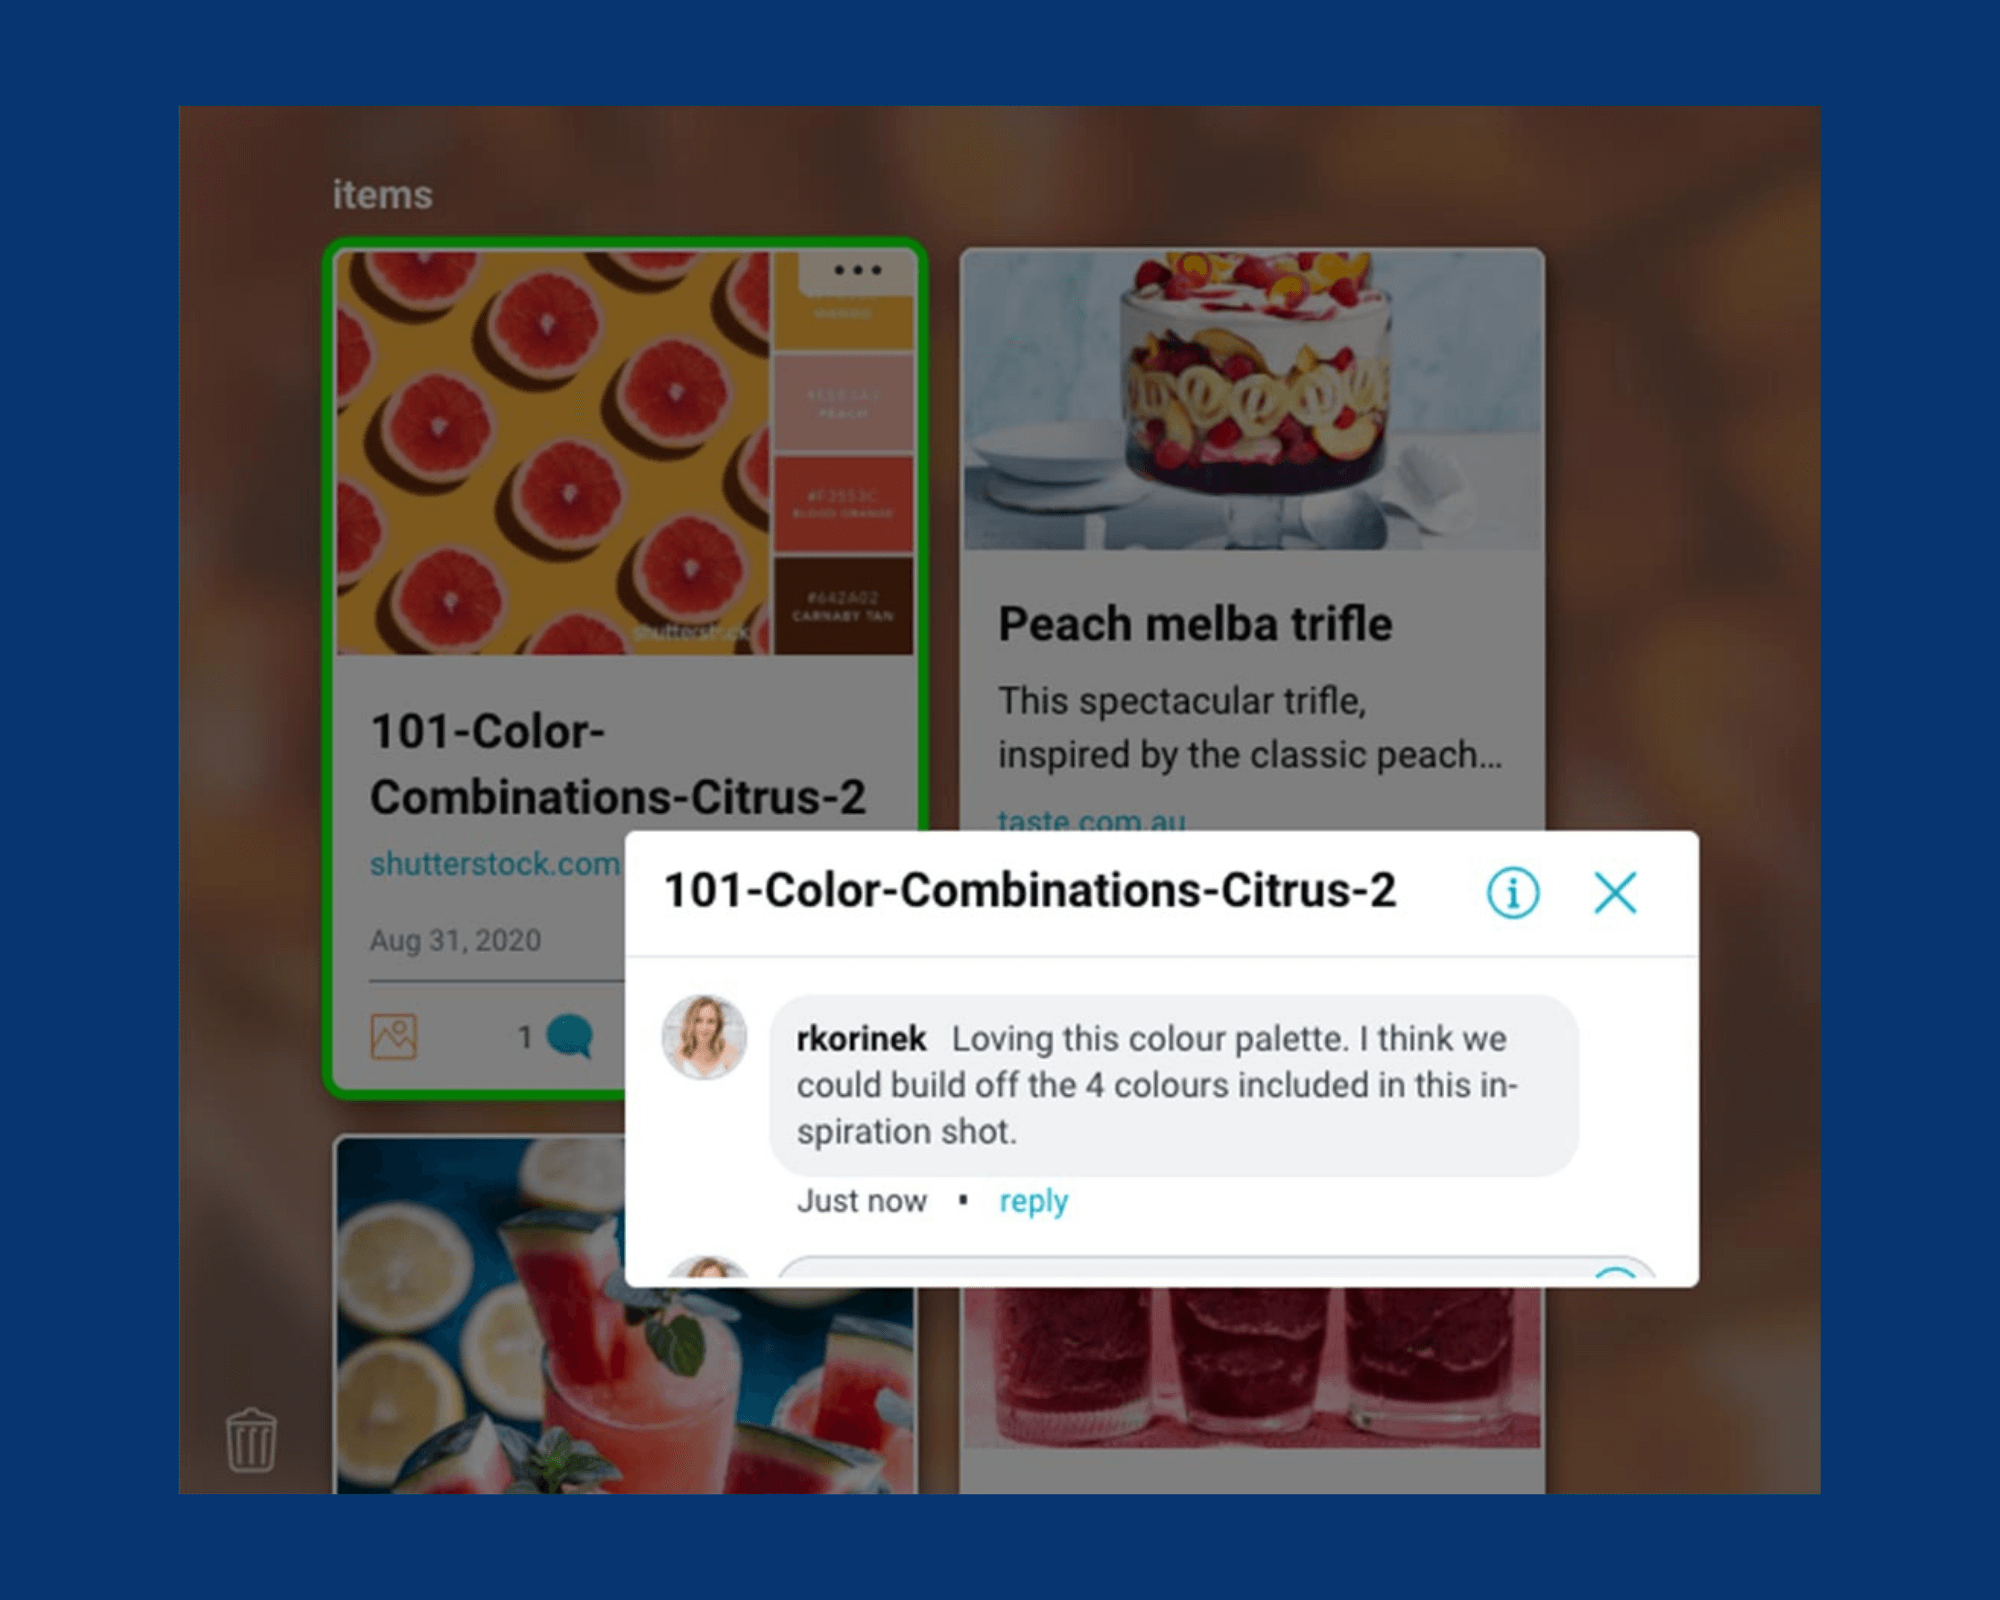
Step 3 – Make important notes on details and elements of each photo
Whatever mood board you use, being able to call out important ideas, elements or features of a photo that you want to highlight to the client is important.
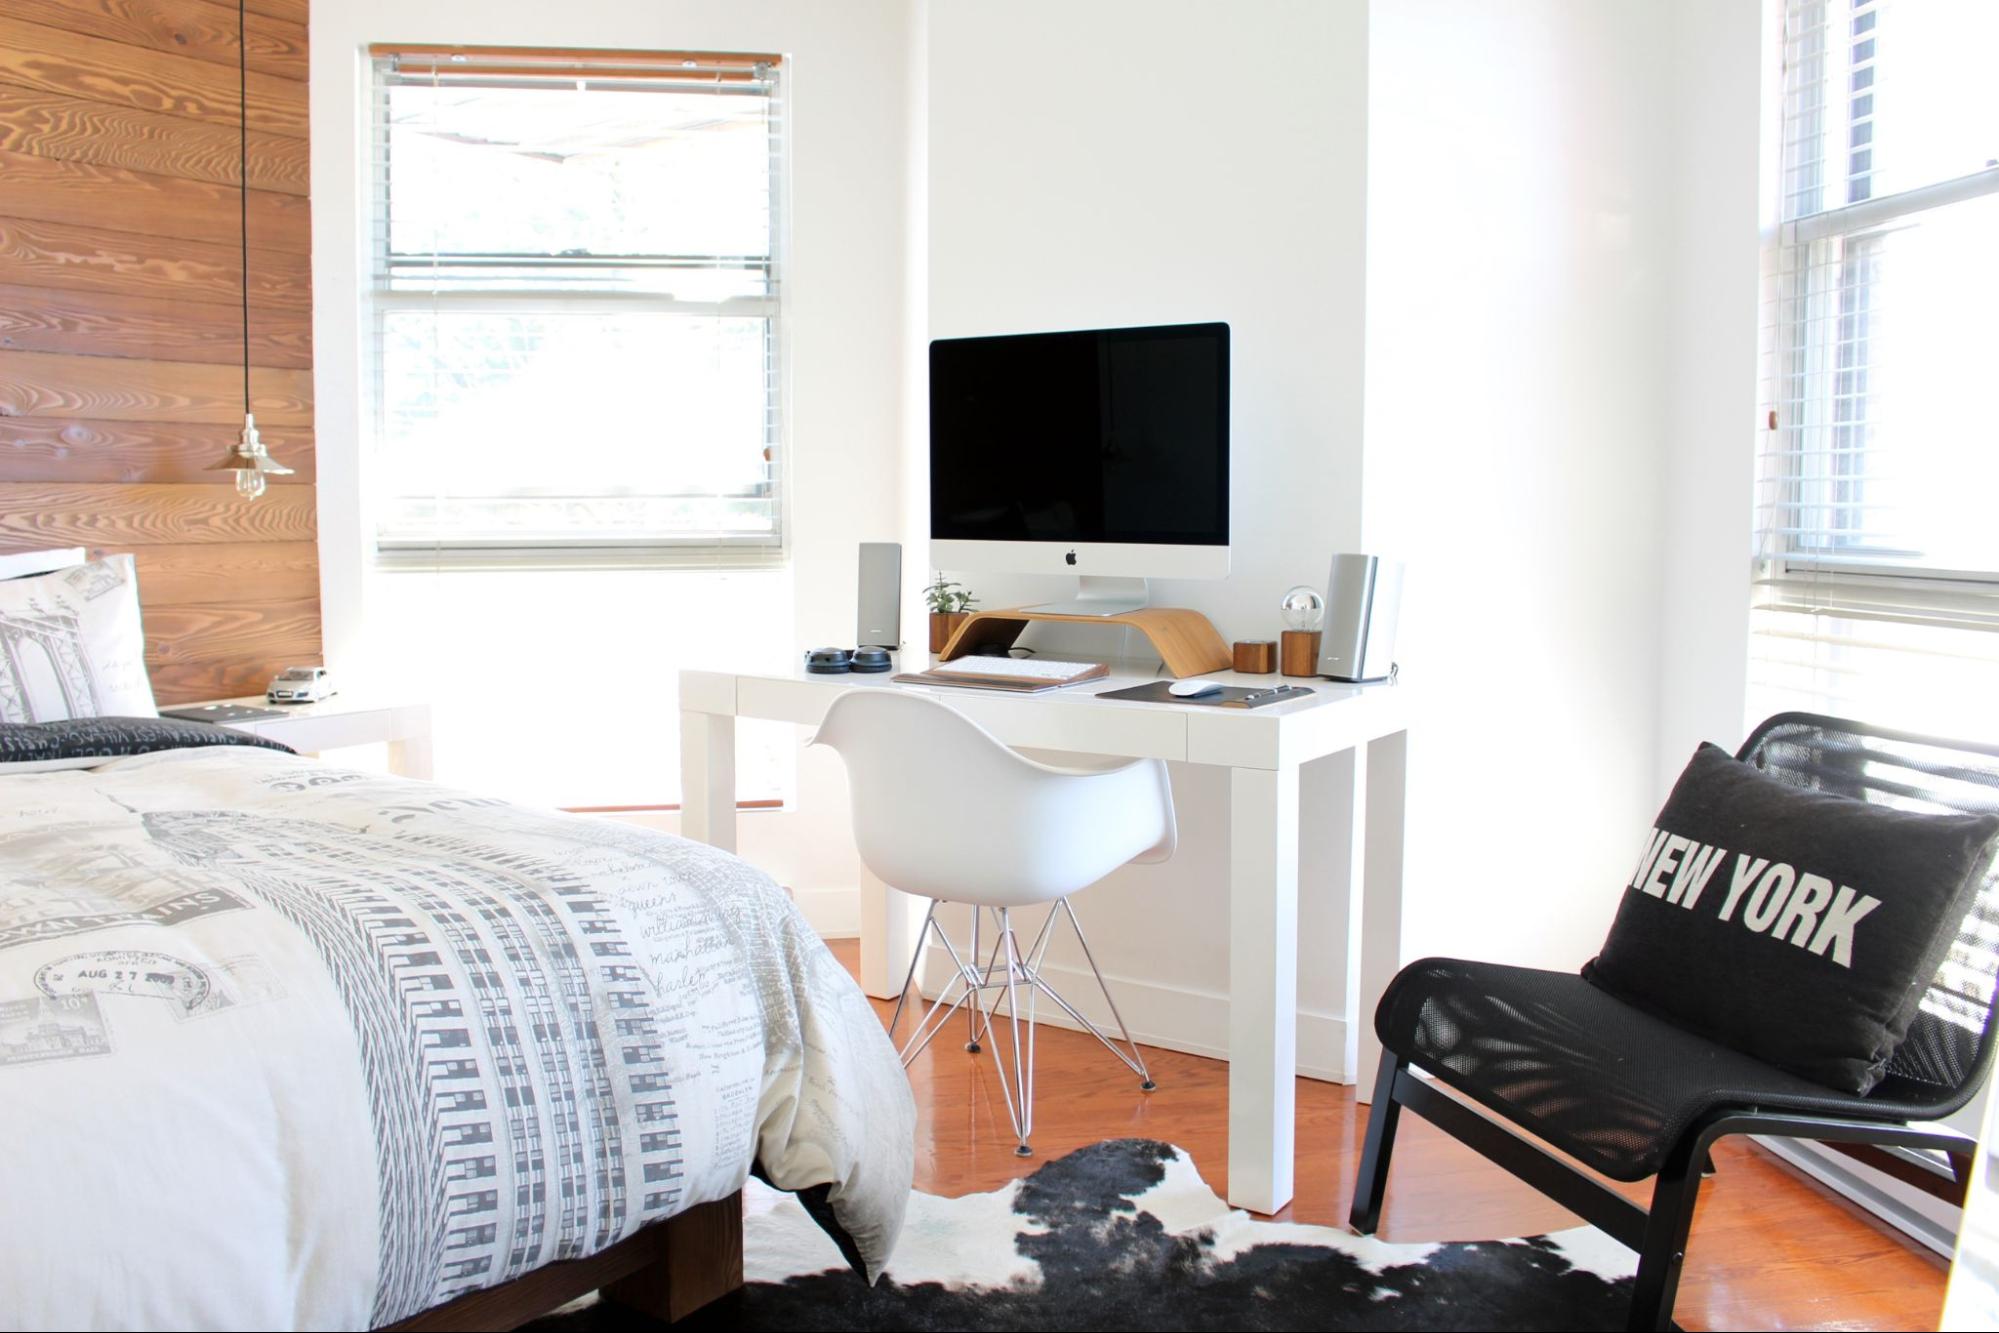
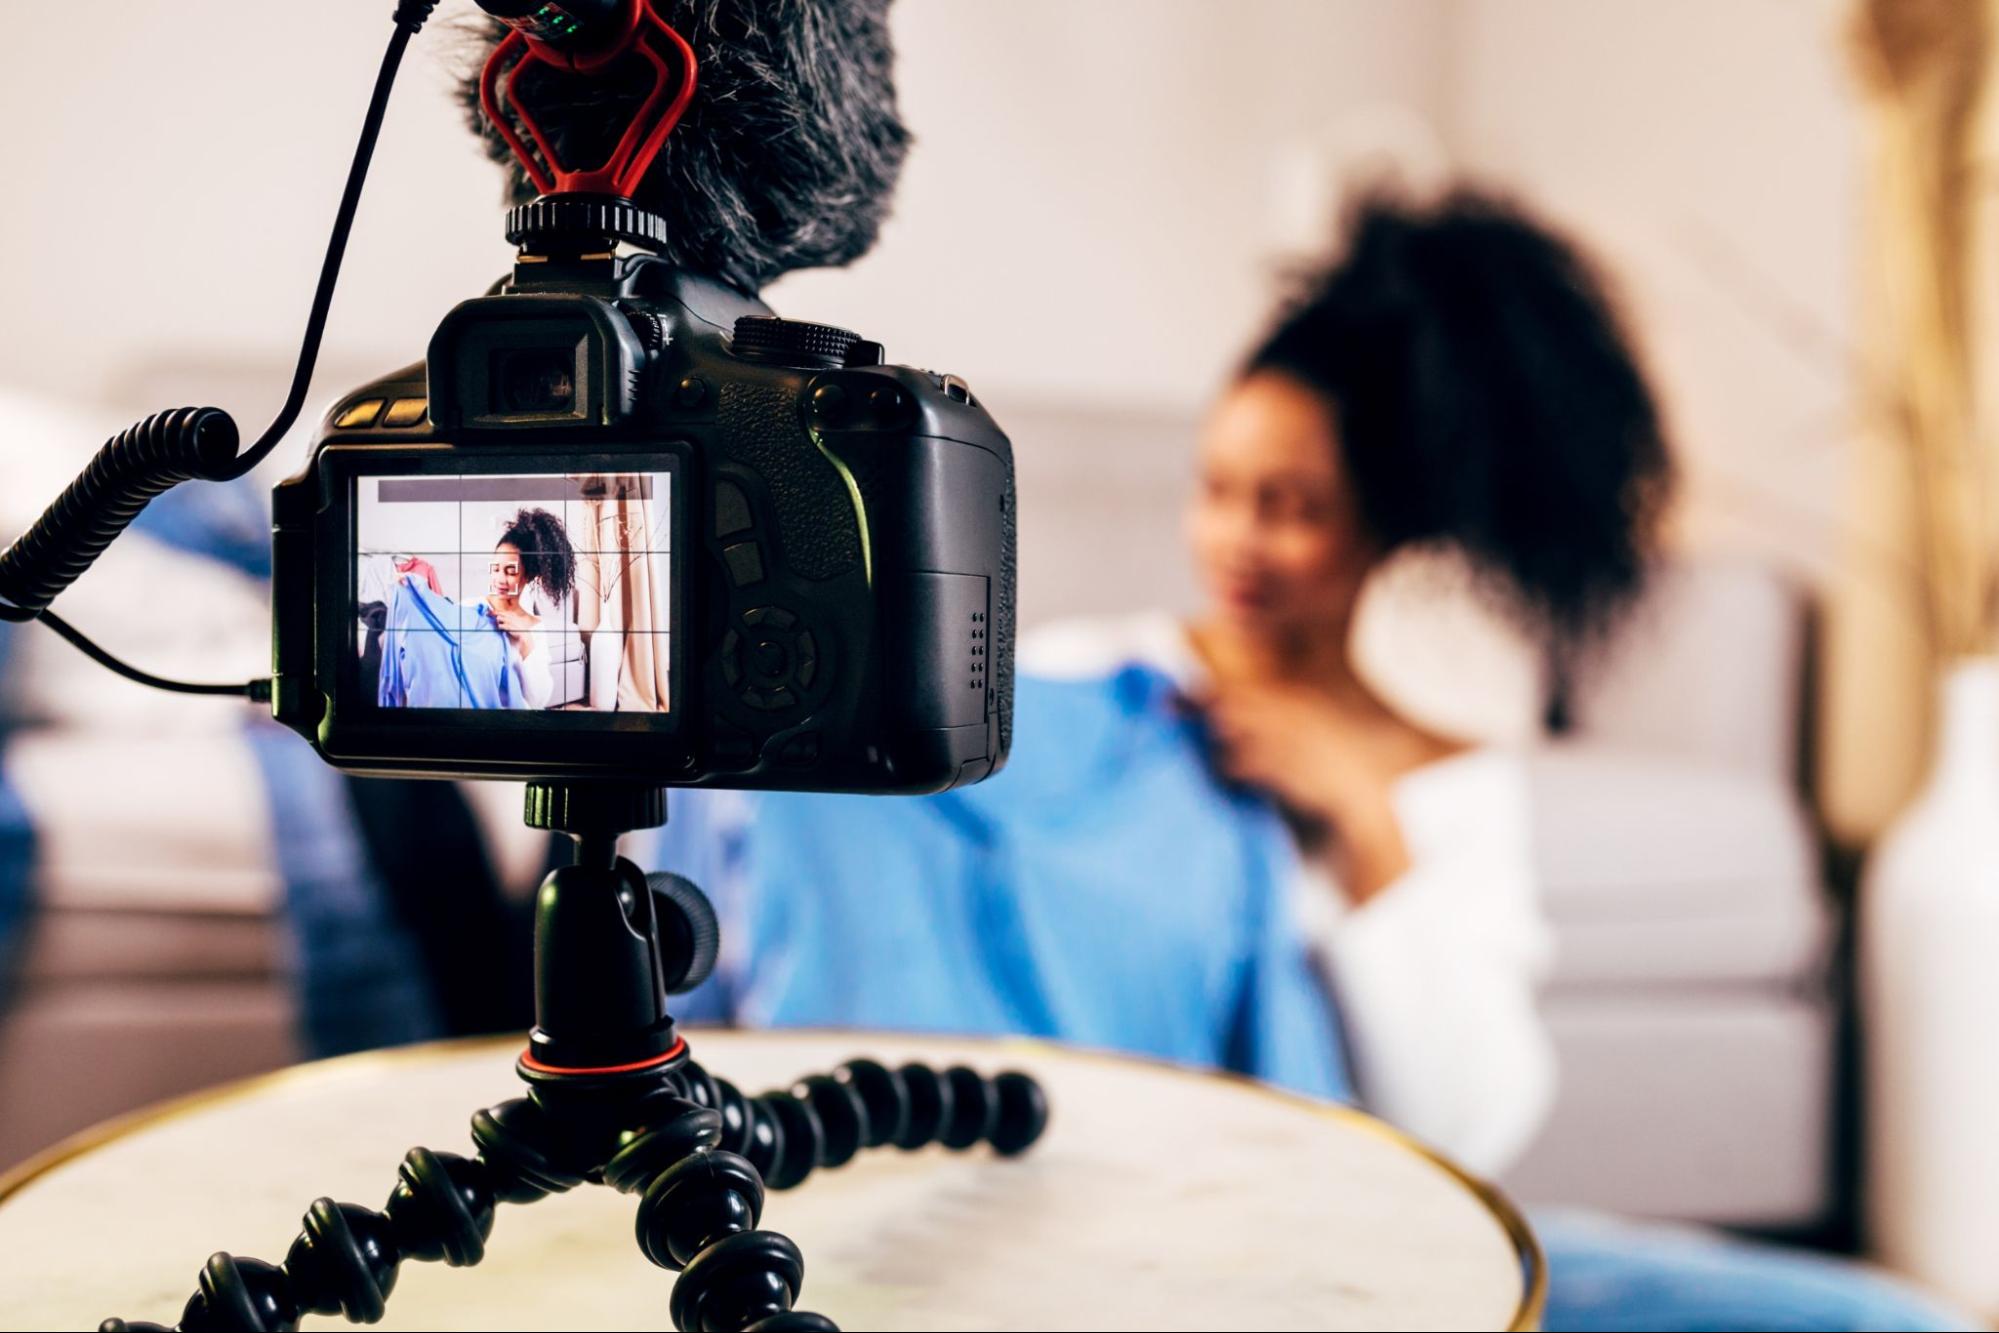
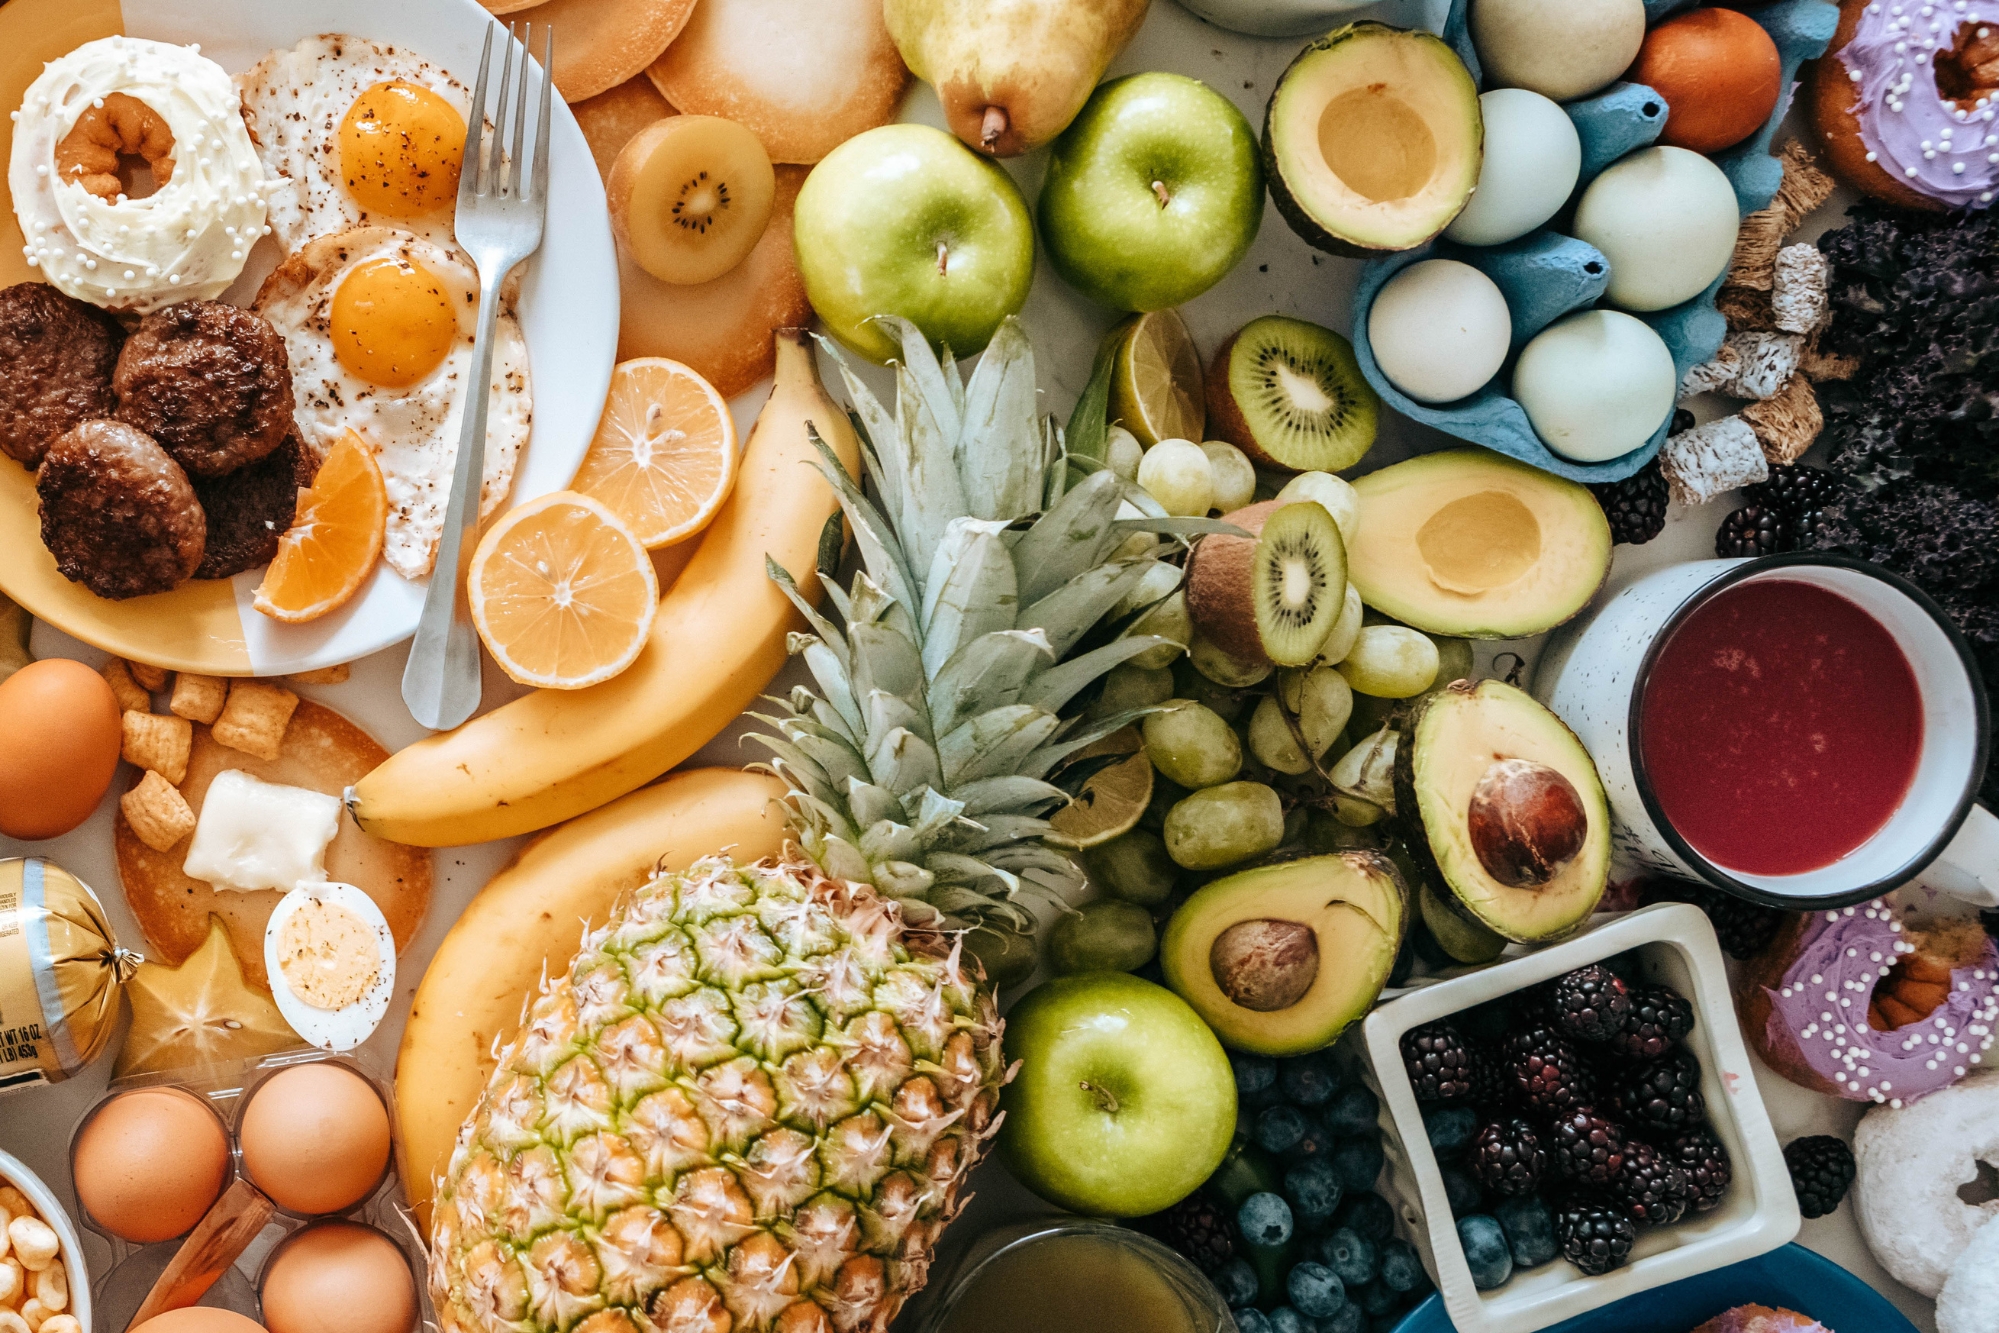
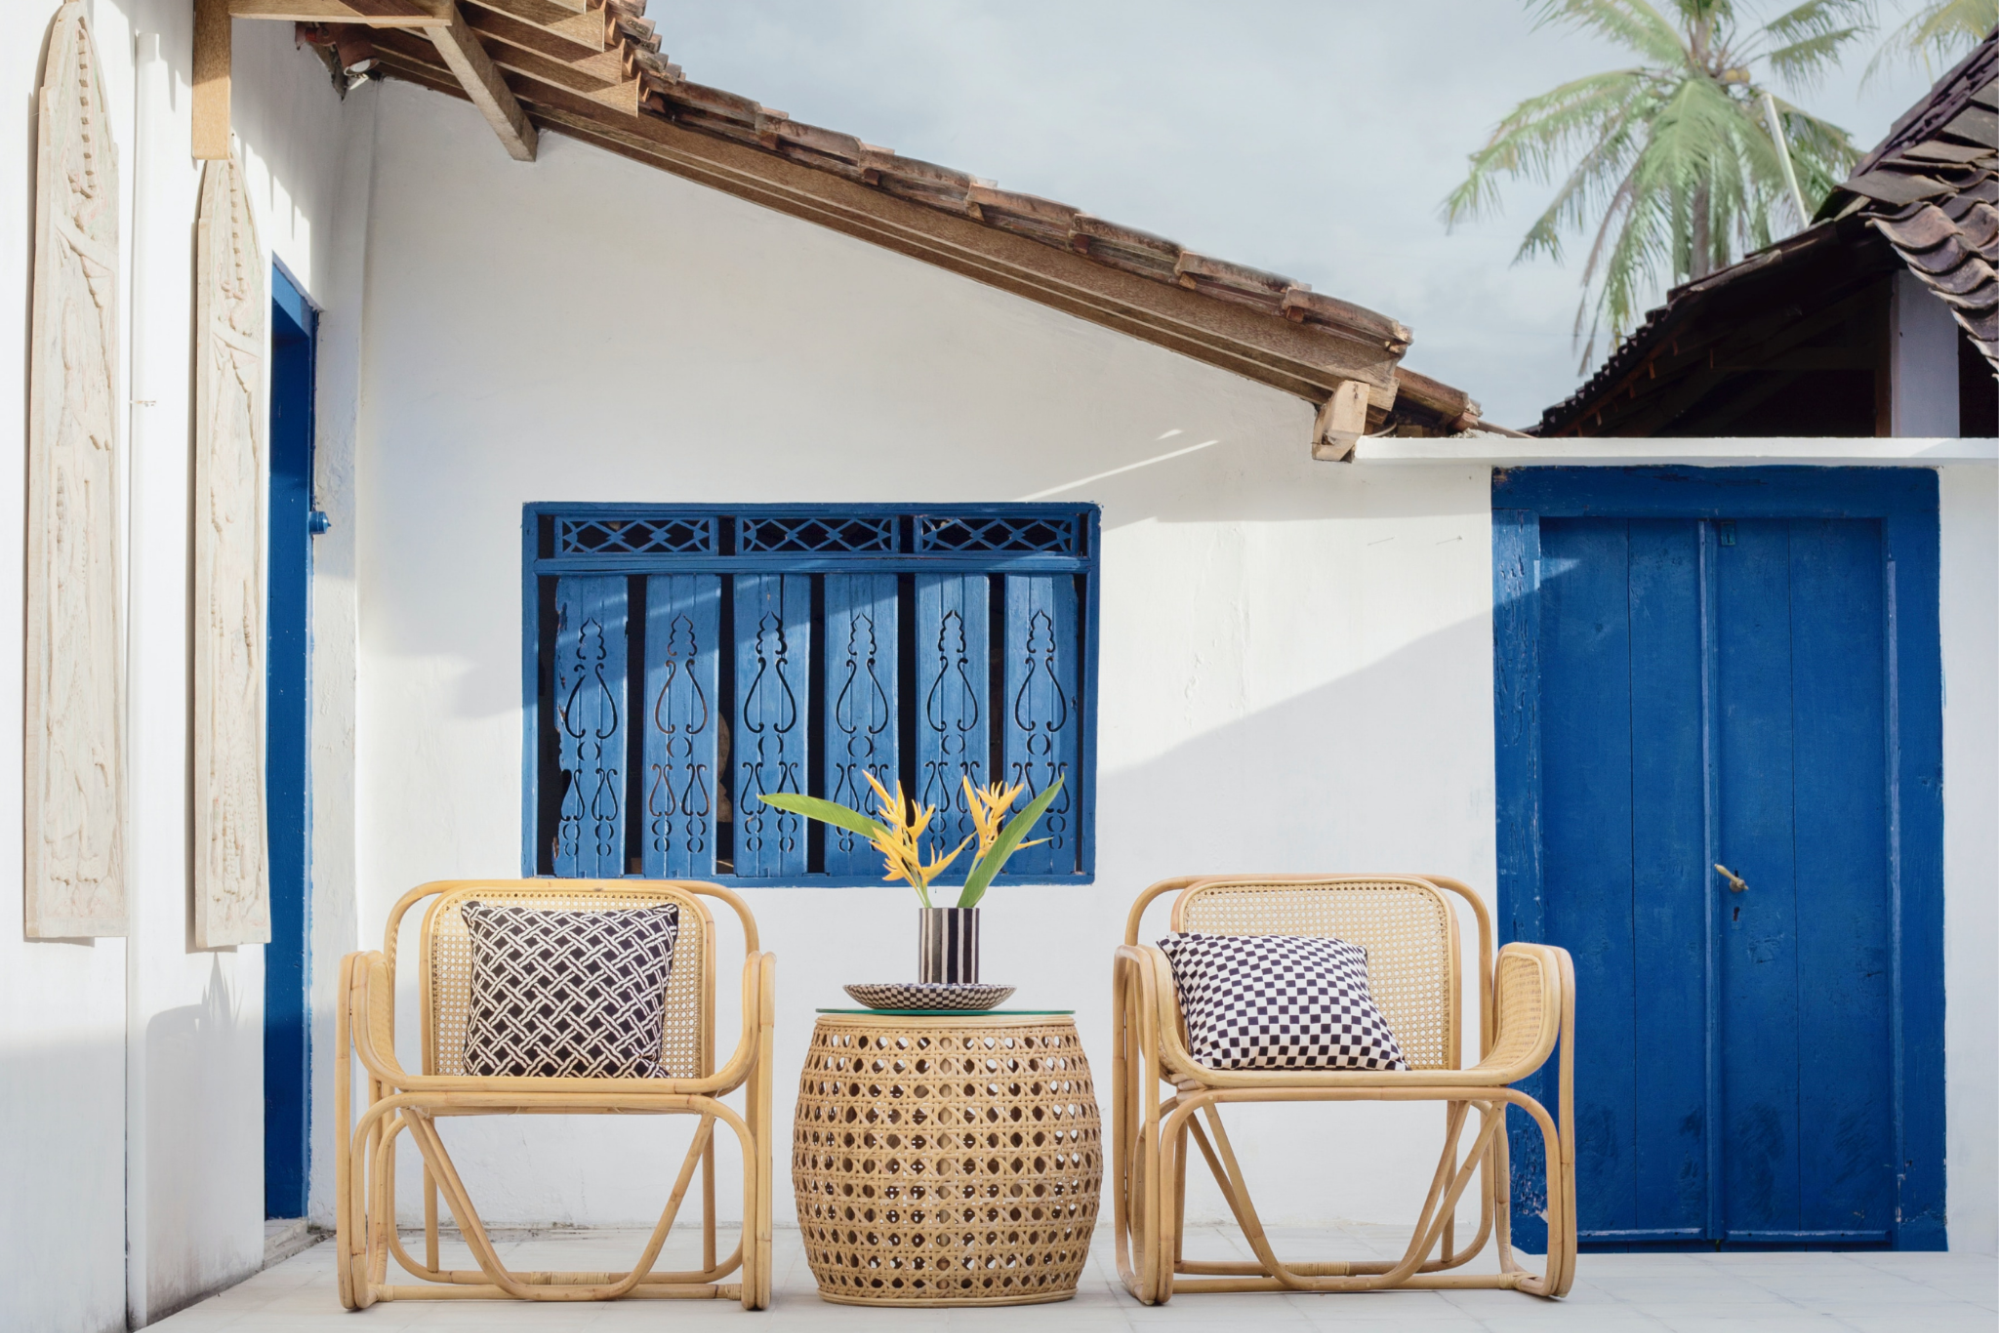
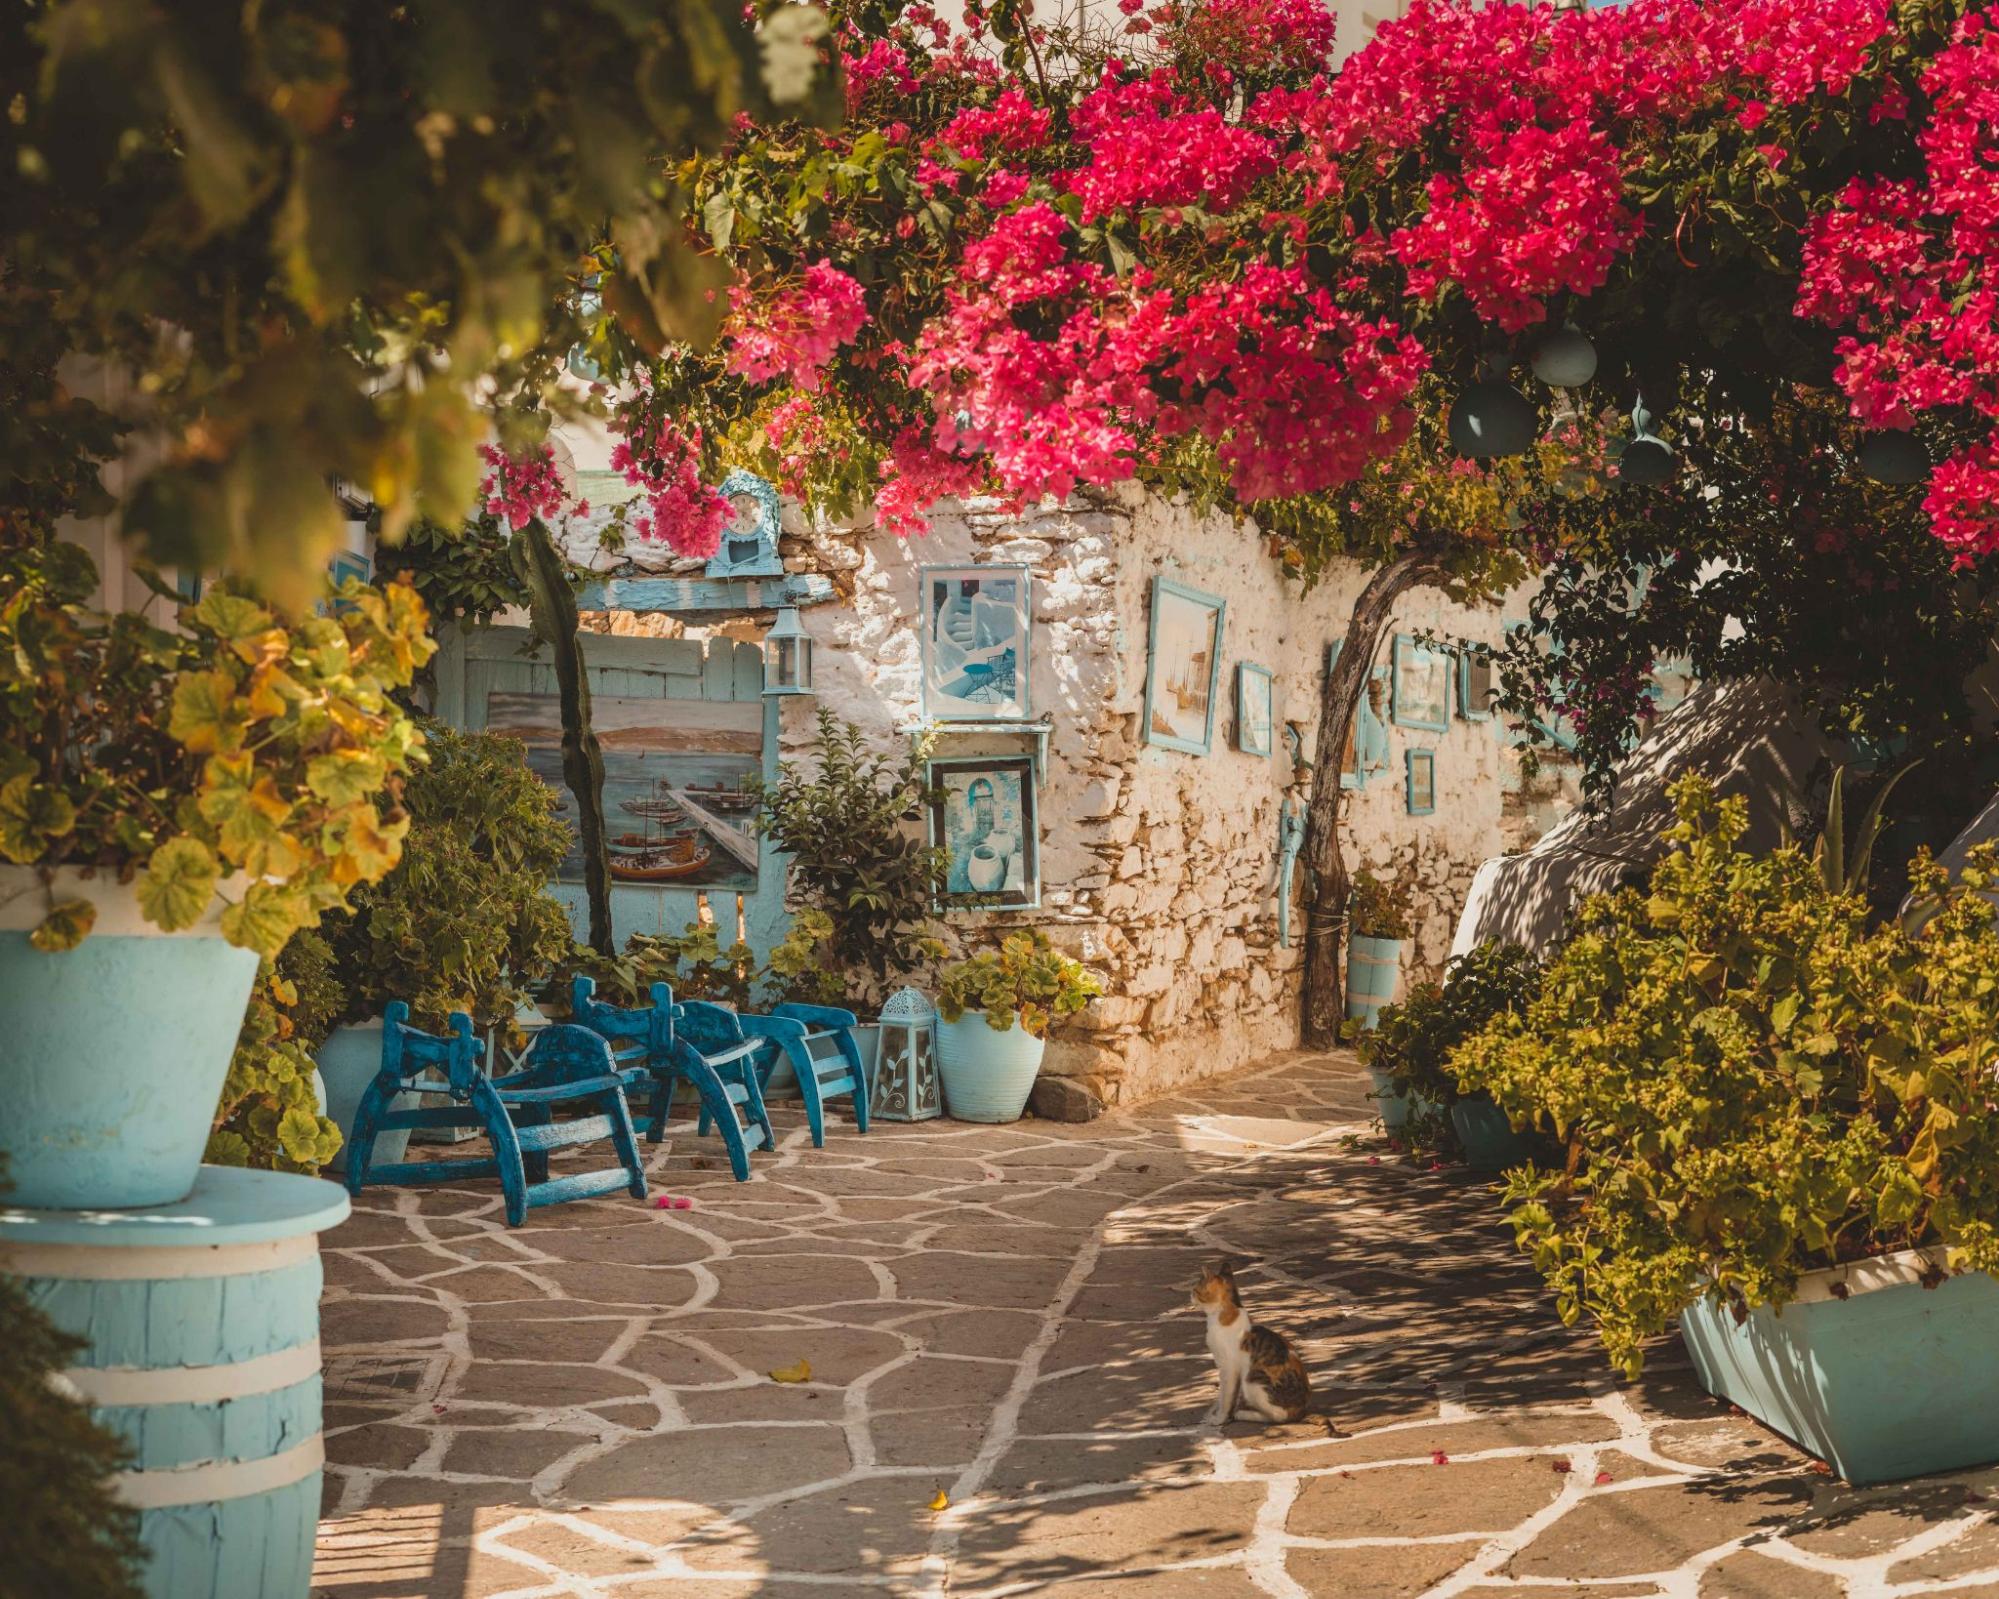
As an example, you might be doing a recipe shoot and save an interior reference photo. Perhaps you like the color scheme and want to use that to communicate your color choices to the client.
Step 4 – Share your mood board for feedback and collaboration
Bublup lets you share your mood board with clients via a link or a ‘Roll’. Clients don’t need to be Bublup users either.
Feedback and collaboration are important parts of finalizing the concept.
Bublup lets you share your mood board with clients via a link or a ‘Roll’. Clients don’t need to be Bublup users either. They can then also make suggestions and comments on your mood board ideas.
One of the reasons I stopped using Pinterest for client mood boards is that it was a pain to share a secret board. Clients had to be Pinterest users, and it functionally seemed to be more hassle than needed.
Step 5 – It’s important to keep shoot ideas confidential
Clients want their photoshoot’s creative details to be kept confidential until the product, magazine edition, or campaign goes live.
I like using Bublup because I can share the link only with the team that needs to see the ideas. My mood board and its content will always remain confidential.
About the author
Rachel is an Australian food photographer currently living in Vancouver, Canada. She specializes in editorial food stories that emphasize the beauty of real food. She’s taught over 1,500 students how to create beautiful food photography that makes their community and clients hungry. She runs a popular food photography blog at Two Loves Studio.